Coding Objects goes to the heart of Object Oriented Programming (OOP) - hence the use of the name 'Object'. We've already been working with them with things like PImage and PShape . Data types of int, float and boolean can only store one value at a time, while an Object can store lots of data and even different types of data (unlike Arrays - more next time).
Objects allow you to group variables and functions into a single, very reusable, package called a class. Instead of being called variables and functions, however, within the context of a class they're called Fields and Methods.
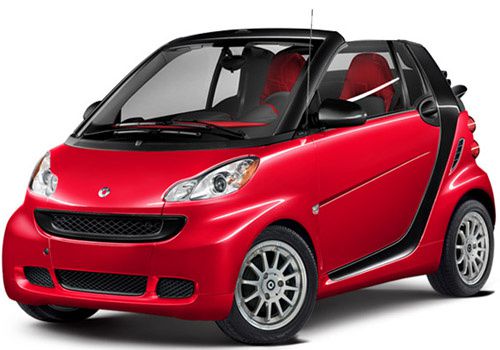
It's relevant to think of an Object as being equivalent to a physical object, like a radio or a car or an ant. In the case of a radio...
...you might think of the fields (variables) as:
volume
frequency
band(FM, AM)
power(on, off)
And the methods (functions) of a radio as:
setVolume
setFrequency
setBand
In the case of a car, fields might be:
speed
mileage
gas(volume)
color
modelYear
And methods as:
accelerate
stop
turn
Or in the case of an ant, fields like:
type(worker, soldier)
weight
length
And methods as:
walk
pinch
eat
Defining A Class
Here's the basic structure of a Class, which is how you define an Object:
You define the object in line 01 with class and a name for the class. The standard for naming is to use a capital letter at the beginning of the name. Same restrictions as other names.
2
You declare fields just like variables
4
ClassName is repeated with a pair of parentheses with parameters inside them. This special re-use of the ClassName is called a Constructor and can accept input from when the Object is used in the setup() in the main block of code (more below)
5
Within the constructor you set up code to receive the input of the parameters.
8
You can build multiple methods for dealing with the parameter input and other goodies. It's basically a function and follows the same rules as a function
12
The whole class is wrapped inside a pair of curly brackets { }
Passing Values into the constructor
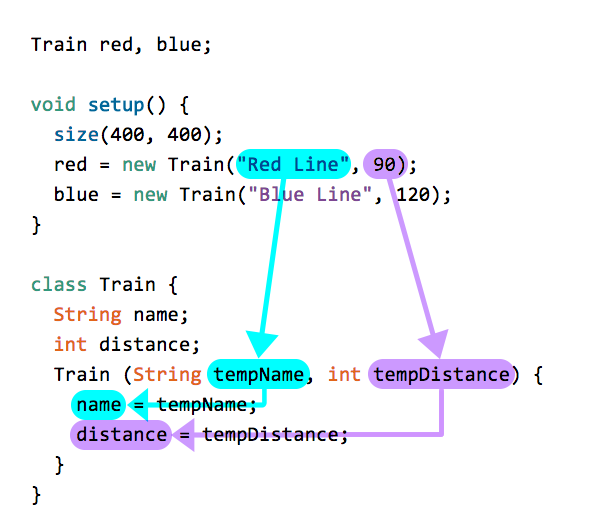
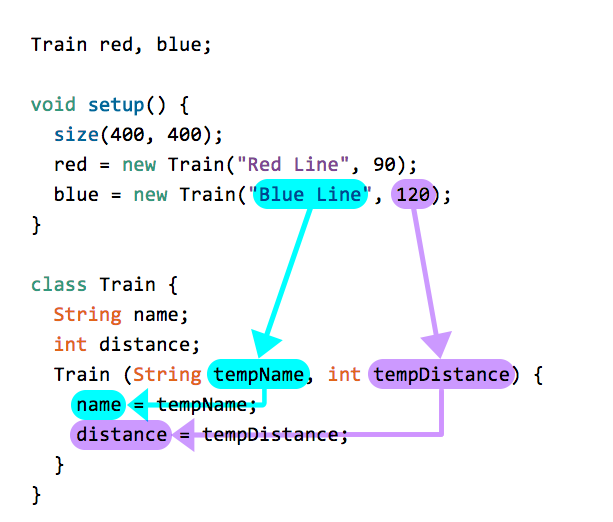
To pass values into the constructor, you declare the object at the top of your code, in this case Train . Below we've got to variables set up to contain Train objects, red and blue .
When you initialize a Train object into the variables, you use the nomenclature of new Train() with parameters inside the parentheses that correspond to the values inside the constructor in the Train object's class declaration. Those values are passed into the constructor and create unique versions of the Train object held in red and blue .
PROCESSING
Figure 10-1a
PROCESSING
Figure 10-1b
Create Objects
Now that we've defined a class , to use it in a program you must define an object from that class . There's two steps to do this:
Declare the Object variable ( red and blue in the previous example, bug in the following example)
Create (initialize) the object with the keyword new .
Here, we'll turn the code from Example 8-9 into an object.
This is why objects are so handy. Once we have a working object, you can make as many objects as you want with a minimal effort of coding, since most of the work happens within the object. Here we'll make two JitterBugs, bug and jit .
PROCESSING
Example 10-2
JitterBug jit; // Declare a JitterBug Object called jit
JitterBug bug; // Declare a JitterBug Object called bugvoidsetup() {
size(480, 120);
// Initialize the two variables with JitterBugs
jit = new JitterBug(width * 0.33, height/2, 50);
bug = new JitterBug(width * 0.66, height/2, 10);
}
voiddraw() {
// Tell jit and bug to move and show themselves// with the methods inside the JitterBug object
jit.move();
jit.display();
bug.move();
bug.display();
}
class JitterBug { // Same code as 10-1!float xJB;
float yJB;
int diameterJB;
float speedJB = 2.5;
JitterBug(float xParameter, float yParameter, int diameterParameter) {
xJB = xParameter;
yJB = yParameter;
diameterJB = diameterParameter;
}
void move() {
xJB += random(-speedJB, speedJB);
yJB += random(-speedJB, speedJB);
}
void display() {
ellipse(xJB, yJB, diameterJB, diameterJB);
}
}
Let it run for about 10 minutes
Tabs
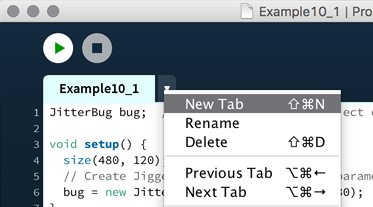
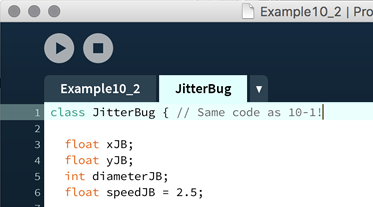
A very nice feature for writing classes/objects in Processing is you can set up a tab to write the object in and it will automatically link that object's code to your project. The Object is stored as a separate file in the data folder in the project's folder.
Below is the JitterBug code separated out to be put into a tab.
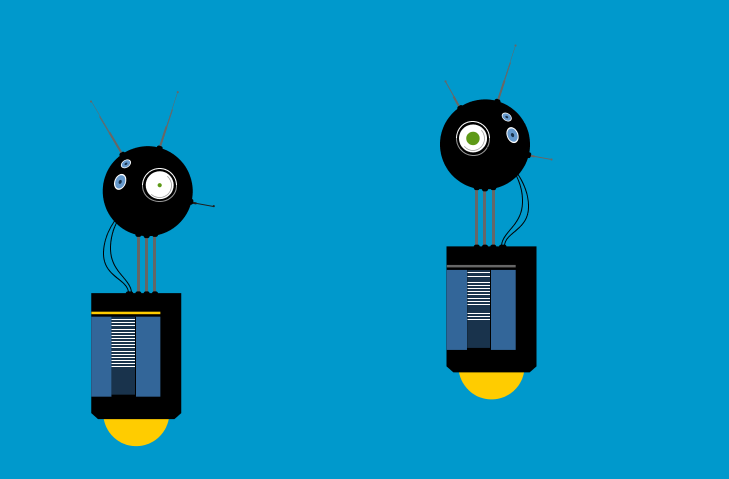
Don't forget to add the robot1.svg and robot2.svg files! Download them here: robot1.svg, robot2.svg (if they open in the browser, save them with the File menu)
Code in the first tab...
PROCESSING
Robot 8 Tab 1
Robot bot1;
Robot bot2;
voidsetup() {
size(729, 480);
bot1 = new Robot("robot1.svg", 90, 80);
bot2 = new Robot("robot2.svg", 440, 30);
}
voiddraw() {
background(0, 153, 204);
// Update and display first robot
bot1.update();
bot1.display();
// Update and display second robot
bot2.update();
bot2.display();
}