Processing provides a very cool but a bit-tricky-to-use function called translate(). What it does is it takes the objects being drawn in the draw function and moves them relative to their original location.
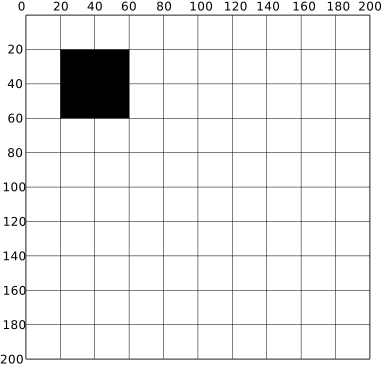
We know that most objects are drawn with x,y coordinates. So if we spec a rect like this:
rect(20, 20, 20, 20);
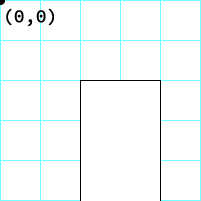
It looks like this.
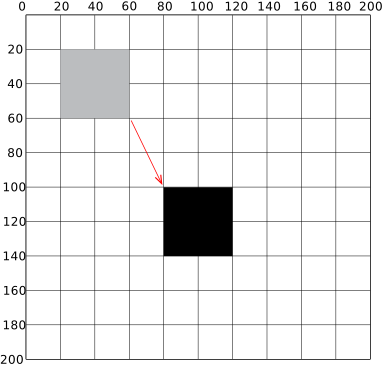
We can shift the coordinates to a new position by changing the x/y coordinates, in this case by adding 60 to the right and 80 down:
rect(80, 100, 20, 20);
Or
rect(20 + 60, 20 + 80, 20, 20);
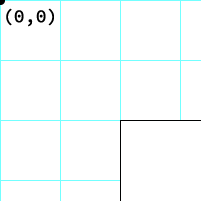
Like this.
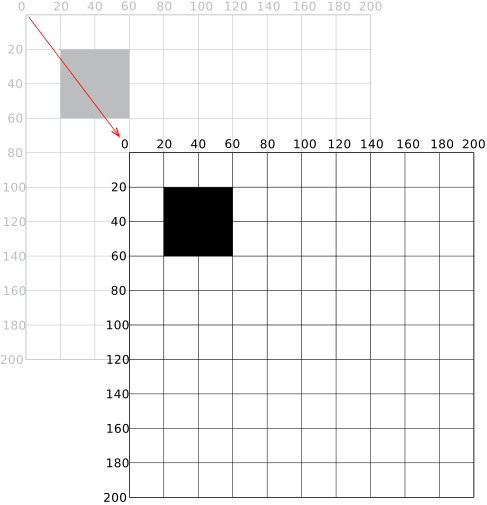
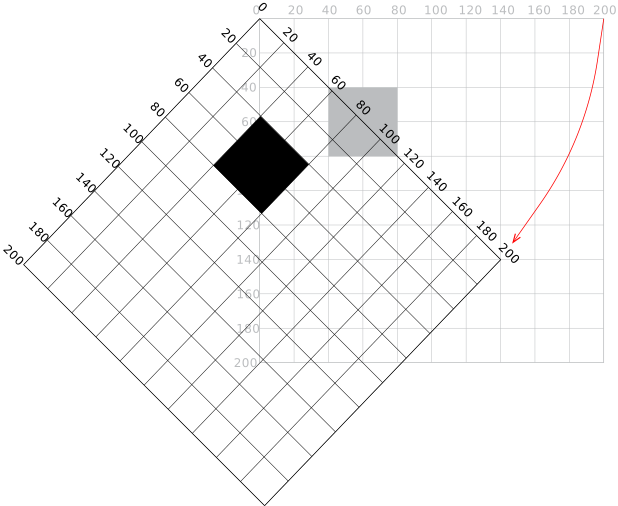
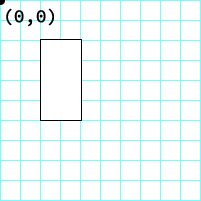
Imagine the coordinates being on graph paper. If we use translate(), we can shift the coordinates to a new position as if we had moved the graph paper:
translate(40, 20);
rect(20, 20, 20, 20);
And, like many things, we can make it interactive!
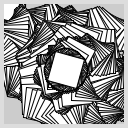
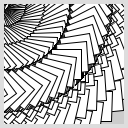
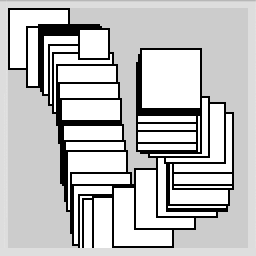
The nature of translate() is that it's accumulaive. That is, each time you add in a translation function, it adds to (or subtracts from) the previous offset.
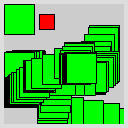
So in this case, the first rect is translated to the x/y position of the mouse, but the second rect is translated to 35 + mouseX and 10 + mouseY.
There may be times when you don't want translate() to accumulate. For this, Processing adds a pair of functions that allow you to do a separate translate() function on any given object you draw: pushMatrix() and popMatrix(). (Think matrix like a grid, not the movie)
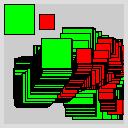
Which will move the first, bigger square with the mouse, but only move the second, smaller square over 35 and down 10
Rotations
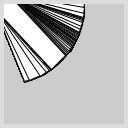
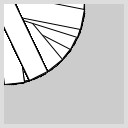
rotate() is a kind of translation, but instead of moving the graph paper's x/y coordinates, it rotates the graph paper around the 0,0 upper left corner of the Display Window. Of course, like the arc() function, it uses the radians method to describe the angle of rotation. (Arrgh! Who thinks in radians?).
Anyway, here's a simple example of using rotate():
Remember, you can always use radians(someValueInDegrees) to convert from a degree to a radian value.
Center Rotation
To get an object to spin around its center you nee to center the object over the upper left of the Document Window, or 0,0. This next example will do just that:
Notice that you can put a function inside a function!
radians(map(mouseX, 0, width, 0, 180));
Translation Then Rotation
To spin an object around its center point at a place in the Display Window way from the origin, first use translate() to move the location where you'd like the shape (like follow the mouseX and mouseY) then call rotate() before you finally draw the shape:
Even though we're using radians as the value of myAngle, it doesn't really matter because the thing just keeps rotating. (Beware, if you let this code run for several days, it will crash when myAngle gets to be bigger 2,147,483,647 ☺ ).
Rotation Then Translation
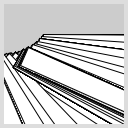
The following code is the same as the previous code, except the sequence of translate() and rotate() is reversed. So the shape is rotated around the upper left of the display window first, then it has it x/y location translated.
In both examples, the square is set to the center of the Display Window. In the first example we translate the position of the square, then we rotate it. In the second we rotate the square then relocate it.
Makes a big difference, doesn't it?
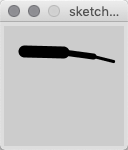
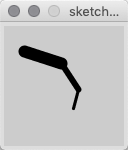
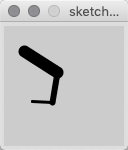
An Articulating Arm
In this example, we'll put together a sequence of translate() and rotate() functions to creat a linked arm that bends back and forth. Since translate() is accumulative by default, each use of it moves the position
Like translate() and rotate(), scale() lets you modify the grid of that the objects in the display window live on.
rect(20,20,20,40);
scale(2);
rect(20,20,20,40);
scale(3);
rect(20,20,20,40);
Let's try a simple case...
PROCESSING
Example 6-8
voiddraw() {
// Follow the mouse aroundtranslate(mouseX, mouseY);
// Scale the rect based on the mouse x positionscale(mouseX / 60.0);
// Draw a square with a center of 0,0int squareSize = 30;
rect(-squareSize/2, -squareSize/2, squareSize, squareSize);
}
Keeping Strokes Consistent
Scale not only affects the size, but it also affects the size of a stroke. A 1 point stroke at 200% scaling (scale(2.0);) makes it 2 points, and at 50% (scale(0.5);) makes it 1/2 a point.
PROCESSING
Example 6-9
voiddraw() {
// Follow the mouse aroundtranslate(mouseX, mouseY);
// Scale the rect based on the mouse x positionscale(mouseX / 60.0);
// Draw a square with a center of 0,0int squareSize = 30;
rect(-squareSize/2, -squareSize/2, squareSize, squareSize);
}
Isolating Transformations
Sometimes you need to isolate a transform so it only affects part of your code. Use pushMatrix() and popMatrix() to wrap around the code you want to isolate.
The pushMatrix() and popMatrix() functions are always used in pairs. For every pushMatrix() you'll need to have a matching popMatrix()
Robot 4: Translate, Rotate, and Scale
This robot adds in the translate(), rotate(), and scale() functions...
PROCESSING
Robot 4
// Set up variablesfloat xVal = 60;
float yVal = 440;
int myHeadRadius = 45;
int myBodyHeight = 180;
int myBodyWidth = 90;
int myNeckHeight = 40;
// Our text included this without using it...float easingVal = 0.04;
voidsetup() {
size(360,480);
ellipseMode(RADIUS); // draw ellipse from center
}
voiddraw() {
strokeWeight(2);
background(0, 153, 204); // Bluetranslate(mouseX, yVal); // Move all to myNewX// Toggle the scale of everythingif (mousePressed) {
scale(1.0);
} else {
scale(0.6);
}
// BodynoStroke();
fill(255, 204, 0); // Orangeellipse(0, -33, 33, 33); // The wheelfill(0); // Black// Calculate the rect for the body relative to the 0,0 centerrect(-myBodyWidth/2, -myBodyHeight, myBodyWidth, myBodyHeight-33); //// Neck// Set the y location of the neck relative to the size of the // other componentsfloat myNeckY = -1 * (myBodyHeight + myNeckHeight + myHeadRadius);
stroke(255); // Whiteline(12, -myBodyHeight, 12, myNeckY);
// HairpushMatrix(); // Isolate translation and rotation// translate from the middle of the headtranslate(12, myNeckY);
// set myAngle to 1/30th of half way aroundfloat myAngle = -PI/30.0;
for (int i = 0; i <= 30; i++) {
// do these statement 30 times, rotating a bit each timeline(80, 0, 0, 0);
rotate(myAngle);
}
popMatrix(); // end isolation of translate and rotate// HeadnoStroke();
// Black head circlefill(0); // Blackellipse(12, myNeckY, myHeadRadius, myHeadRadius);
// White eyeballfill(255); // Whiteint eyeSize = 14;
ellipse(24, myNeckY-6, eyeSize, eyeSize);
// Green Irisfill(0, 200, 200); // Greenellipse(24, myNeckY-6, eyeSize*0.66,eyeSize*0.66);
// Black pupilfill(0); // Blackellipse(24, myNeckY-6, eyeSize*0.33,eyeSize*0.33);
}
Notice that the book overlooks that it set up an easingVal. Let's do some retrofitting by replacing (around line 21):
translate(mouseX, yVal); // Move all to myNewX
With:
// Ease the x location (from Ex 5-8)float myTargetX = mouseX;
// Set myNewX closer and closer to myTargetX
myNewX += (myTargetX - myNewX) * easingVal;
translate(myNewX, yVal); // Move all to myNewX