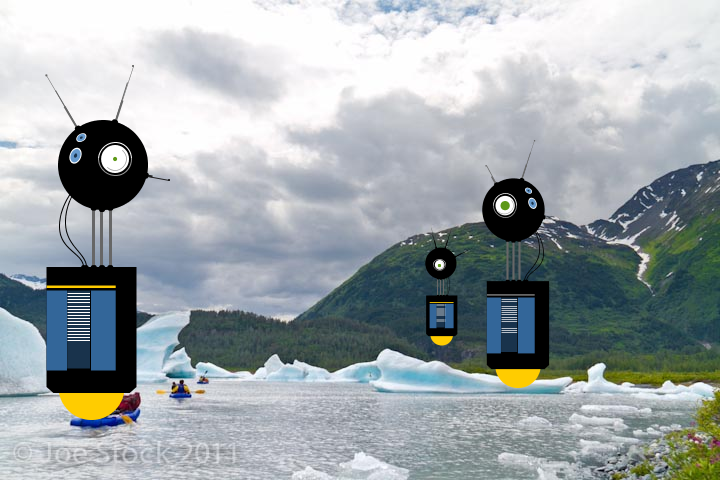
Processing can do more than just draw shapes, it can also load images, vector files (from Illustrator but in SVG format), fonts, and sounds.
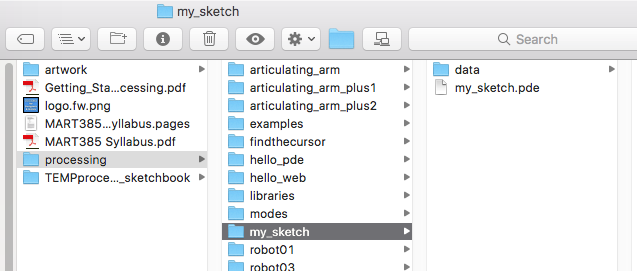
Media needs to be stored in a special folder relative to the sketch .pde file called data. We haven't really touched on this before, but you may have noticed that when you save a sketch, Processing puts it into a folder with the name of the sketch. So, if I create a sketch and save it as my_sketch, Processing saves a file called my_sketch.pde in a folder called my_sketch
When you want to add media as part of your sketch, you can choose the media from Menu > Sketch > Add File. Let's try that, but first here's a folder of stuff we can download from processing.org to get our media from...
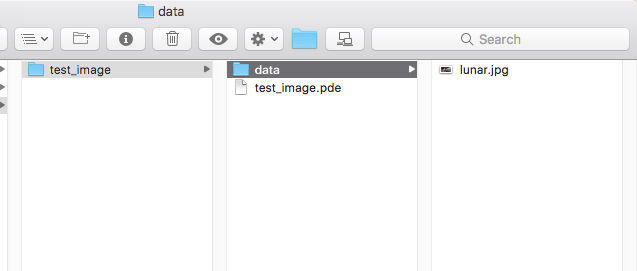
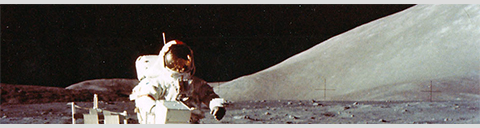
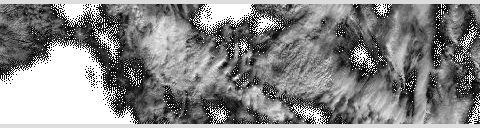
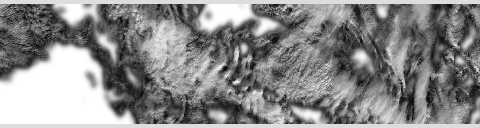
Create a new sketch, save it as test_image. Choose Menu > Sketch > Add File. Add lunar.jpg from the folder we just downloaded. Now look in the data folder in the test_image folder.
Processing automatically put the image into the data folder. Handy!
To get an image to display in the Display Window takes four steps:
Add the image to the sketch's data folder
Create a PImage variable to store the image in
Load the image into the variable with loadImage()
Display the image with image(imageVariable, xLocation, yLocation)
loadImage(imageName) - be careful with the image name, better if you don't use spaces (in general), and capitalization matters (unlike Windows or OSX).
image(imageObject, xLocation, yLocation) - imageObject has to be the variable you created with the PImage datatype (PImage as in Processing Image). It's fairly common in coding to have special datatype variable into which you put, through a specialized function, an object of a particular nature. (Other examples are PFont, PGraphics, PShader, and PVector)
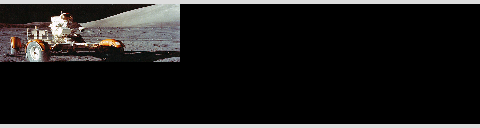
Let's do the same as the previous but with two images. You can add as many as you want, but you have to stick them in a PImage variable with loadImage()
GIF and PNG images can contain transparency data. In a GIF file, any given pixel can be opaque or transparent, in what's called 1-bit transparency. PNG images, on the other hand, can contain a range of opacity/transparency from 0 (completely transparent) to 255 (completely opaque), known as 8-bit transparency (28 = 256). This layer of transparency values is called an alpha channel.
Let's put a transparent GIF in front of another GIF...
Fonts are the most reliable when you load them into the Processing environment explicitly. You use PFont to spec the datatype for a variable, then load the .ttf font into the variable with createFont(). Make sure the font file you want to use is in the data folder!
PROCESSING
Example 7-6: Drawing with Fonts
PFont myFont;
voidsetup() {
size(480, 120);
myFont = createFont("SourceCodePro-Regular.ttf", 32);
textFont(myFont);
}
voiddraw() {
background(102);
textSize(32);
text("That's one small step for man...", 25, 60);
textSize(16);
text("That's one small step for man...", 27, 90);
}
PROCESSING
Example 7-8: Store Text in a Box
PFont myFont;
String myQuote = "That's one small step for man...";
voidsetup() {
size(480, 120);
myFont = createFont("SourceCodePro-Regular.ttf", 24);
textFont(myFont);
}
voiddraw() {
background(102);
text(myQuote, 26, 24, 240, 100);
}
Shapes
You can use vector graphics created in Adobe Illustrator (or Inkscape, an open-source vector graphics tool) in a special format called SVG (Scalable Vector Graphics). Like bitmap images, they need to be in the data folder of the sketch. And the easiest way to add them is to save your sketch before you write it and use the Menu > Sketch > Add File... to import the .svg file.
Like images, you have to set up a variable of the data-type PShape, then load the variable with loadShape("filename.svg"), then use shape(varName, xLocation, yLocation, optionalSizeWidth, optionalSizeHeight) to have it appear in the Display Window.
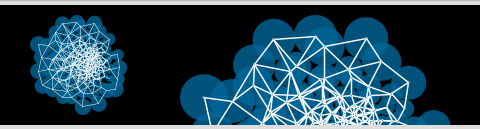
In this example we'll import an SVG file called "network.svg" into the sketch before we start coding...
Shapes are relatively easy to scale. You can set the center of the scaling from the default upper left corner to the center of the shape with shapeMode(CENTER)
Scalable Vector Graphics are very cool and a bit tricky to create. In the above example, we used a file called network.svg to create the sketch. Here's the graphic in a web page:
And here's the SVG code:
There are 1,843 lines of code to create the file!
PROCESSING
Example 7-11: Creating a New Shape (Not in 1st Ed.)
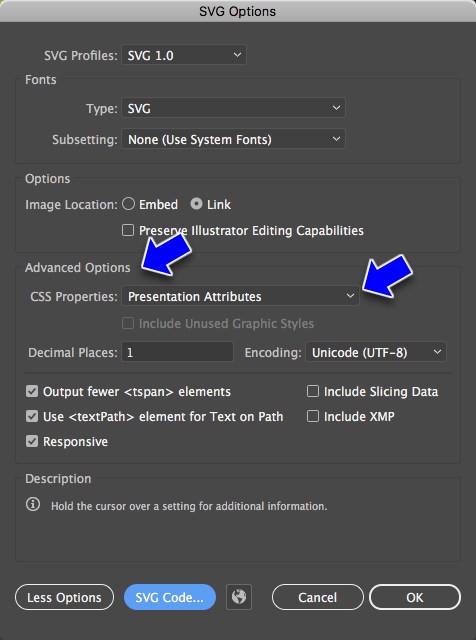
Here's the trick. You can save an Illustrator file in the .svg format, but Processing won't accept it without some settings jiggery-pokery. To whit: When saving as an SVG, expand the Advances Options of the SVG Options panel when you save the file and set the CSS properties to Presentation Attributes. This get's rid of CSS styles in the SVG file, which Processing doesn't support.
PShape bot1;
PShape bot2;
PShape bot3;
PImage landscape;
float easing = 0.05;
float offset = 0;
voidsetup() {
size(720, 480);
bot1 = loadShape("robot1.svg");
bot2 = loadShape("robot2.svg");
bot3 = loadShape("robot3.svg");
landscape = loadImage("alpine.jpg");
}
voiddraw() {
// Set the background to the "landscape" image, this// image must be the same width and height as the programbackground(landscape);
// Set the left/right offset and apply easing to make// the transition smoothfloat targetOffset = map(mouseY, 0, height, -40, 40);
offset += (targetOffset - offset) * easing;
// Draw the left robotshape(bot1, 85 + offset, 65);
// Draw the right robot smaller and give it a smaller offsetfloat smallerOffset = offset * 0.7;
shape(bot2, 510 + smallerOffset, 140, 78, 248);
// Draw the smallest robot, give it a smaller offset
smallerOffset *= -0.5;
shape(bot3, 410 + smallerOffset, 225, 39, 124);
}