Like a flip book, animation on screen is created by drawing an image, then drawing a slightly different image, then another, and so on. The illusion of fluid motion is created by our brains through a process called persistence of vision. When a set of similar image is presented at a fast enough rate, our brains translate the changes into motion.
Side Note: Wikipedia states that Persistence of Vision is an outmoded concept, and that little is actually understood how our brain perceives motion (link).
Frames
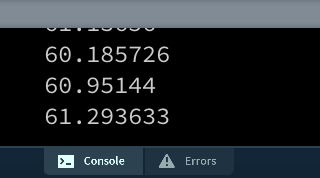
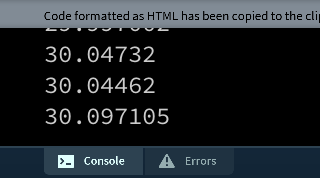
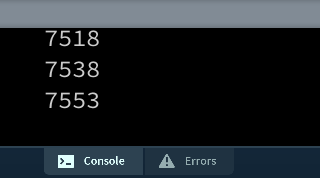
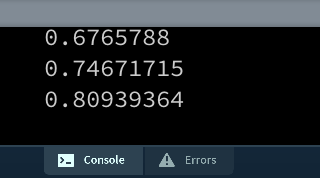
We already know that the draw() loop refreshes the Display Window at a target rate of 60 times per second, which Processing refers to as Frames Per Second (much like Adobe Animate). We can test the frame rate very easily with the environmental variable frameRate.
See the Frame Rate
PROCESSING
Example 8-1 (7-1 in 1st Ed.)
voiddraw() {
println(frameRate);
}
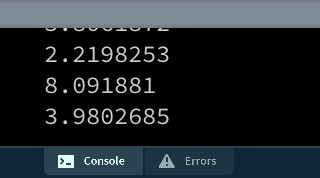
It's interesting to note that the frameRate is a target that Processing tries to achieve, and doesn't always make. If you have a sketch that's doing a lot of computational work, it's possible to not hit the target rate. You can also see from the Console that sometimes you can exceed the framerate, but usually only by a small amount.
Set the Frame Rate
Setting the frame rate to less than the default 60fps can come in handy when controlling the playback of an animation.
The human eye is theoretically capable of perceiving as low as 5fps as motion (wikipedia), but anything less than 12fps is usually perceived as jerky.
You can set the frame rate of the Display Window with frameRate(numberValue)...
PROCESSING
Example 8-2 (7-2 in 1st Ed.)
voidsetup() {
frameRate(30); // Thirty frames each second//frameRate(12); // Twelve frames each second//frameRate(2); // Two frames each second//frameRate(0.5); // One frame every two second
}
voiddraw() {
println(frameRate);
}
frameRate(30) is not the same as frameRate (you can see it in the color coding). The first is a function you can set a parameter on, and the second is a environmental variable which gives back the currently active frame rate.
There is no upper limit to the frameRate. My machine at home will go up to about 7000fps (when there's nothing going on except displaying the framerate).
Speed & Direction
Another way to control the speed of a moving object is use different values for the distance moved at each frame. So, if I move an object 1 pixel per frame at 60fps, the object will move 60 pixels every second. But Processing lets us use float values, so if I set the distance to 0.5, I can go 30 pixels in 1 second instead of 60 at 60fps.
Move A Shape
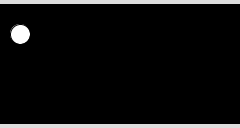
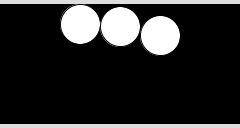
Let's move a shape at 60fps but slow it's speed by half...
PROCESSING
Example 8-3 (7-3 in 1st Ed.)
int myRadius = 40;
float xVal = -myRadius; // This puts the Pac-Man off the screen to the leftfloat mySpeed = 0.5;
voidsetup() {
size(240, 120);
ellipseMode(RADIUS);
}
voiddraw() {
background(0);
xVal += mySpeed; // Increase the value of xValarc(xVal, 60, myRadius, myRadius, 0.52, 5.76);
}
A Variation
Let's add some animation to the mouth by toggling incrementing and decrementing the mouth angle with a test for the value of the mouthTop angle to trigger the toggle.
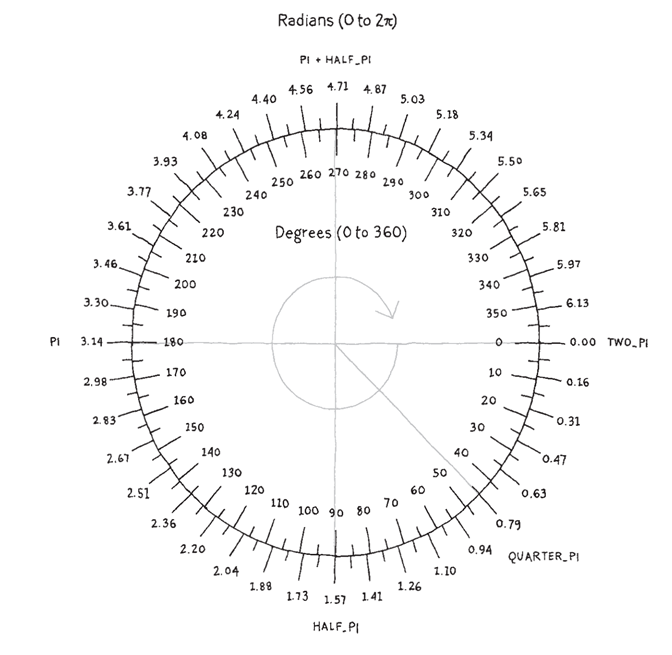
To figure out the angles, our textbook includes this lovely chart:
And it looks like we need to go from and angle starting at 0/360 (closed) to 30/330 (open).
PROCESSING
Packman 1
int myRadius = 40;
float xVal = -myRadius; // This puts the Pac-Man off the screen to the leftfloat mySpeed = 0.5;
int mouthBottom = 30;int mouthTop = 330;float toggleMouth = 2;voidsetup() {
size(240, 120);
ellipseMode(RADIUS);
}
voiddraw() {
background(0);
xVal += mySpeed; // Increase the value of xValfill(255, 255, 0);arc(xVal, 60, myRadius, myRadius, radians(mouthBottom), radians(mouthTop));
if((mouthBottom <= 0) || (mouthBottom >= 31)) {toggleMouth *= -1; // flip direction}// increment/decrement mouth anglemouthBottom += toggleMouth;mouthTop -= toggleMouth;
}
Wrap Around
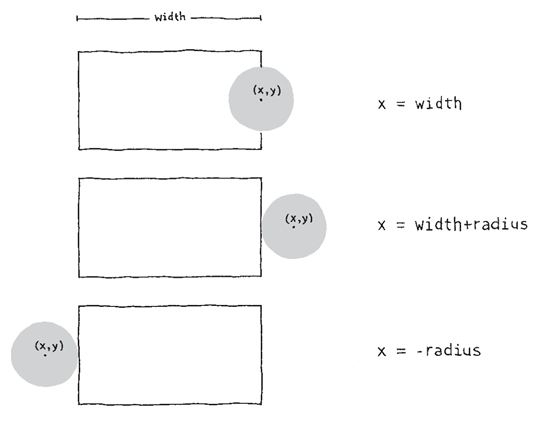
Here we'll move the little bugger and make him wrap around to the left side when he gets past the left side. What we need to test for is his x location. Since his center is his x location, we have to test to see if the center is past the width of the display window (the right edge) by his radius. When it is, we have to put him to be past the left edge, again by his radius.
PROCESSING
Example 8-4 (7-4 in 1st Ed.)
int myRadius = 40;
float xVal = -myRadius;
float mySpeed = 0.5;
voidsetup() {
size(240, 120);
ellipseMode(RADIUS);
}
voiddraw() {
background(0);
xVal += mySpeed; // Increase the value of xValif (xVal > width + myRadius) { // If the shape is off screen
xVal = -myRadius; // Move to left edge
}
arc(xVal, 60, myRadius, myRadius, radians(30), radians(330));
}
Does this remind you of anything you need to do for your animated robot?
Bounce Off The Wall
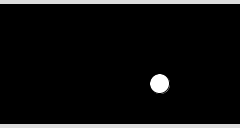
The trick here is to flip Pac-Man around. To do that we have to change the angle of the arc shape so the mouth is on the other side. Arcs are measured at a starting angle to an ending angle. The right-facing angle is 30-330, but the left facing angle isn't 210-150, which fails to draw any arc:
Also, we need to test for when Pac-Man's center (or x location) is his radius short of the display window's width when he's going to the right, and when it's his radius away from the left edge when he's going to the left.
PROCESSING
Example 8-5 (7-5 in 1st Ed.)
int myRadius = 40;
float xVal = 110;
float mySpeed = 0.5;
int myDirection = 1;
voidsetup() {
size(240, 120);
ellipseMode(RADIUS);
}
voiddraw() {
background(0);
xVal += mySpeed * myDirection; // Increase the value of xValif ((xVal > width - myRadius) || (xVal < myRadius)) {
// If the shape is off screen flip direction
myDirection = -myDirection;
}
if(myDirection == 1) {
// Face rightarc(xVal, 60, myRadius, myRadius, radians(30), radians(330));
} else {
// Face left
// Second radians of arc must be greater the the first to be visiblearc(xVal, 60, myRadius, myRadius, radians(210), radians(150+360));
}
}
Tweening
Our text demos a tweening animation somewhat superficially. This is what animation is all about, and it's what Adobe Animate excels at doing with their timeline and keyframes. But in Processing, and most other coding environments, you have to calculate the change in position in each frame and test to see when the motion is complete. This example also puts as much as possible into variables, with the intention that it can be used in multiple circumstance, resulting in different animations achieved by merely modifying the variables...
This is an important concept in coding. Make code that can be reused by simply changing the parameters but not changing the logic, so it can be used over and over in different circumstances.
Calculate Tween Positions
PROCESSING
Example 8-6 (7-6 in 1st Ed.)
int startX = 20; // Initial x coordinateint stopX = 160; // Final x coordinateint startY = 30; // Initial y coordinateint stopY = 80; // Final y coordinatefloat xVal = startX; // Current x coordinatefloat yVal = startY; // Current y coordinatefloat stepVal = 0.005; // Size of each step (0.0 to 1.0)float percentVal = 0.0; // Percentage traveled (0.0 to 1.0)voidsetup() {
size(240, 120);
}
voiddraw() {
background(0);
if (percentVal < 1.0) {
xVal = startX + ((stopX - startX) * percentVal);
yVal = startY + ((stopY - startY) * percentVal);
percentVal += stepVal;
}
ellipse(xVal, yVal, 20, 20);
}
Random
The ability to generate random numbers is a really big deal in coding. It's a fundamental way that many natural processes, like the path of an ant crawling across the floor, can be emulated in code. Processing uses a function called random() to generate random numbers. You can control the range of random numbers with parameters between the parentheses. If there's only one parameterm the function will return a value between 0 and the parameter. So...
random(10);
Could generate random floats from 0 to (but not including) 10, like 5.5595074 (it generates 7 decimal places). But if you use two parameters, it will generate values from the first parameter to the second. So...
random(5, 10);
Returns from 5.0000000 to 9.9999999.
But what if you want an integer value and not something with a bunch of decimals? Processing provides the int(floatValue) to convert the float into an integer.
This one's fun too. Pretty straight forward except that since the motion of the ellipse is accumulative (that is, it moves to a new position based on a random amount each frame) it can go past the edge of the display window. To keep that from happening, we use a new function called constrain() which resets xVal and yVal to numbers within the width and height of the Display Window.
Any interactive application works with whats known as Events. An Event can be user input from a mouse or keyboard, or it can be the passage of a specified amount of time. Most coding environments have some way of creating timed events. Processing can determine the amount of time that has passed since the sketch has been running, which can be tested and used to trigger and event.
The function millis() will give the number of milliseconds, or 1/1000th of a second. So 1000 milliseconds is equal to 1 second.
Time Passes
Here we'll just check the time...
PROCESSING
Example 8-10 (7-10 in 1st Ed.)
voiddraw() {
int myTimer = millis();
println(myTimer);
}
Triggering Timed Events
When you pair checking the milliseconds with an if statement, you can set up an event trigger.
To make it more interesting, we can set the timer test to loop by incrementing the myTime1 and myTime2 variables with the currentTime, making the sketch repeat its actions.