Vintage Labels


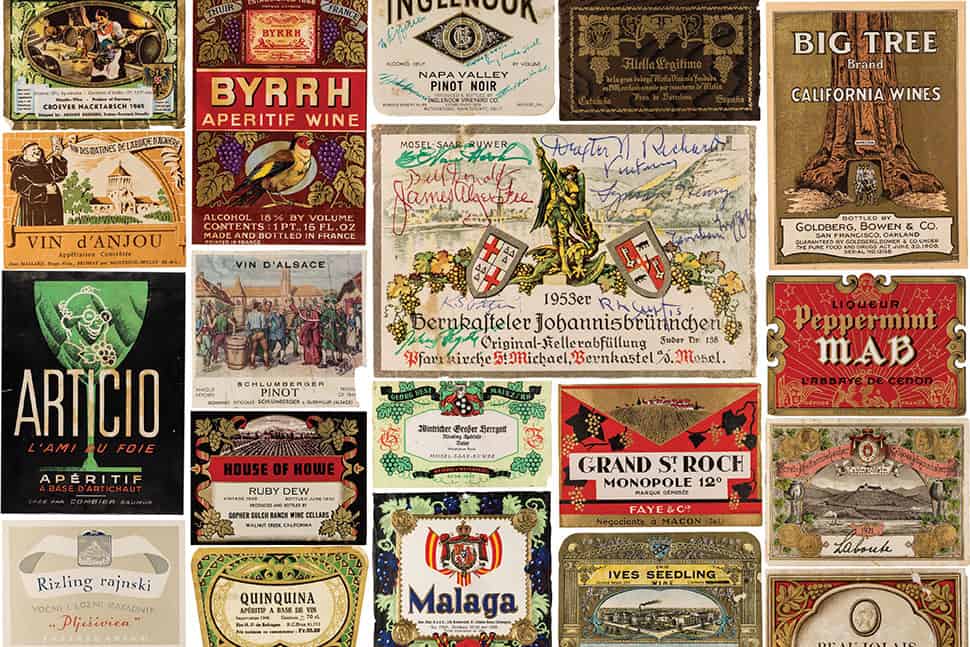

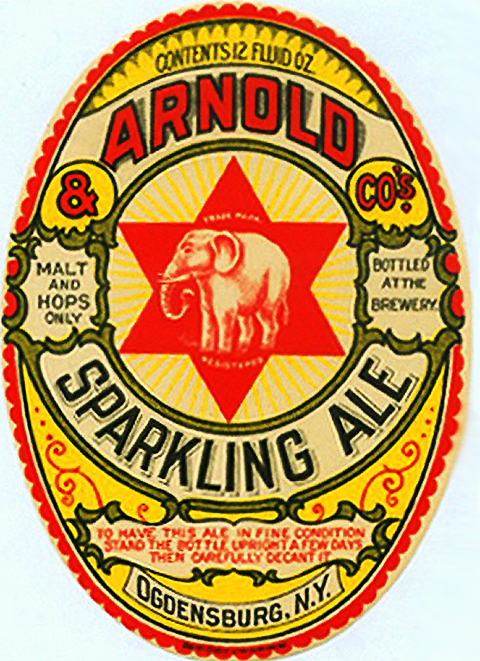
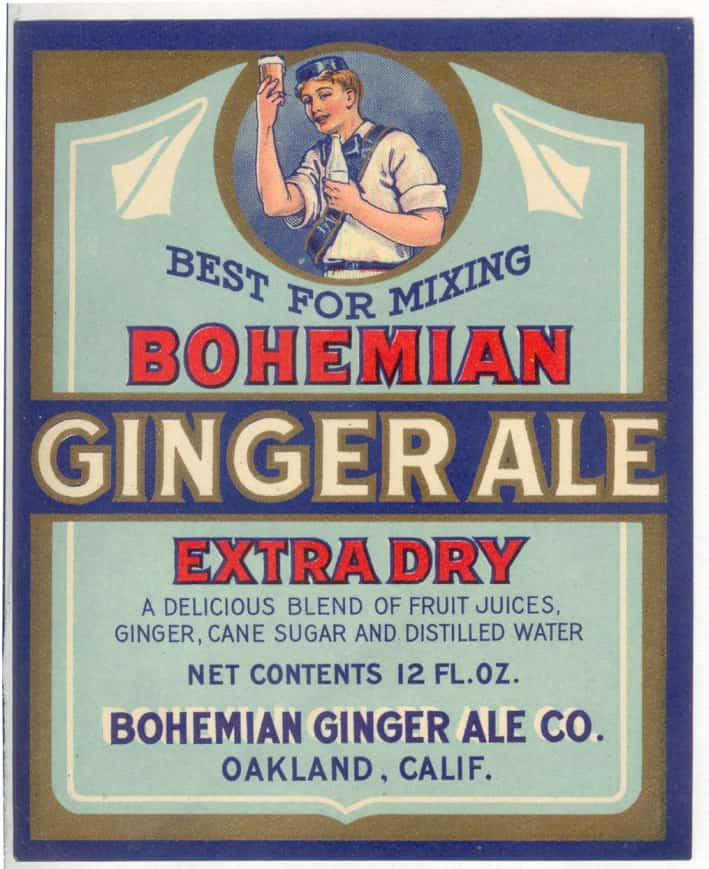
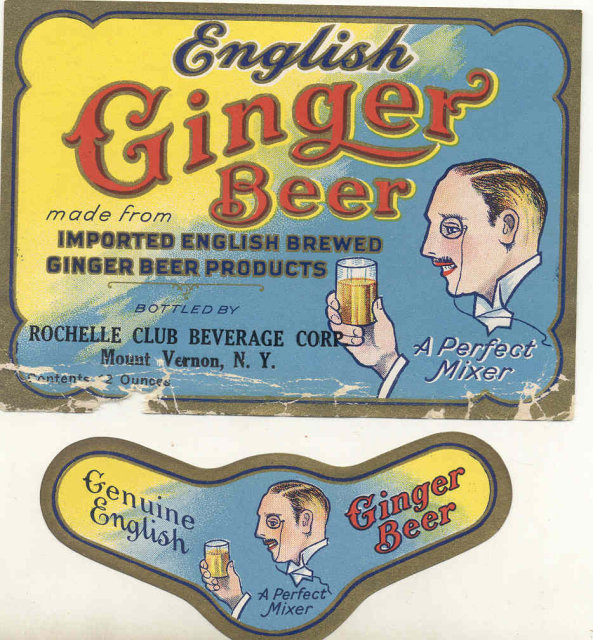

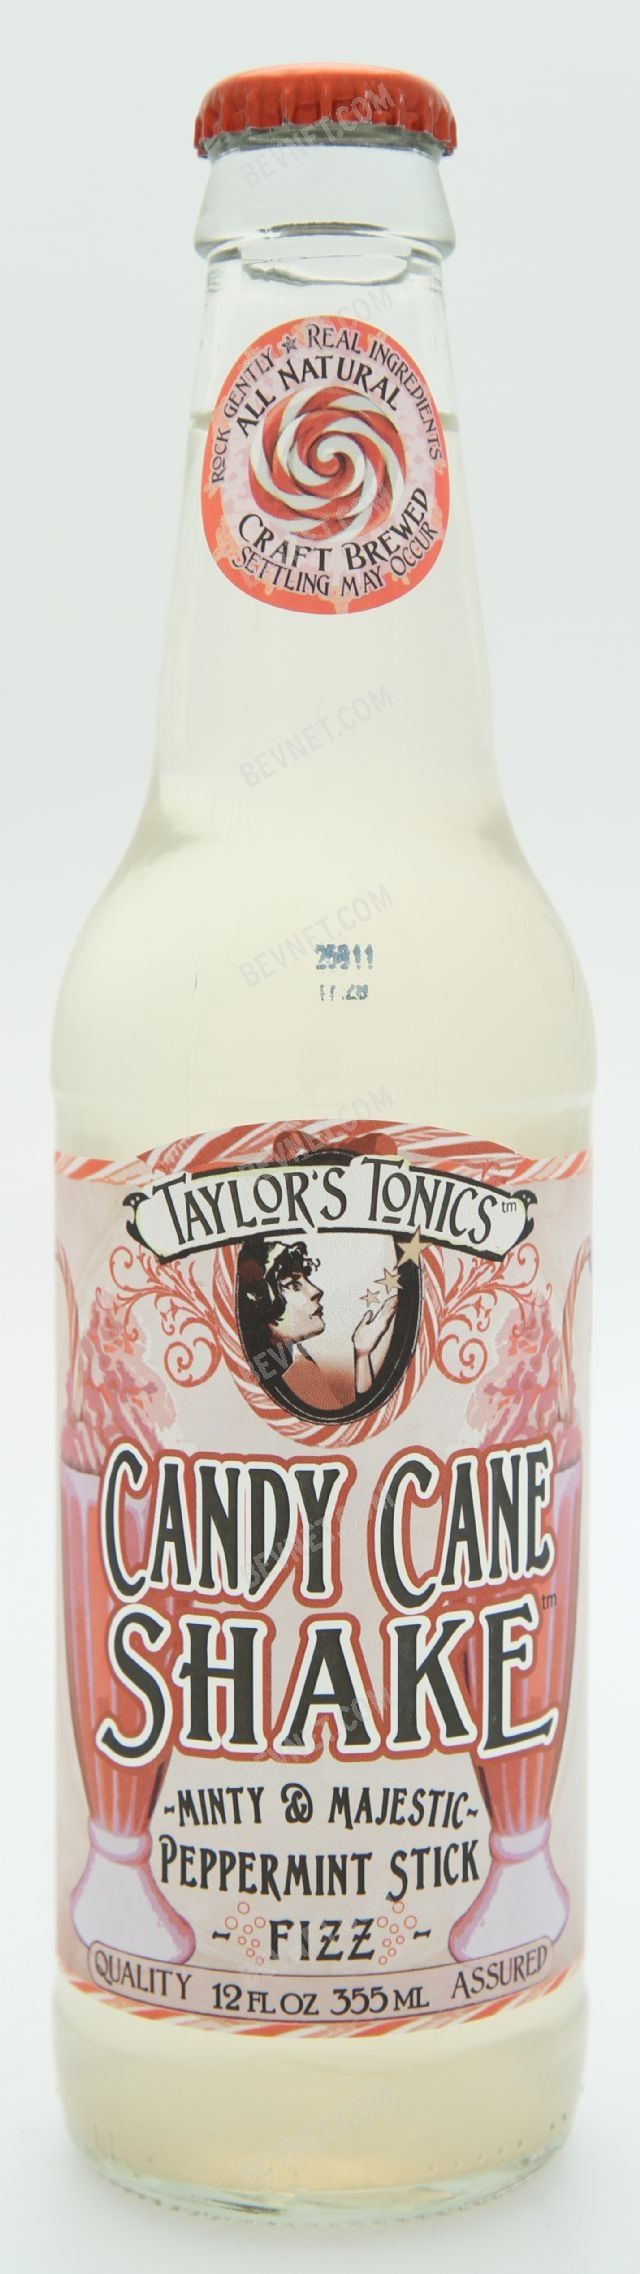
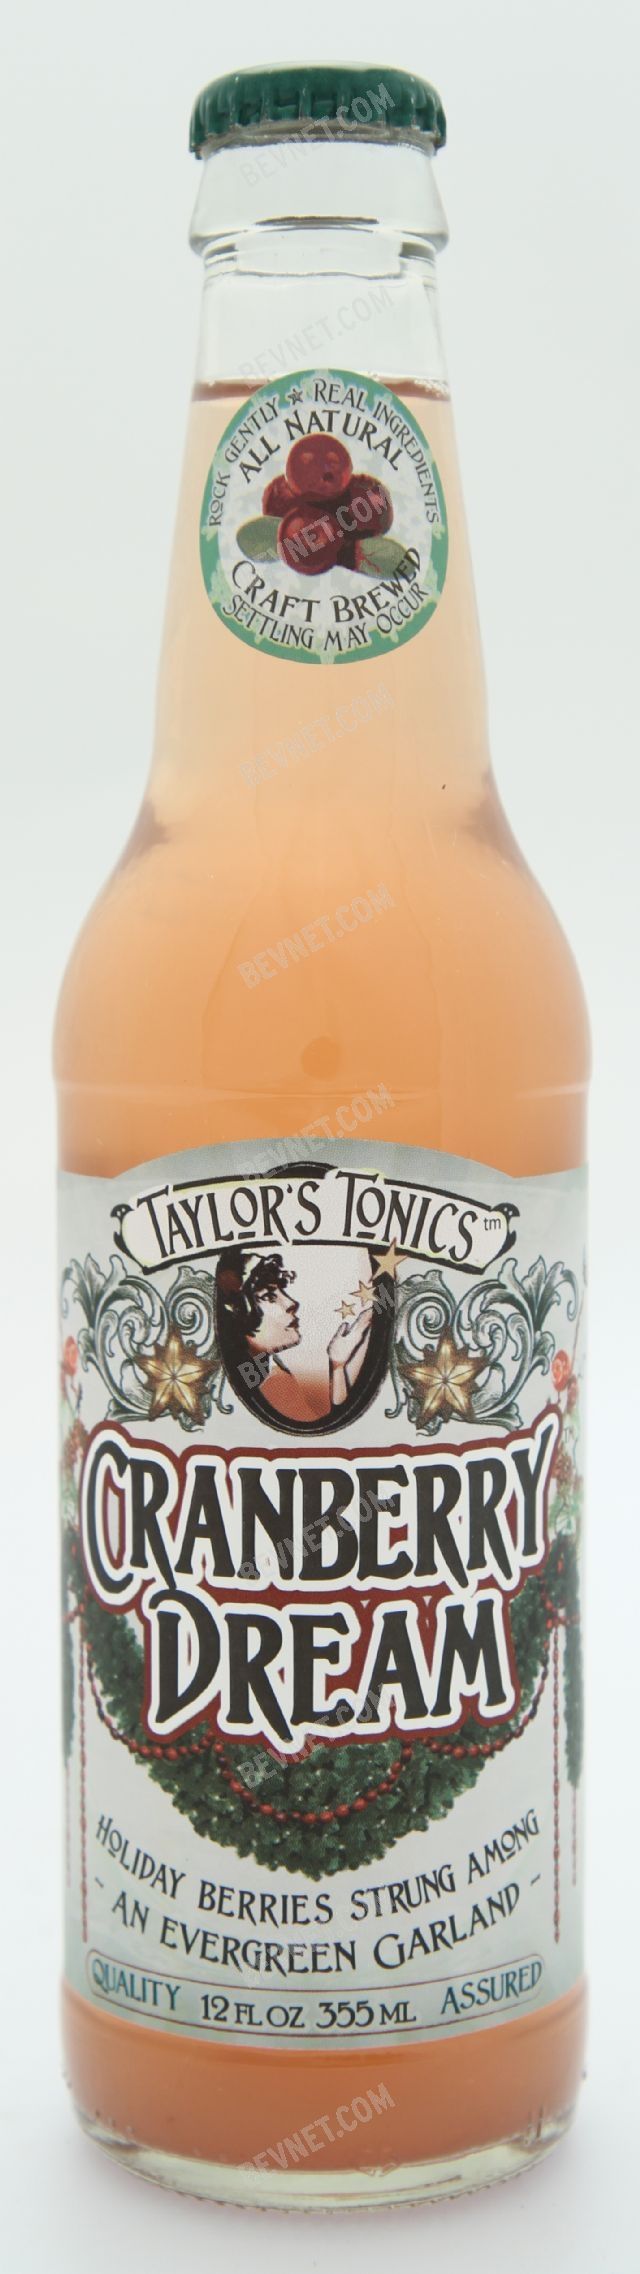
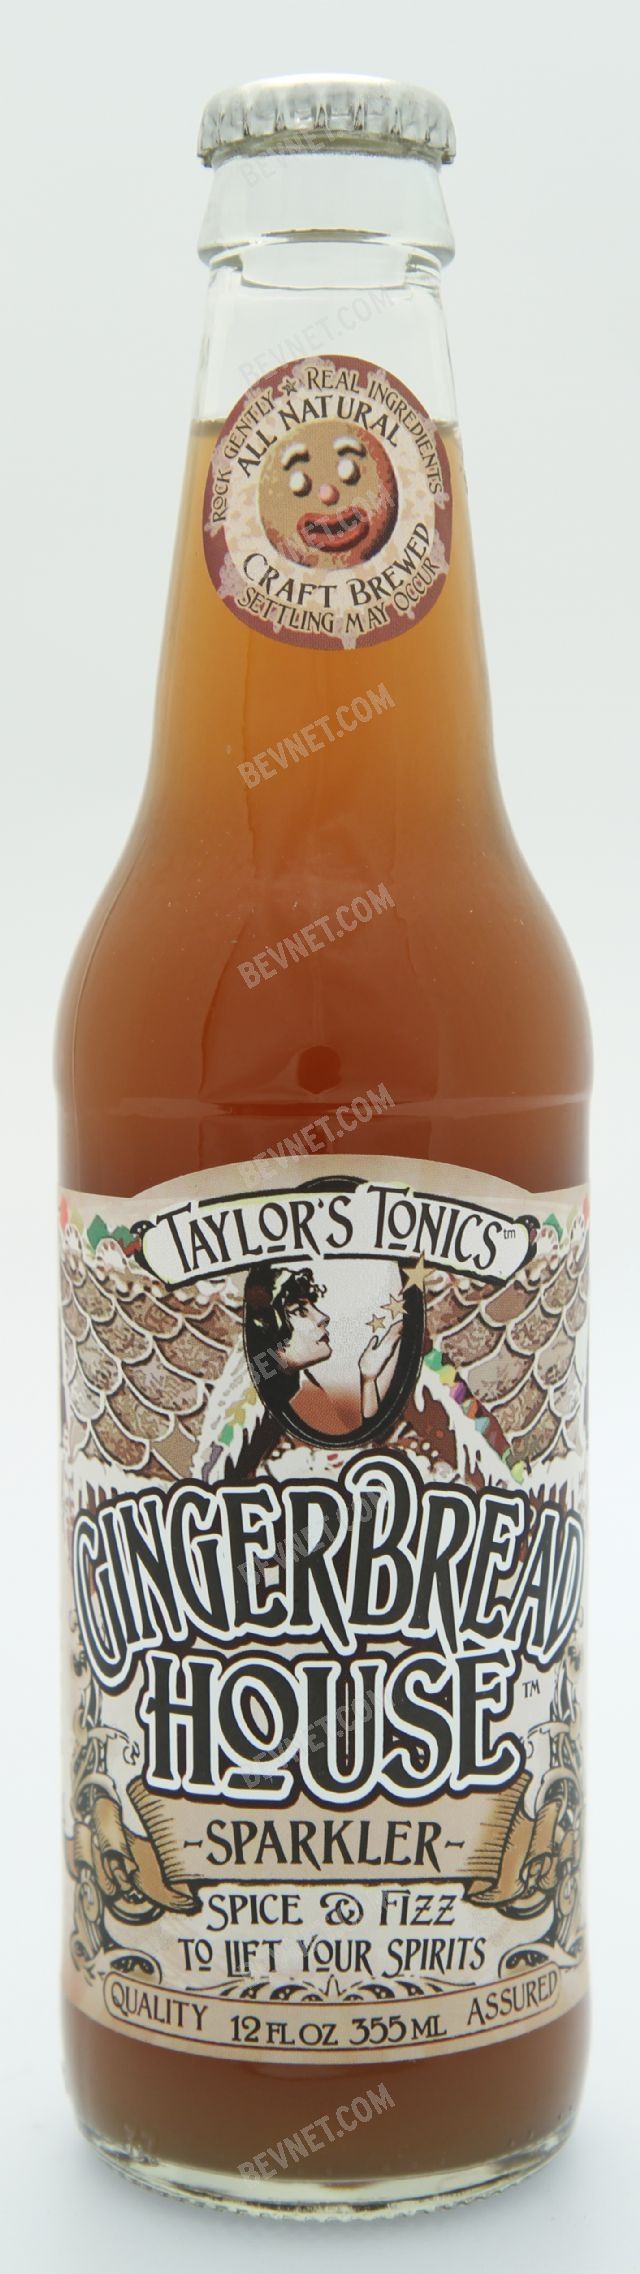



Curved sections of the neck on some bottles can be tricky. Hold your pen still with one hand and rotate the bottle with your other hand


It's handy to put the place image into a Clipping Mask and set the opacity back, then lock the layer.
You will be graded on how well you design works on your specific bottle. Keep in mind that bottles are stacked next to each other on the store shelf, so the text and artwork on the bottle must be readable from the front - don't make the mistake of wrapping your artwork too far around the bottle to be read.
CMYK represents 4 colors of ink, printed on top of each other at angles (0°, 15°, 45°, 75°) to create different colors:


Double-click a swatch in the Swatches panel for it's options dialog
Note the Color Type: Process Color
Note the Color Mode: CMYK


A word about CMYK vs. Spot color and the "Global" setting
Use the Create New Swatch menu item in the Color Panel, or the Create New Swatch button in the Swatch Panel. Set the Color panel to Show Options to view sliders.

Mix with the slider (which is kind of clunky)
Mix with the rainbow thingy in the Color Panel (also kind of clunky)
Use the Color Guide (more on this next time...)
Or use the intuitive one, HSB
Use the H S B radio buttons to pick which color aspect you want to change in the vertical bar next to the buttons
Hue selected (in Degrees out of 360°)
Saturation selected (in percent out of 100%)
Brightness selected (in percent out of 100%)

The color picker will let you choose colors that can't be printed with CMYK inks. A warning icon will appear next to the color when you pick an illegal color

We see colors with lightwaves. When white light (which contains all colors of light - remember prisms and rainbows and Newton?) hits a red colored object, that object absorbs all the non-red colors of light and reflects only the red lightwaves. Our eyes can see a set of colors in what's called the Visible Spectrum. Certain media, like CMYK printing, can only create a limited subset of all the possible colors we can see. This subset is called a "Gamut"

When you go outside the gamut that CMYK can reproduce, Illustrator will tell you with that little ! icon

This is a graph of different gamuts. Purely speaking, the real world of a color graph like this is 3 dimensional, this graph only shows one dimension. But you can see that the CMYK Gamut, the blue outline in the middle, is smaller than the RGB Gamut, which is smaller than the Visible Color Gamut.
It matters because if you do something that looks great on-screen but is out of the CMYK gamut, you'll be really disappointed when it gets printed (and your client might refuse to pay you and you could get stuck with the printing bill).
Great slide shows: Everything you know about color is wrong...


The color guide uses Harmony Rules to create color sets you can use.
Pick a Harmony Rule from the popup menu, then double-click on the left-most color tab to apply the rules.
Click on any color to apply it to the current object.

Color Harmonies: Analagous (source .ai file)

Color Harmonies: Complementary

Color Harmonies: Pentagram

Color Harmonies: Tetrad

Color Harmonies: Triad
 Color Harmonies: Shades & Tints

Recolor Sample File

Recolor Sample File
Select one of the samples

Click on the “Recolor Artwork” button in the control panel

New this year, and finally useful. It was a bear to work with before, so complex as to be nearly useless. Finally, someone at Adobe made this work. Key features:
It's so new there's not much out there yet. Here's one from Adobe

Has same set of Color Harmony rules as Illustrator, but individual colors are really easy to edit and adjust.
Sign in with Adobe ID to save color sets or do a screen capture and sample colors with eyedropper tool.
Save the color set with .

Once saved, it will show up in the Adobe Color Themes panel in Illustrator

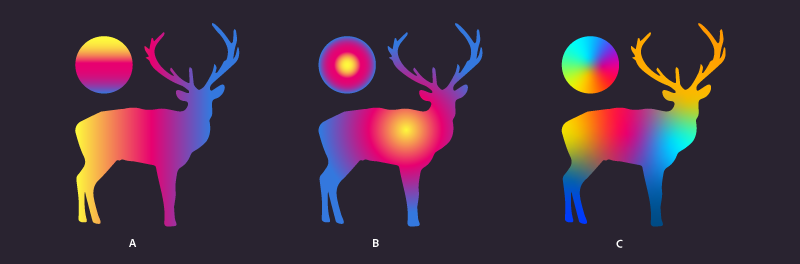

Sample File (freeform_gradient.ai.zip)
This type of gradient was really hard to do before!

Why its better to stroke a shape than scale it (sometimes) (stroke_vs_scale.ai)

Powerful, tricky to use. Not worth our time to try and figure out for the results. If you really want good 3D, use Maya. Although, you it can be useful for some things:


I have no idea why these exist. I managed to find a tutorial for a very edge-condition kind of trick, but really, who needs it?

Make crop marks for cutting a rectangle containing the selected object. Useful for preparing camera-ready artwork or cutting a printed object out.

 Sample file fx_transform-2.ai.zip
Transform... (transformed.ai.zip)

Similar functions on multiple objects as the Pathfinder Window, plus a few unique ones which only work on grouped objects:

Scalable Vector Graphics (SVG) is a method of using vector graphics on the web as a file format. Cool stuff, but it's really about the saving something in an .svg file. The filters work in that format for use on the web.


Actual SVG graphic in a browser
<img src="http://www.khazar.com/star-blur.svg" />
SVG Code for Blurry Starr
<?xml version="1.0" encoding="utf-8"?>
<!-- Generator: Adobe Illustrator 23.0.0, SVG Export Plug-In . SVG Version: 6.00 Build 0) -->
<svg
     version="1.1" id="Layer_1" xmlns="http://www.w3.org/2000/svg"
     xmlns:xlink="http://www.w3.org/1999/xlink" x="0px" y="0px"
     viewBox="0 0 100 100"
     style="enable-background:new 0 0 100 100;"
     xml:space="preserve">
    <filter id="AI_GaussianBlur_4">
        <feGaussianBlur stdDeviation="4"></feGaussianBlur>
    </filter>
    <symbol id="star" viewBox="-67.74 -64.42 135.48 128.85">
        <linearGradient
            id="SVGID_1_" gradientUnits="userSpaceOnUse"
            x1="0" y1="55.6988"
            x2="7.294410e-15" y2="-63.428">
            <stop offset="0" style="stop-color:#F9ED32"/>
            <stop offset="1" style="stop-color:#BE1E2D"/>
        </linearGradient>
        <polygon
            style="fill:url(#SVGID_1_);
                  stroke:#2E3192;
                  stroke-width:5;
                  stroke-miterlimit:10;"
                  points="0,56.42 14.31,12.9 60.13,12.74 23.16,-14.33 37.16,-57.95 0,
                  -31.15 -37.16, -57.95 -23.16,-14.33 -60.13,12.74 -14.31,12.9 "/>
     </symbol>
     <use xlink:href="#star"
          width="135.48" height="128.85"
          x="-67.74" y="-64.42"
          transform="matrix(0.6147 0 0 -0.6147 50 49.5171)"
          style="overflow:visible;
                filter:url(#AI_GaussianBlur_4);"/>
</svg>
Use the Warp Effects under Menu > Effect > Warp... or in the Appearance Panel's Fx popup menu

Hint: Hide Edges first with Menu > View > Hide Edges


