Procreate Users

For some reason, even if you name your Procreate file in the Finder or Windows Explorer, it opens in Procreate on the iPad with its original name, often something like "Player of Games" or "Untitled Artwork". Please name your Procreate Documents in the Canvas Information section of Procreates Actions menu.

Under the Canvas Information section there is a spot to add your name. Please do so so I can give the grade to the appropriate person.
Things Escaping Demo
Zipped Source
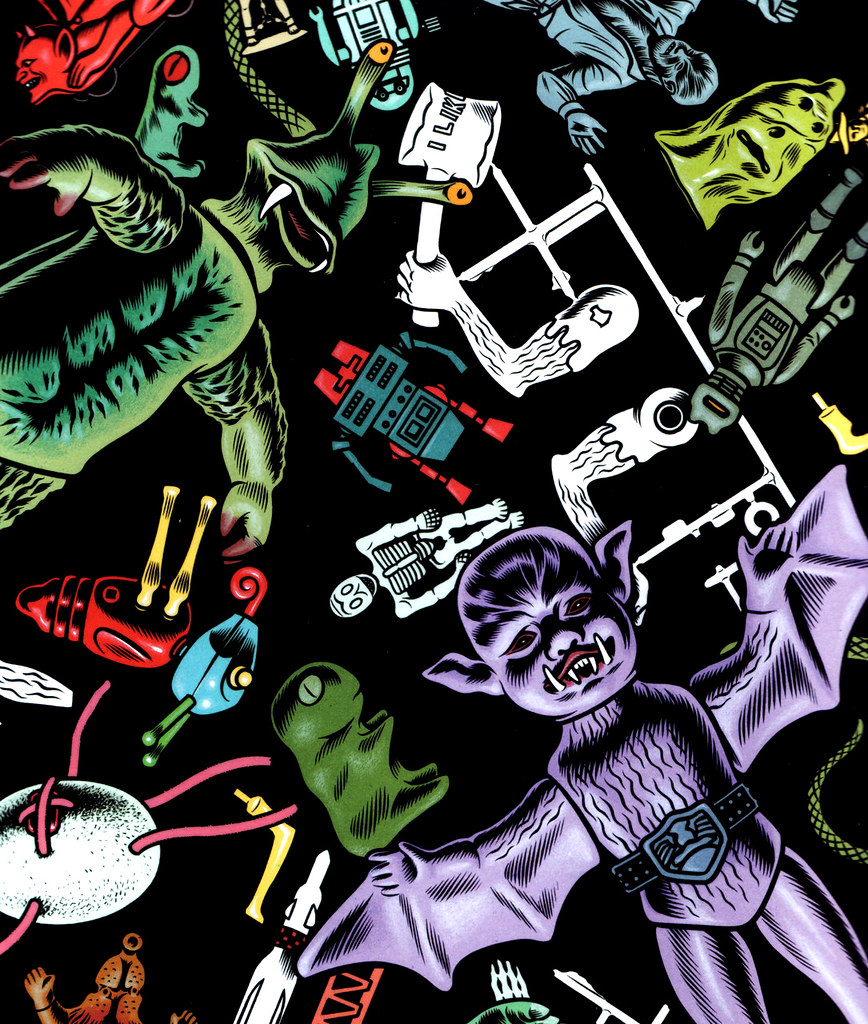
While I started this pen and ink drawing in Corel Painter, it's essentially the same thing I would have done in Photoshop. Still not complete, but getting there. Here are the steps...

I designed the project to be 1856px by 3000px, 200ppi (different than yours). I wanted a cube with things flying out of it, so I first created a cube with three point perspective in Adobe Illustrator (here's the things_cube.ai
file).
The trick with this is creating a circle bigger than the artboard and positioning vanishing points on it. Then you create lines from the vanishing points that you move with the Direct Selection tool, keeping the source anchor point stable at the vanishing point and only moving the anchor at the opposite end. This creates perspective lines for the edges of the cube.

This is the area of the artboard in Illustrator with the completed cube. I printed this out so I could draw my things
on paper...

This is a scan of the hand-drawn things drawn on the printout.

This is a correctly size Photoshop doc (1856x3000) with the scan placed in the doc and sized appropriately.

The Scan is at the bottom of the layers, then there's a white filled layer above it that's set to 50% opacity to tint back the scan.
Finally, a new layer is made to hold the outline trace with a fine brush of the things

This is the things
outline layer on its own (over a white background).


Then I created several layers to create the occlusion of the cube and things.


On a new layer, Shade Things,
I did the cross-hatching for the cube and things.


I found two source images on the web. One for a cloudy sky, another for an ocean surface. I put them together and sized them appropriately for the doc, and turned the sky to the right gray value with a trick layer of a black to white gradient set to Screened overlay at 42%.


Artwork in place to draw tic-hatching

Final Version ( 2022things.psd )