Description
Design three posters for one event. Create sketches first.
STEP 1
Select Poster's Theme: Select a public event, for example, an Arbor Day celebration, Zombie Walk, or First Night (a city celebrating New Year's Eve with a huge variety of family and cultural events). (Next Time: Be sure to include information about where and when your event will be held.)
STEP 2
Design Three Versions: Design a poster to promote the event in three different ways:
- Design a poster (version A) using type only
- Design another poster (version B) with a visual as the dominant graphic element and the type as the secondary graphic element
- Design a third poster (version C) with the type as the dominant element and the visual as secondary
- Produce at least ten sketches for each version before going to the rough stage. That's 30 sketches total.
- Create two roughs for each design problem. That's 6 roughs total.
STEP 3
- Refine the roughs and create one comp per poster
- Use black and white or full color
RULES
- You may not use any hand-drawn fonts in the comps!
- You may not use hand-drawn images in the comps! Use iStock or Google Images for all your image content.
- Sketches and roughs must be done with a black pen. No pencils unless you can draw with it really dark.
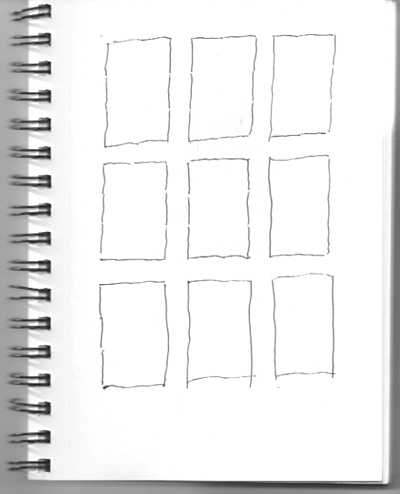
- All 30 sketches and 6 roughs must be in a correctly proportioned rectangle (2 wide by 3 high). Rough's frames should be measured and drawn with a ruler.
- The all-typography poster can't have any images or non-typographic elements in it except for rules and other geometric elements (rectangles and ellipses). Even type that looks like something other than the letter it represents is not permitted.
Reminders:
- Thumbs and roughs are not optional
- Thumbs and roughs must have enclosing rects around them at approximately the right aspect ratio
- Use a ruler for the frame of the roughs
HINTS
- For the all-typography poster, think big, bold, typography. Treat the type as a pictorial element. Be playful with size, kerning, and spacing. Check out Paula Scher's all typography posters for inspiration.
- For the thumbnails and roughs, leave room around each one when you draw the 2 by 3 rect. This will give you more space to "think outside the box"
- To draw out a 2 by 3 rectangle, draw two line segments of equal length horizontally, the three of the same length vertically to get the approximate aspect ration