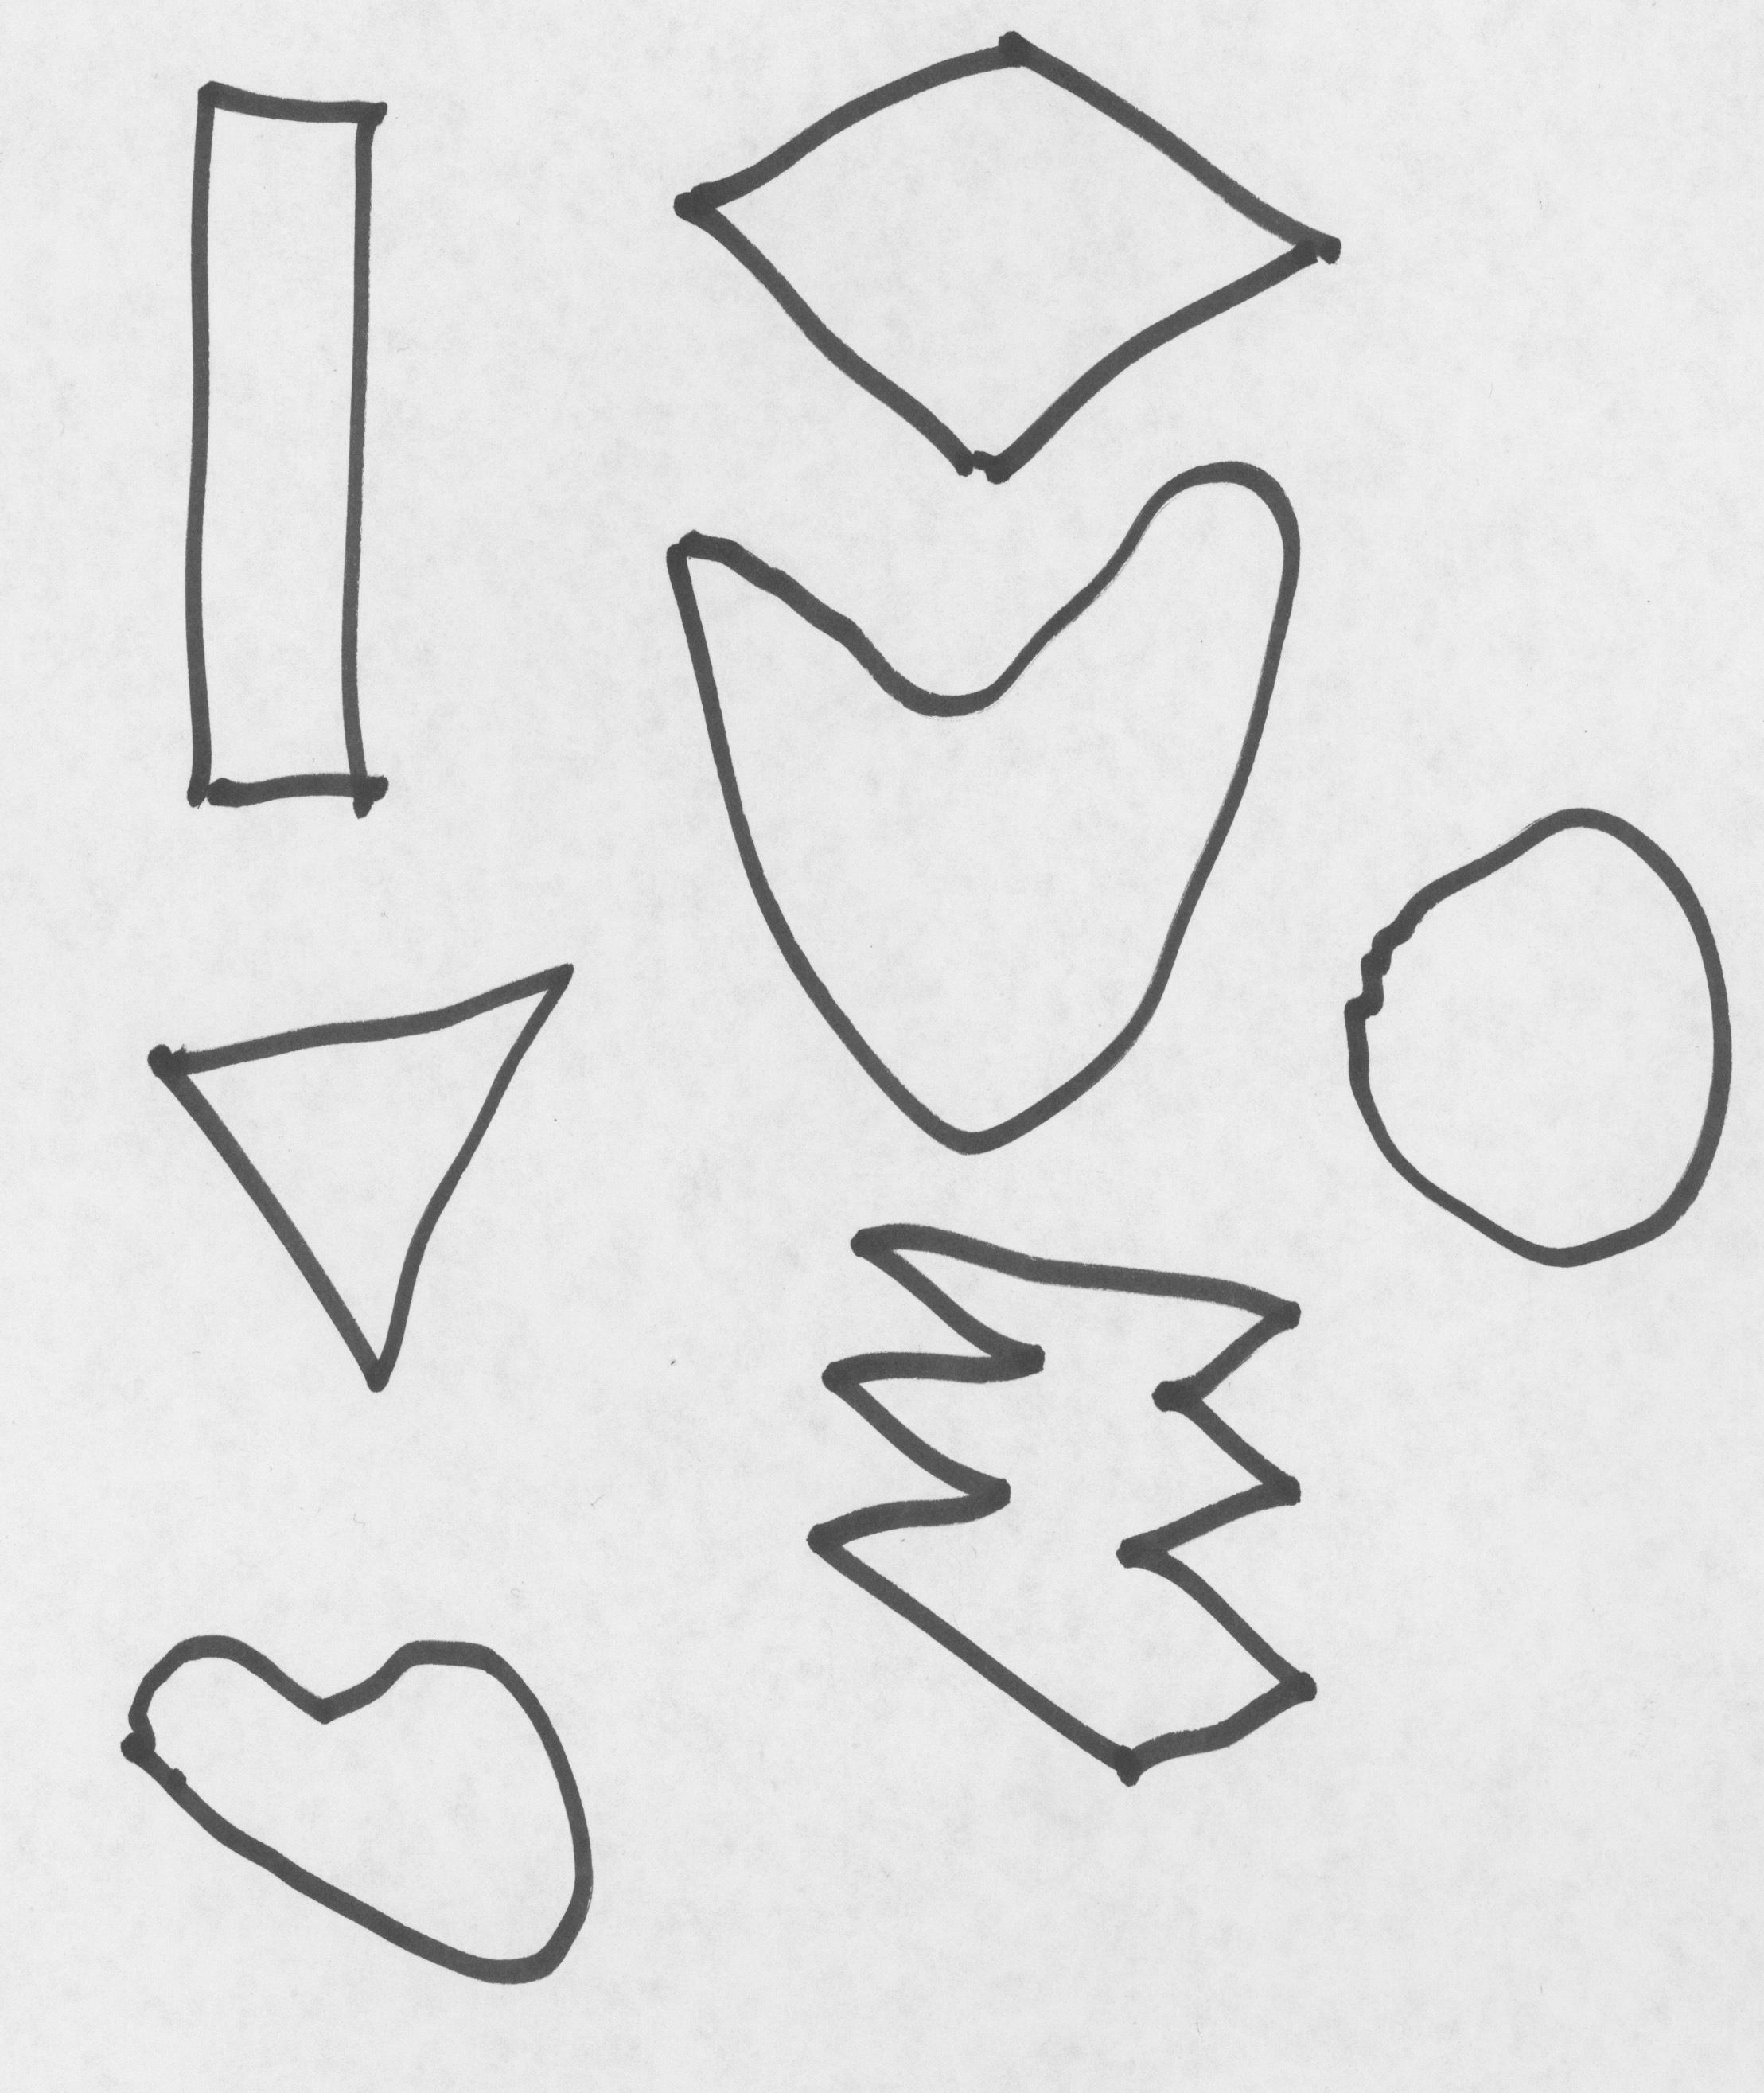
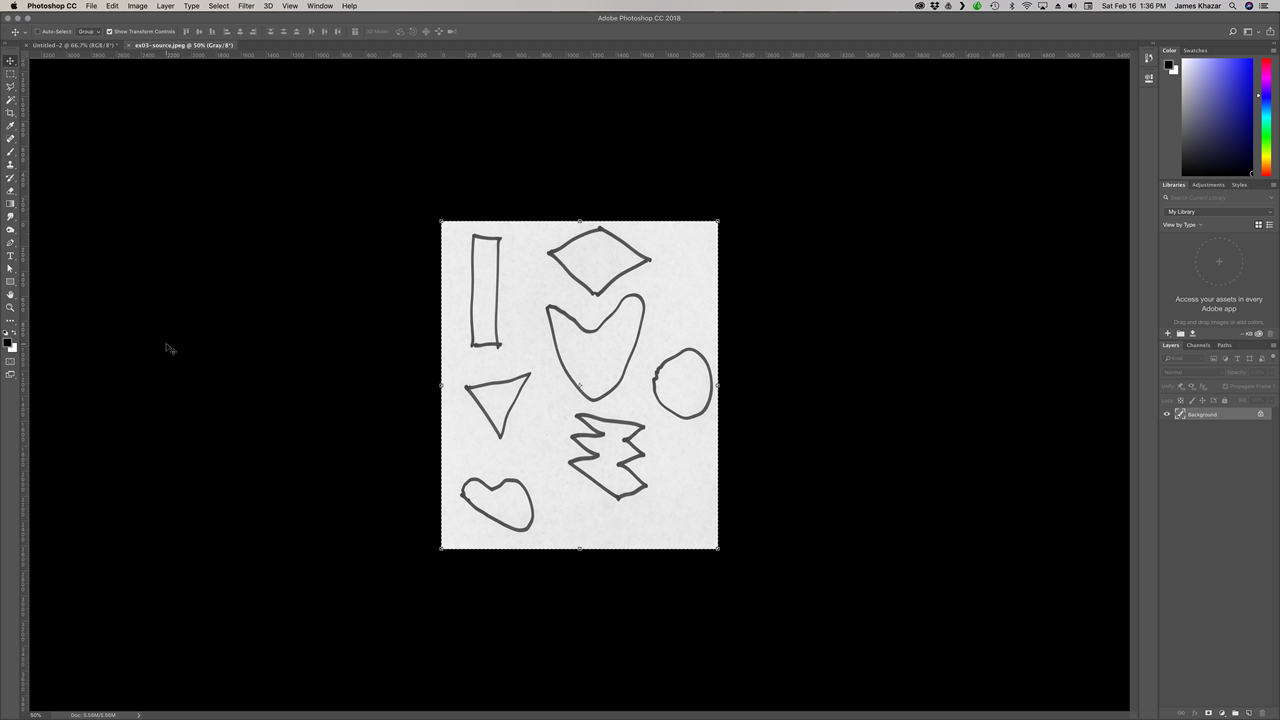
- Draw seven shapes in your sketch book*.
- They should exist nicely inside an 8x10 inch rectangle.
- They should be unfilled (just white) with a heavy black outline.
- Scan them in as a bitmap file and open the image in Photoshop.
- Scanmode: Flatbed
- Kind: Color
- Colors: Millions (watch out for Billions)
- Resolution: 300dpi
- Size: Leave blank. Controlled by selection rectangle
- Scan To: Desktop (or wherever you know you can find it again)
- Name: Your Initials or whatever you want that's unique to you
- Everything else leave alone
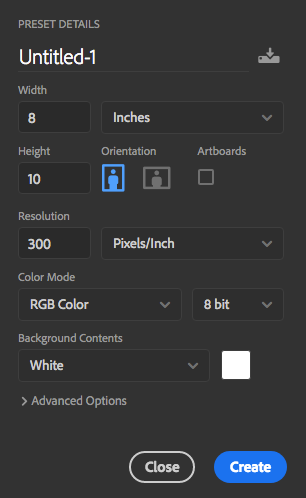
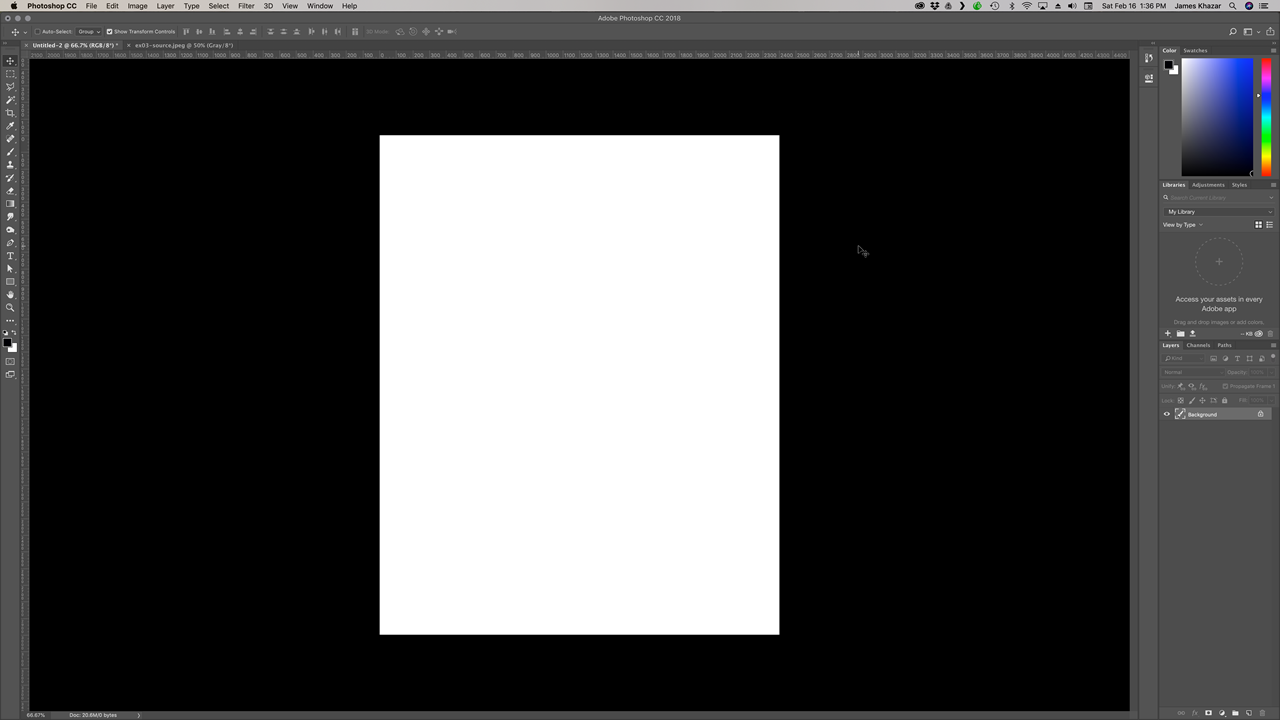
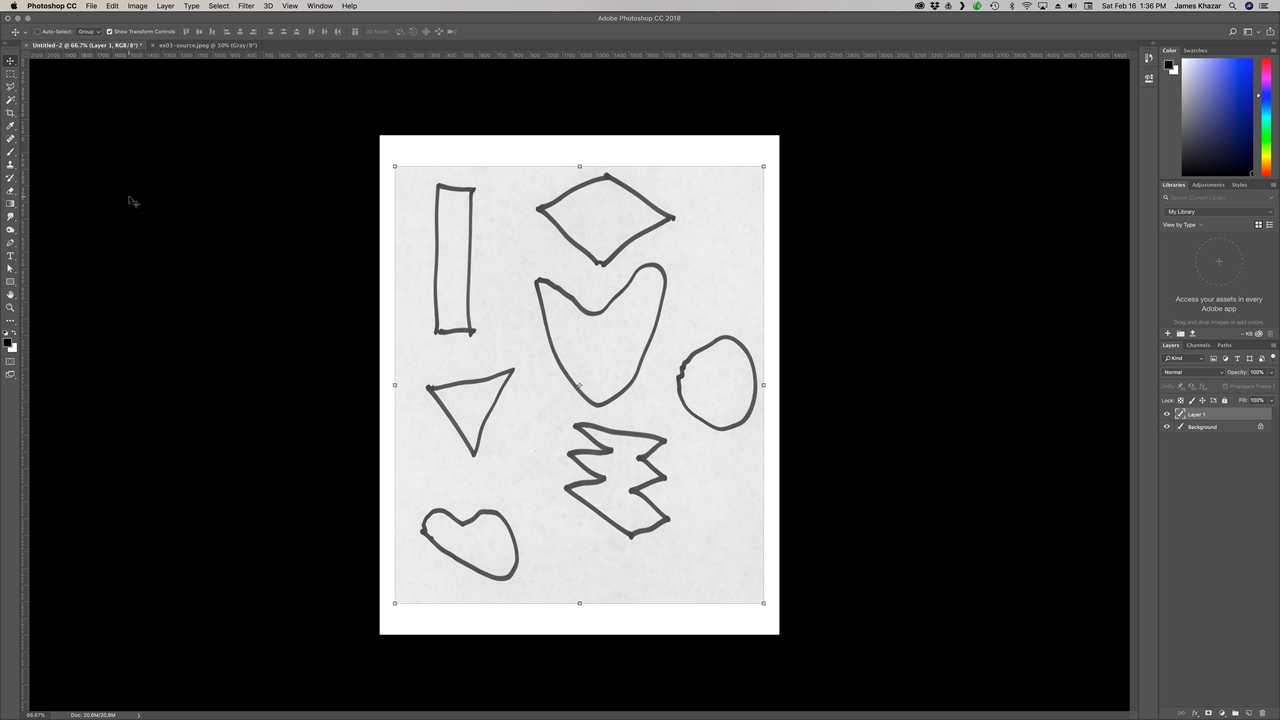
- In Photoshop, create a new image that's 8in by 10in by 300 pixels/inch.
- Open your scanned image in Photoshop
- Choose Menu > Select > All.
- Choose Menu > Copy
- Switch to the new Photoshop document you just created and paste the copied image into it.
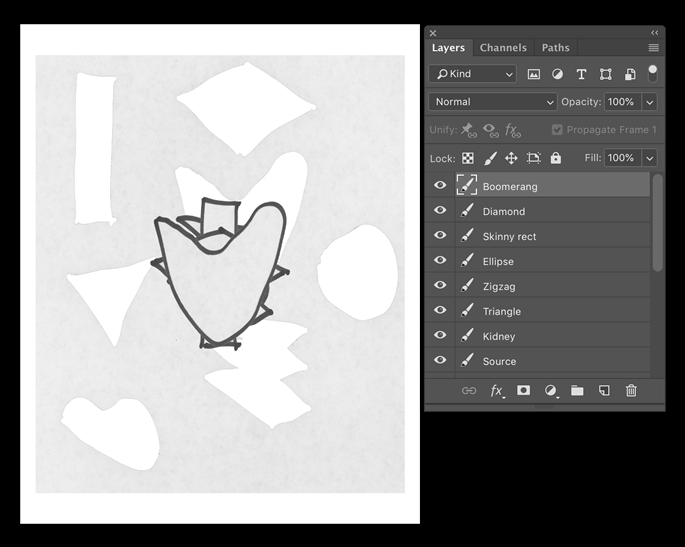
- Cut out each of the 7 objects and paste them into separate layers.
- Name the layers for easy identification
- Delete the Source layer with the cutouts made to it.
- Save this version as a separate file (lastnamefirstinitial_ex03-source.psd) to use for the 6 versions you're going to make.
- Use color on some or all of the layered shapes. Change size and rotation as needed.
- Create a distance visual hierarchy with the seven shapes. In other words, determine which shape is perceived first, second, third, and so on.
- Save the layout with a new name (lastnmenfirstinitial_ex03-01.psd) as one version.
- Create 6 versions. Compress them in a single folder called lastnamefirstinitial_ex03.zip
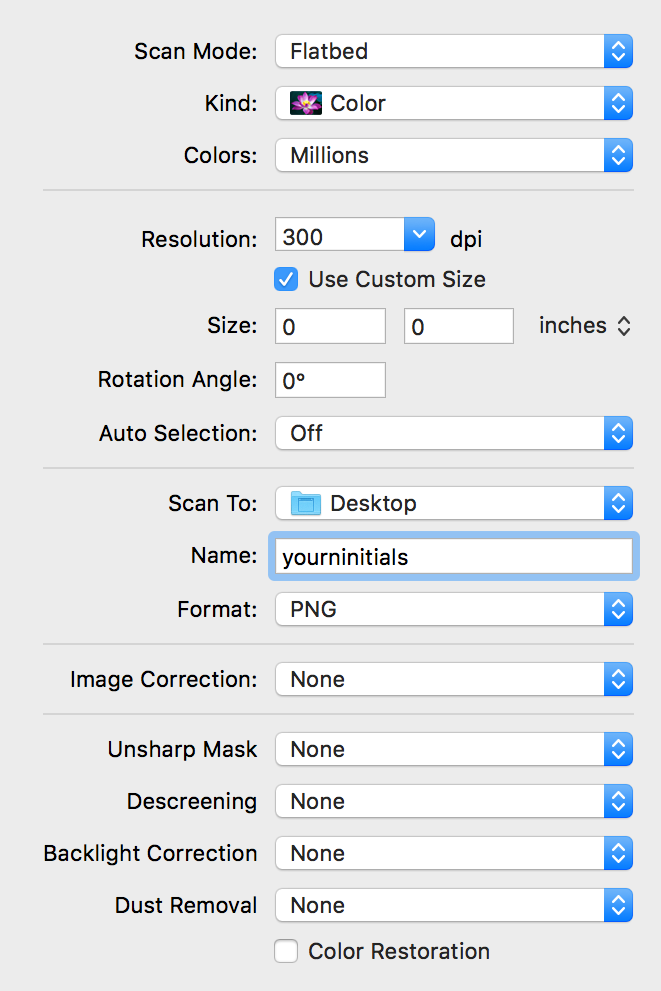
Settings:
There are at least two ways to do this.
The Polygonal Lasso ToolUse it like a pair of scissors
The Magic Wand ToolClick inside the shape to select it, but make sure the Tolerance is set to a high value, like 64. This technique requires strong contrast between the white of the paper and the black of the outlines.
Positioning, Scaling, Rotating and Colorizing Shapes
Position, Scale and Rotate with the Move tool.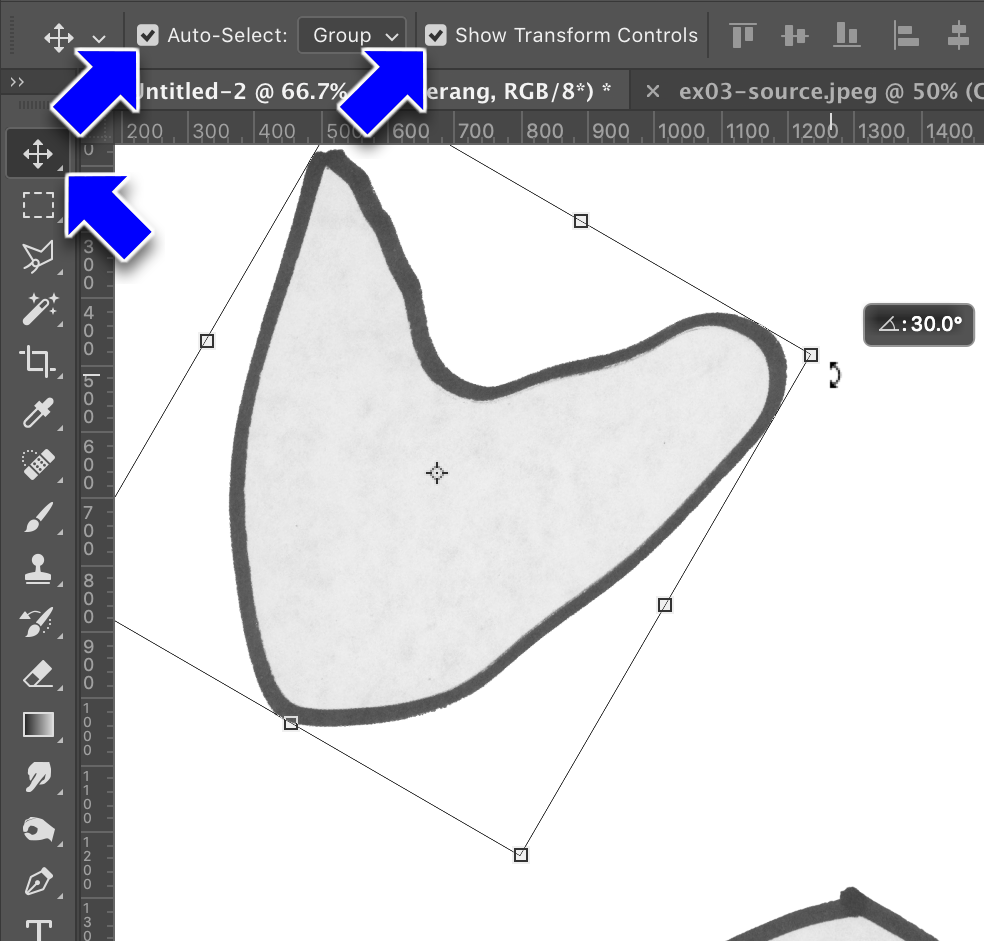
Make sureAuto SelectandShow Transform Controlsare checked on in the Control Panel at the top of the app.Colorize the shapes with Menu > Image > Adjustments > Hue/Saturation...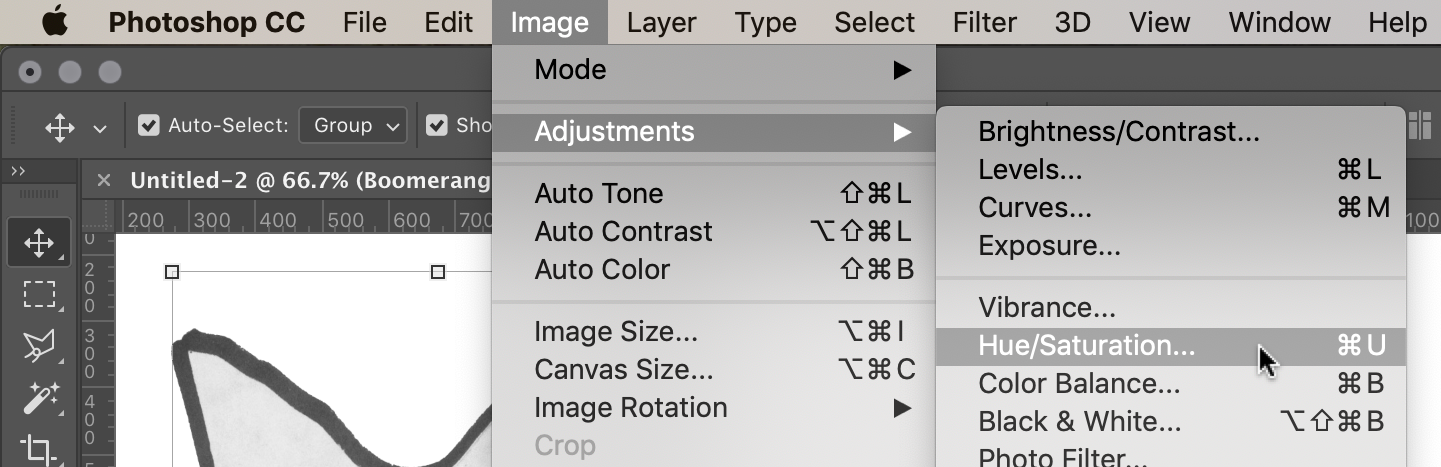
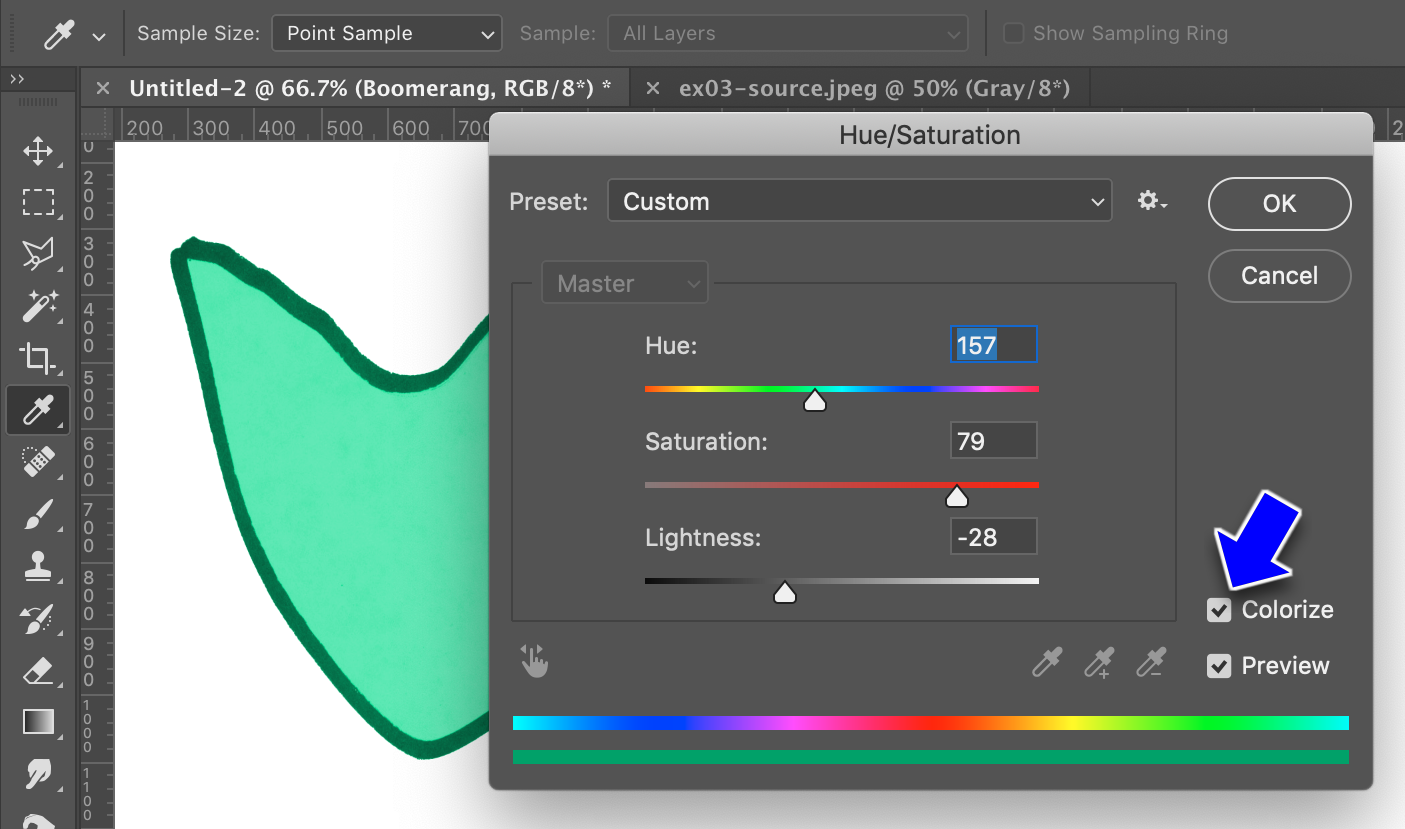
Make sureColorizeis checked on, then use the Hue, Saturation, and Lightness sliders to change the color of the object. You may have to set the lightness down before you do anything else to see the effect of the sliders.