Class 16

Lessons learned from the Brochure Project

CIAB Setup

Basic CIAB Doc

Version 00

CIAB Fonts

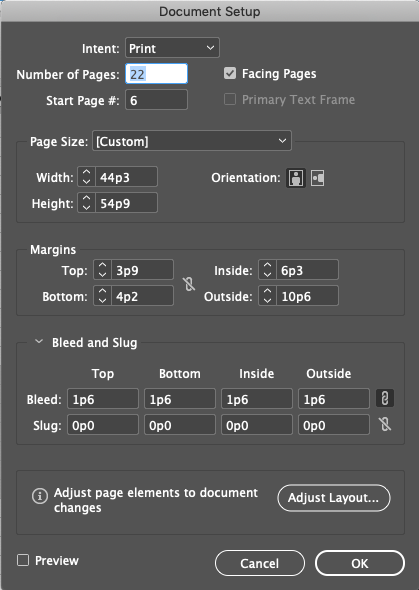
Doc Settings

Margin: Inside: 6p3 is slightly different than before!

Set the start page to page 6 to match our project

CIAB Master Chapter Title Page
Settings:
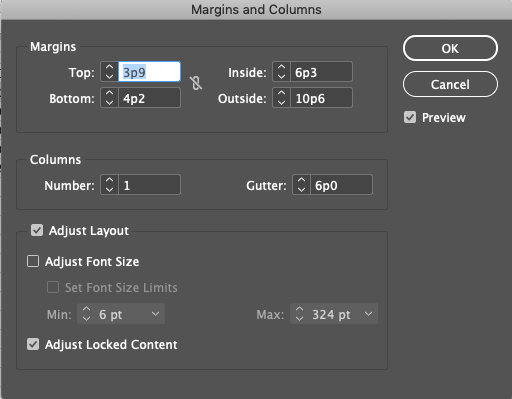
Inside Margin was 6p0, but 6p3 works much better

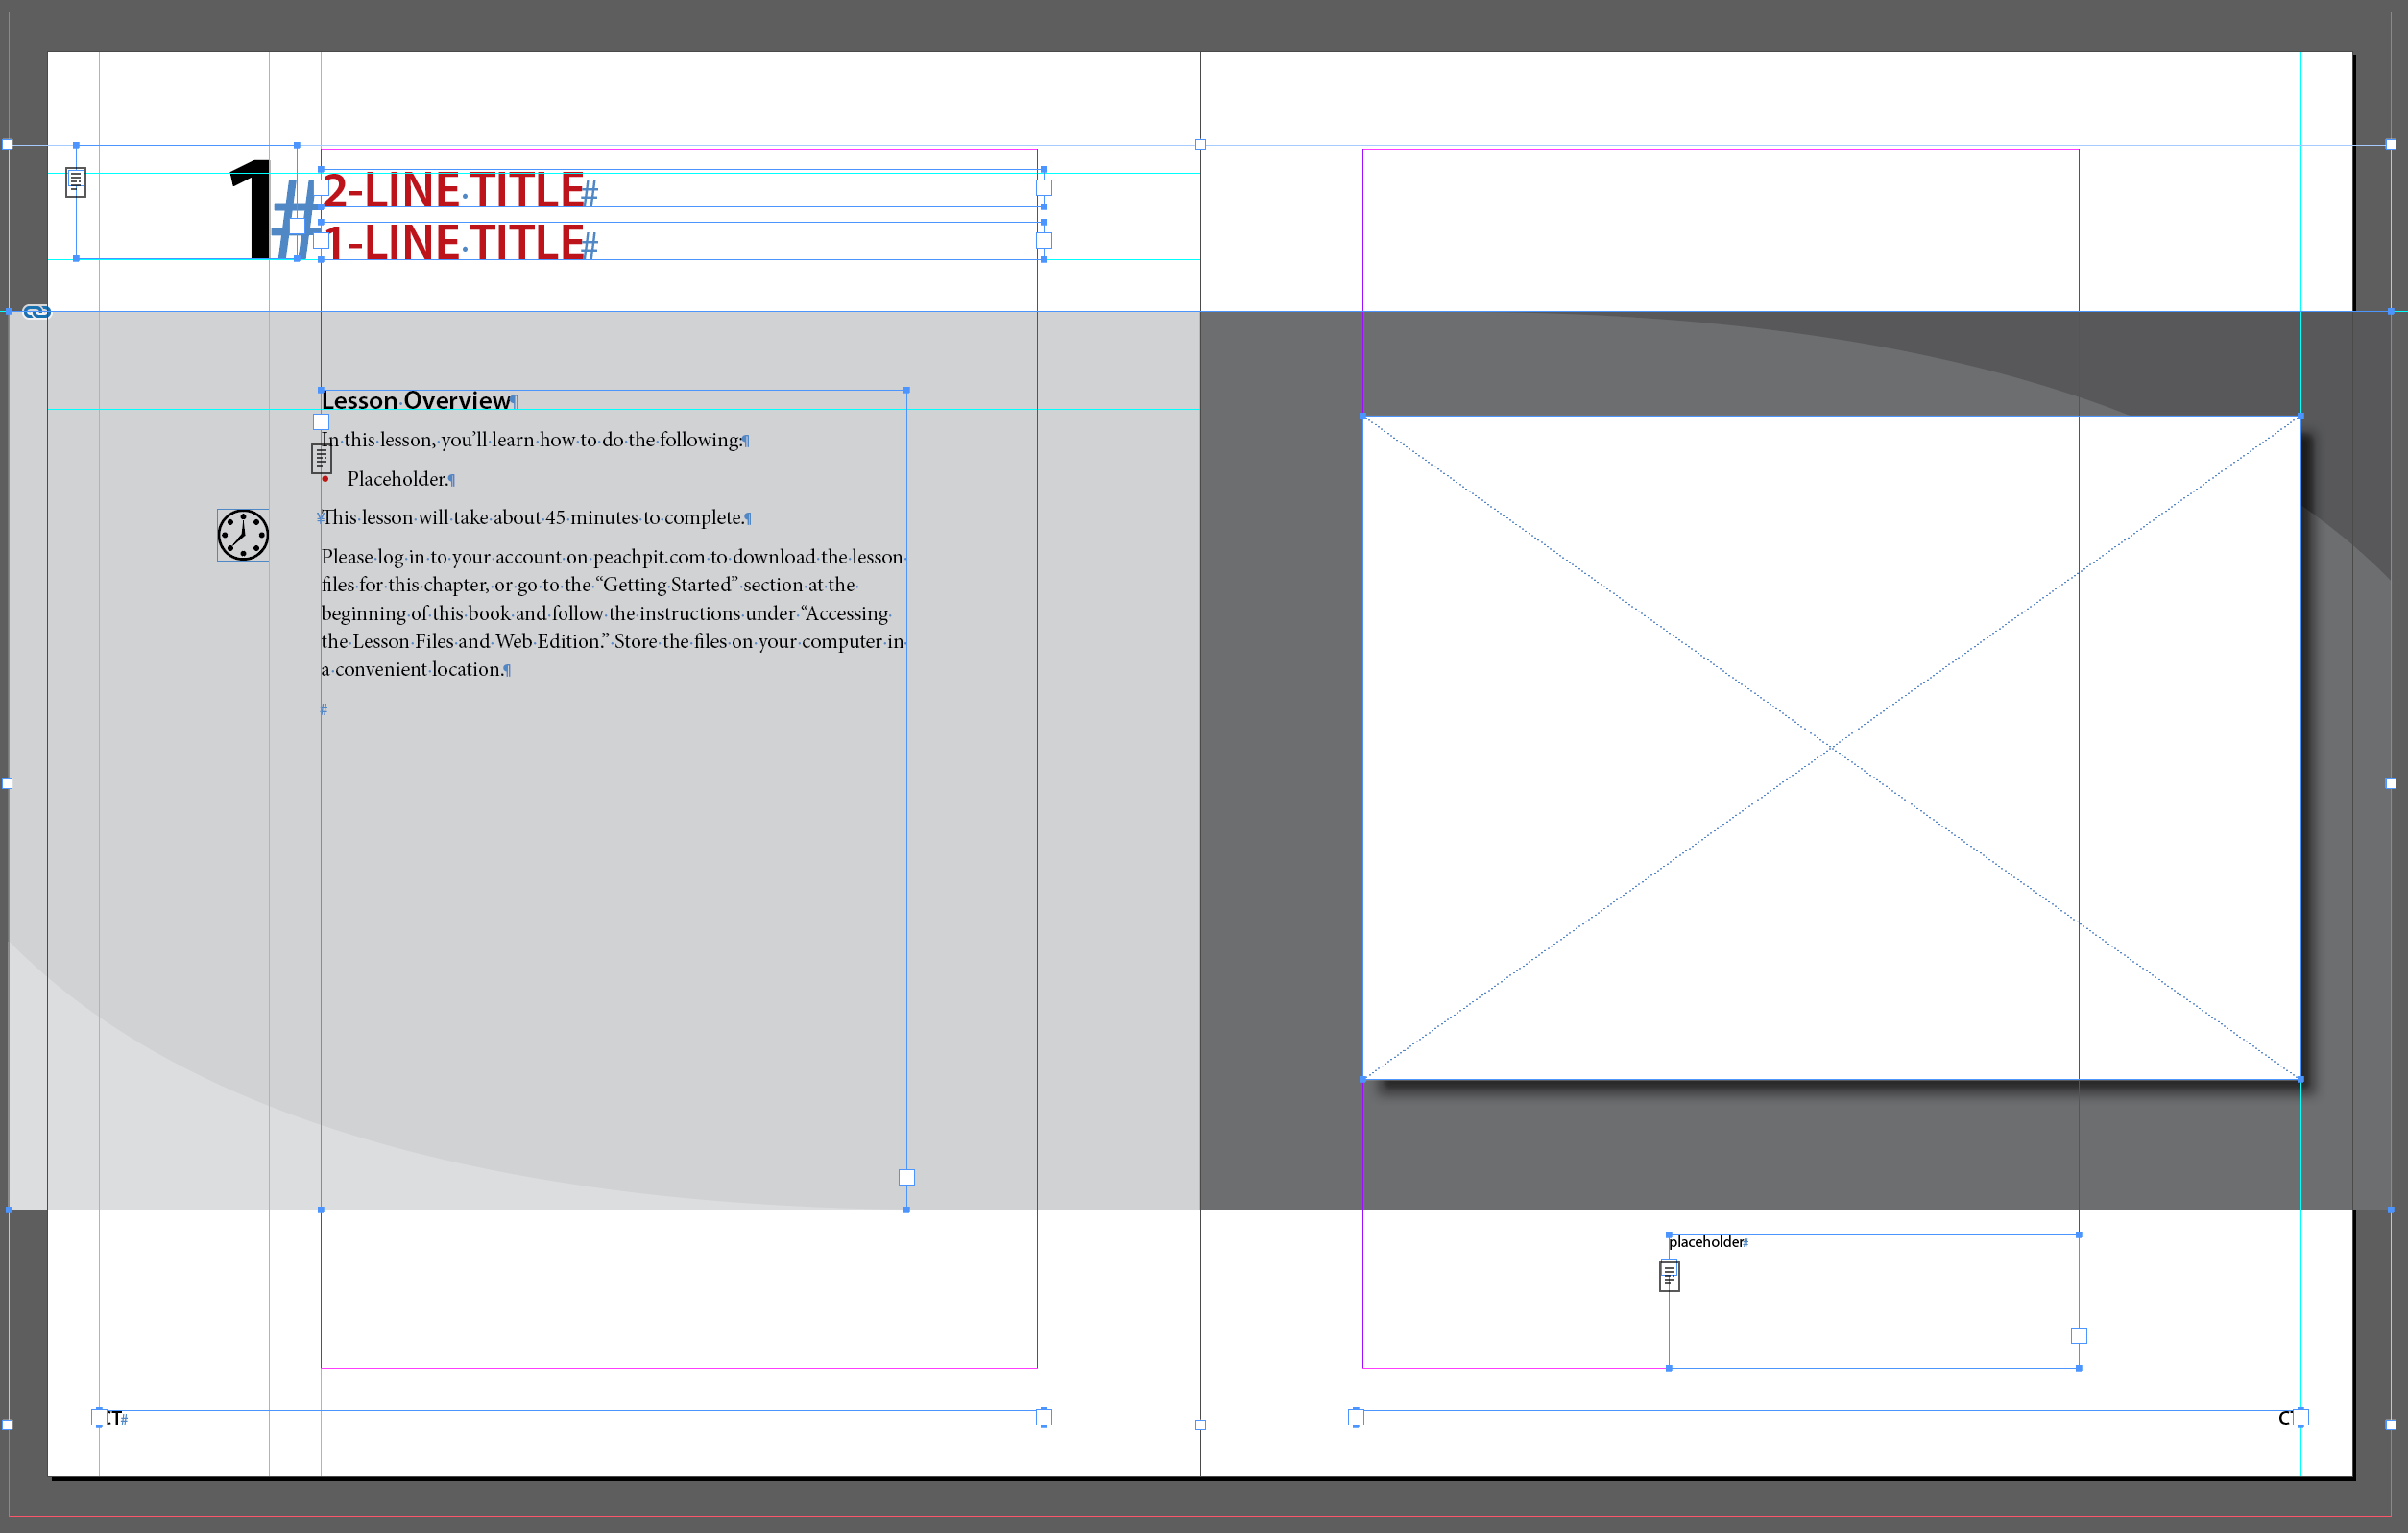
Placeholders for
  • Chapter number
  • Two separate lines of text for the title
  • Lesson Overview text, but with only one bullet. Note that this is not as wide as the column, it's actually 22p6, and not 27p6
  • Anchored clock graphic
  • Background image across two pages
  • Rectangular Frame (filled with white, no border) for image with drop shadow
  • Left and Right page numbers (different text than the rest of the chapter, just numbers)
Guides
  • Vertical @ 2p0
  • Vertical @ 8p6
  • Vertical @ 10p6
  • Vertical @ 86p6
  • Horizontal @ 4p8
  • Horizontal @ 8p0
  • Horizontal @ 10p0 (cross both pages)
  • Horizontal @ 13p0
  • Horizontal @ 52p9 (cross both pages)
Character Styles for
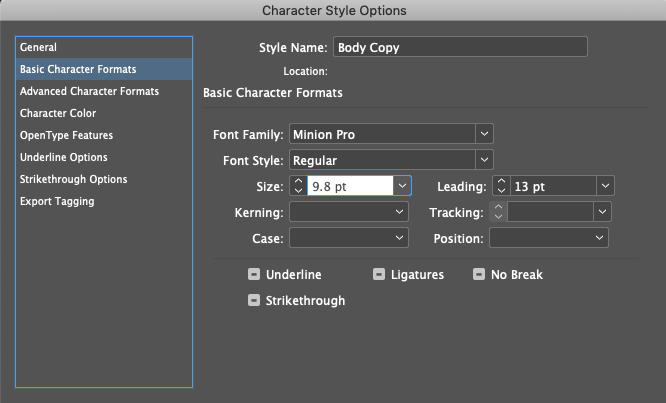
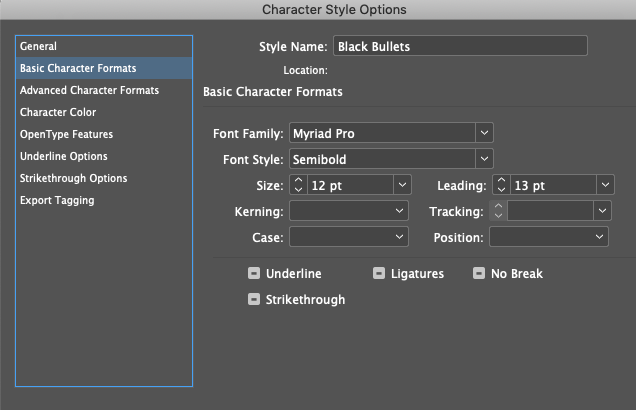
9.8 matches line lengths the best later on...
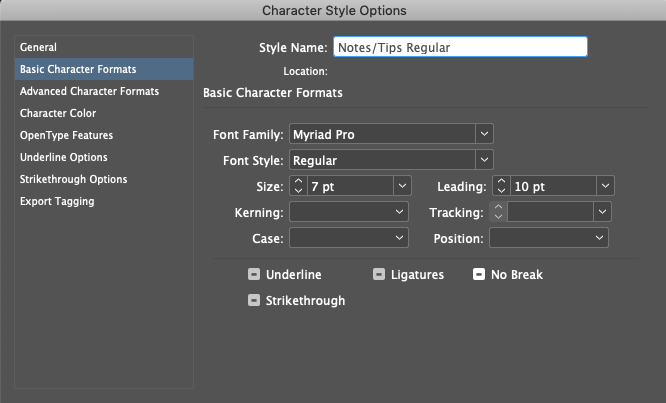
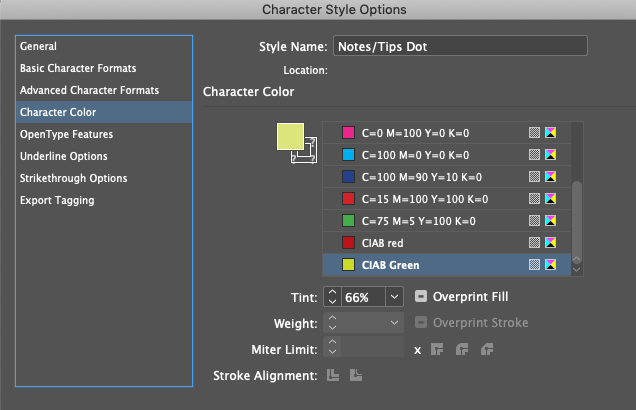
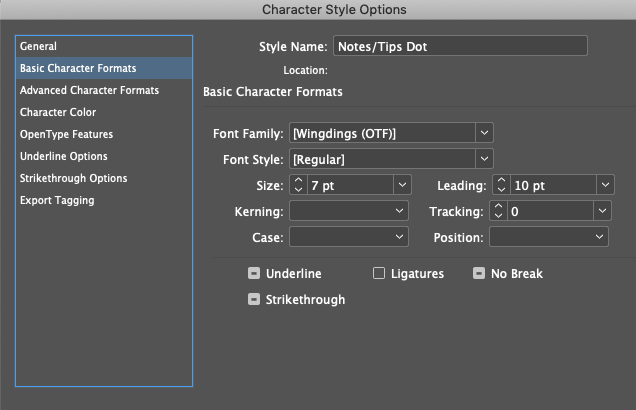
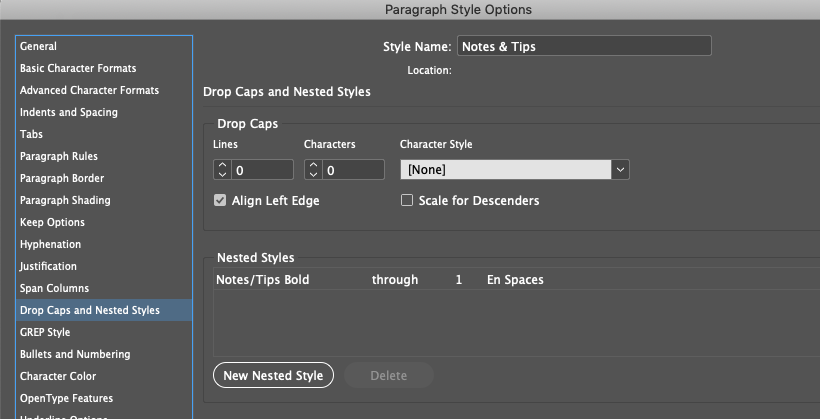
Used for the text below the image on the intro page, and for tips and notes elsewhere
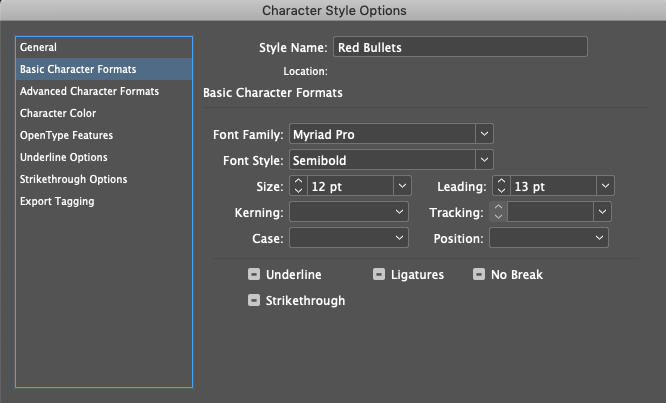
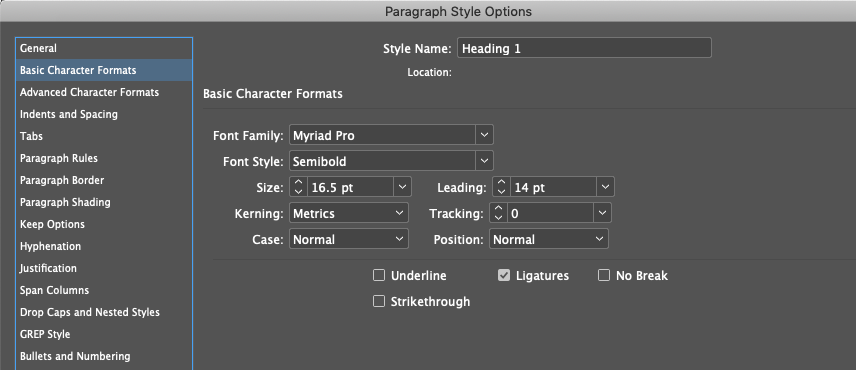
Bigger than the 9.8pt size of the body copy! Tricky!
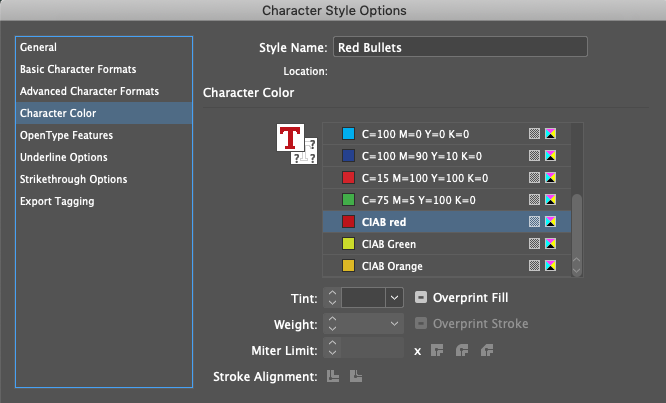
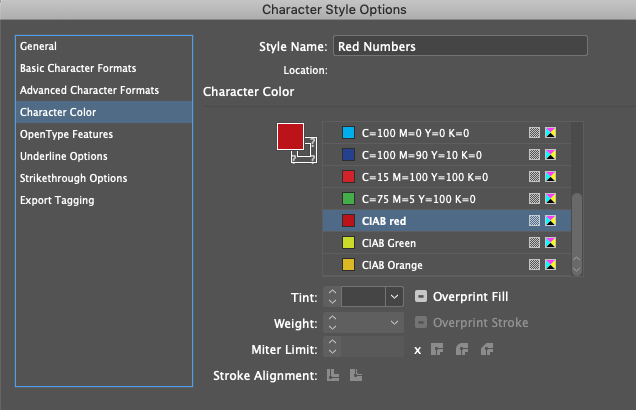
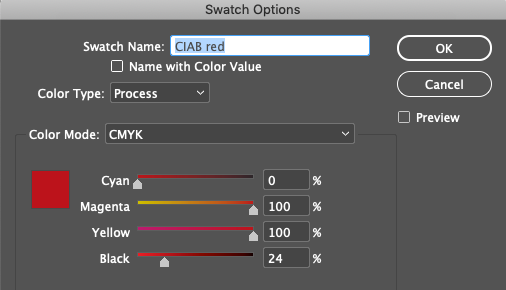
We also need to make a red swatch
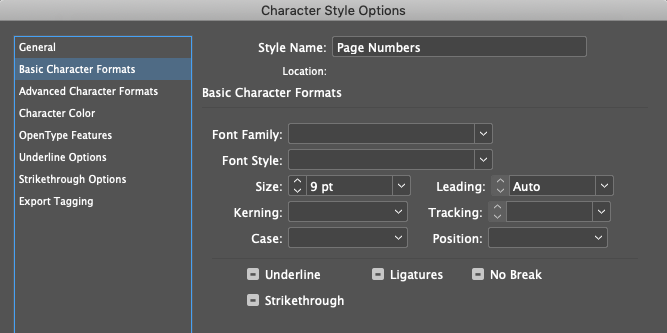
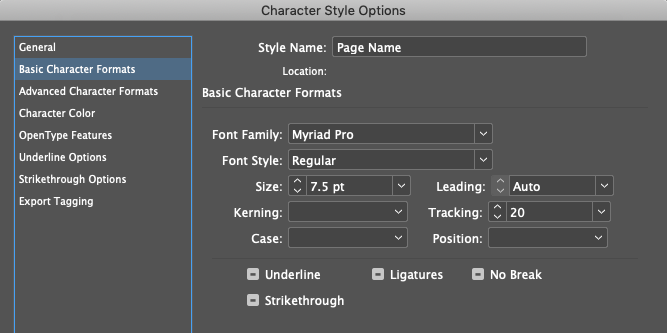
We'll need another for Page Names on the Chapter Master/Parent Page

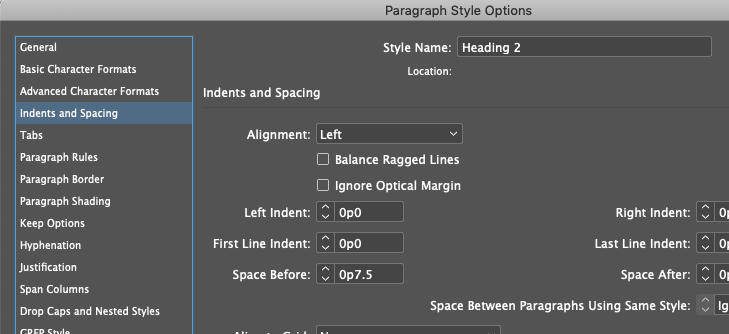
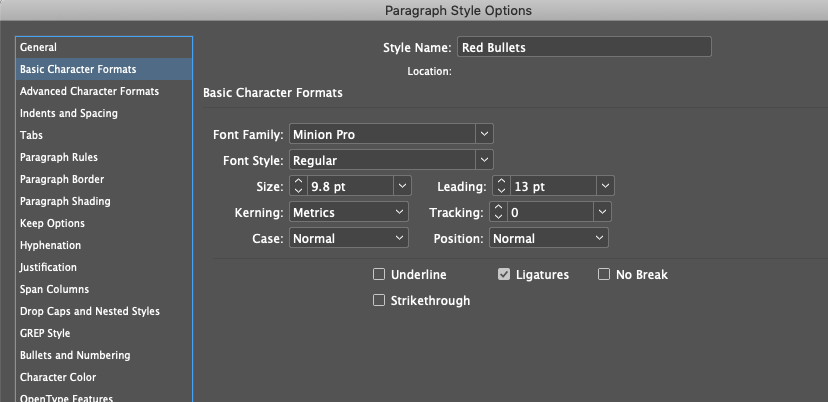
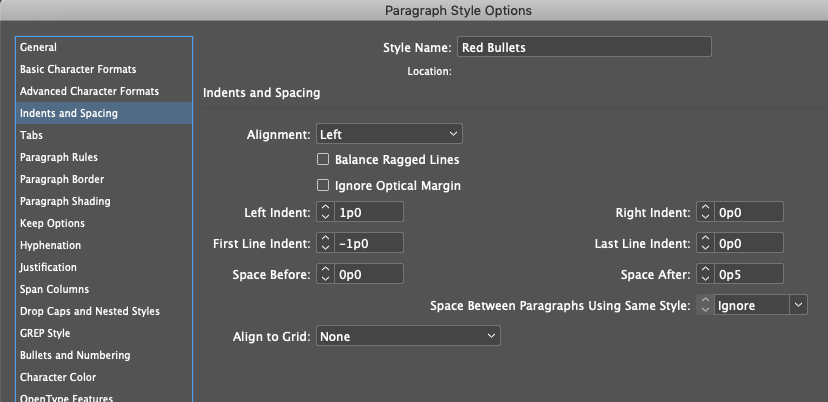
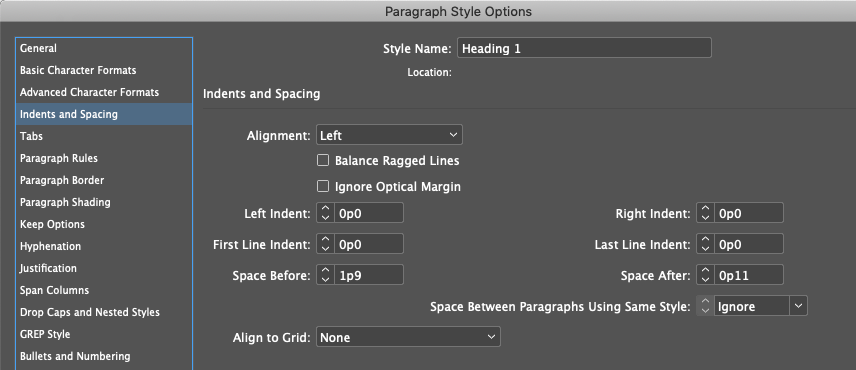
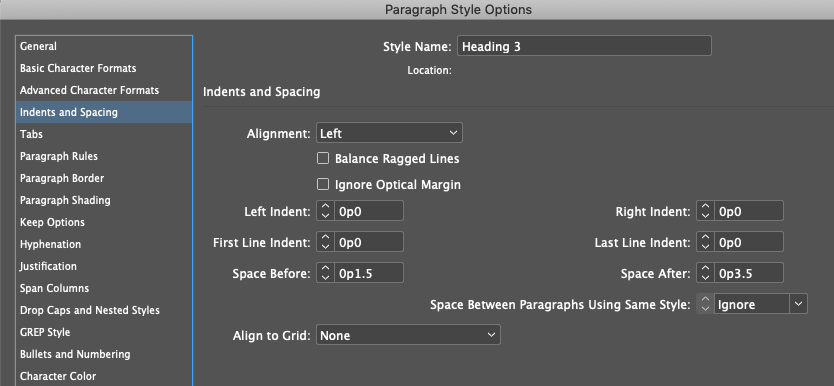
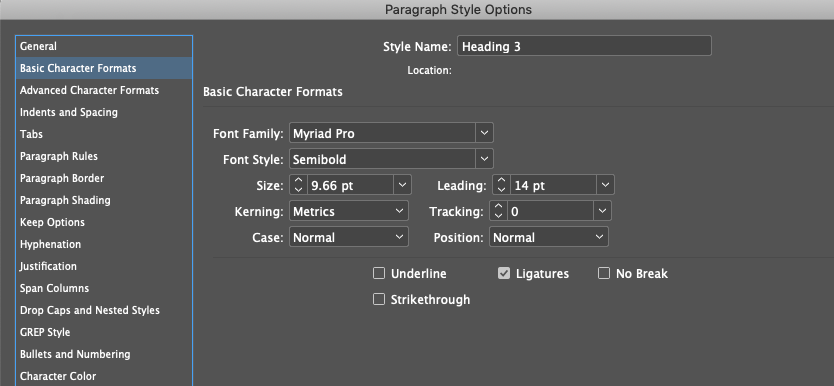
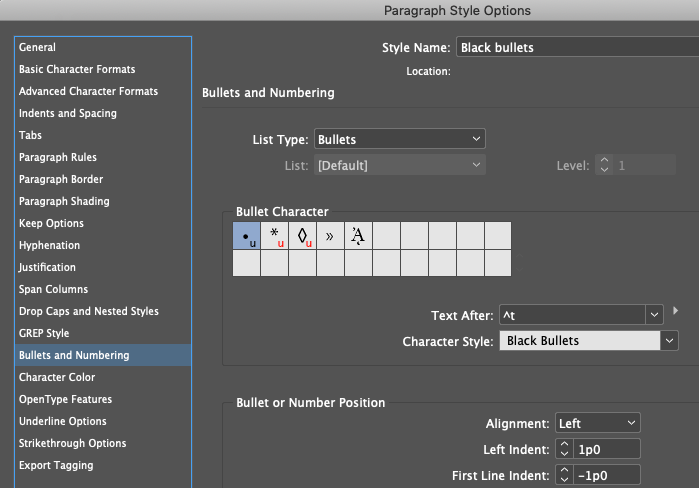
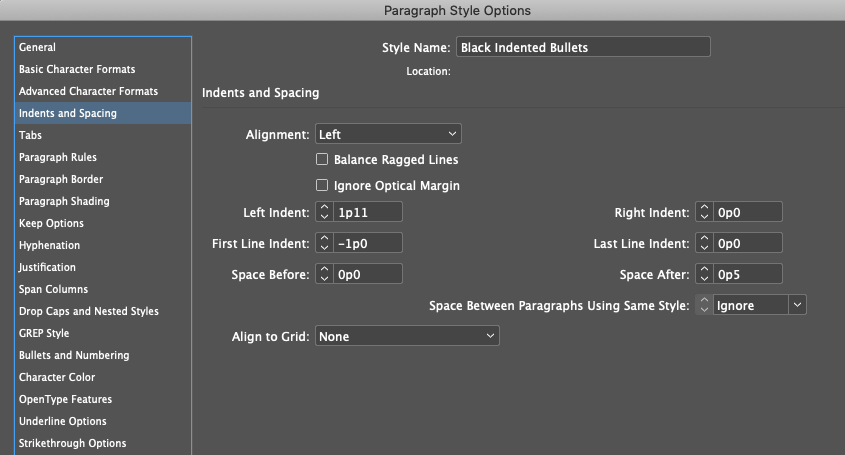
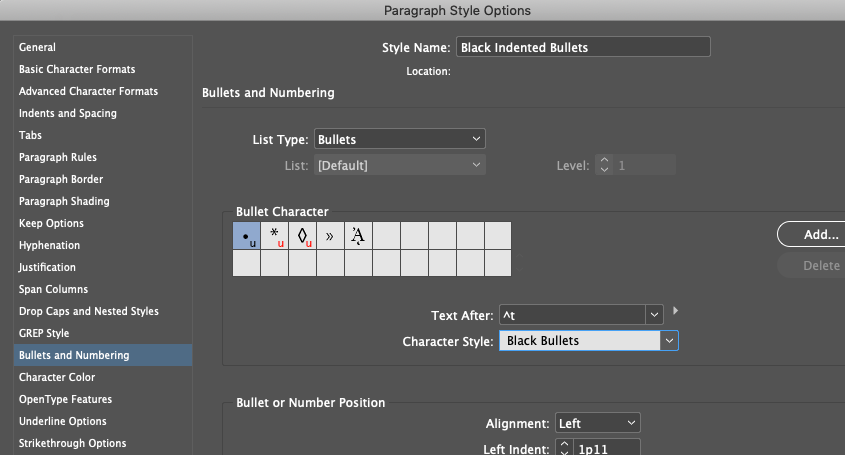
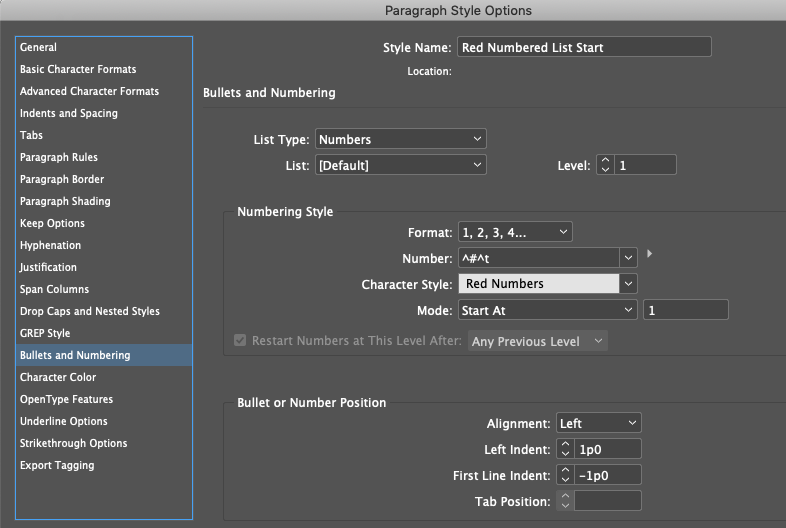
Paragraph Styles for
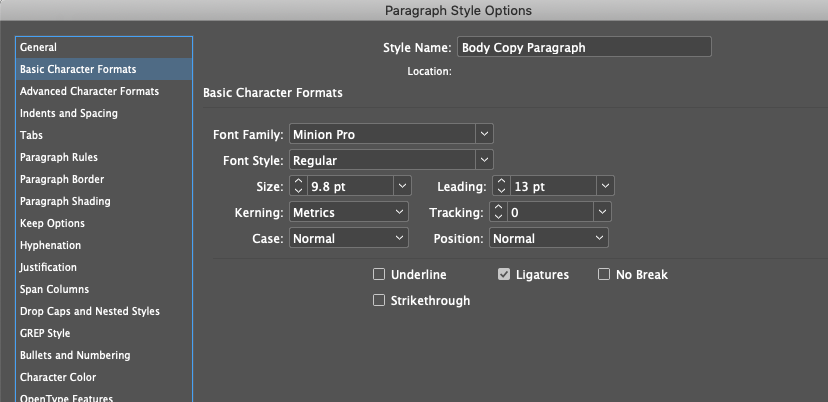
For some reason, setting Basic Character Formats doesn't help much. It's better to use a character style for that.
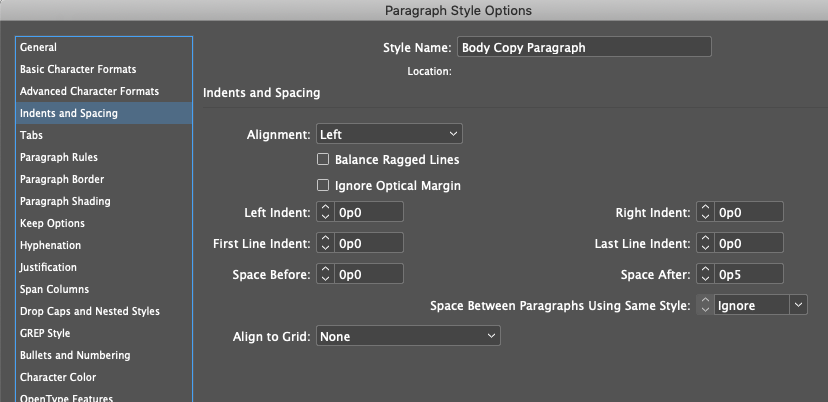
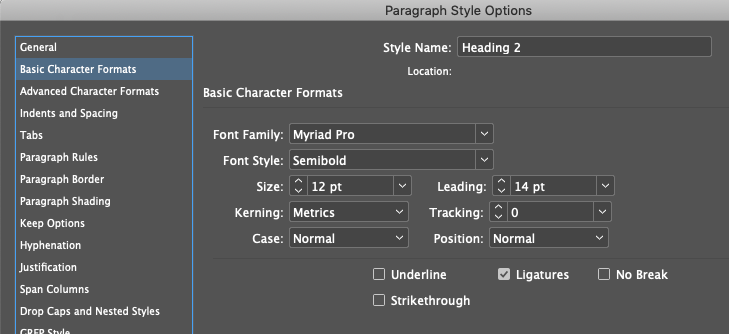
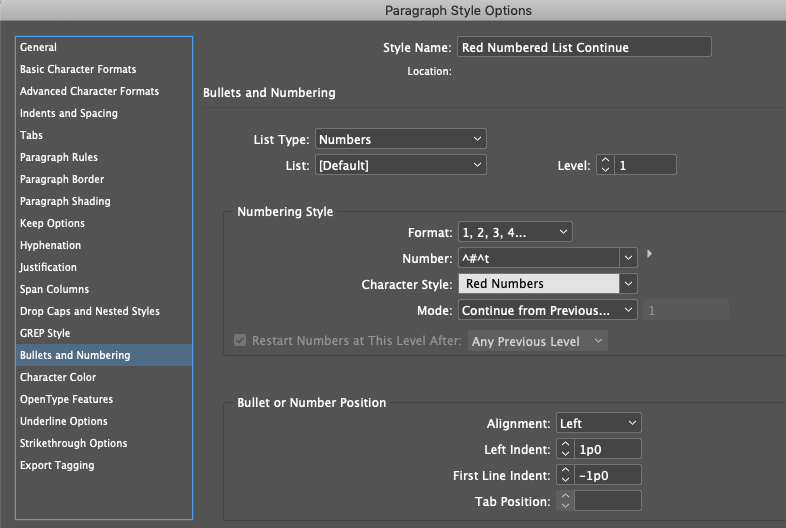
Left indent and first line indent are actually set under the bullets tab, along with tab position
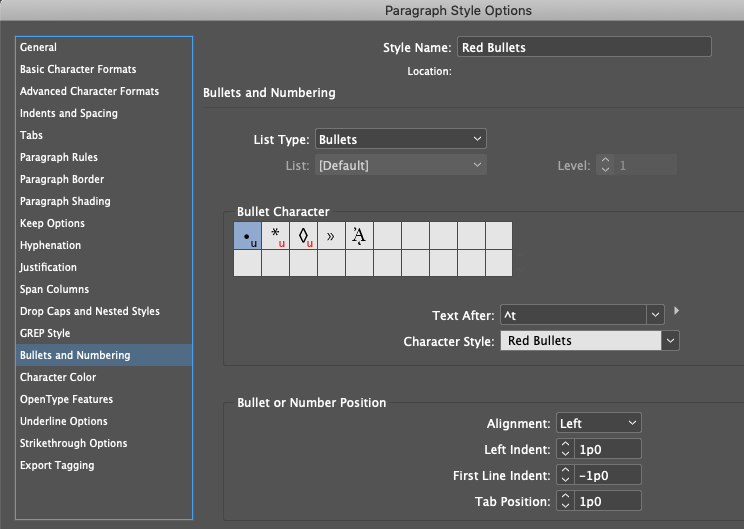
The trick here is to have the Red Bullets Character Style already set before creating the Red Bullet Paragraph Style

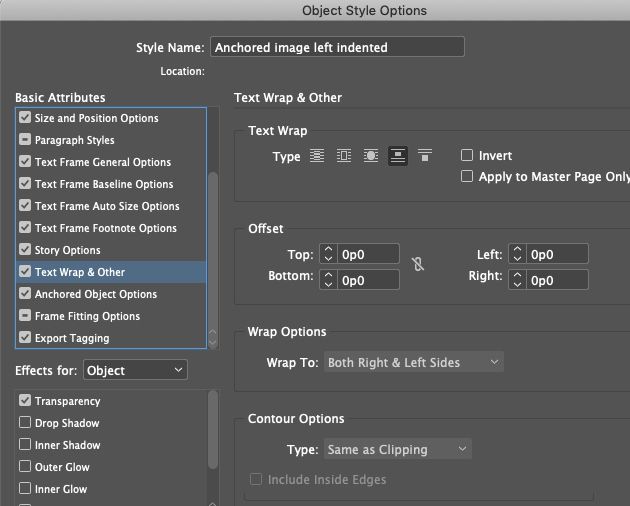
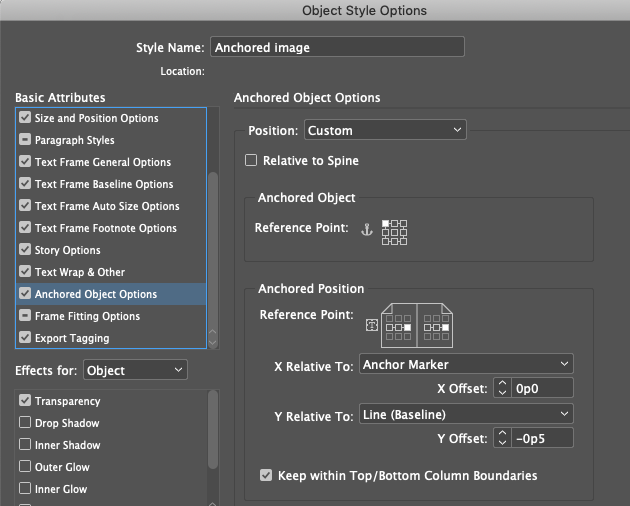
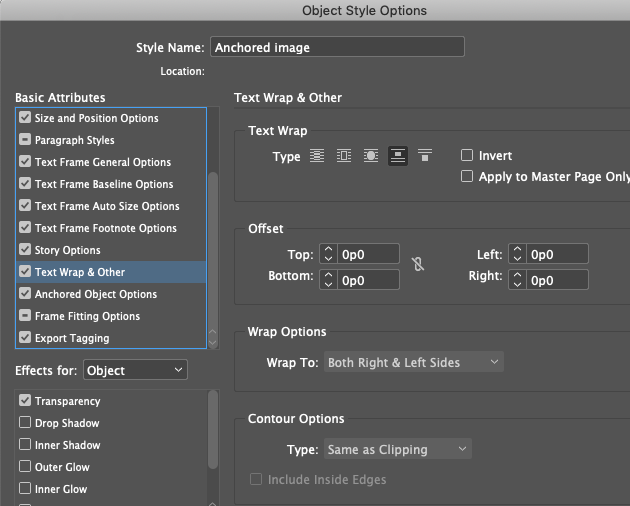
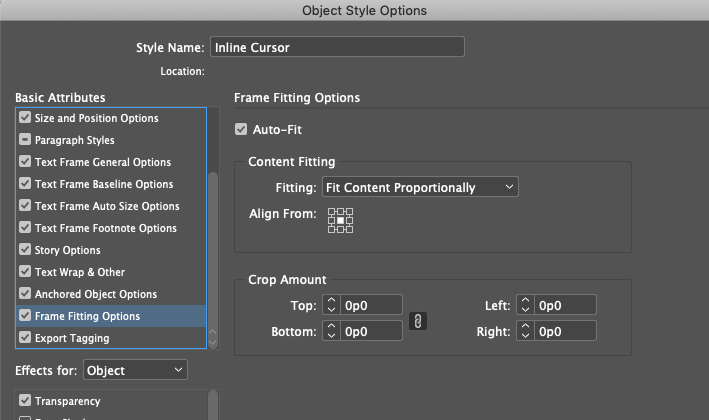
Object Styles for
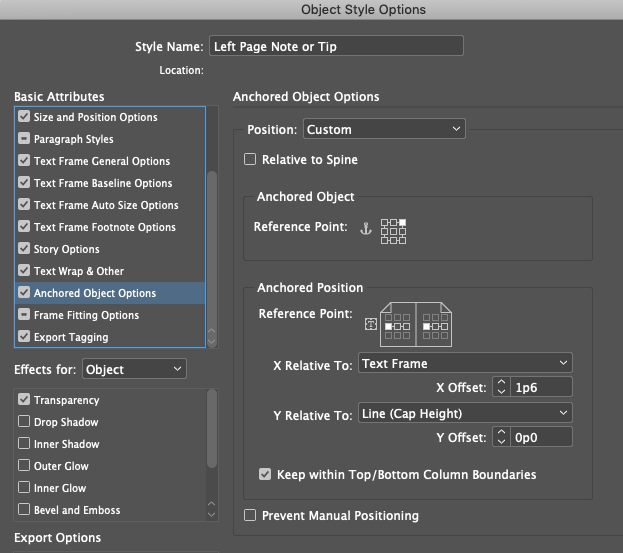
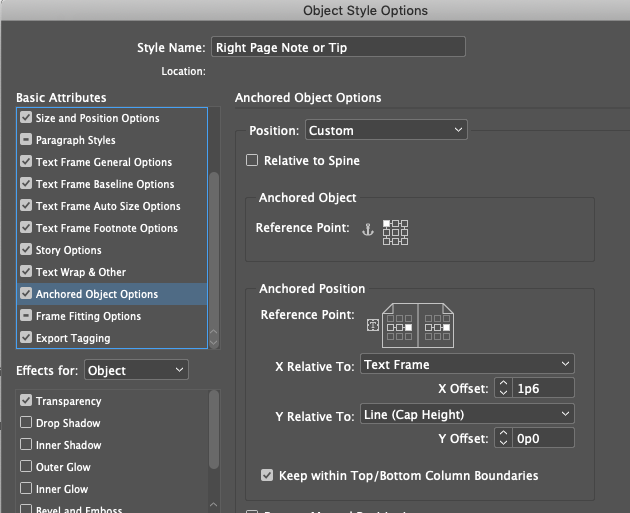
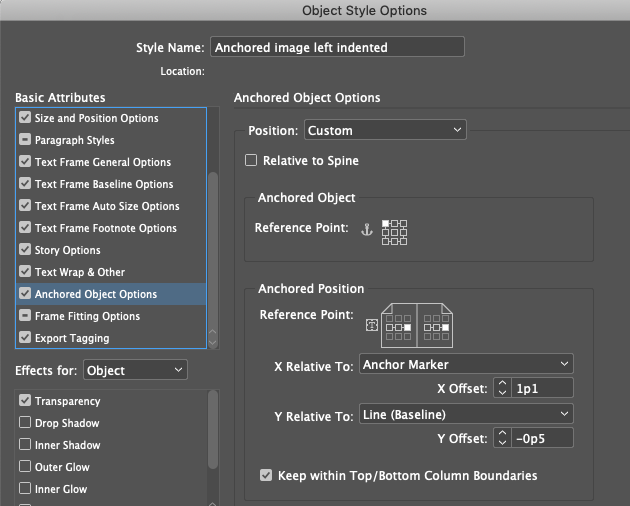
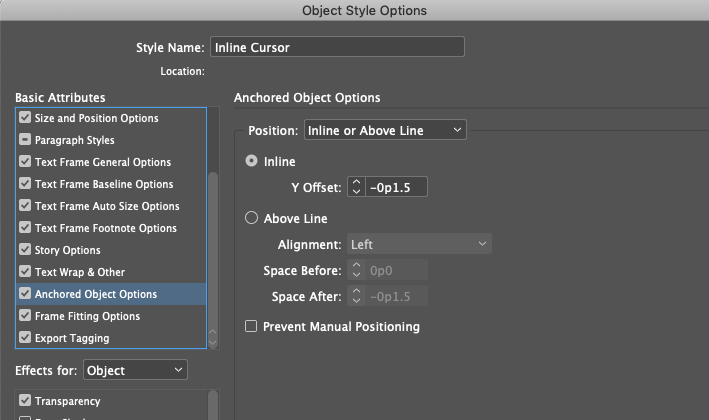
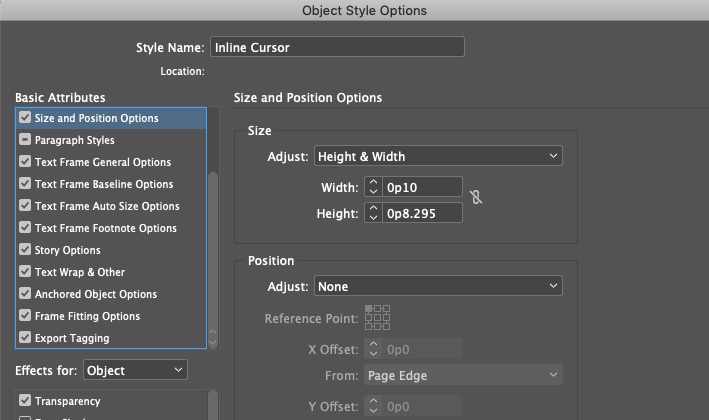
The name is for when we use it on anchored notes and tips, but it also works on the clock graphic.
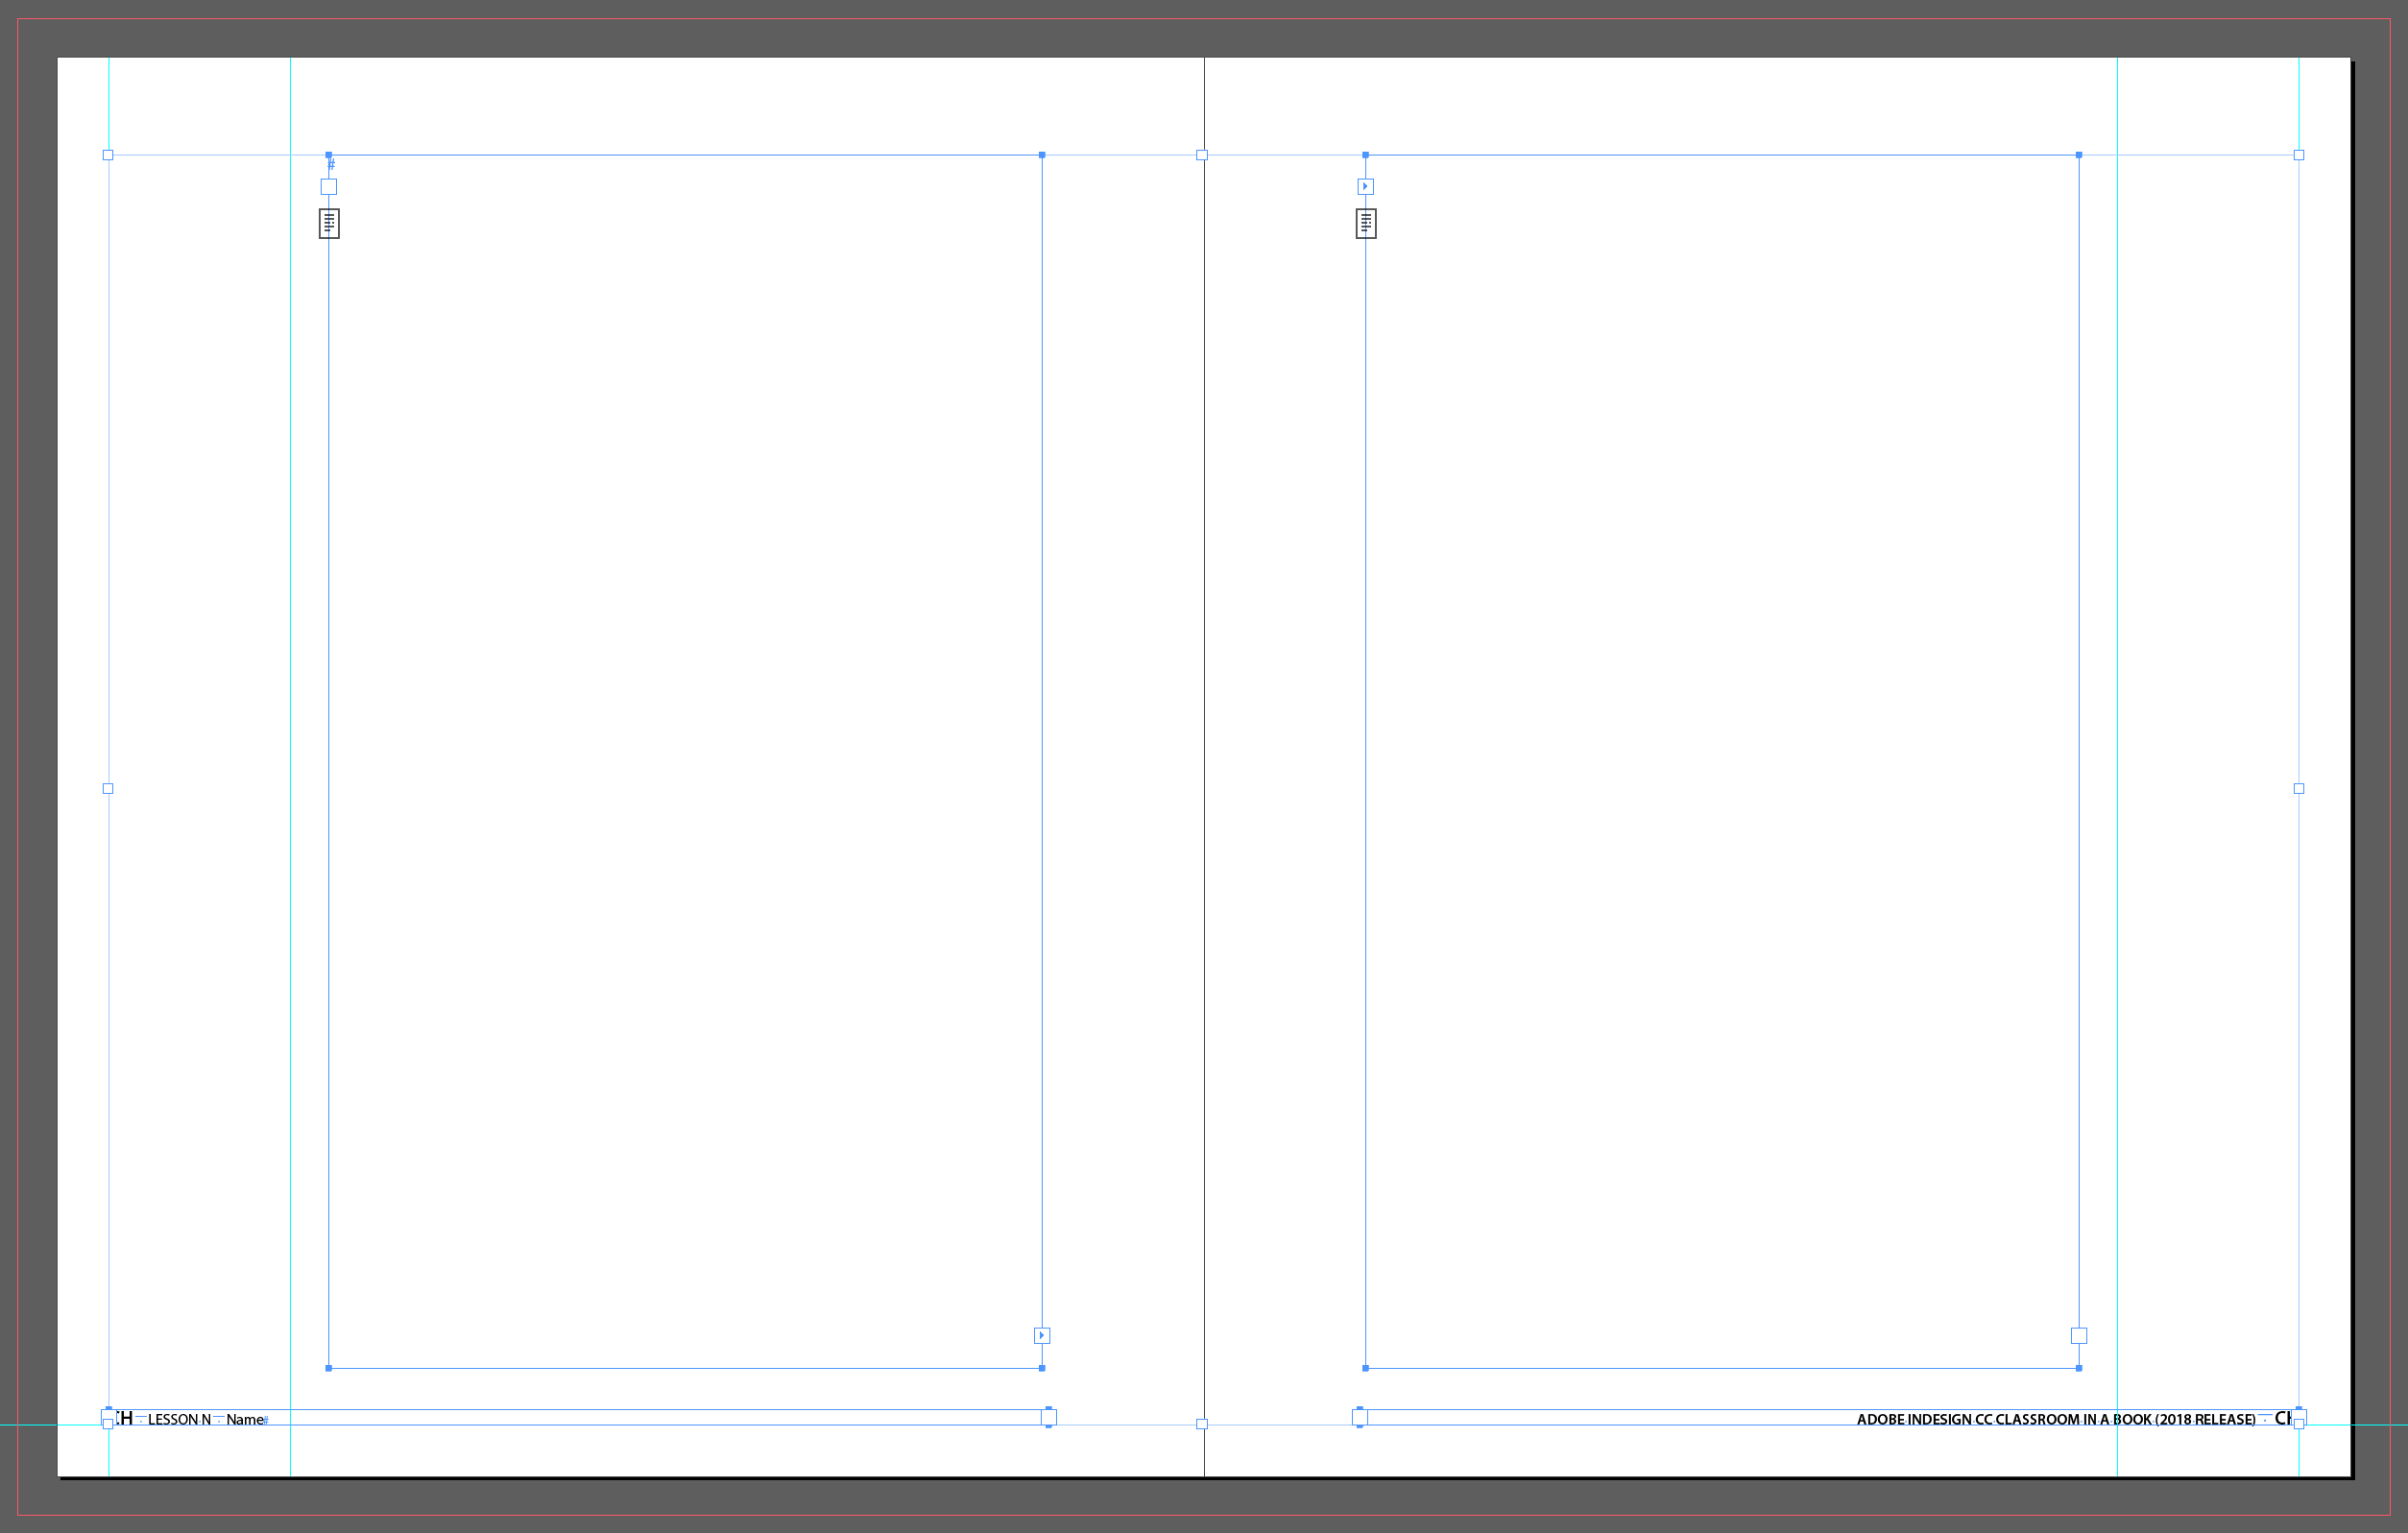
CIAB Master Chapter Page

Settings:

Same as Master Chapter Intro page

Guides
  • Vertical @ 2p0
  • Vertical @ 9p0
  • Vertical @ 79p6
  • Vertical @ 86p6
  • Horizontal @ 52p9 (cross both pages)
Placeholders for
  • Text frame, 27p6 wide that matches margins, on both left and right page.
  • Link the two text frames together with the type tool!
  • Left and right page numbers.
    • Left page number says AutoPageNumber emspace LESSON N emspace Title
    • Right page number says ADOBE INDESIGN CC CLASSROOM IN A BOOK (2018 RELEASE)emspace AutoPageNumber
  • That's all!
Character Styles for

Completing the Chapter Intro Page

  • Drag the Chapter Intro Master/Parent Page onto the first spread.
  • Shift-Command/Control click every element from the Master/Parent Page to release it for editing except: Page numbers and the background image.
  • Set the first and second chapter title: INTRODUCING THE / WORKSPACE
  • Set the Chapter number to 1
  • Open the text document "Chapter01-main_text.txt" and copy from Open documents. to Change Interface preferences.
  • Paste it into the red bulleted list
  • Copy The intuitive... and paste it into the text frame below the white rectangular frame on the right page
  • Select the white rectangular frame on the right page and Place p007-01.png

Starting the Chapter pages

  • Drag the Chapter Master/Parent Page onto the second spread
  • Shift-Command/Control click the two text frames to release them
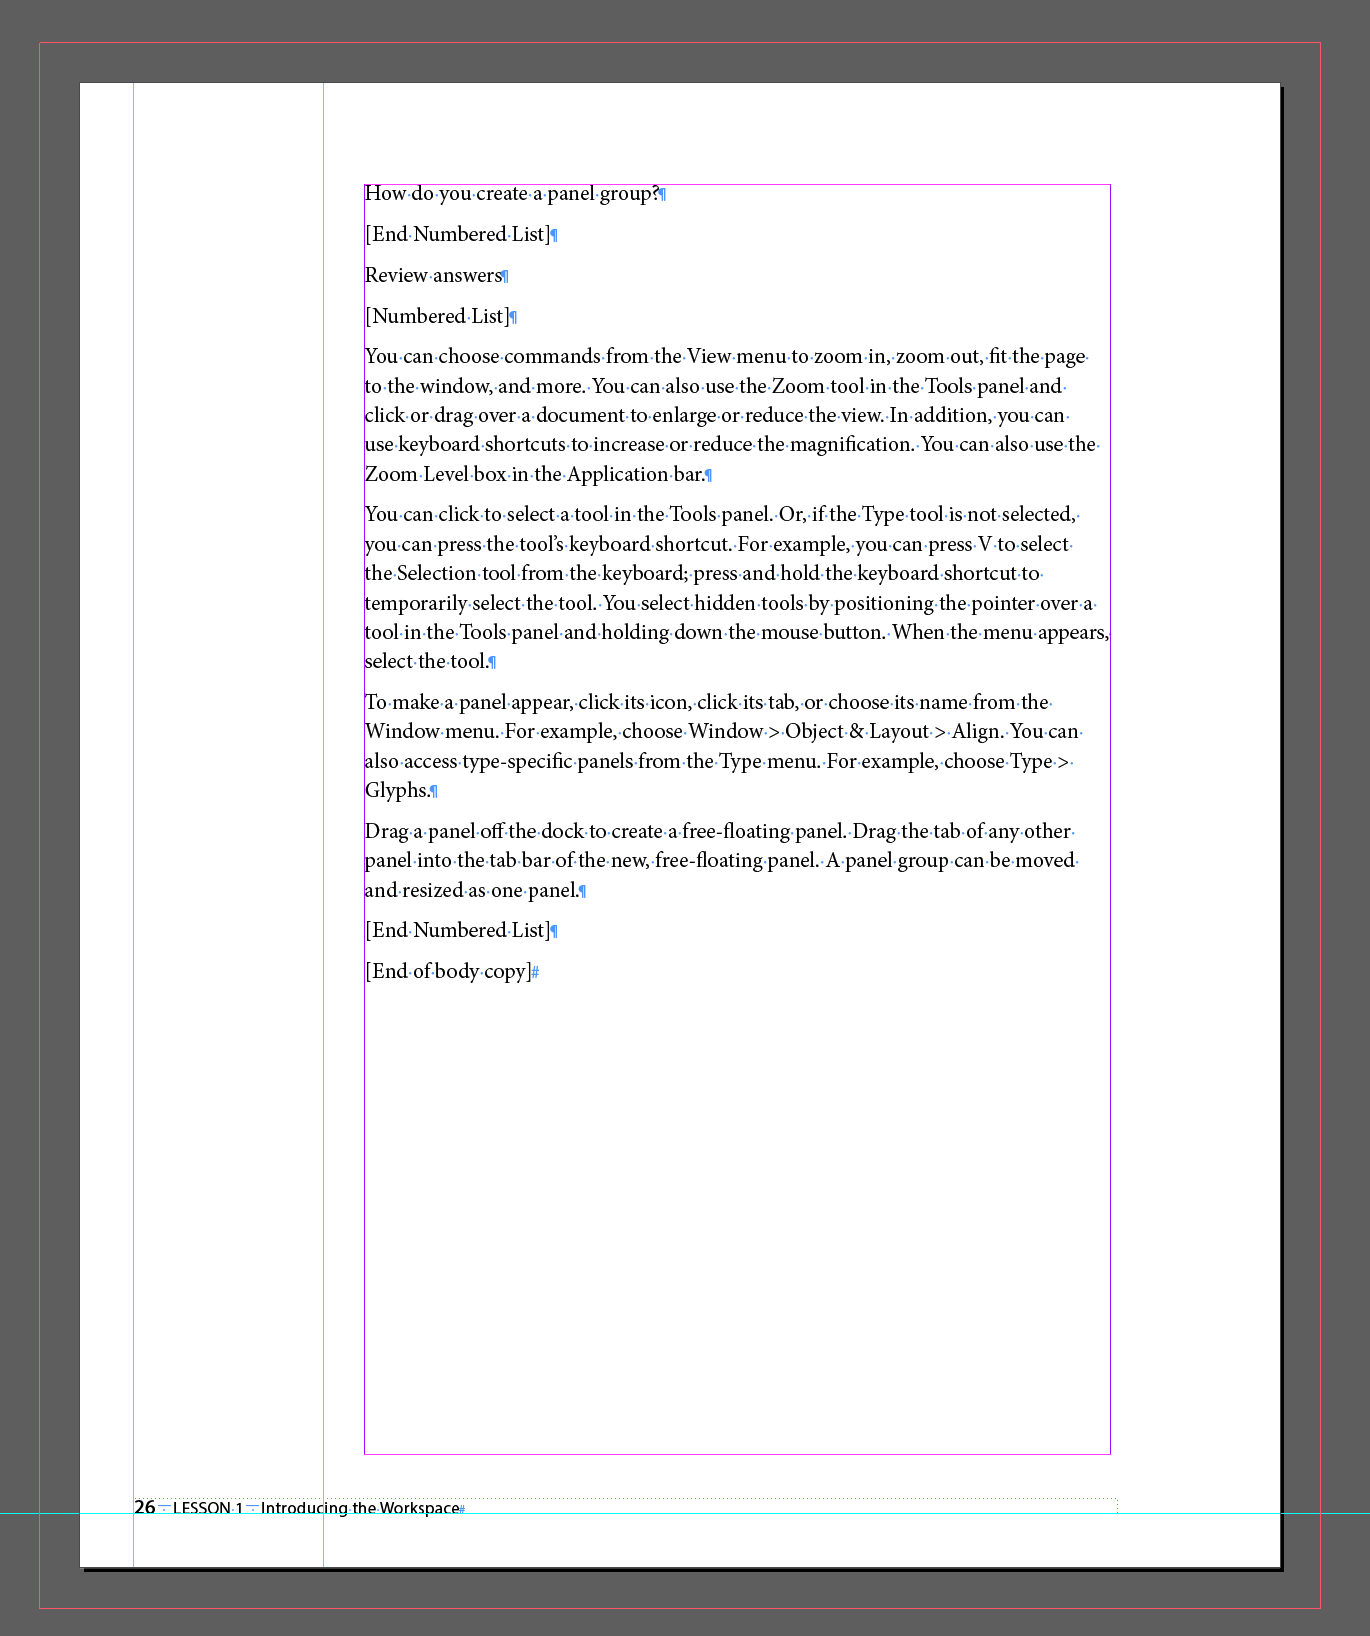
  • Copy from "Chapter01-main_text.txt" all the text after [Pages 8-32 body copy] and paste it into the first text frame.
  • If we did this right, we should get 26 pages automatically filled out

Styling the Chapter pages

Here is what you will need to finish this project...

Character Styles

Paragraph Styles

Object Styles

Previous Class
Next Class