Create A New Doc:
Create custom page size: 7.375in x 9.125in + .25in bleed for first 2 pages.
Call it CIAB
How many columns?
No margins, set them in the Master/Parent Pages
Bleed 1p6
This is where we're at:
Now to do some more (or maybe the rest?)
The page is a little shorter than expected. Checking our measurements in the style again shows that the Body Copy leading should be 12.5pt and not 12. Since the Bullet and Numbered Bullet styles were built in the Body Copy style, the change becomes universal when you change it. We'll also have to go back and adjuct the Space After Paragraph in the Insert Indented Graphic paragraph style. But when we do, the overall height of the page works out perfectly!
There is only one in this chapter (page 9), and they're pretty unusual. We should probably just place the graphic relative to the right margin and use text wrap.
Oh oh. We're one line too long. Bullet 9 in three instead of two lines. To make it fit, set the tracking on the entire bullet text to -3 (the minimum to take the wrap down to two instead of three lines)
Next, insert the 01-14.psd graphic between bullets 3 and 4 on page 10
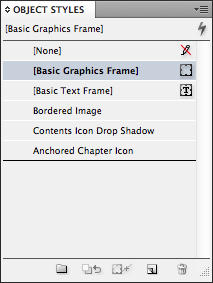
Oh oh, the other bullets are wrapping around the right edge of the graphic. Modify the Object style to be Text Wrap: Jump Object instead of Wrap Around Bounding Box
Item 6 is a paragraph of text that's in a numbered list, but isn't numbered. We have to make a special style for it.
Make the new item 6 the Insert Indented Graphic style and place IMAGE:12.psd
Oh oh, paragraph after bullet 5 is three, not two lines. Set tracking to -22
Oh oh, getting to the image after 1. Click the line tool to select it, there's not enough room at the bottom (even with keeping the paragraph before to 6 instead of 7 lines). We need to rethink the bottom margin. Turns out, if you measure to the bottom of the image on page 11, it's 50pts from the bottom edge, and we set the bottom margin to 5p0, or 60pts. Go back to the Master/Parent Page and reset the bottom margins.
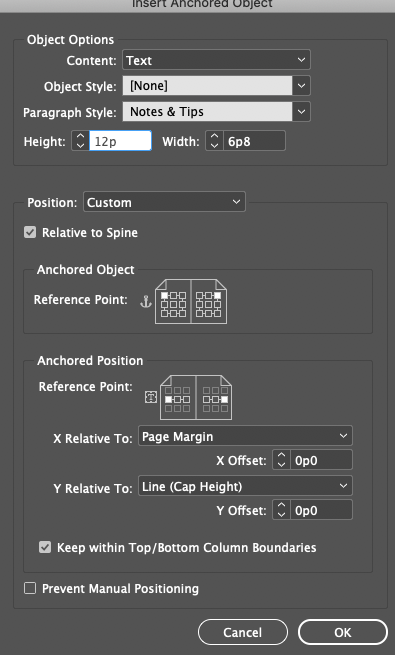
Several steps for this, first we'll create the frame it will fit in, then the styles, then the wacky circle and triangle, then anchored element style
The frame for Notes and Tips always lies at the far edge of the page and is the width of the column formed by the outside margin and the first guide, which leaves a width of 6p8
Use the completed Circle-Quarter_Space-Tip-Colon-N_Space and Triangle etc. to copy and paste at the beginning of each Tip or Note
Everything should now be in place to finish styling the whole chapter. Good luck!
A zip file located here containing:
Text file of the body copy for all of chapter 1 with bracketed [] placeholders for achored and in-line grahics
Text file of all the tips and notes in the margins of chapter 1 with bracketed [] placeholders for in-line grahics
Folder with all the little inline icons found in the text, plus a few graphics with callouts
Folder with all the graphics used in chapter 1, corresponding to bracketed [] placeholders in the two text files

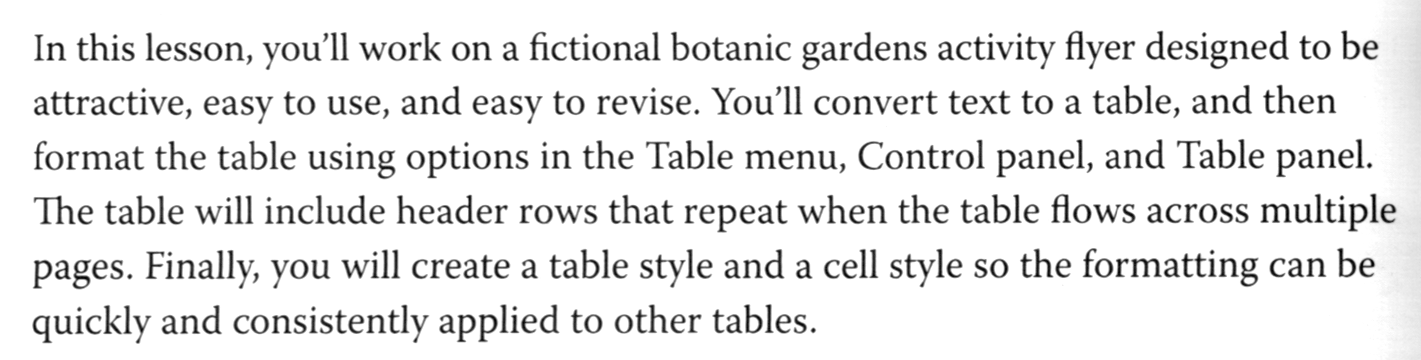
Get images from an older pdf version is another possibility
Create custom page size: 7.375in x 9.125in + .25in bleed for first 2 pages.
Call it CIAB
How many columns?
No margins, set them in the Master/Parent Pages
Bleed 1p6
FIC-Front Inside Cover
We'll add logos and text later
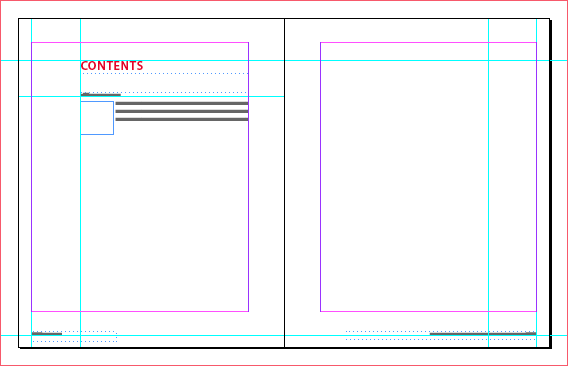
TOC - Table of Contents
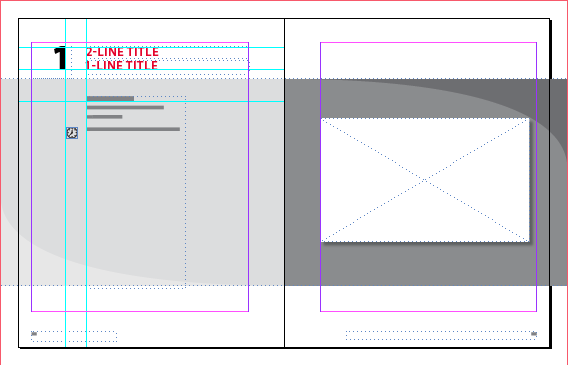
CT - Chapter Title
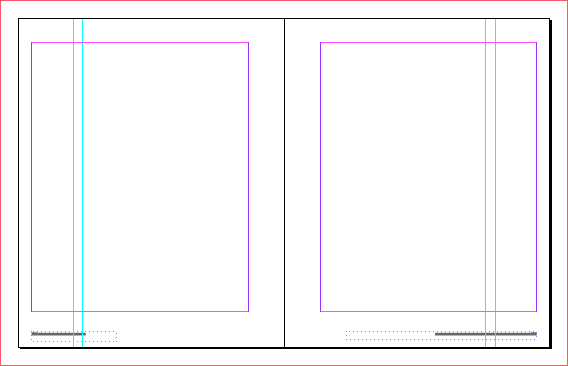
CH - Chapter
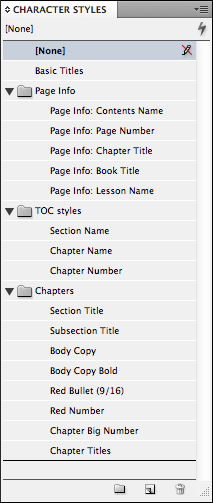
TOC - Table of Contents
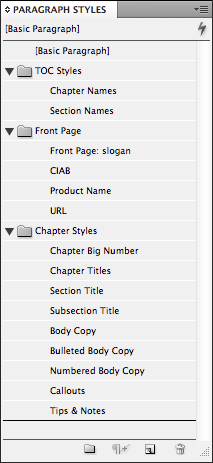
Create styles as you go!
CT - Chapter Title
Left Page:
Right Page
CH - Chapter