Class 05
Chapter 4: Working with Objects
Lesson04.zip
Open 04_Start.indd. Resave as 04_Objects.indd
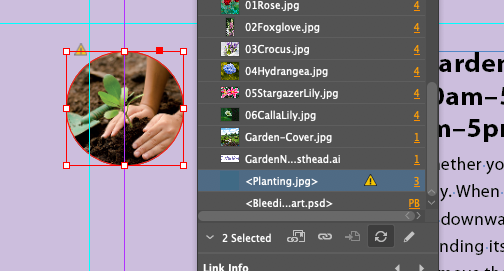
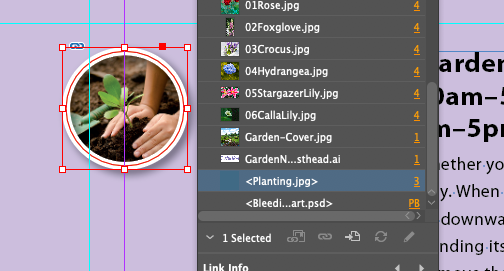
Update the Damn Links
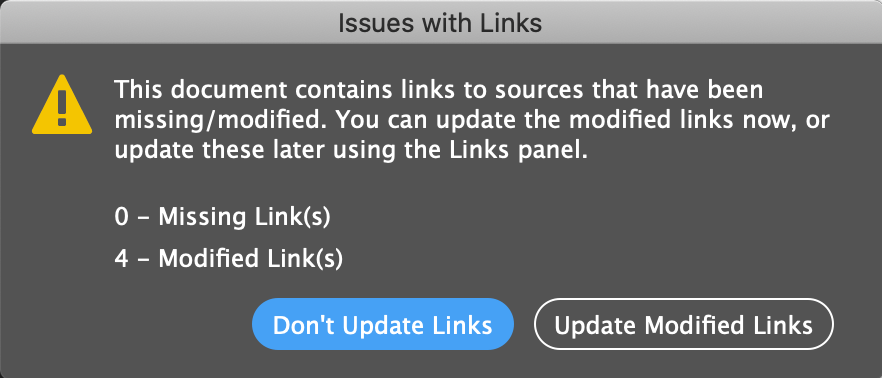
Even though our text doesn't say anything about it, and I thought it was deliberate for about 2/3rds of the demo, it's best to update the links when you first open the 04_Start.indd file
Creating and Modifying Text Frames
Text is usually located within a Text Frame (though you can do type on a path too).
Best practice is to put as much of your text in as few text frames as possible. So if there's a choice of one text frame with two columns or two linked text frames, choose the single text frame.
Creating and Resizing Text Frames
Reshaping a Text Frame
Just as there are some tutorials from our text that are critically important, there are also lots of tutorials in the text about how to do things that are more feature exposés and marketing hype than actual useful capabilties that are used in the real world. This is one of them. I will mark the heading of sections from our book that are like this (as above) with this thumbs down icon
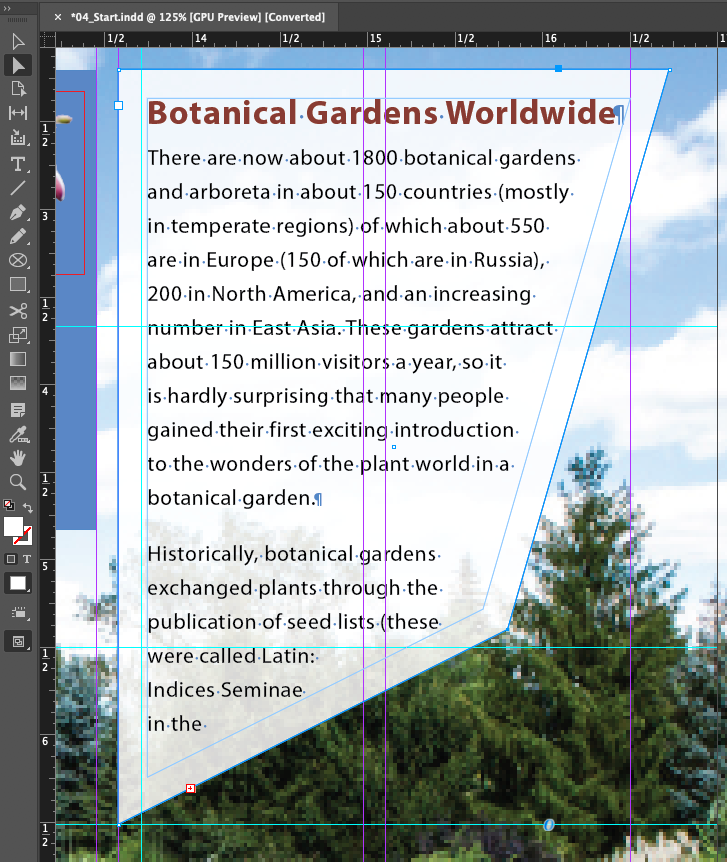
- Use the Direct Selection tool to move the lower left and right corner anchors around. Notice that the Overset text icon is showing again.
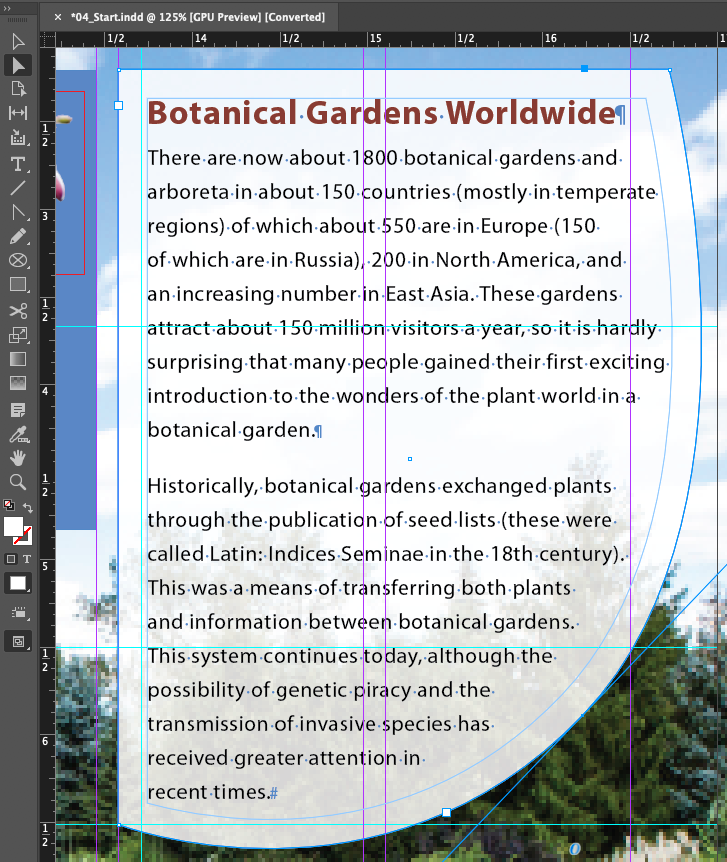
- Use the Convert Direction Point tool (under the Pen tool) and the Direct Selection tool to create a shape that will fit all the text
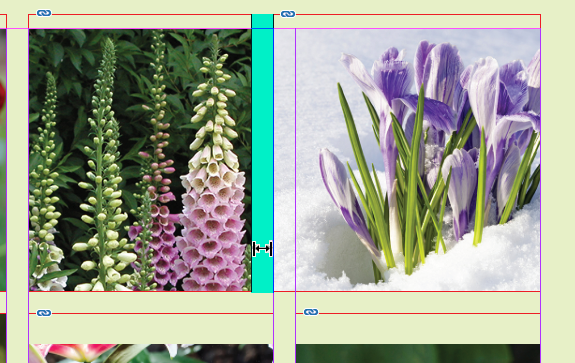
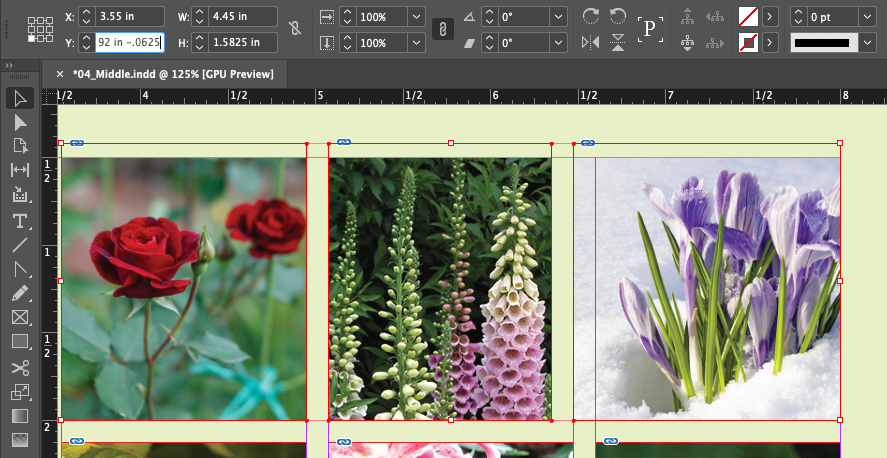
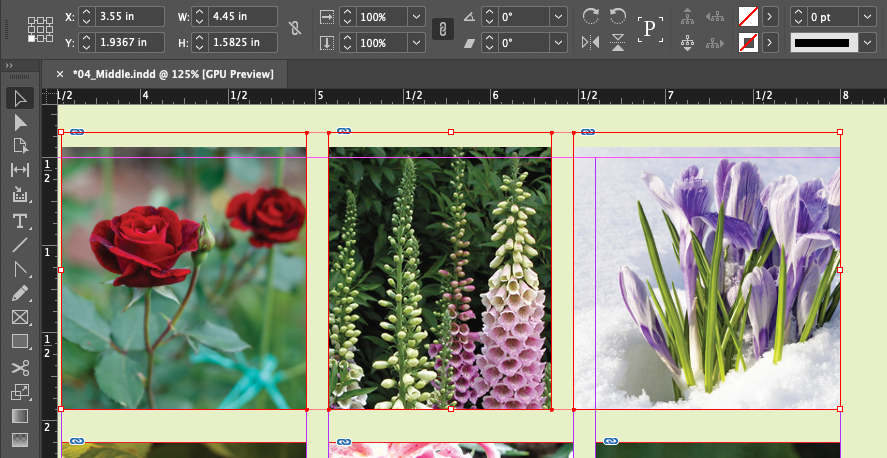
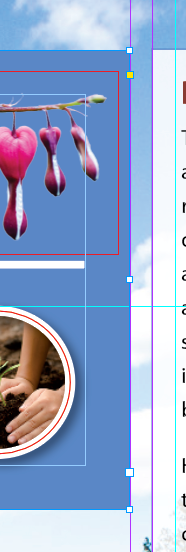
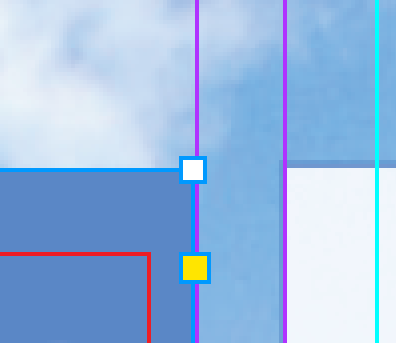
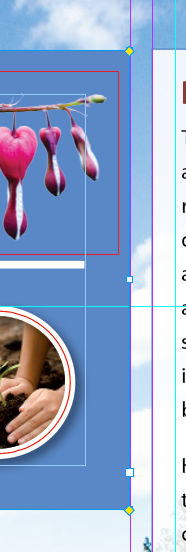
Using Smart Guides
Really handy UI! Gives live feedback about when things are lined up or the same size
- Align To Object Center
- Align To Object Edges
- Smart Dimensions Causes the width, height, or rotation of an object to snap to the dimensions of other objects on a page or spread. Little green arrows and lines indicate when this can happen.
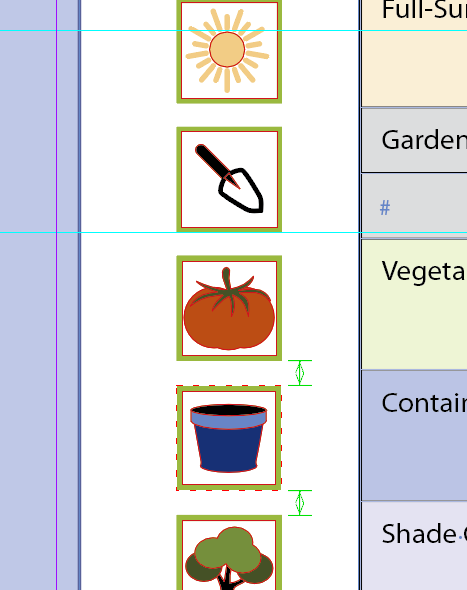
- Smart Spacing Lets you quickly arrange objects so that the space between them is equal
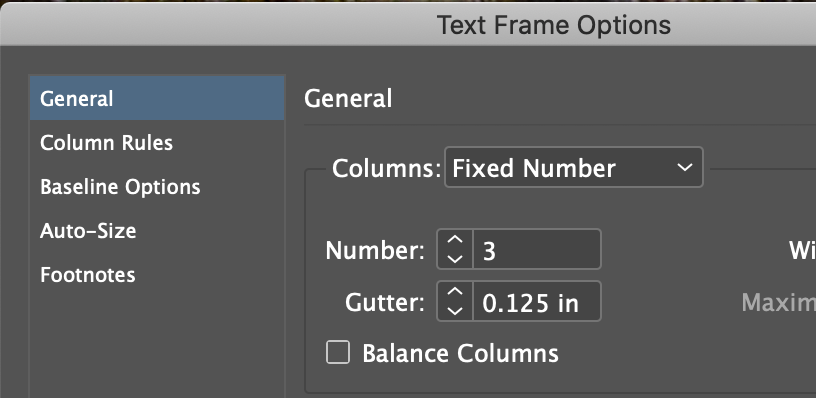
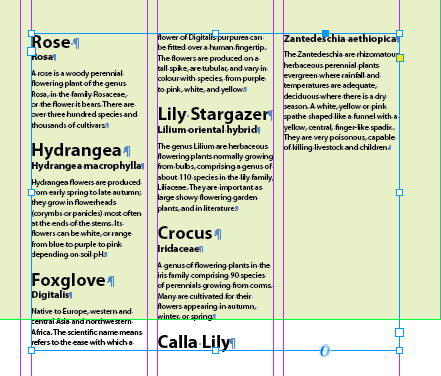
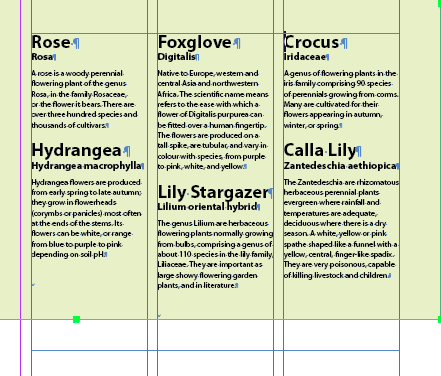
Creating Multicolumn Text Frames
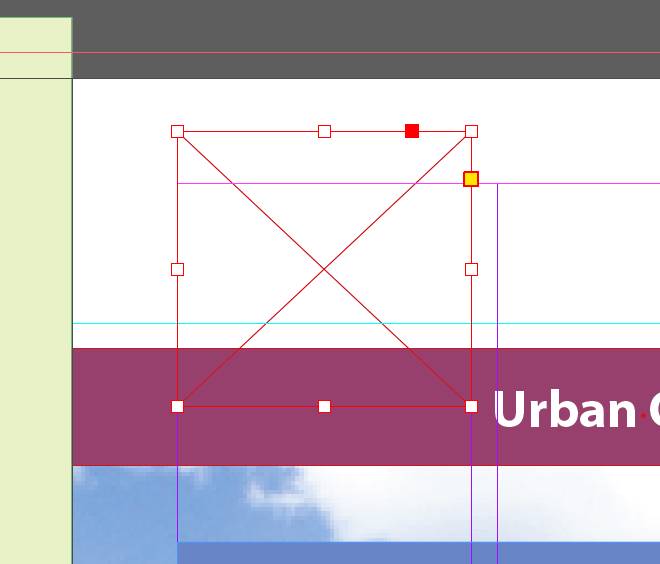
Adjusting text inset and vertical alignment
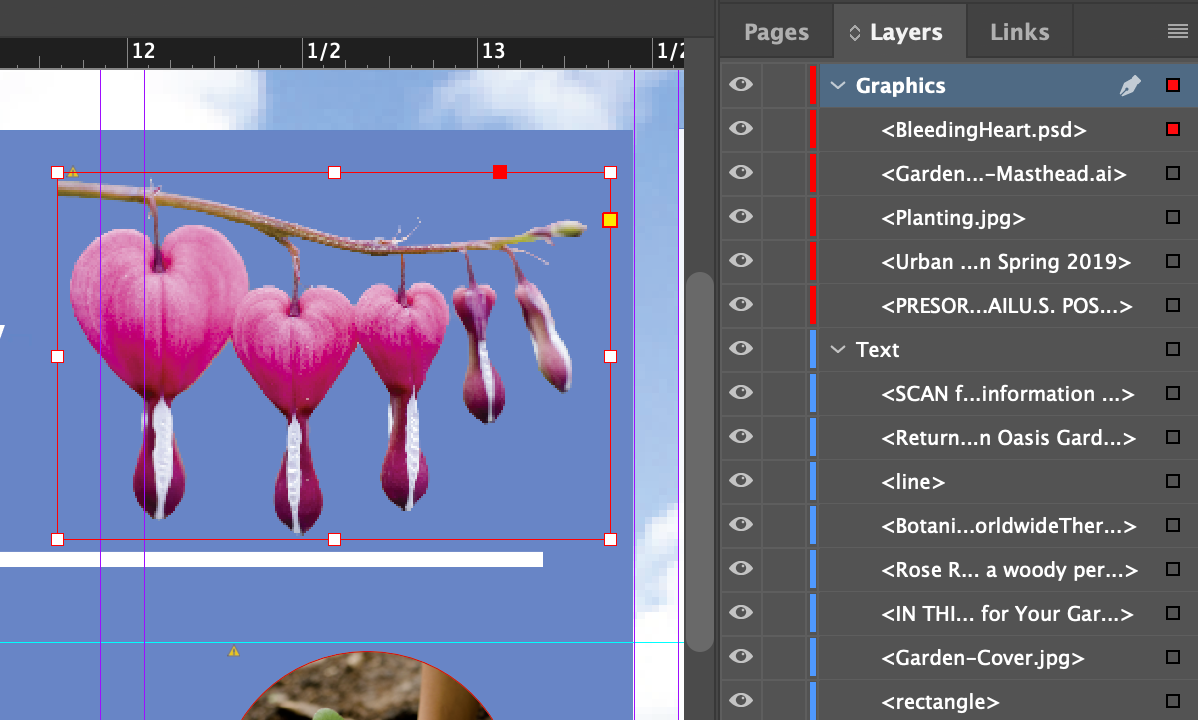
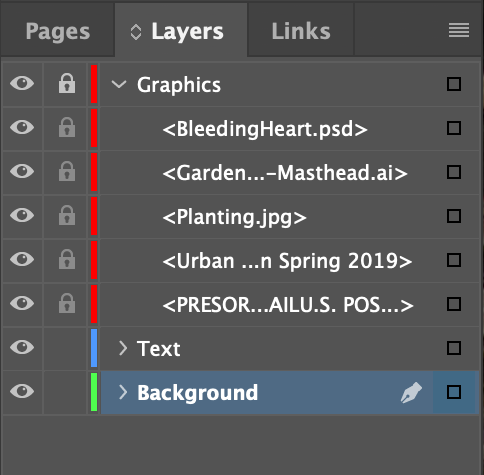
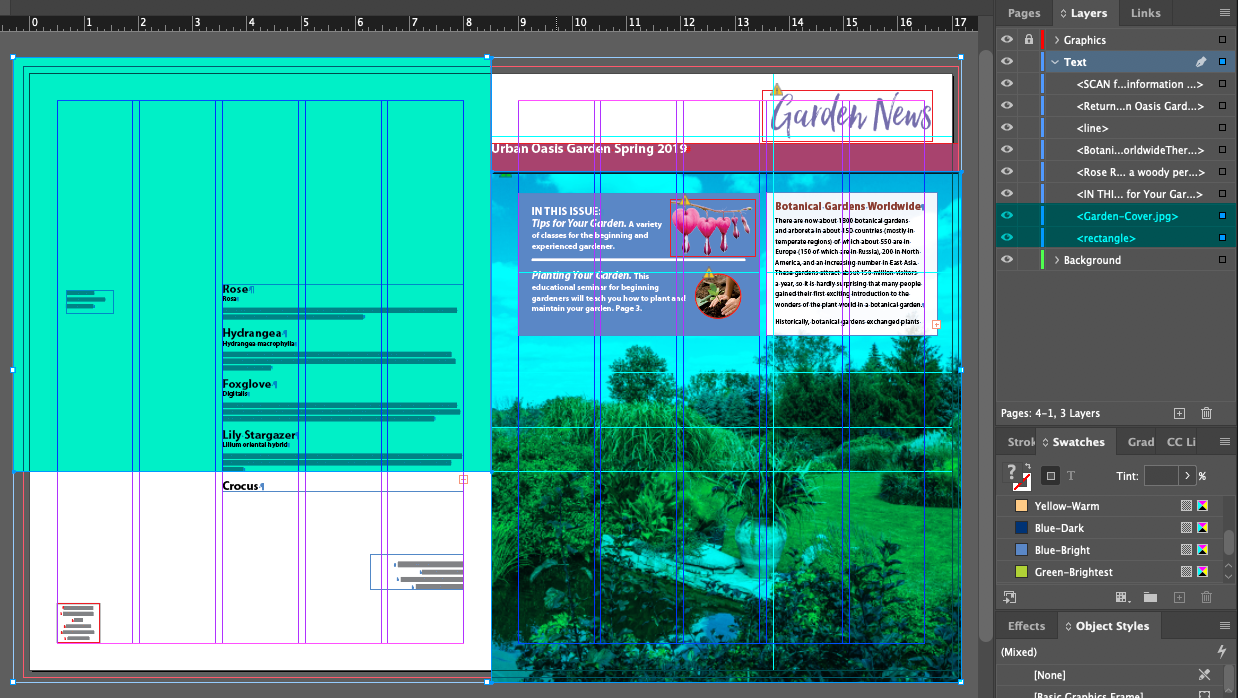
- Unlock the Graphics layer
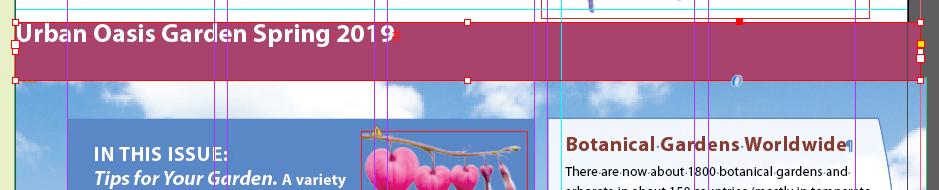
- Select on the burgundy colored text frame on the front page that says
Urban Oasis Garden Spring 2019
- Menu > Object > Text Frame Options...
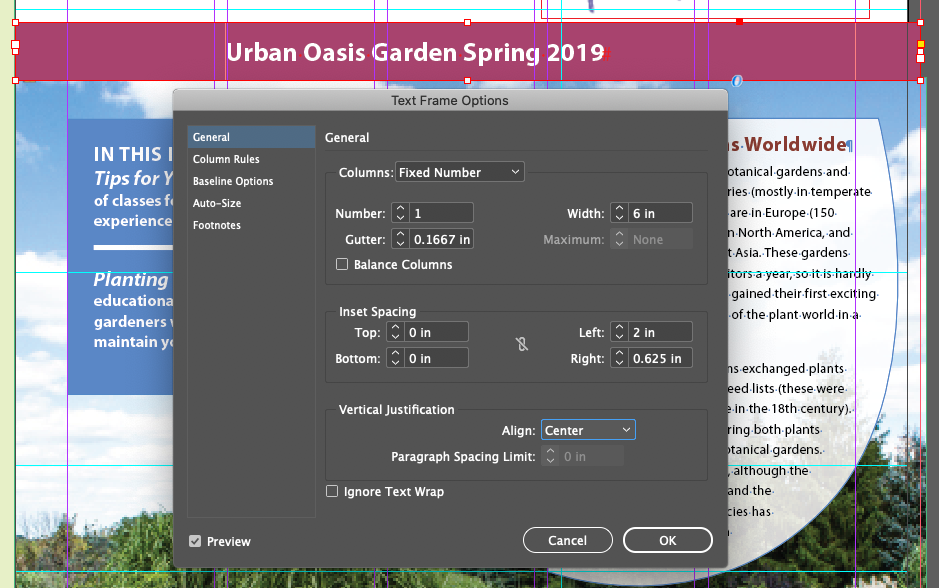
Inset Spacing
Left: 2 in
Right: 0.625 in
- With the Type tool (T), put the cursor in front of the word
Spring
- Menu > Type > Insert Special Character > Other > Right Indent Tab
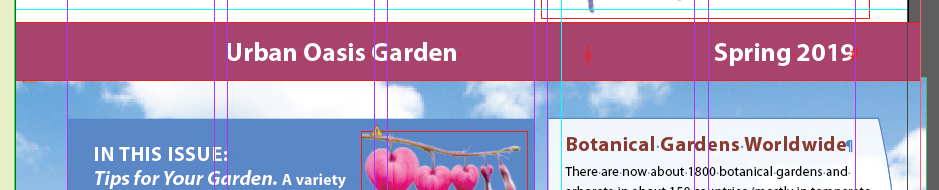
The Right Indent Tab is unique in that it takes any text to the right of it and sets it to align with the right edge of the frame's far right side. Most editing applications do this with a special tab mark that you have to set by hand in the Tab ui
Adding Metadata captions to graphics frames
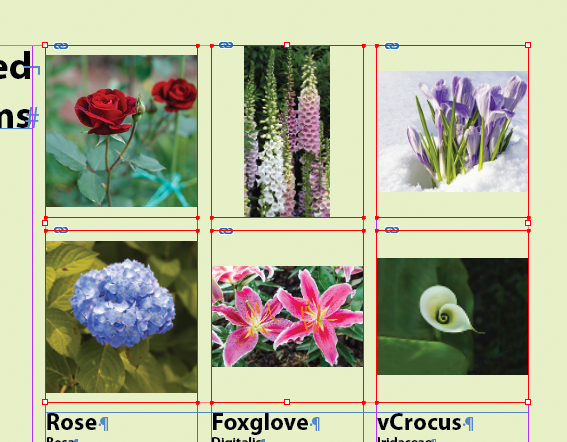
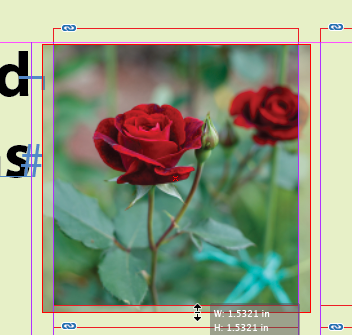
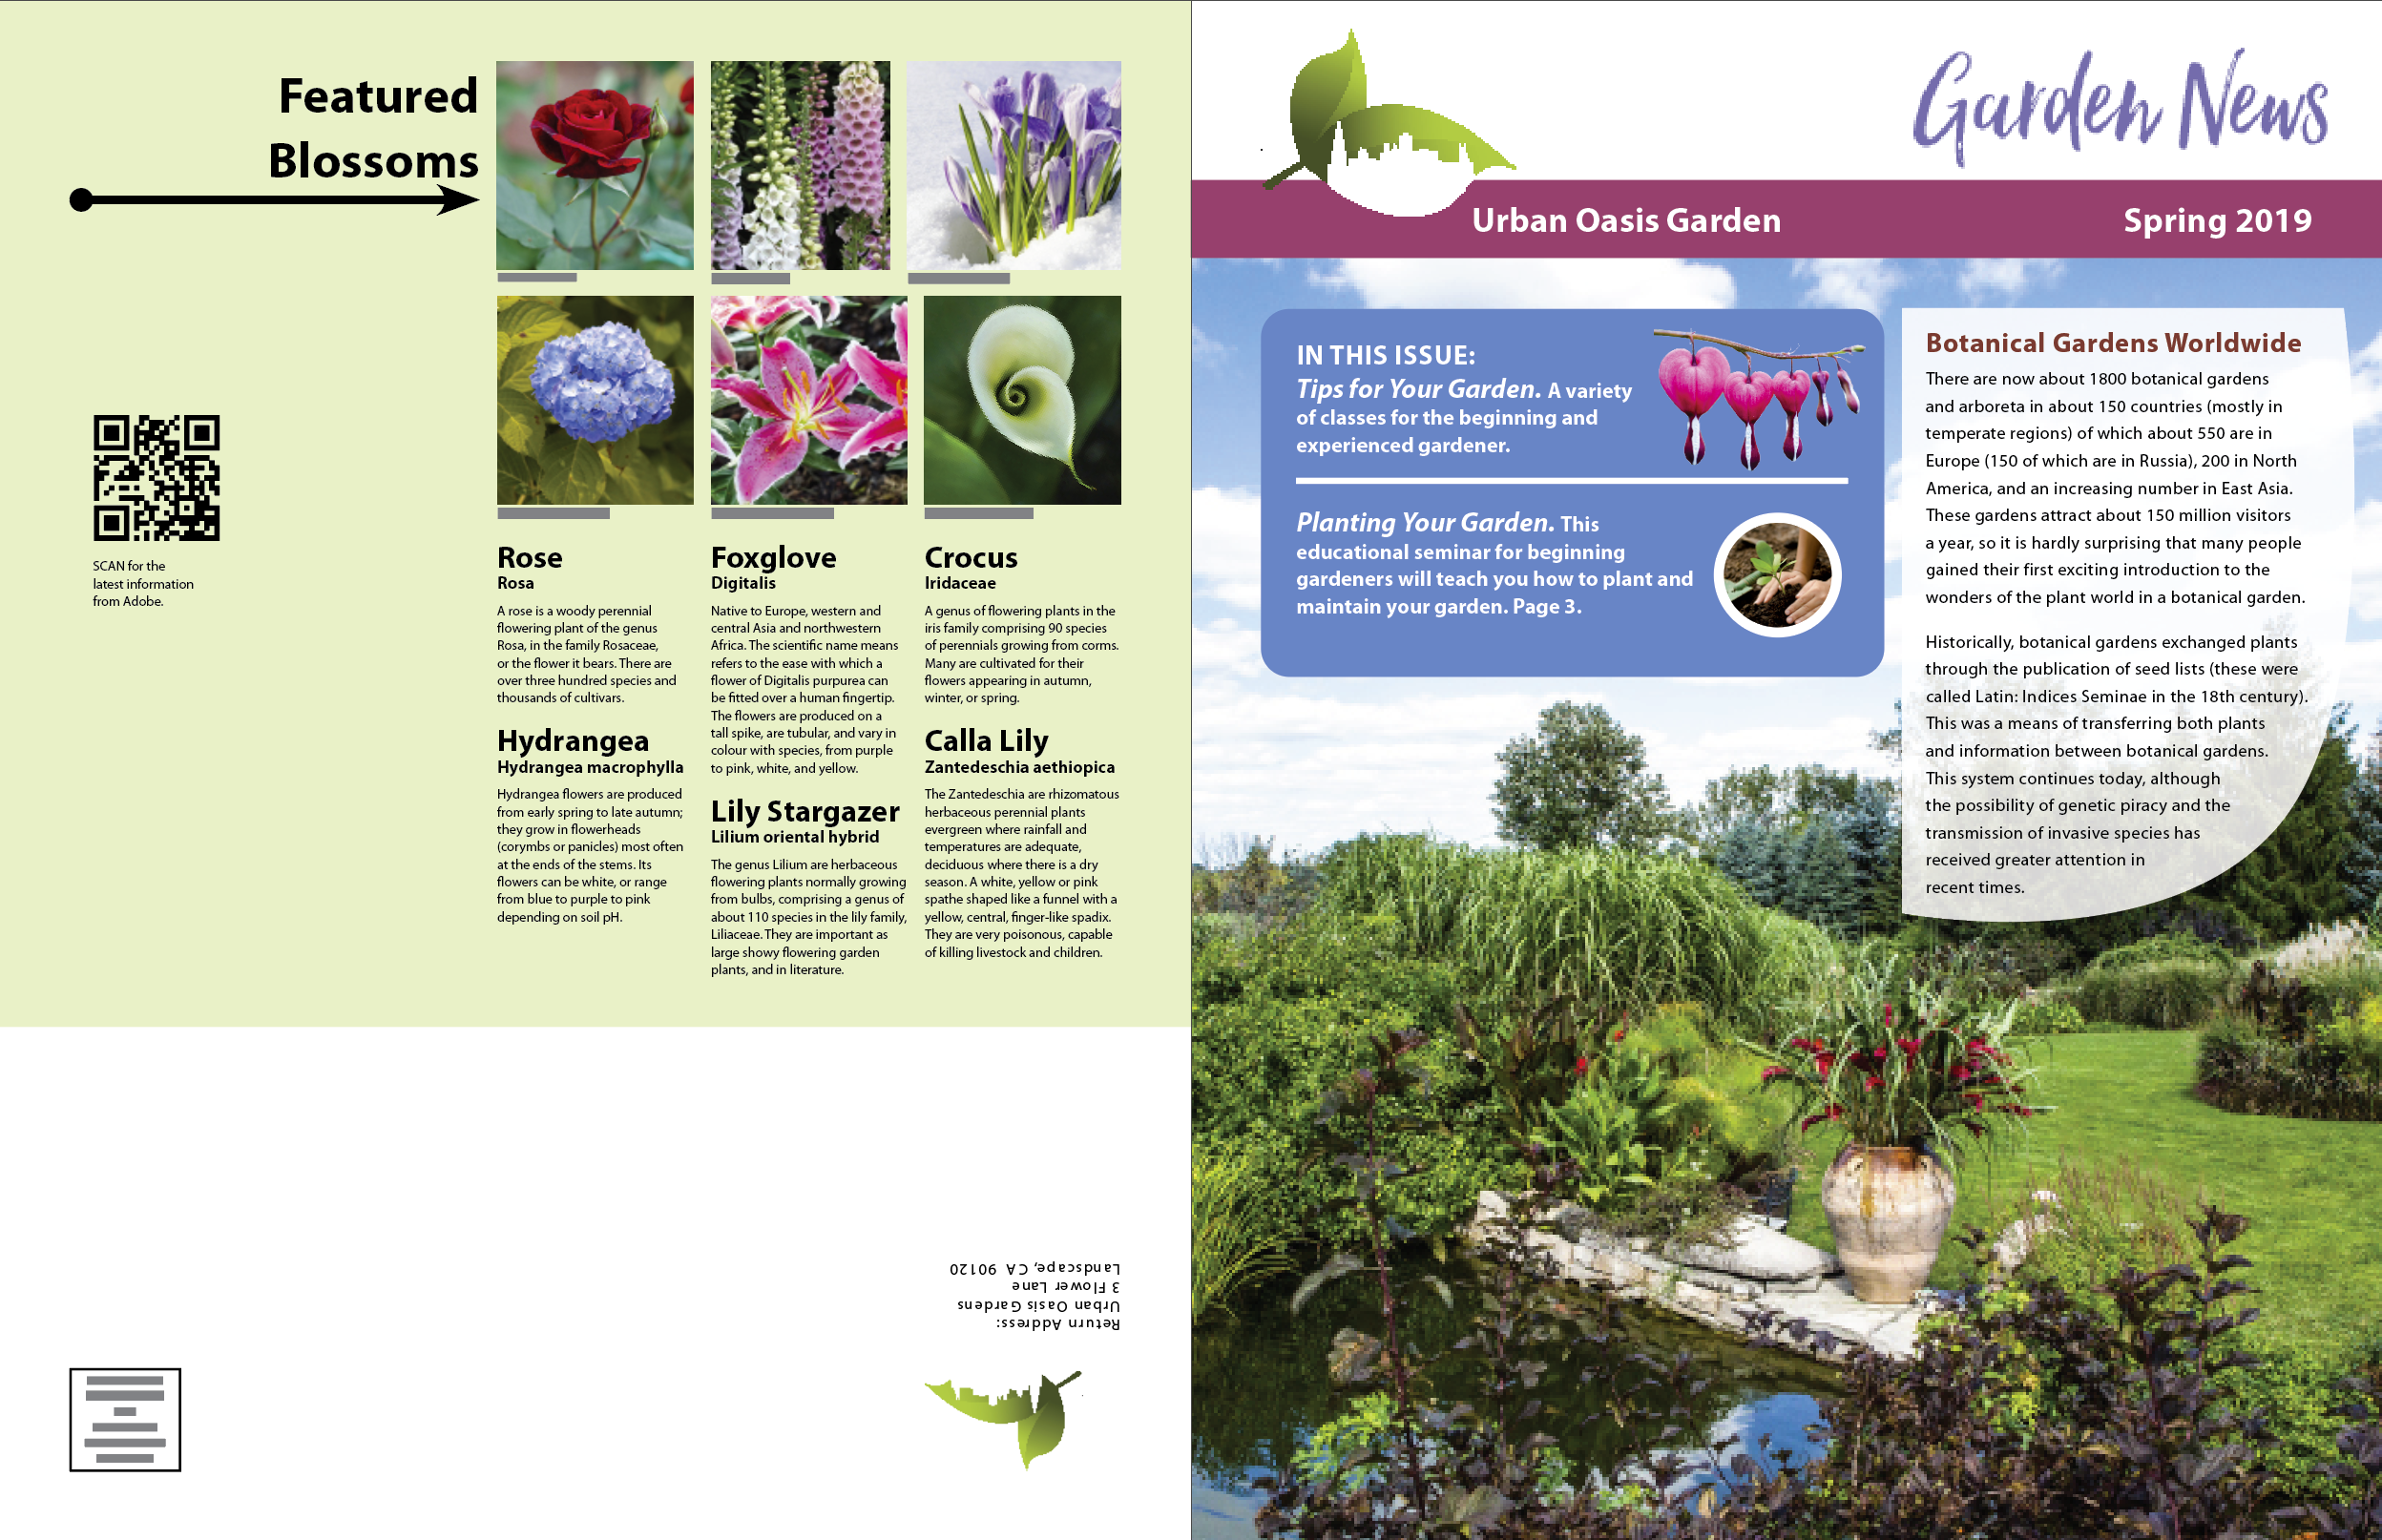
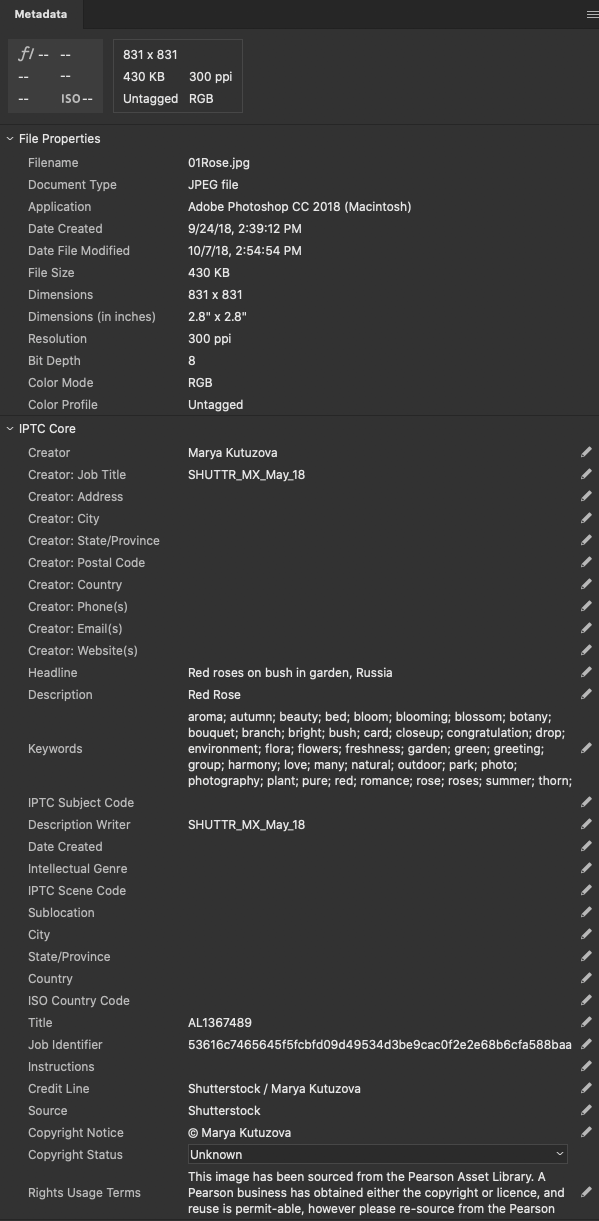
Metadata is information about an image that's part of the image's file data. It can hold things like the GPS location of where a photo was taken, keywords, creator name and address and tons more. The graphic on the left shows the metadata as displayed in Adobe Bridge for the rose image in the upper left
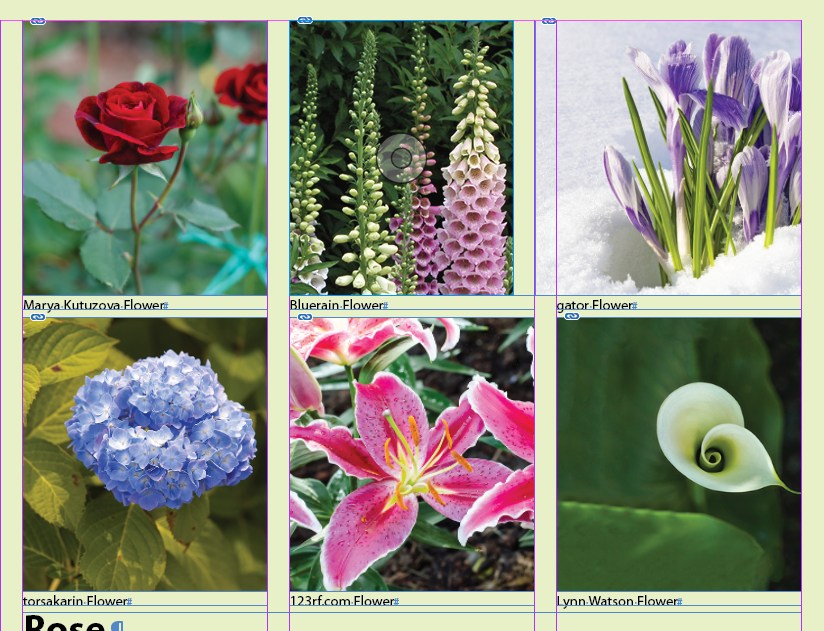
Next we'll retrieve metadata out of the six graphics files to give them a caption
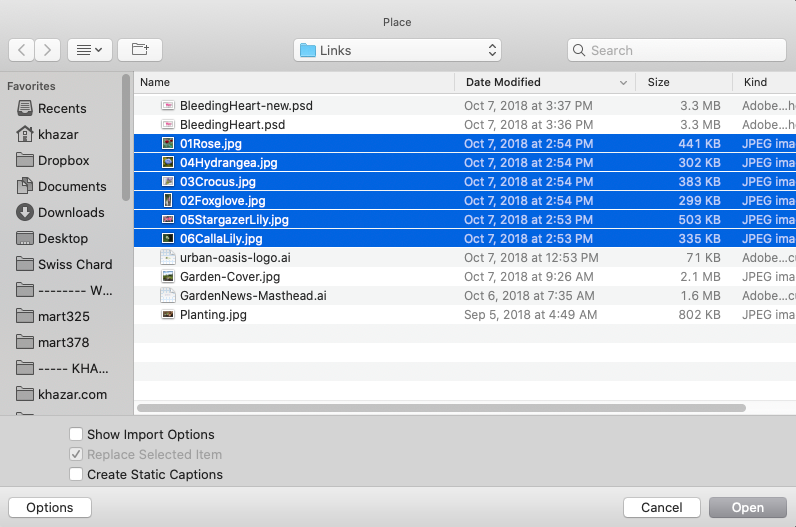
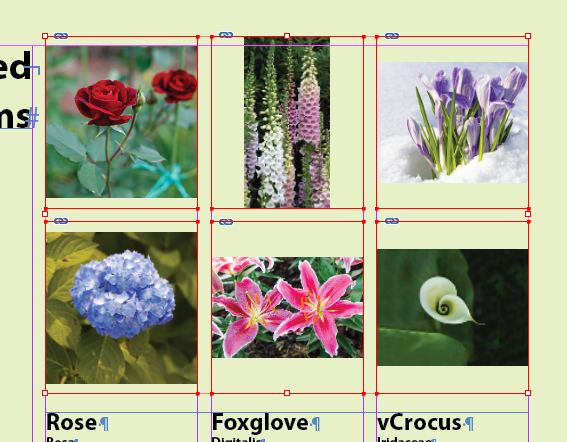
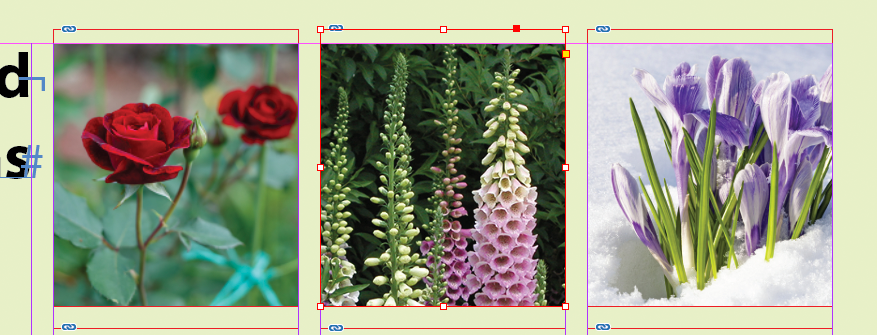
- Select the six images on the back page
- Open the Links panel and choose Flyout Menu > Captions > Caption Setup...
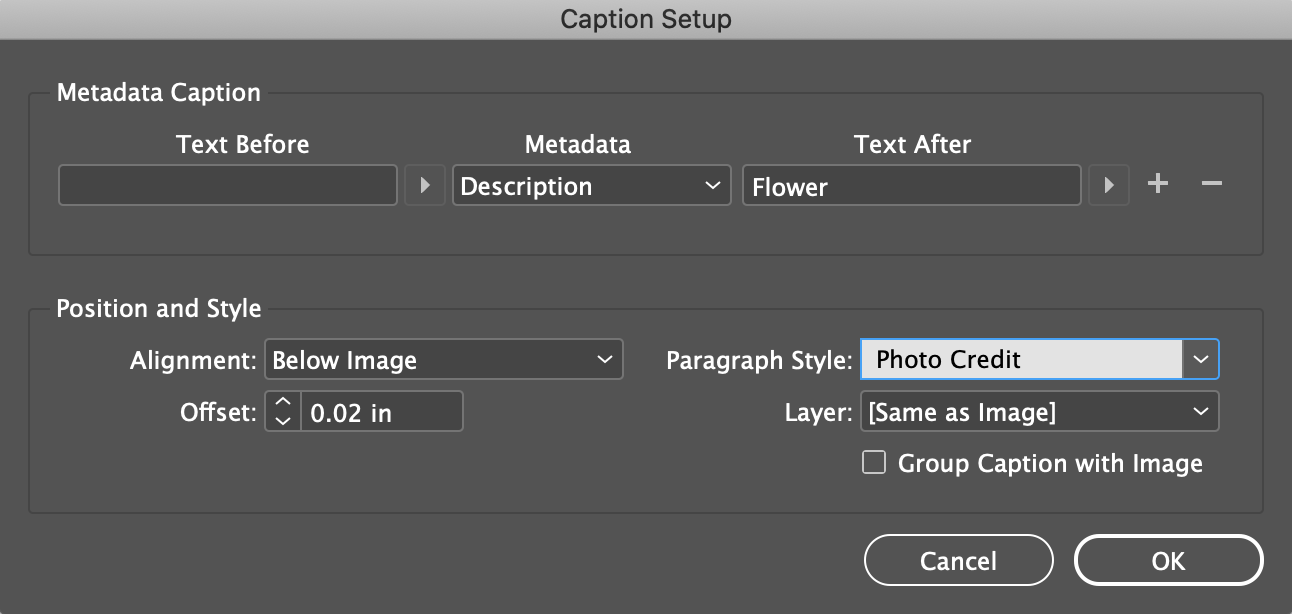
Text Before: (blank)
Metadata: Description (about in the middle of the list)
Text After: Flower
Alignment: Below Image
Offset: 0.02
Paragraph Style: Photo Credit
Layer: [Same as Image]
- Links panel Flyout Menu > Captions > Generate Static Captions
Wrapping text around a graphic
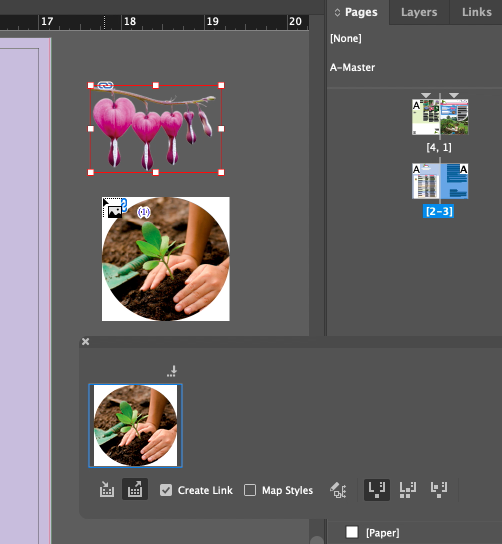
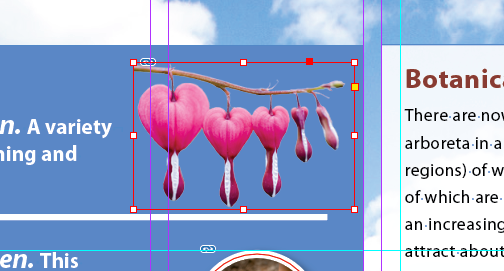
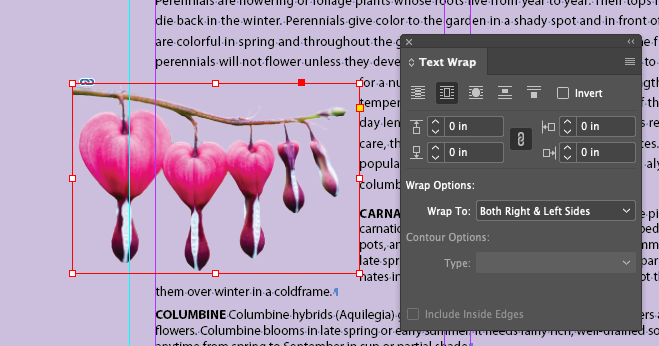
- Get the pink flower picture from the pasteboard
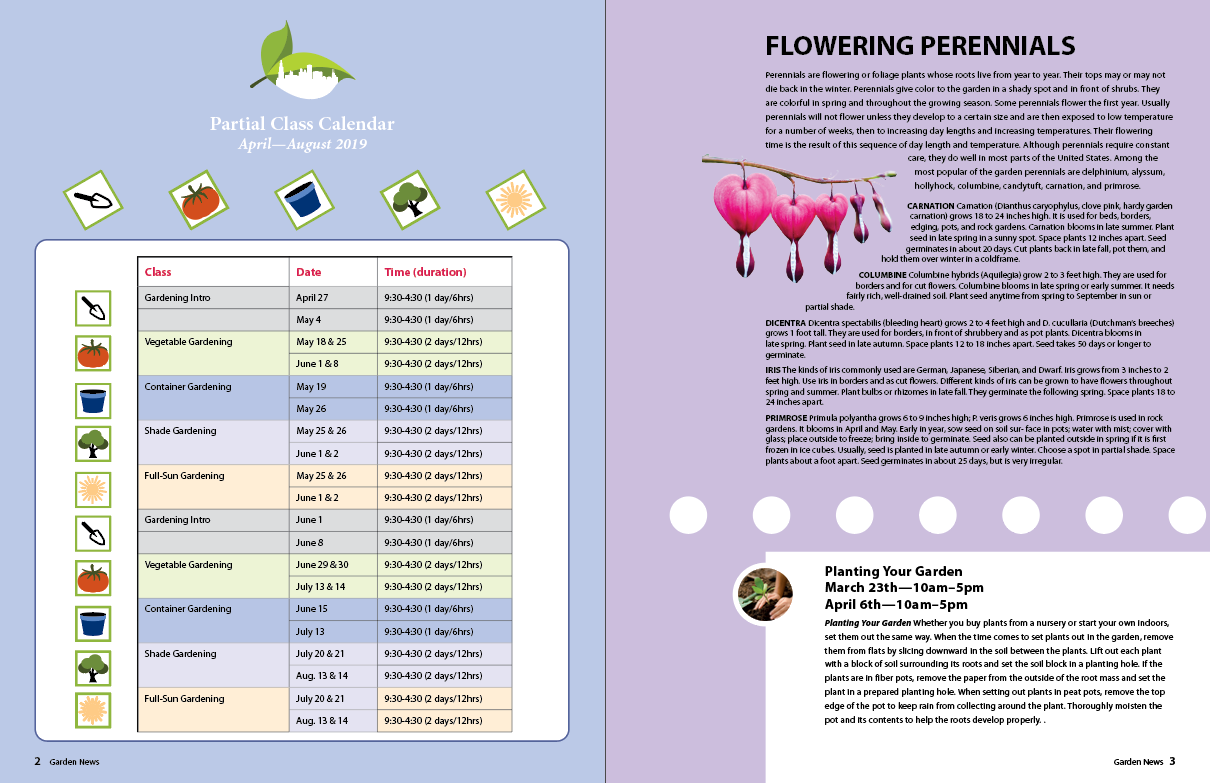
- Focus on the center of page 3
- Move the pink flower so it's centered on the left edge of the first column and so the bottom of the graphic extends a couple of lines below the paragraph starting with
CARNATION
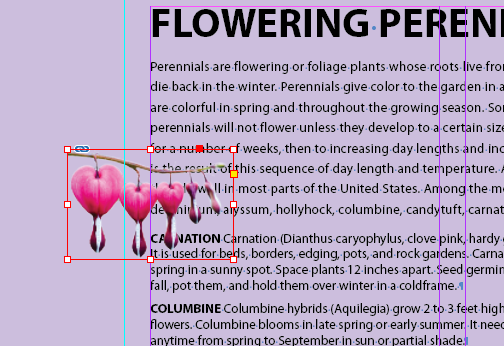
- Scale the graphic about 175% (check the control panel for the %) by shift-command/control dragging from the lower right corner
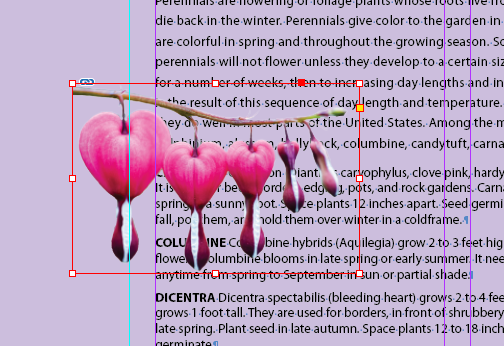
Be sure to hold down the command/control key, or only the frame will change size, and not the graphic.
- Choose Menu > Window > Text Wrap
- Choose the Wrap Around Bounding Box button
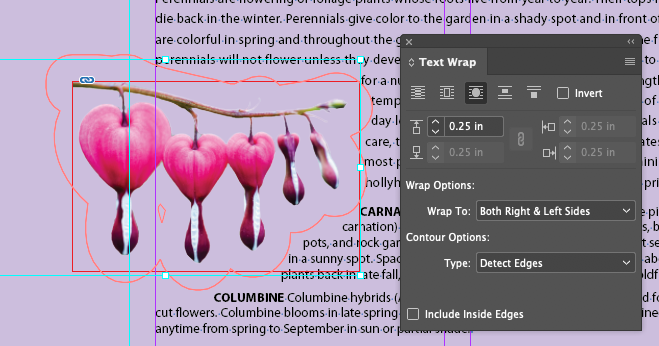
- Yuch! Too much space. Let's try Wrap Around Object Shape button
Distance from edge set to 0.25in
Wrap Options: Wrap To:
Both Right & Left Sides
Contour Options: Type:
Detect Edges
Then nudge with the arrow keys to get a good text wrap.
Transforming the Shape of Frames
How to get non-rectangular shapes...
Working with Compound Shapes
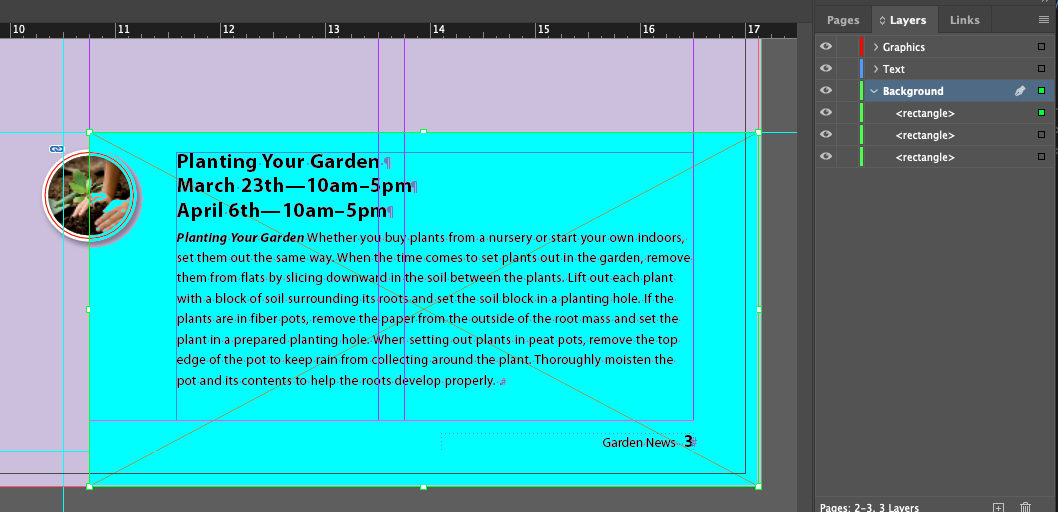
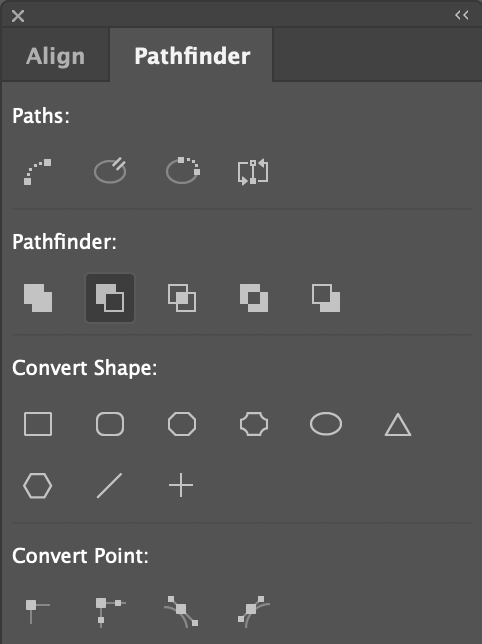
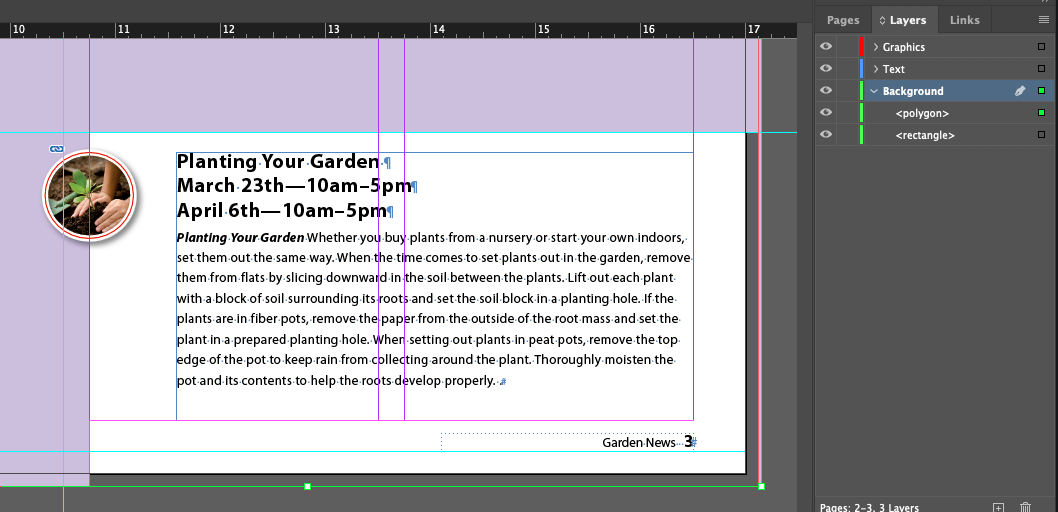
We'll change the shape of an existing rect by subtracting shapes from it
Converting Shapes
This is stupid. No one does this. Just draw a circle instead, but since the book did it to also show repeating shapes and distributing them, let's play along...
- Select the Graphics layer
- With the Rectangle tool (not the Rectangle Frame tool) draw a .5 inch square

- Fill it with white

- Menu > Object > Convert Shape > Ellipse

Repeating Shapes
Much more useful...
- Menu > Edit > Step And Repeat
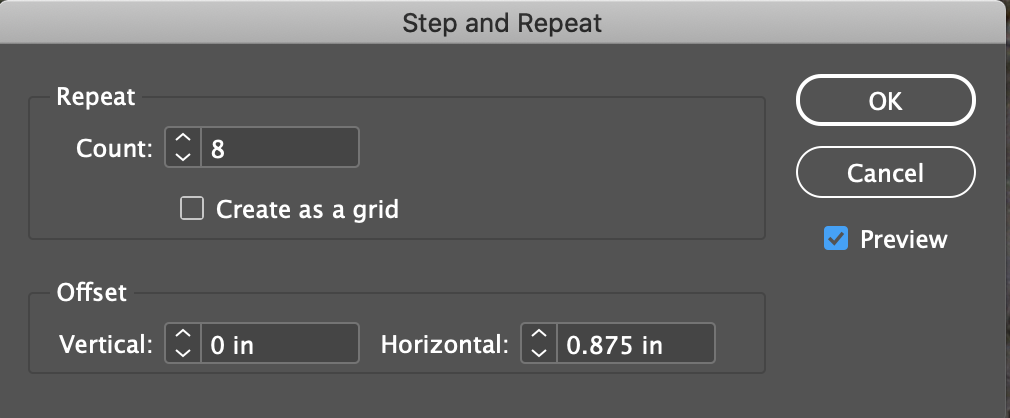
Repeat
Count: 8
(do the distance first, or this will give an error)
Offset
Vertical: 0 in
Horizonal: 0.875 in (7/8 inch)

Result
- Select the 3rd and 8th circles and delete them

Cyan color for visualization only

Result
- Select all the circles

- Choose the Distribute Across Horizontal Centers button in the Align section of the Control Panel

Result
- This isn't in the book, but I feel the positioning of these circles is rather accidental and arbitrary. I'd group them, uset the Center alignment tool int the control panel set to
Align to Page
in the Align popup menu, then tweek them so their centered between the two horizontal guides

Result
Adding Rounded Corners to Shapes
More Ooh, look, the marketing department told us we had to demo this cool new feature
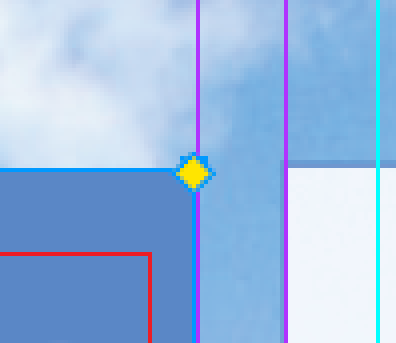
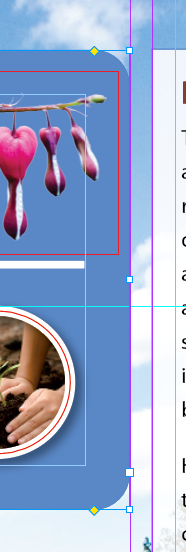
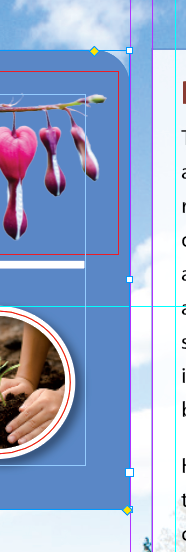
demos. The UI is the same as Illustrator, drag the icon at the corner to round the corner.
Transforming and Aligning Objects
Very similar to every other design app, but a bit more access thru the Control panel
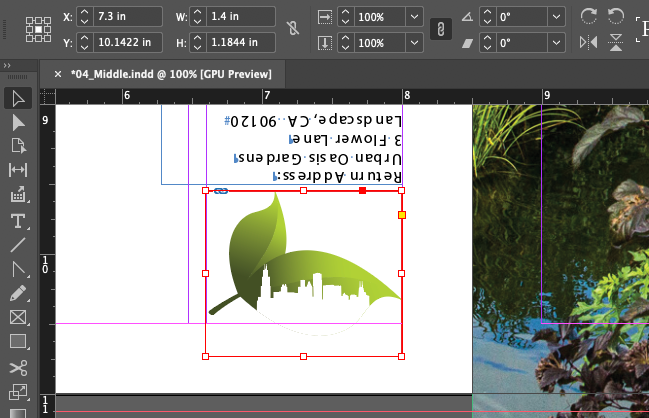
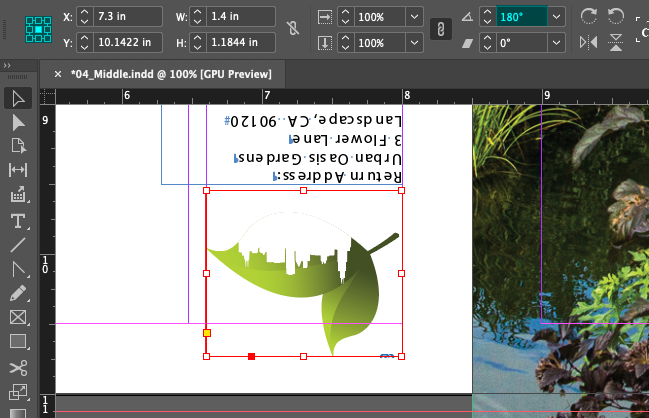
Rotating an Object
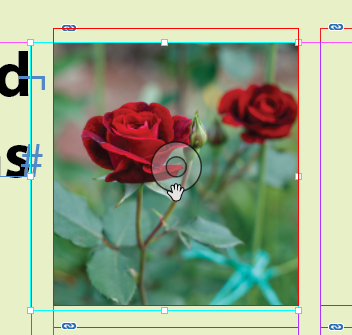
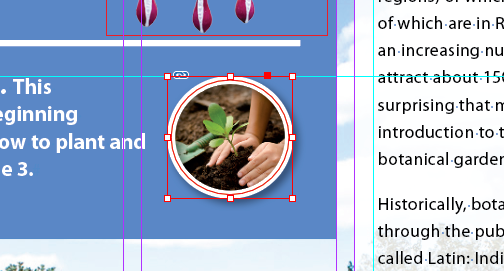
Rotating an image within its frame
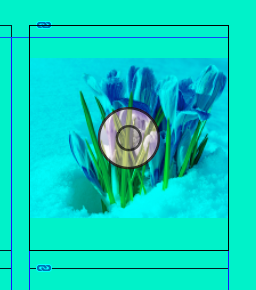
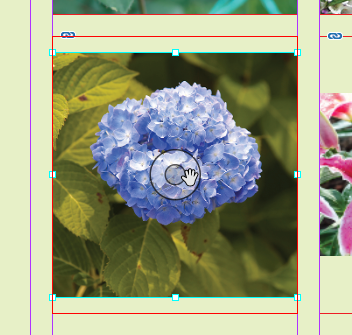
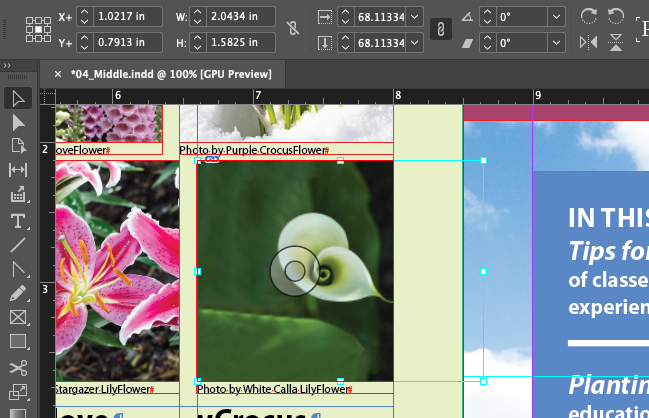
- Focus on the Cala Lily image above where we've been working on page 4
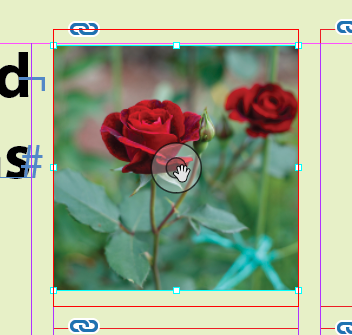
- Select the image (not the frame) by clicking on the donut thingy in the center (aka the content grabber)
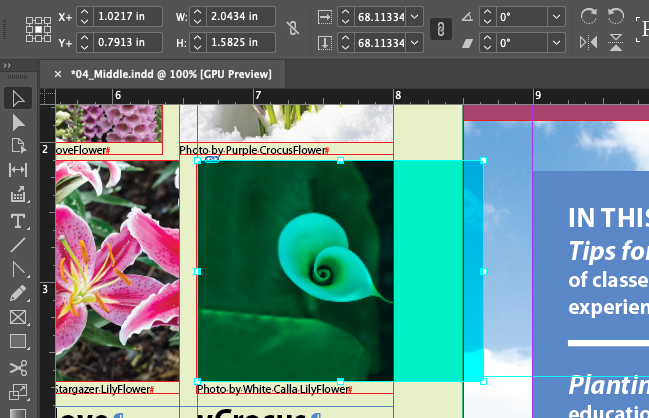
- Drag from the corner to about -30°
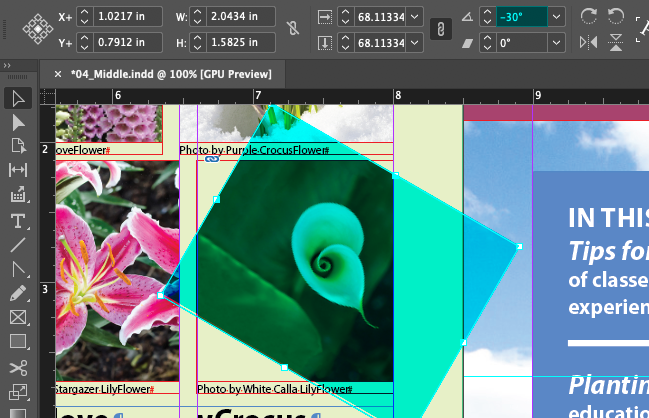
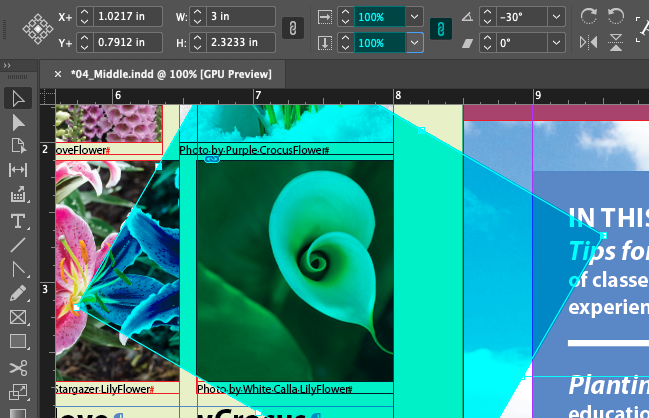
- Make sure the Constrain Proportions for Scaling is set to on and change the scale from 68.11334 to 100
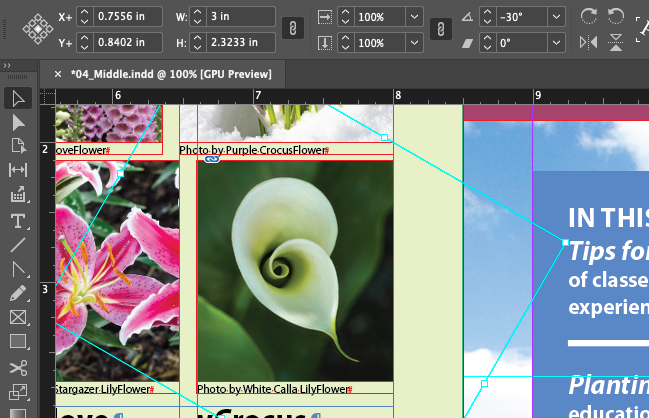
- Nudge the image until it feels centered
Aligning Multiple Objects
Like I like to say, lining stuff up is half of good design. These tools really help with that.
- Focus on page 2
- Menu > Window > Object > Layout >
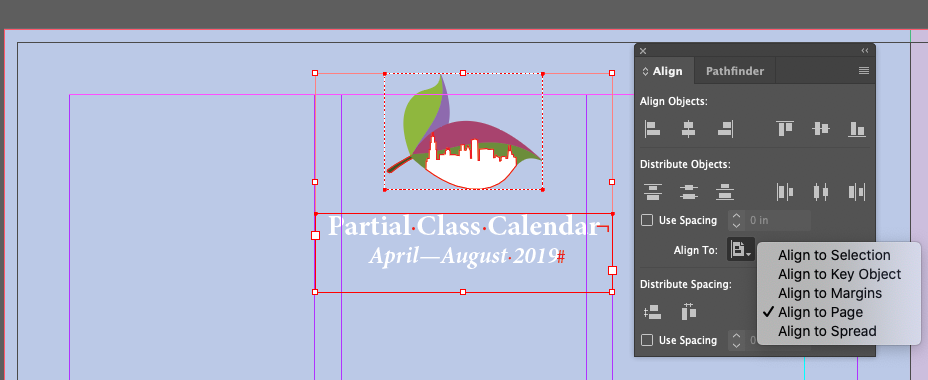
Is it just me, or were these already aligned?
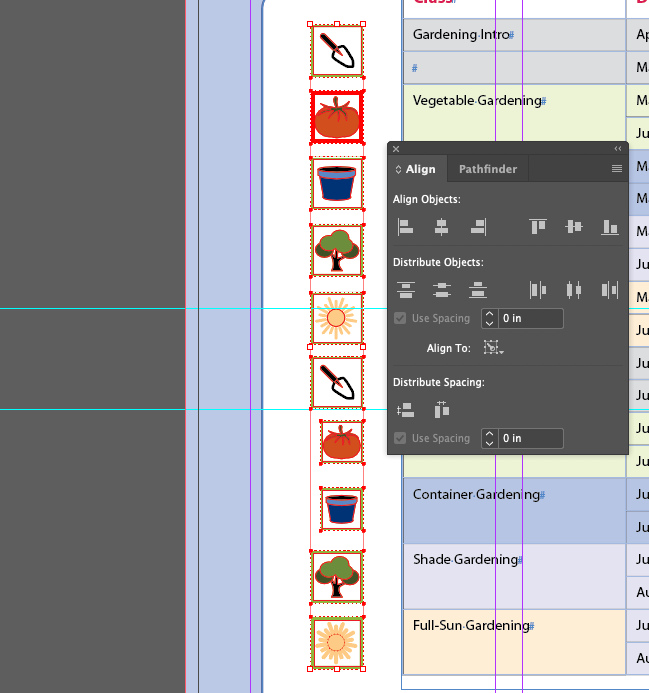
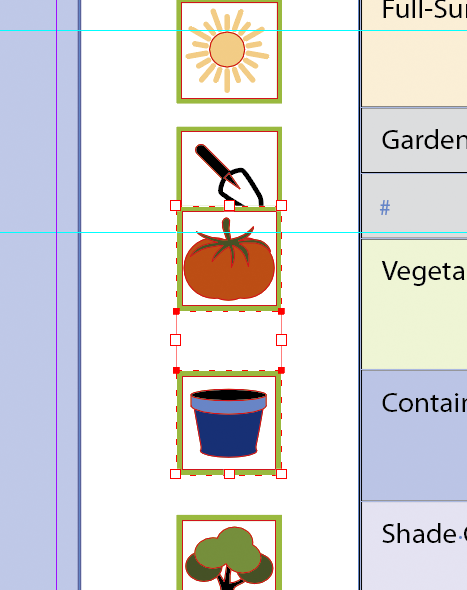
- Select all those little veggie icons on the pasteboard near page 2, along with the tomato icon that's on the page
- Click a second time on the already selected tomato icon to set it to the Key Object to create alignment around
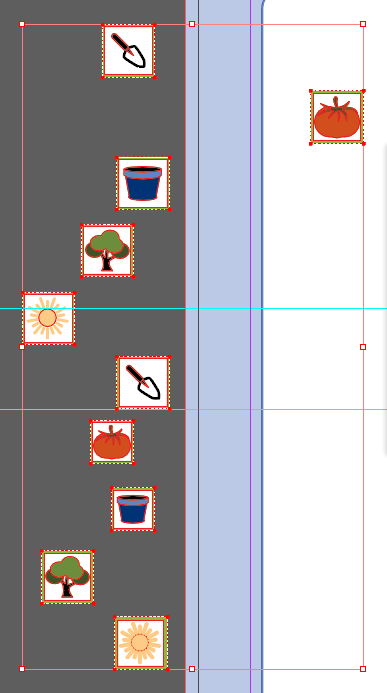
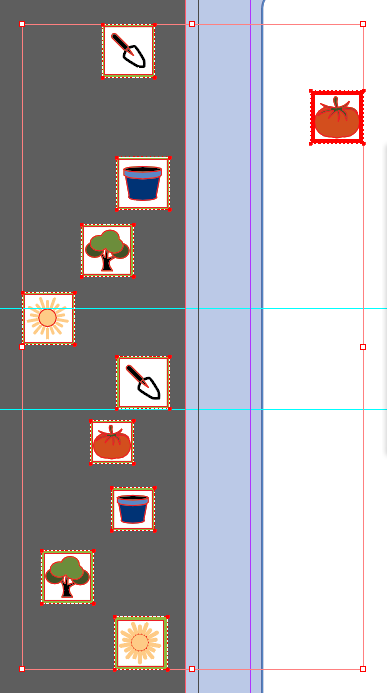
The tomato gets a thick line around it to indicate it is the Key Object for alignment.
The Alignment panel will automatically switch to Align To Key Object mode when you click the second time.
- Click on the Center Objects button
Result
Scaling Multiple Objects
Transforming Multiple Objects
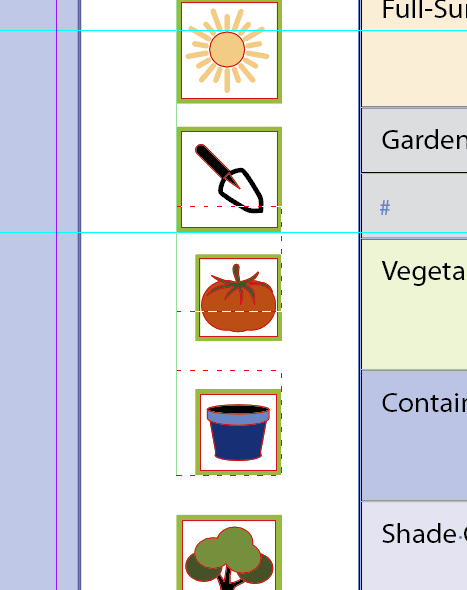
- Option/alt-drag the trowel and the next 5 icons up above the calendar
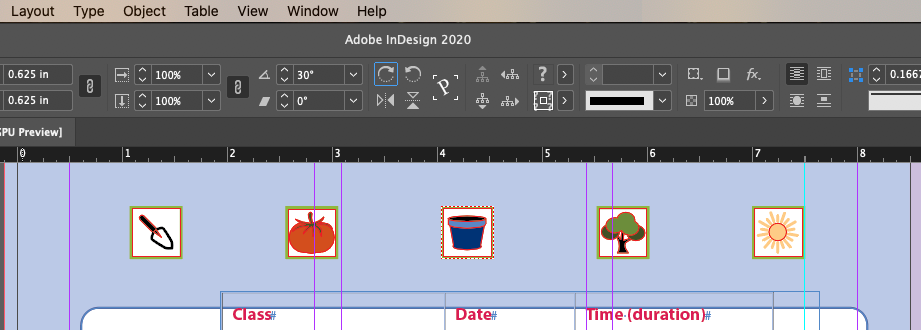
Holding the Option/alt key down when you drag will create a copy of the dragged object. Remember to hold down the option/alt key before clicking, or it won't work.
- Scale the icon to 125% and rotate it 30°
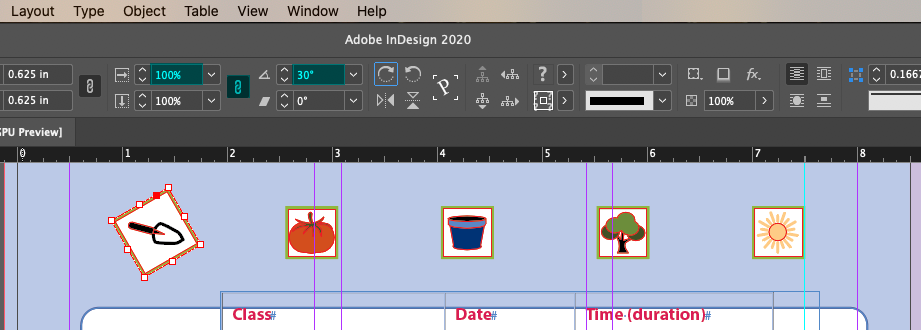
- Choose Menu > Object > Transform Again > Transform Sequence Again Individually
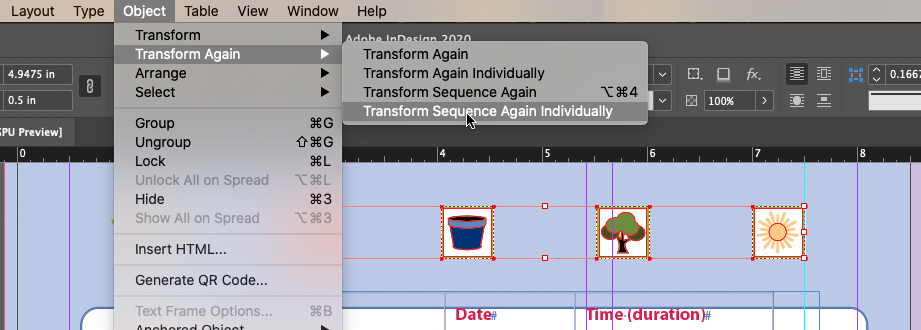
This is a great feature, I know of no other app that has it. Be great if they added it to Illustrator!
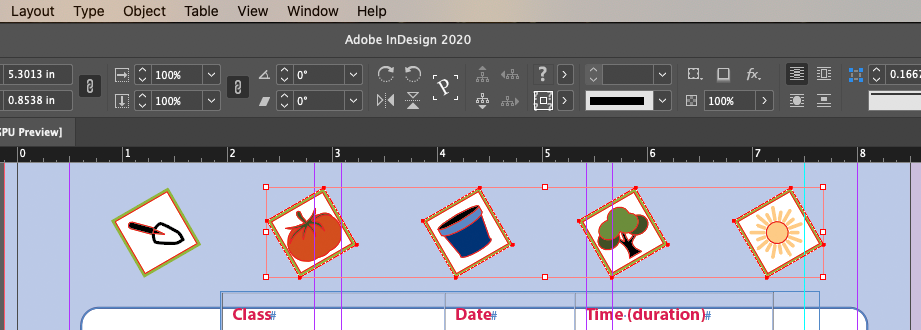
Result
1
Selecting and Modifying Grouped Objects
This is pointless and completely impossible to remember how it works. It's easier just to use the direct selection tool, or ungroup the objects and edit them that way. Or (new feature) you can just double-click on the object within the group you want to select and InDesign does it. Essentially, it Isolation Mode (adapted from Flash) that's existed in Illustrator for about 20 years.
Just skip this...
Drawing Lines and Modifying Arrowheads
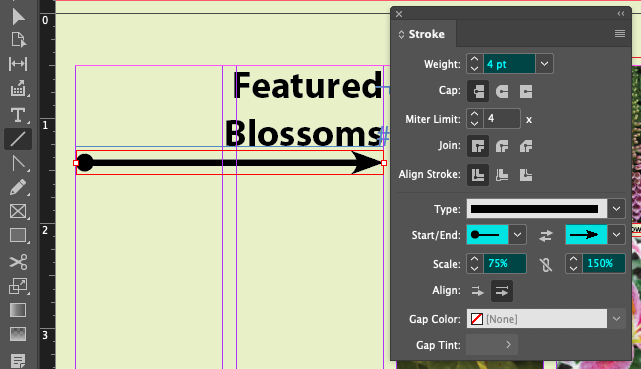
Yes, InDesign can draw lines with arrowheads (and tails)!
- Pretty much everything you need to know right there in the dialog...
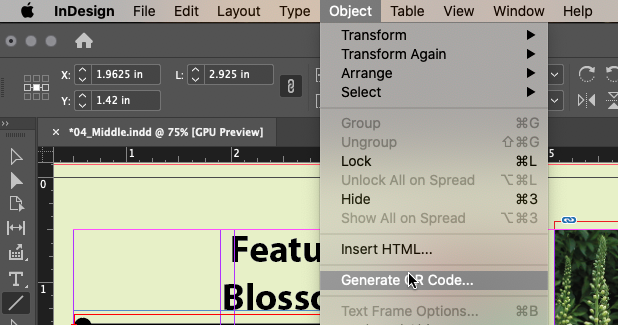
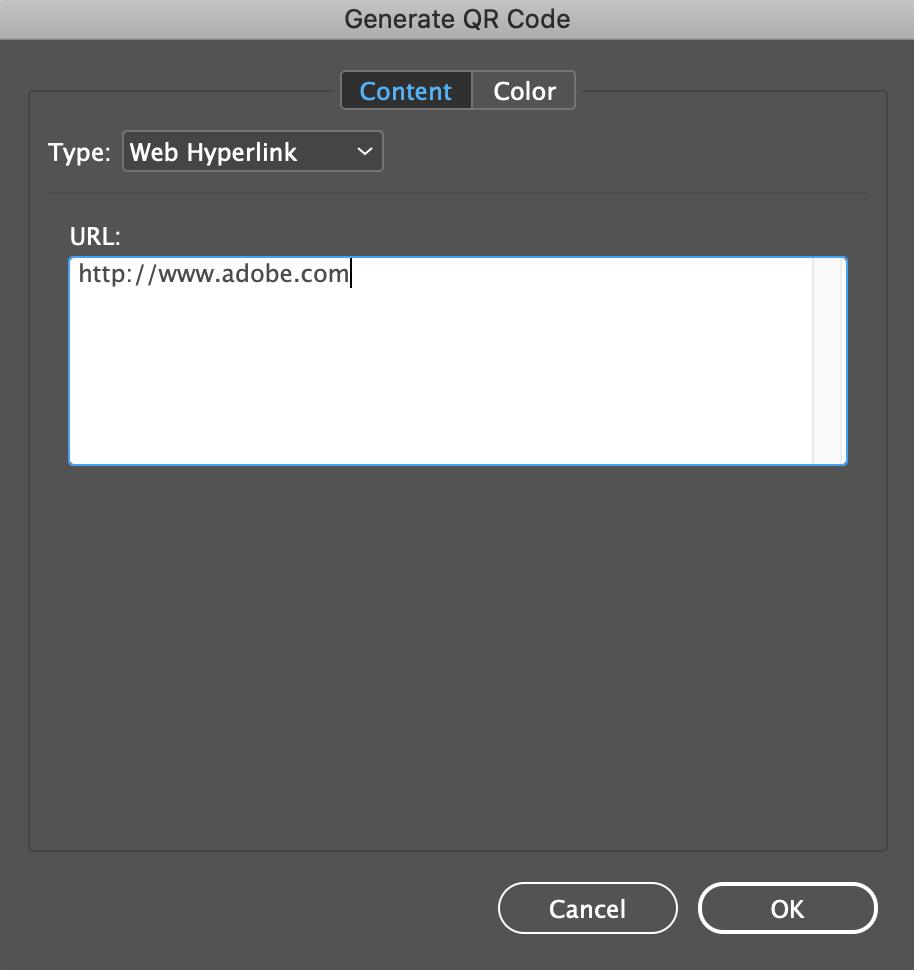
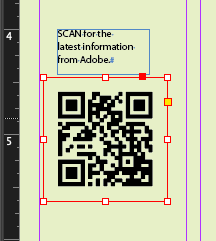
Creating a QR Code
Nice little feature if you ever need it. I don't see them being used as much as they used to be.
CHAPTER 04
Review Questions
- When should you use the Selection tool to select an object, and when should you use the Direct Selection tool to select an object?
- How do you rotate the graphic within a graphics frame without rotating the frame?
- Without ungrouping objects, how do yo select an object within a group?
- How do you align objects to another specific object?
Flowing Text Into An Existing Frame
The idea of flowing text is that you can take a large block of text, and using InDesign's automation features, have it flow into a container (a Text Frame) and automatically create more pages and frames as needed, or have tight control over taking the overflow of a text frame and flowing or linking it to another frame.
Simplest case first, take an existing block of text from a Word file and flowing it into a single Text Frame
Importing Text Into An Existing Frame
- Focus on the purple stroked text frame on the left top of the back page (page
i
)
- Menu > Place...
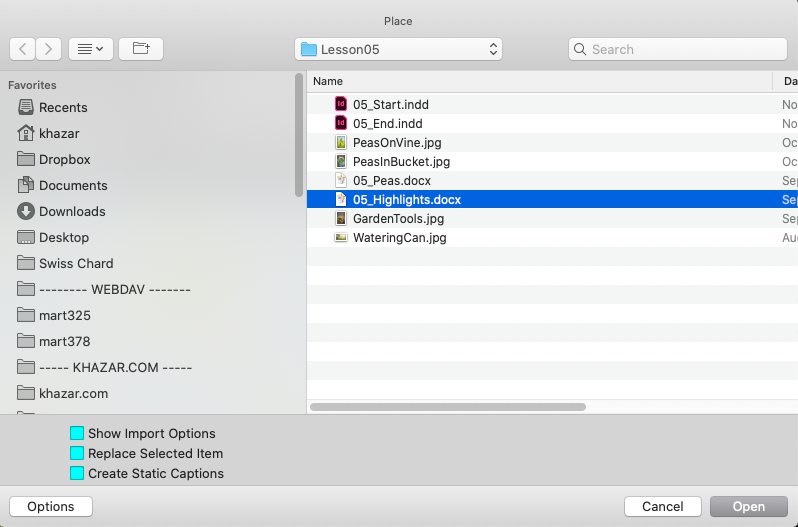
Make sure none of the options are set in the lower left, and open 05_Hightlights.docx
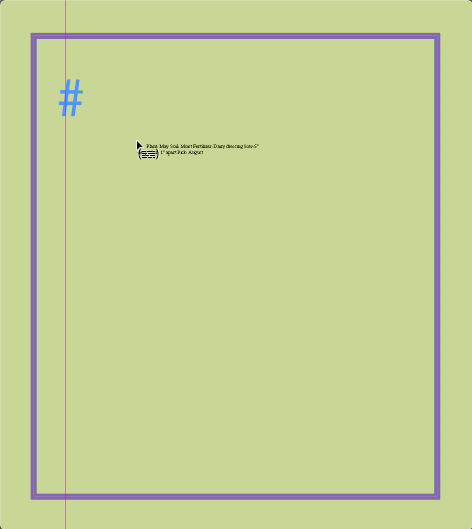
The book is wrong about the iconography of the cursor. You should see the text in parenthesis when you're over a frame you can drop the text into, but not the little vertical and horizontal lines as shown
- Click to drop the text in place

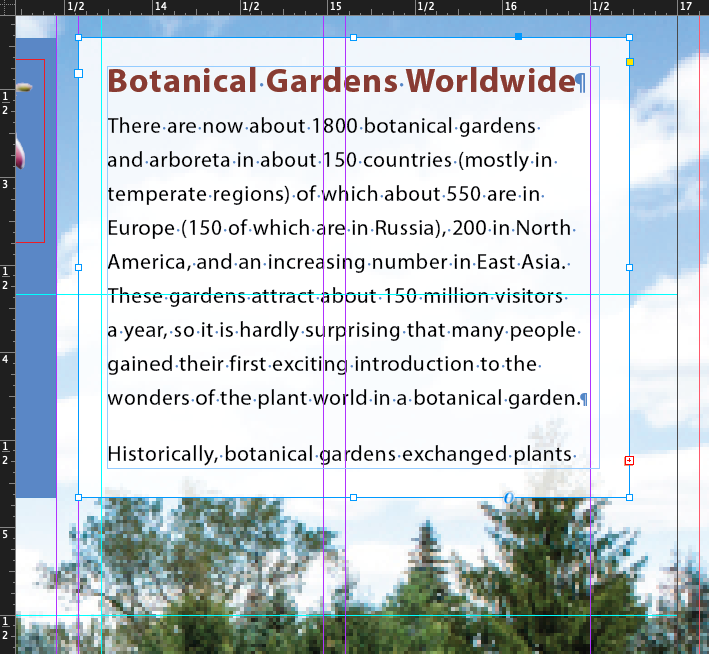
Notice that the text is overset
Applying A Paragraph Style
- Select the text in the newly placed text frame one of two ways:
- Click on the Text tool, click into the text frame, and select all with Menu > Edit > Select All
- Click on the Selection tool and click on the text frame
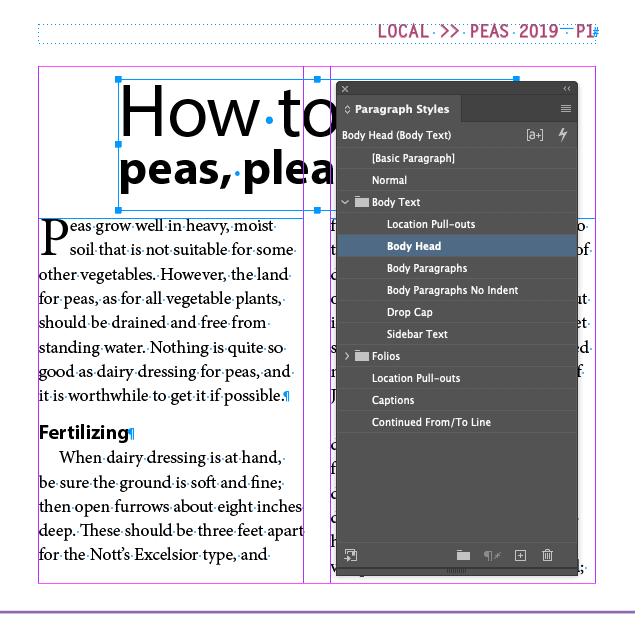
- In the Paragraph Styles panel, in the
Body Text
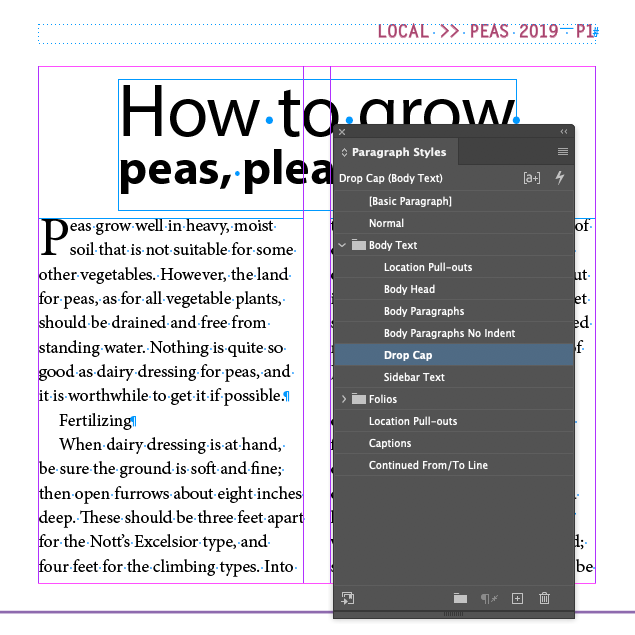
folder, choose Sidebar Text
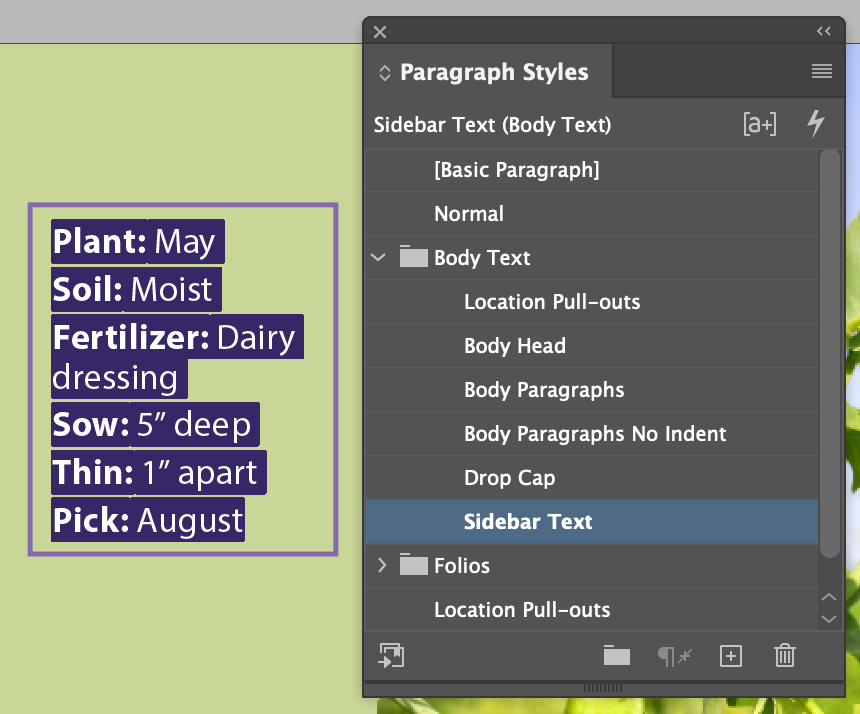
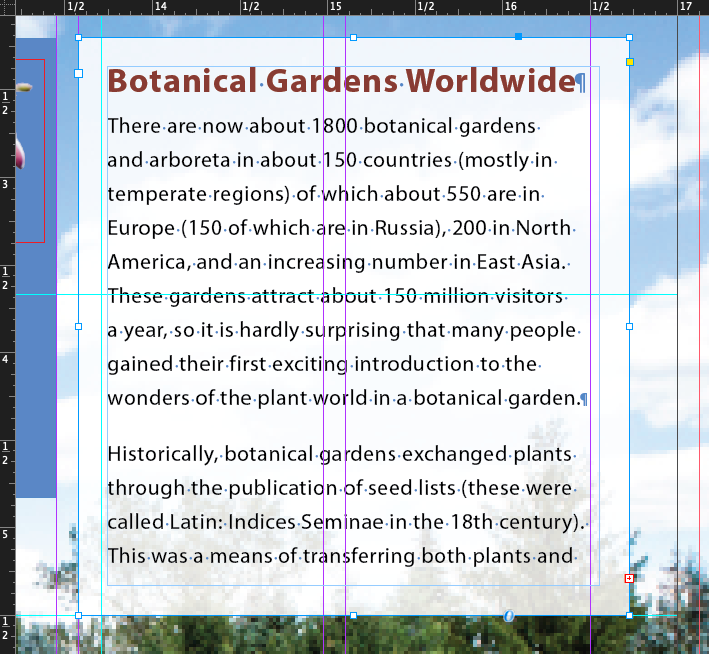
Since it's a style with a smaller font size, it now fits.
Things to notice:
- Paragraph Styles panel
- Folder structure in Styles panels
- Paragraph styles can include character styles within them
Resizing Text Frames Manually
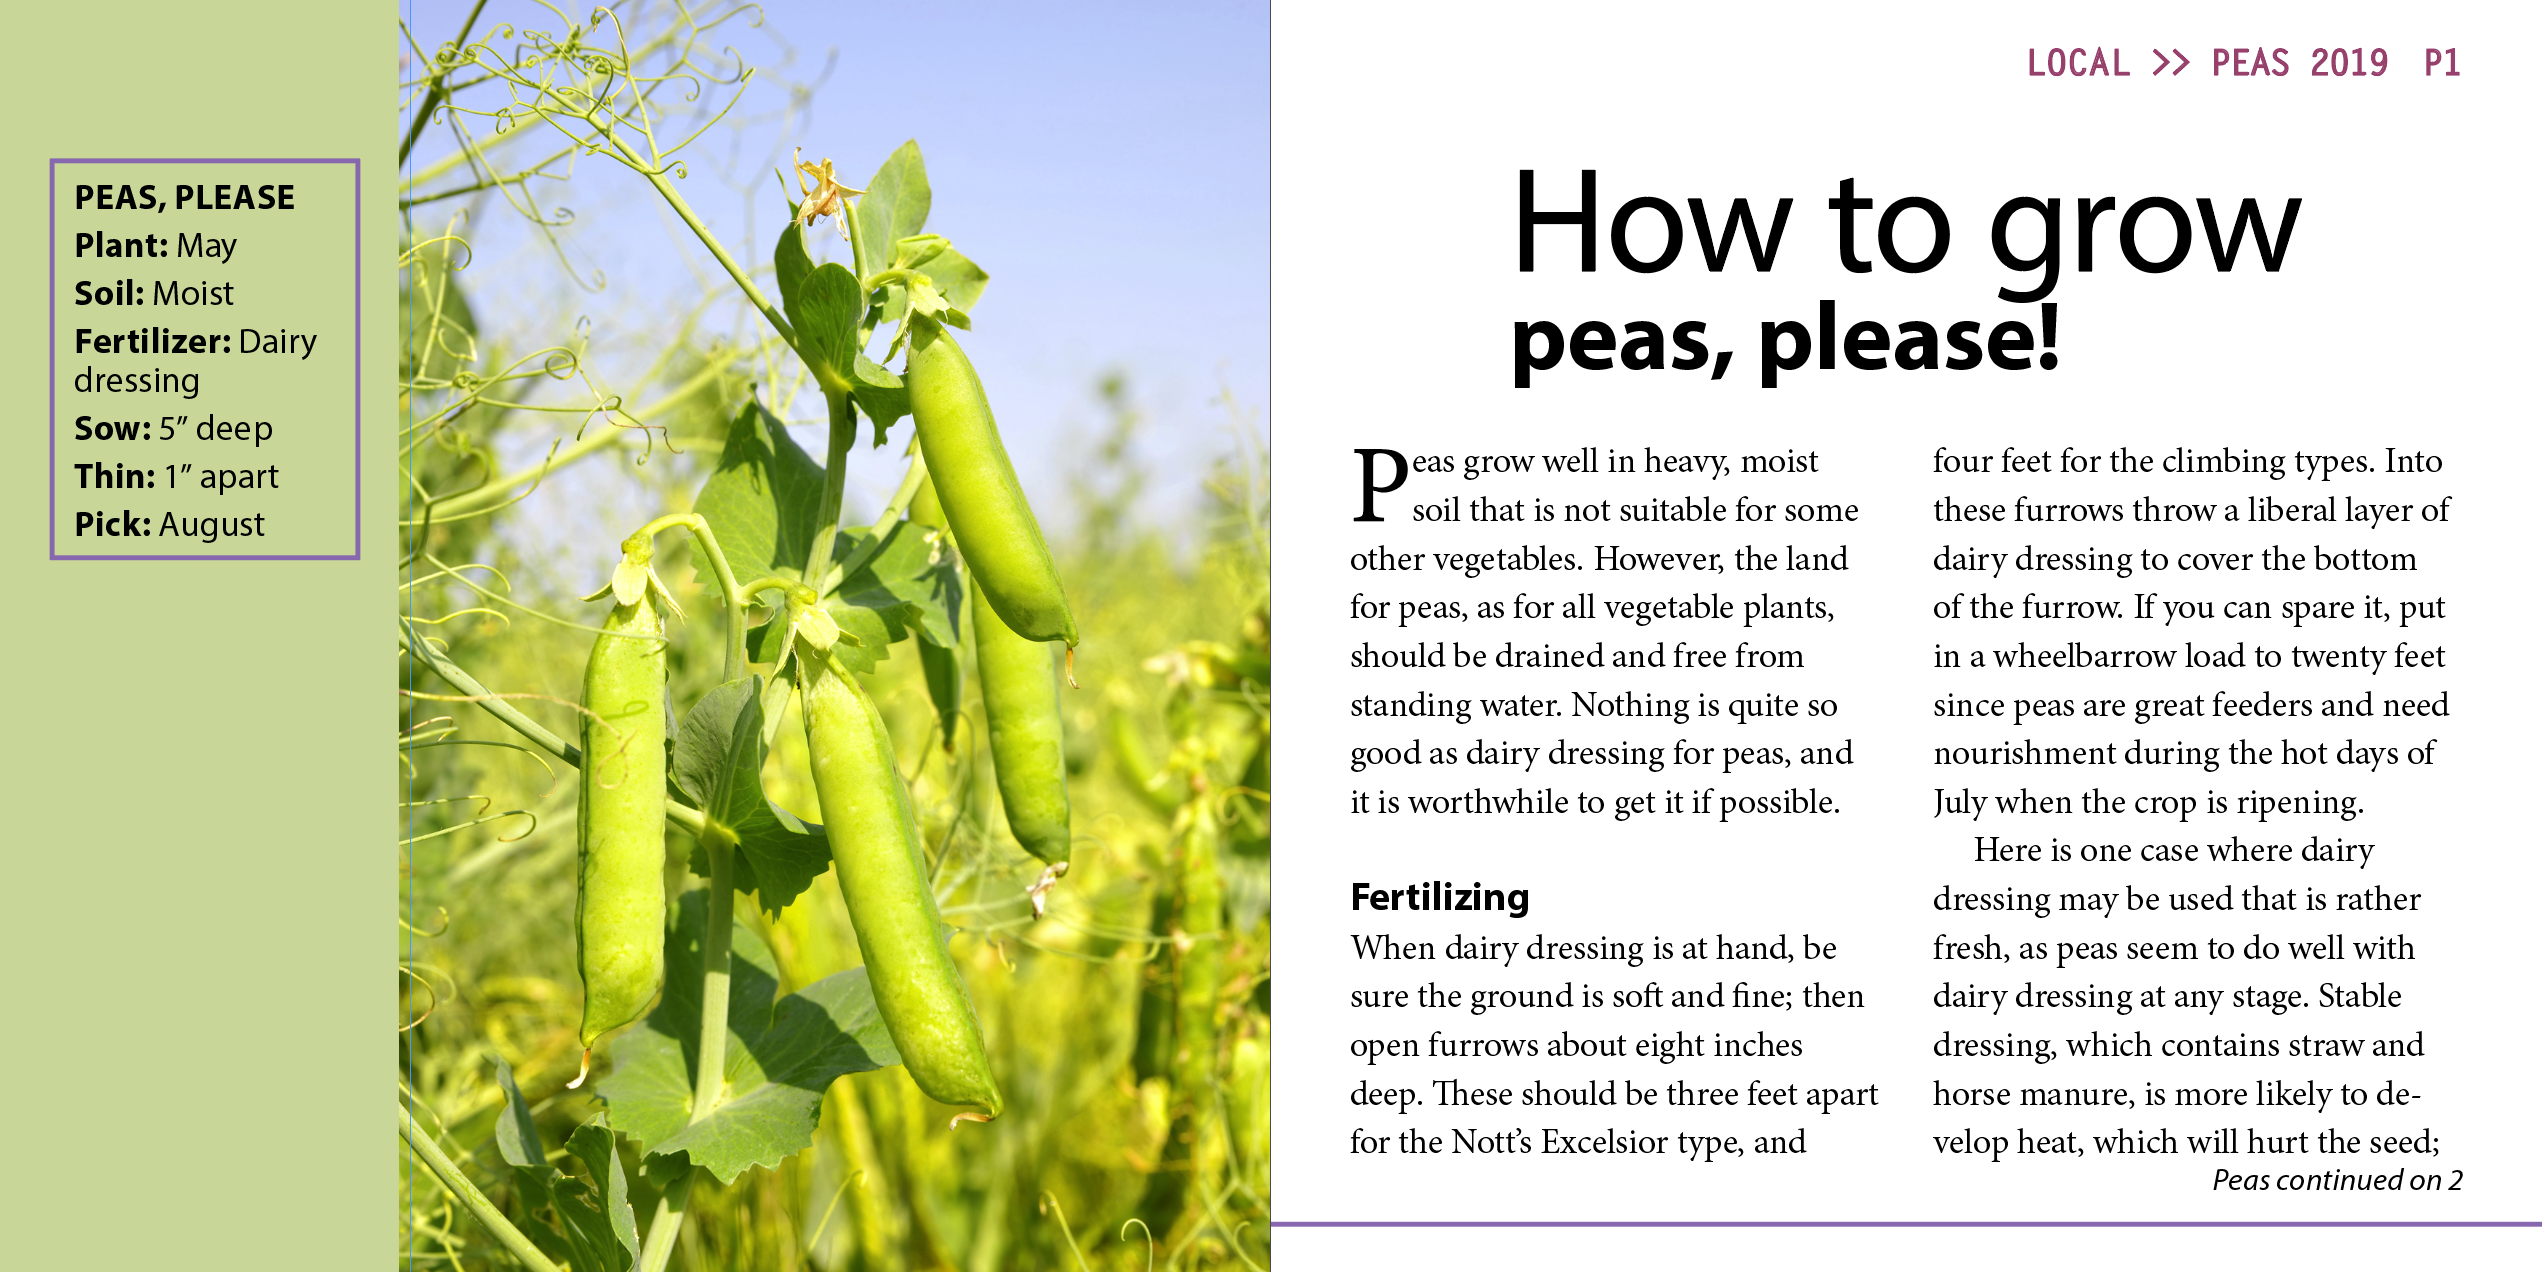
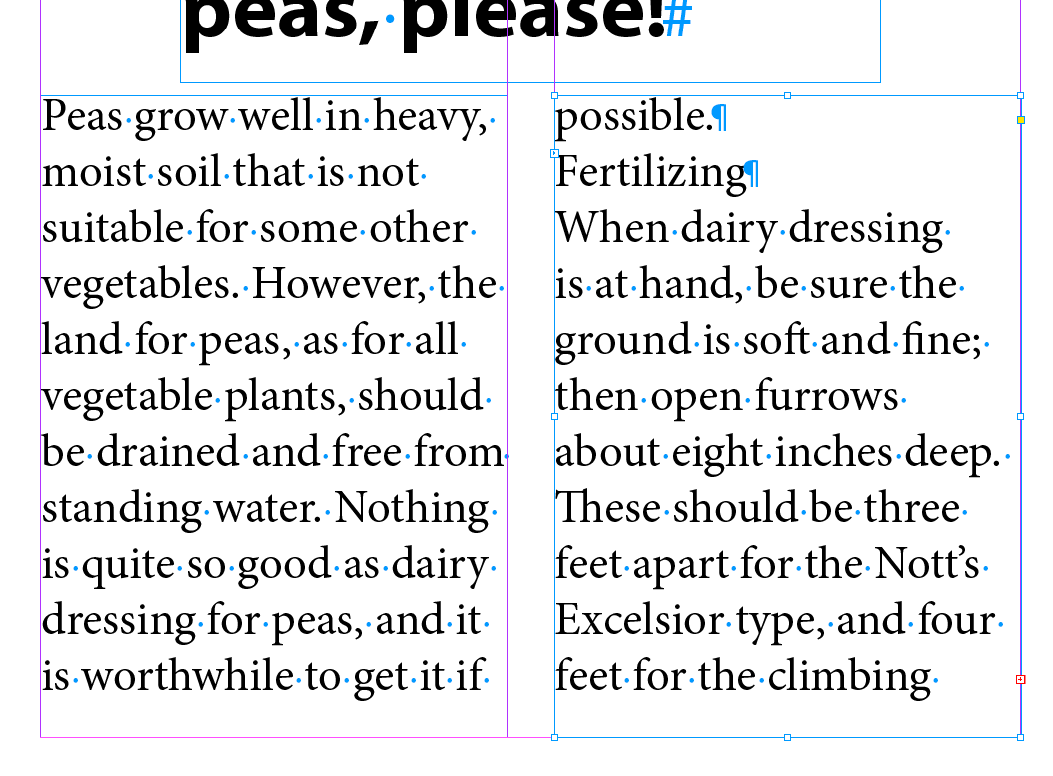
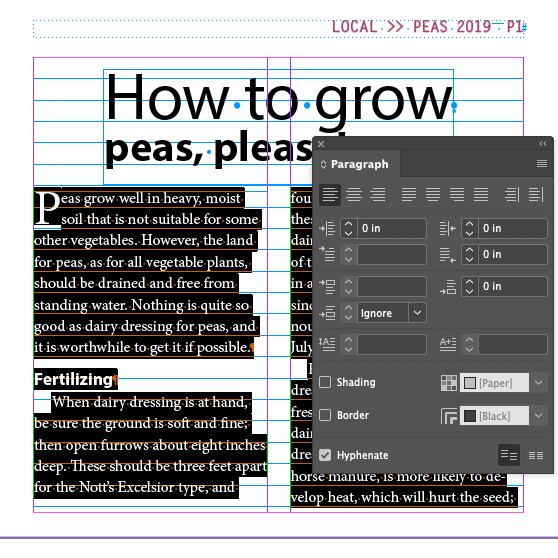
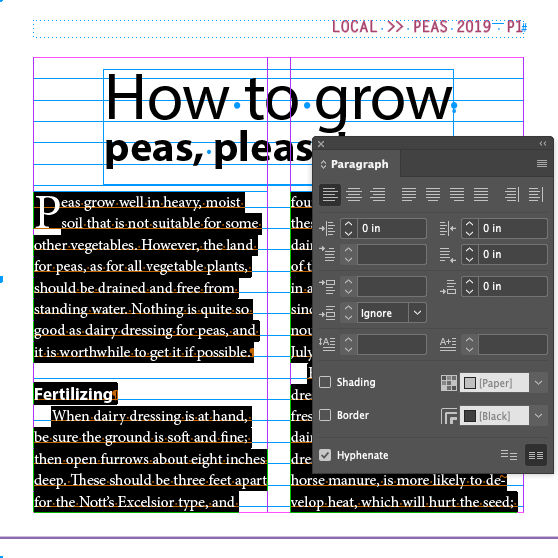
The Auto-Size feature
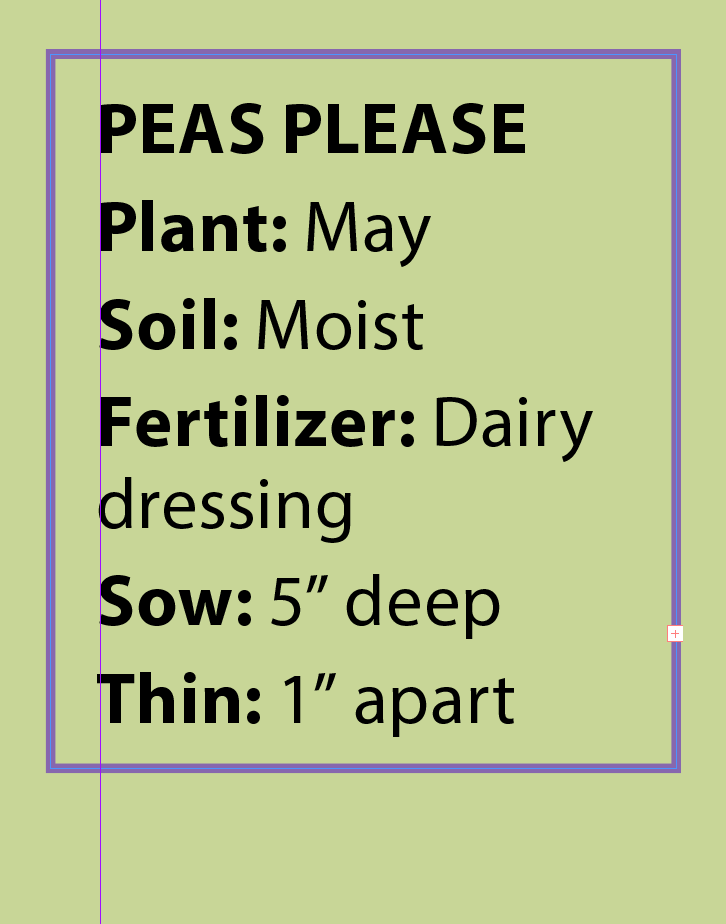
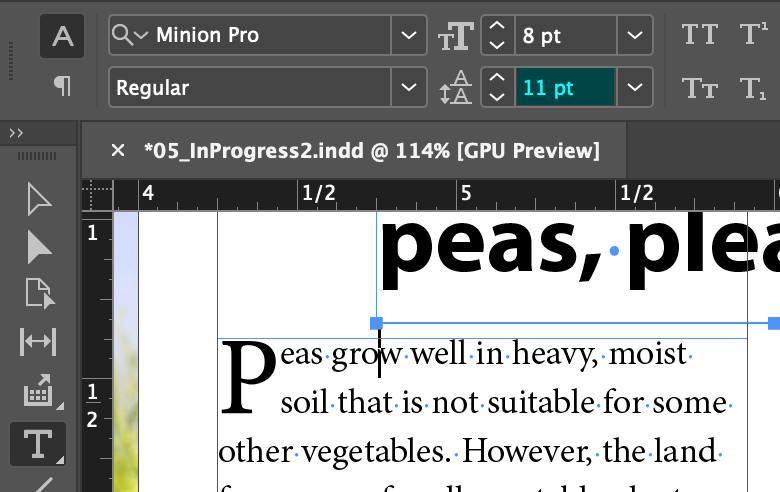
- With the Type tool, put cursor before Plant
- Turn on Caps Lock or hold the shift key and type
PEAS, PLEASE
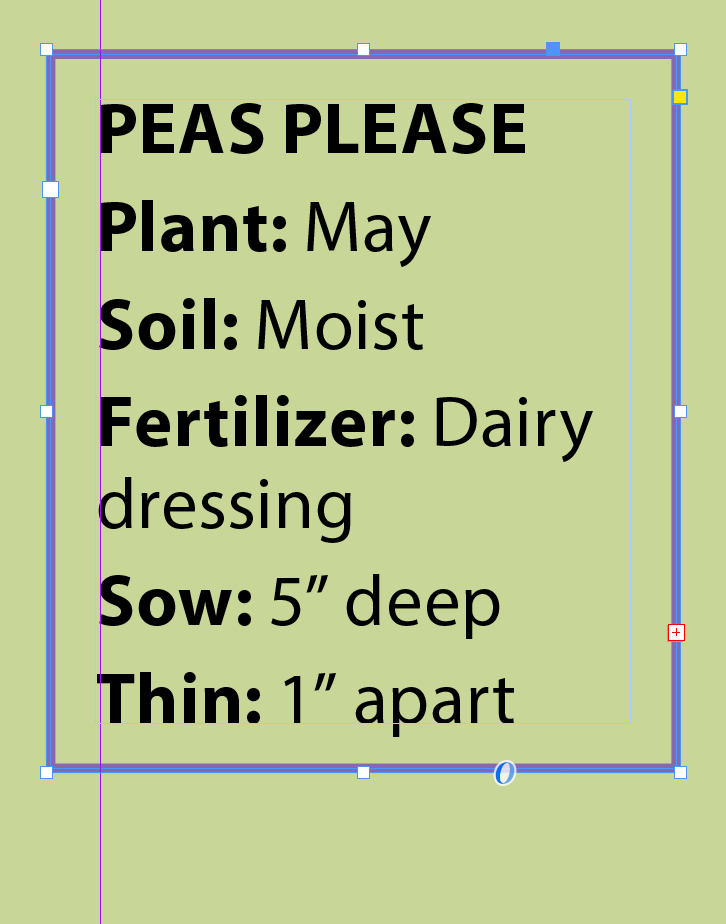
- Select the Text Frame with the Selection tool (V)
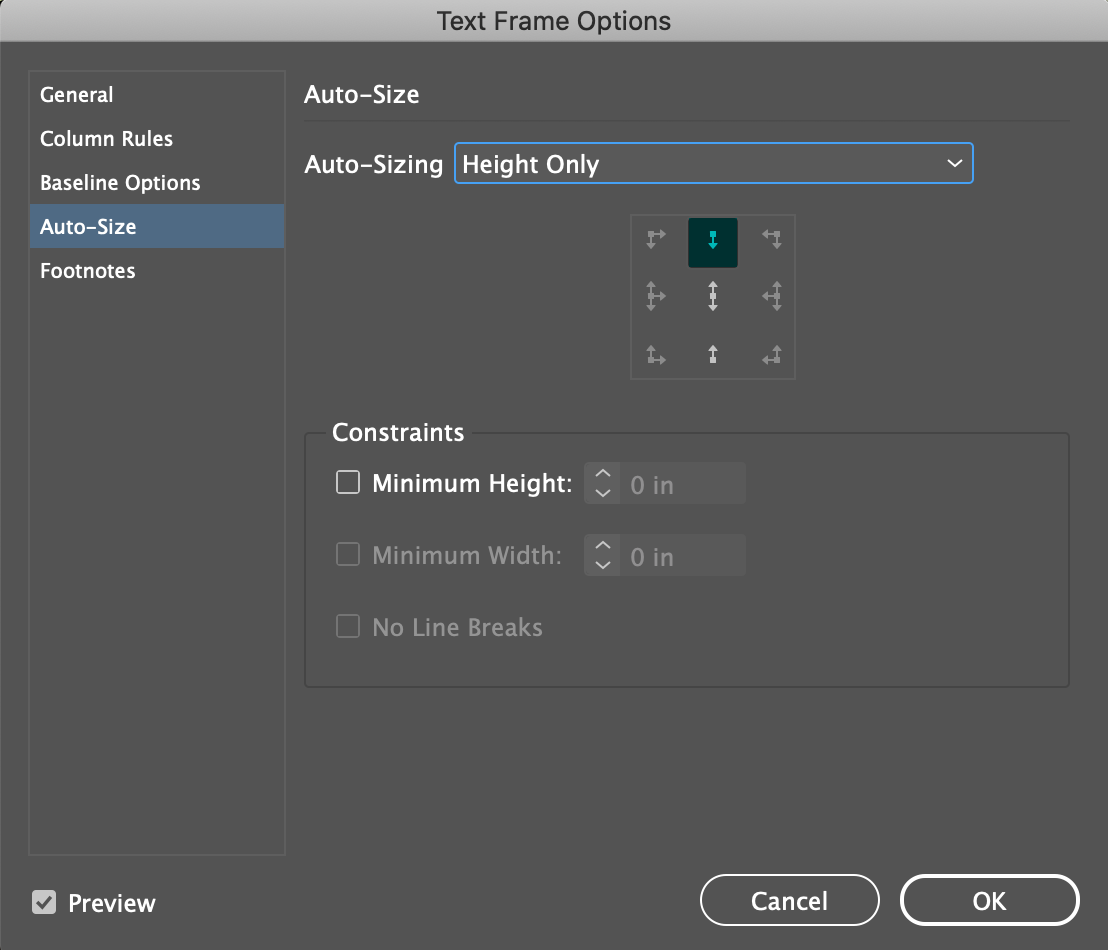
- Menu > Object > Text Frame Options
- Select tab
Auto-Size
and Preview
Auto-Sizing: Height Only
Center top mode
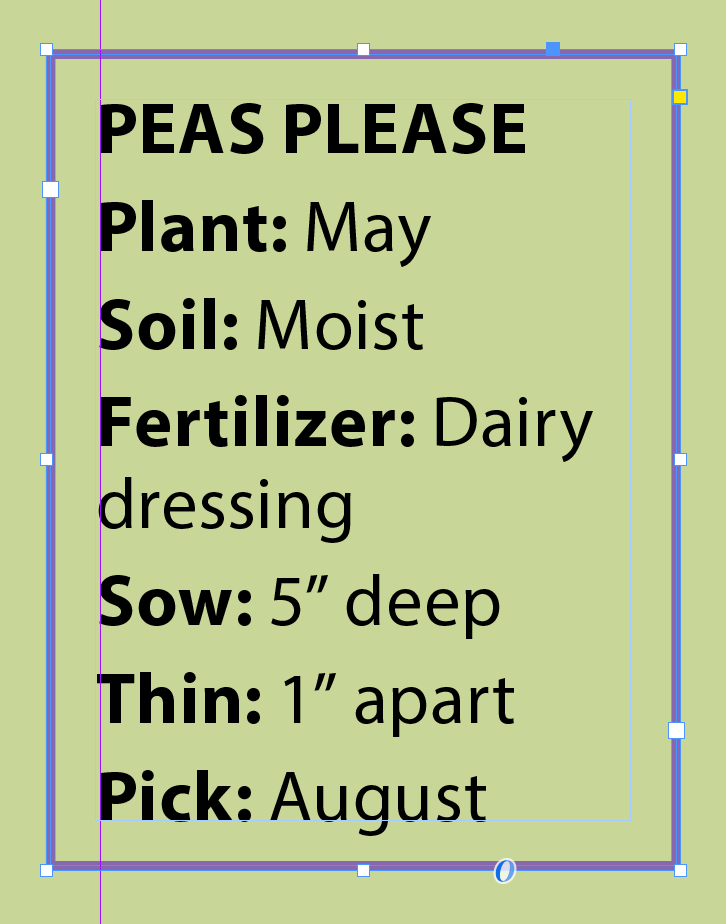
Result
Can you imagine why you would want to have this turned on, and why you sometimes wouldn't?
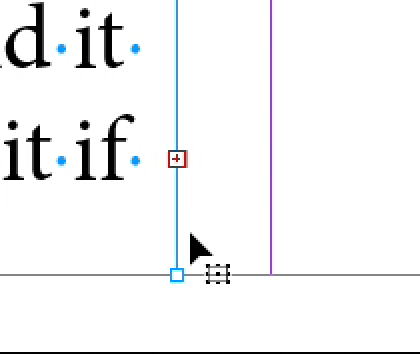
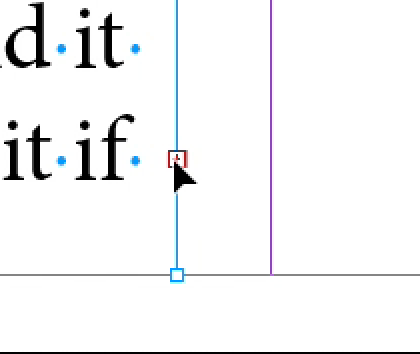
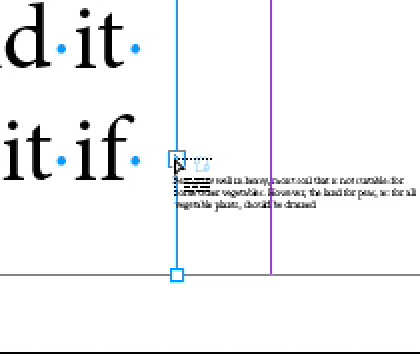
Flowing Text Manually
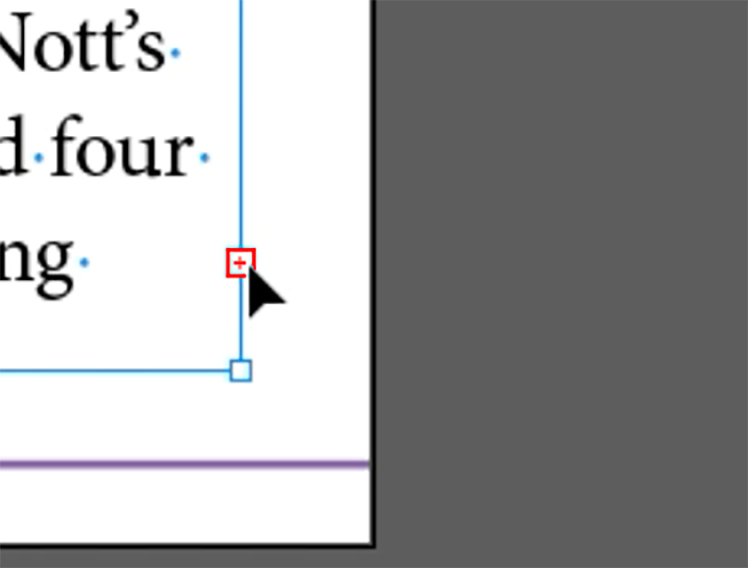
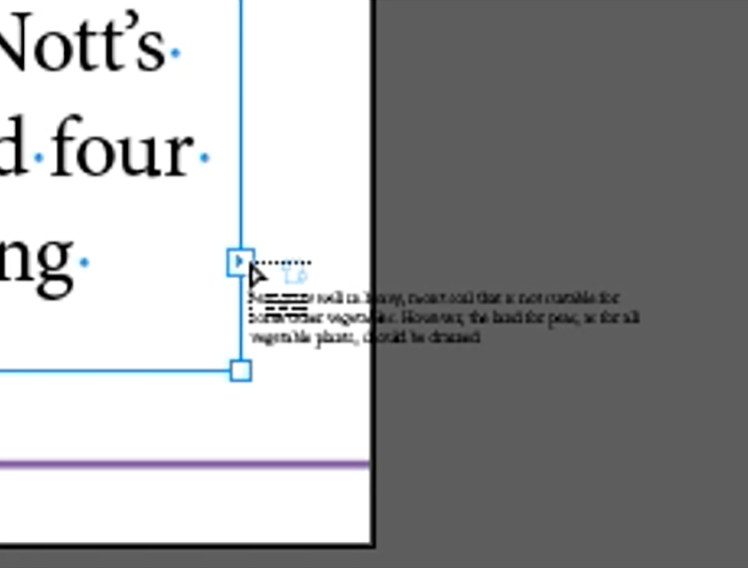
The process of taking an imported text file and flowing across several connected text frames is called threading text.
Loading the Type tool with Multiple text files
Advanced power user move. Let's skip it.
Creating Text Frames While Flowing Text
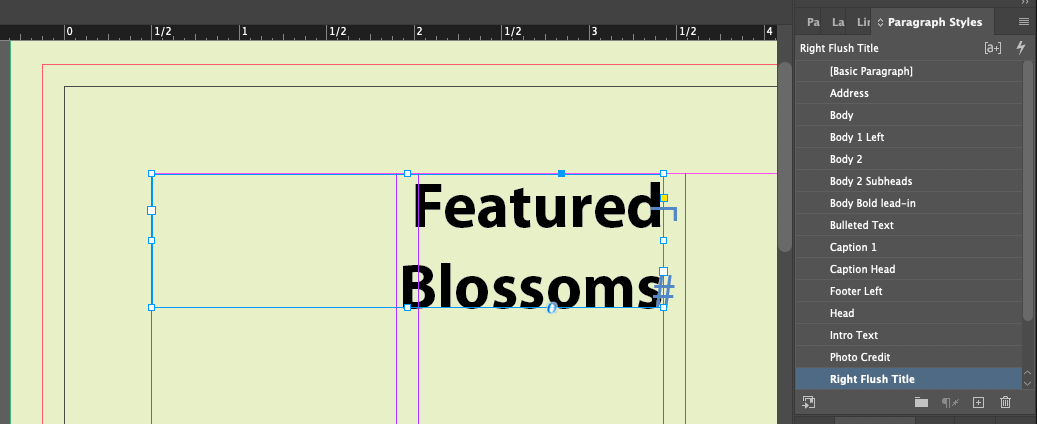
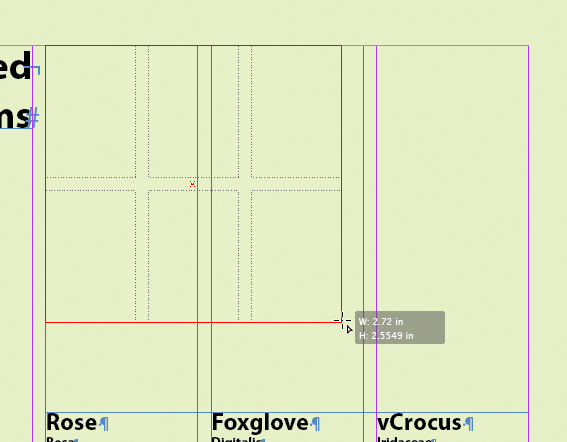
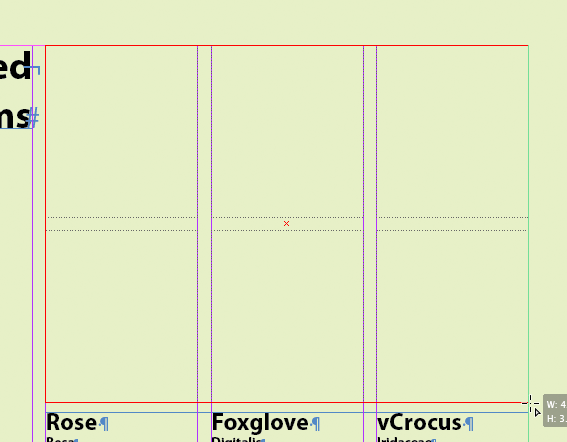
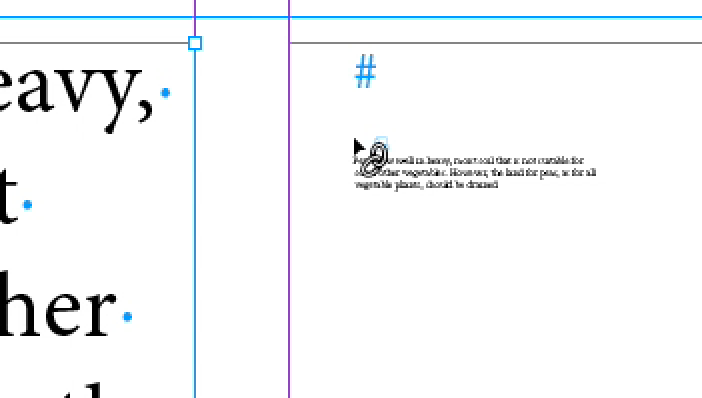
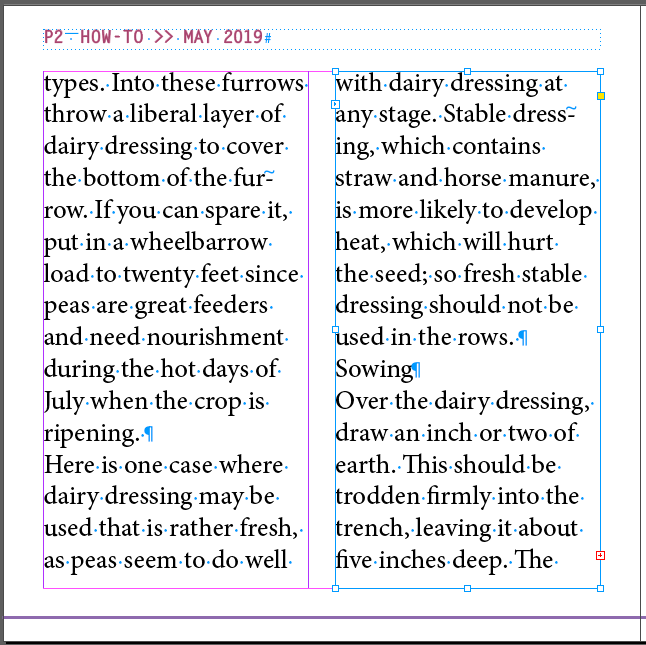
Two new ideas here. One is that if you click with a loaded cursor into a column the text will fill that column. No need to click and drag to create a text frame. It's what makes it worthwhile to set up columns and margins when you set up your doc. The second idea is that if you hold down a modifier key while you drop the text, the cursor will stay loaded with text, ready to be placed in another column.
Creating Threaded Frames Automatically
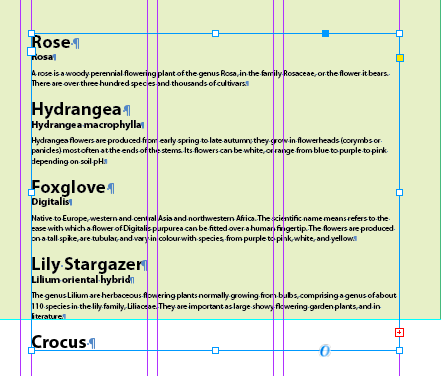
There's a shortcut for adding multiple threaded/linked frames, or more accruately for creating text frames with multiple columns.
Flowing Text Automatically
The preferred way for creating long documents, like books...
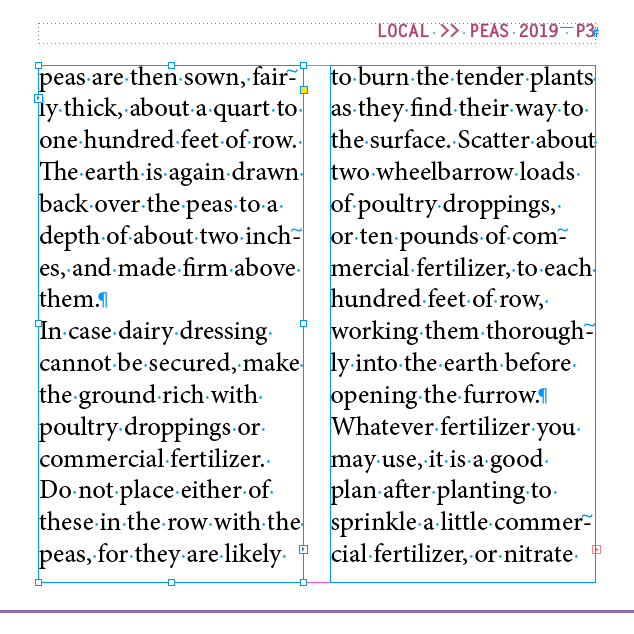
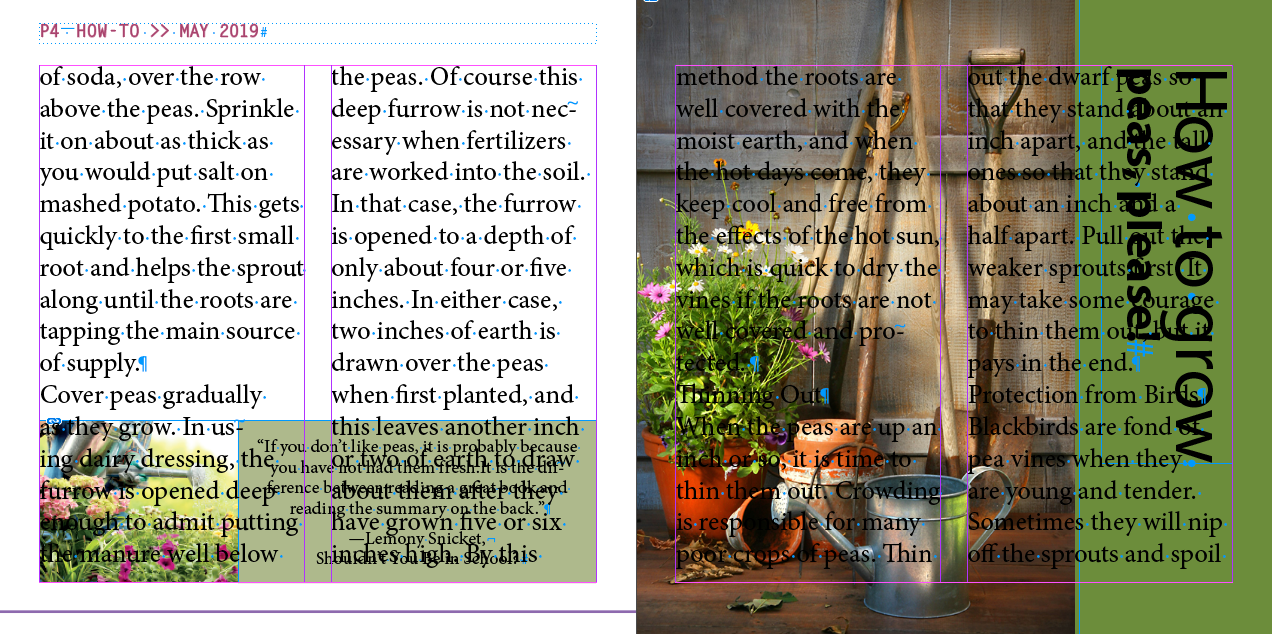
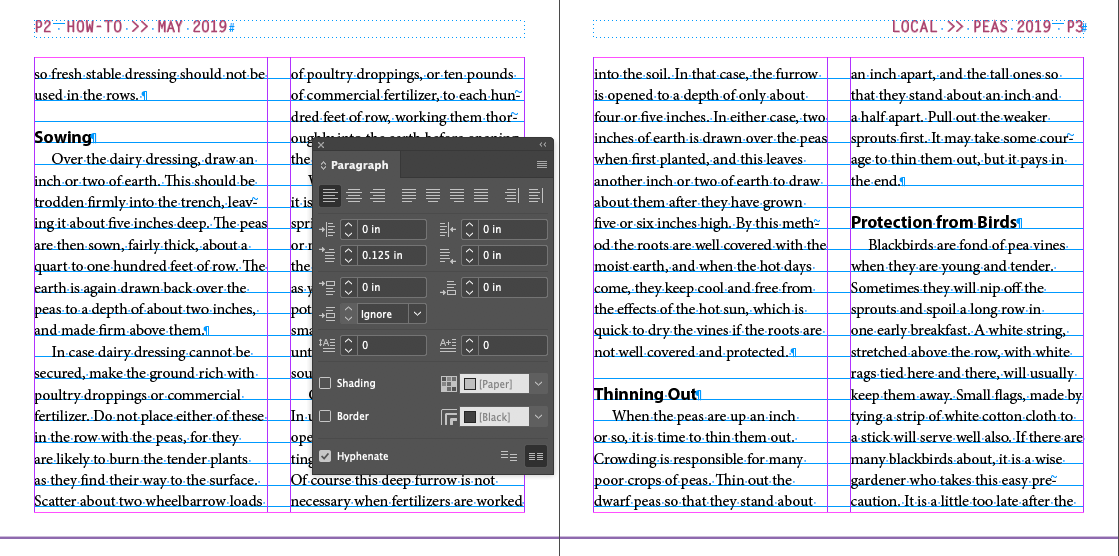
Adding Pages While Flowing Text
A demo of InDesign adding pages as needed for a large document
- New doc
- Print tab, View All Presets +, Letter - Half, Landscape
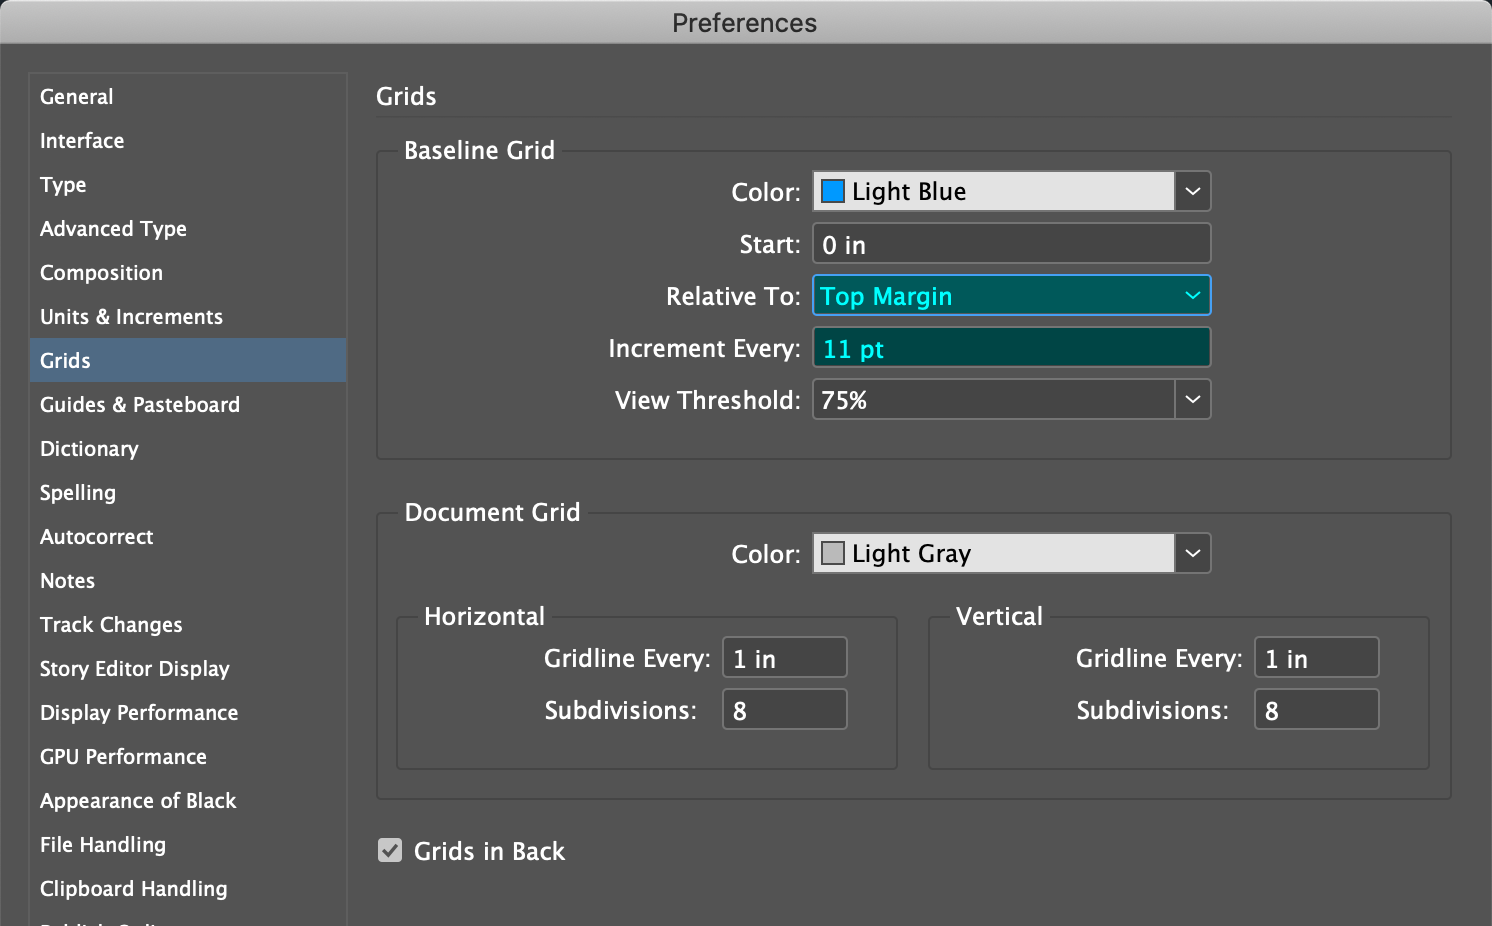
- Preferences > Type
- Confirm
Smart Text Reflow
is on
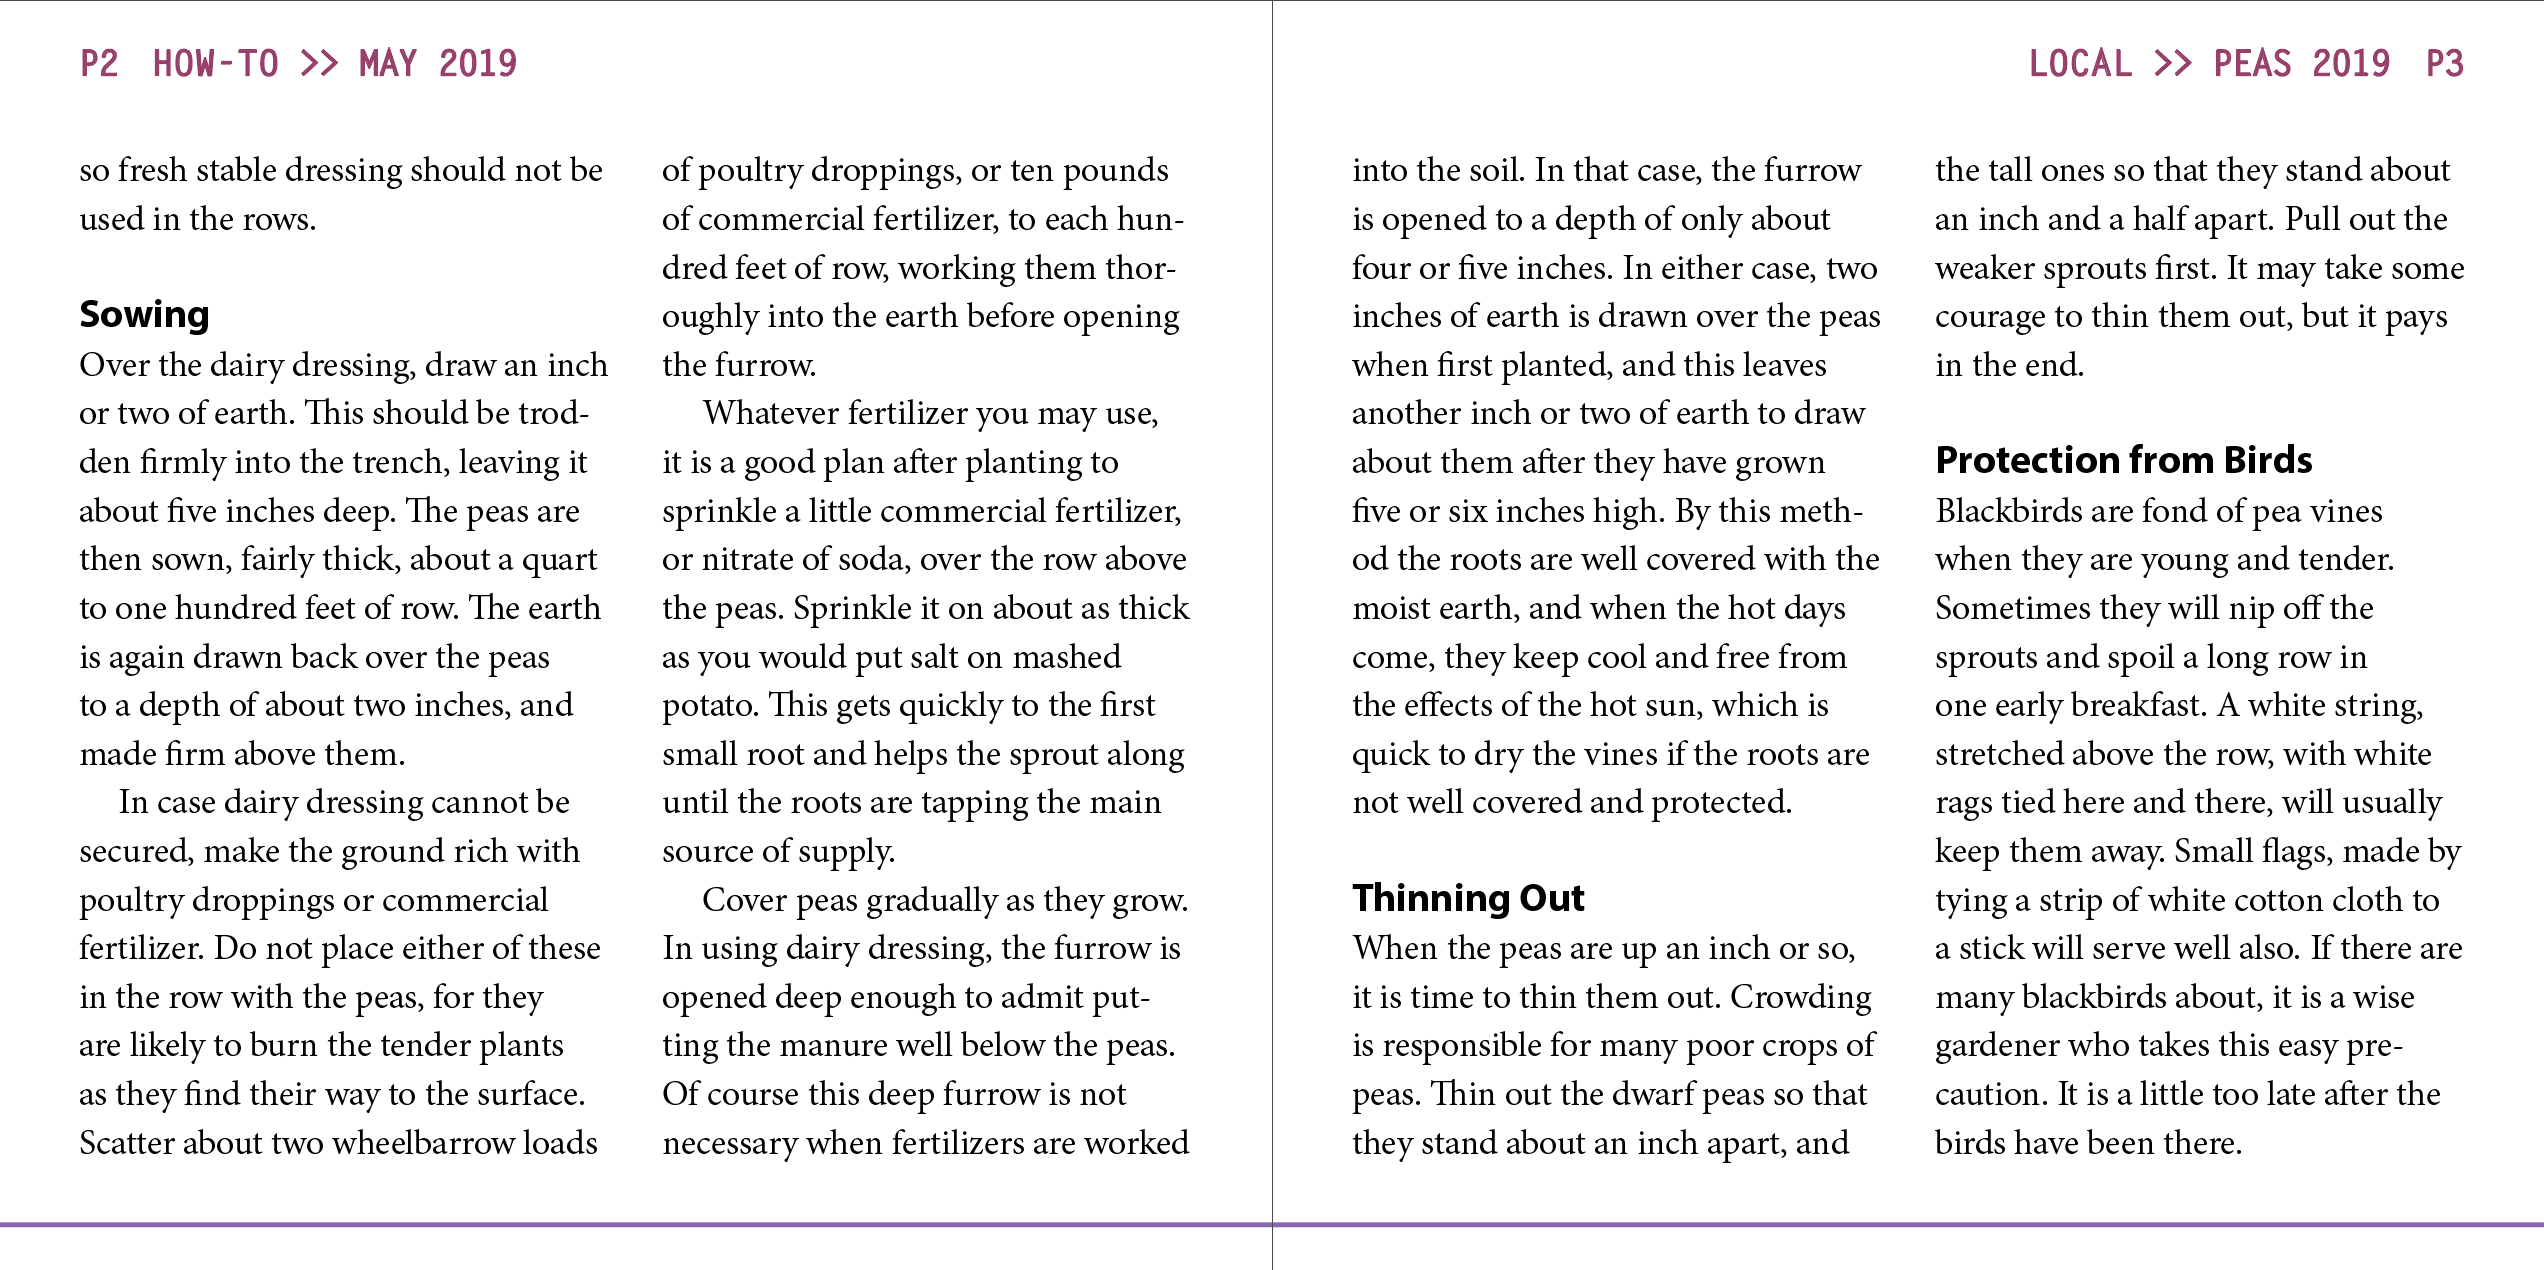
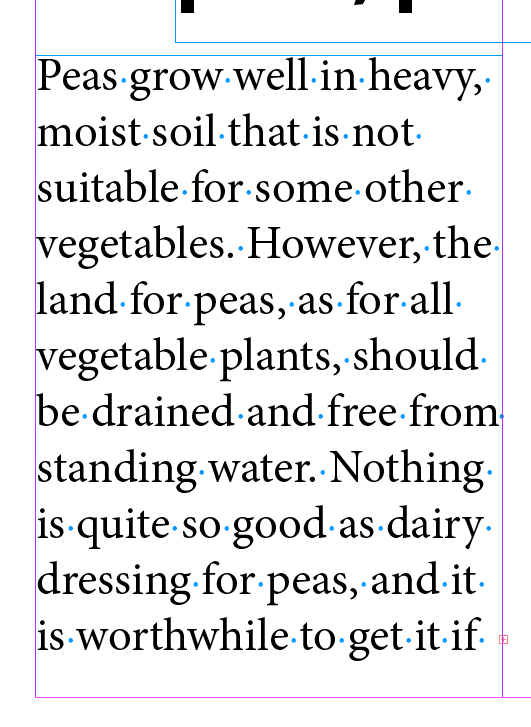
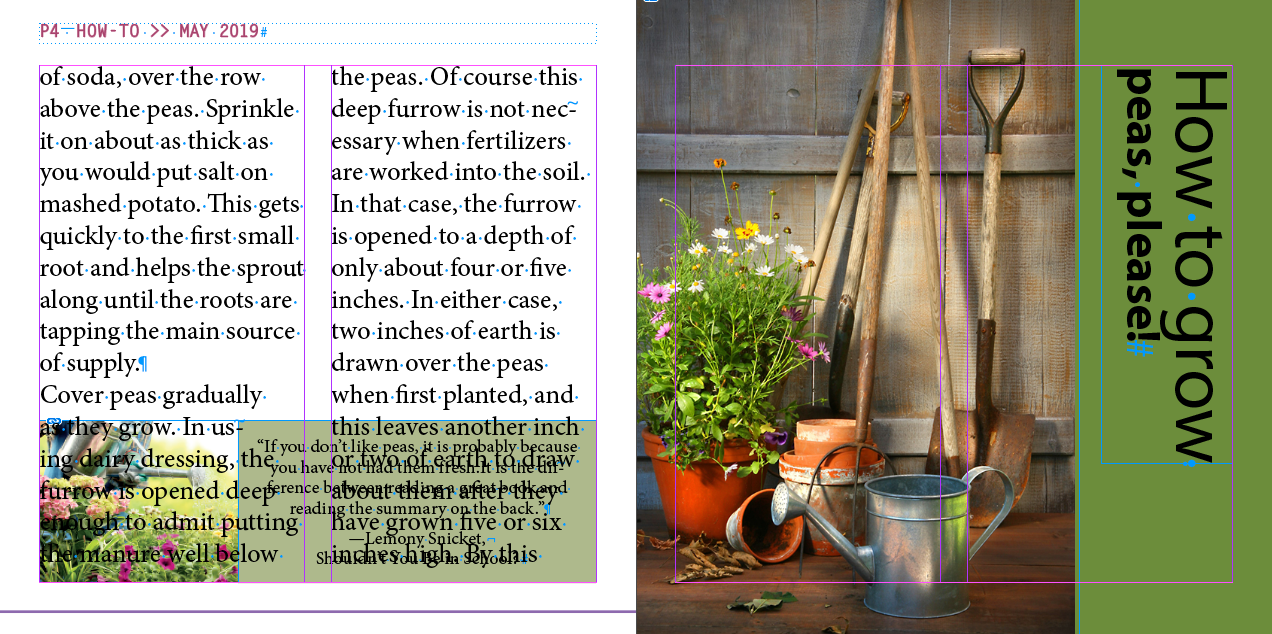
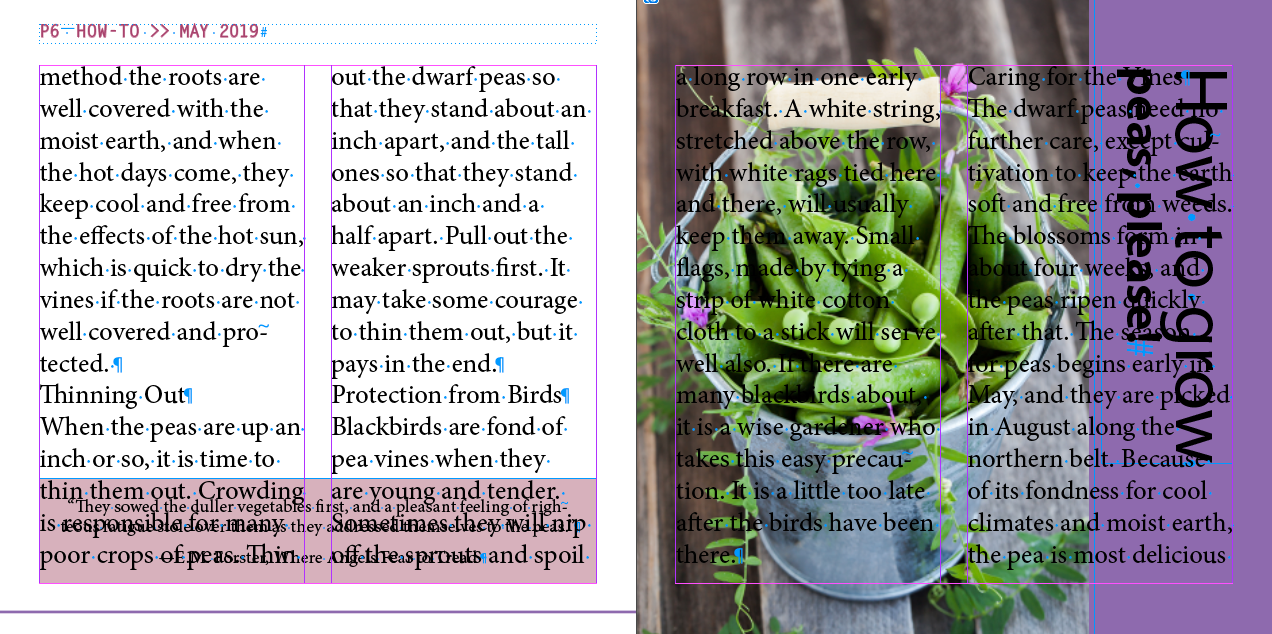
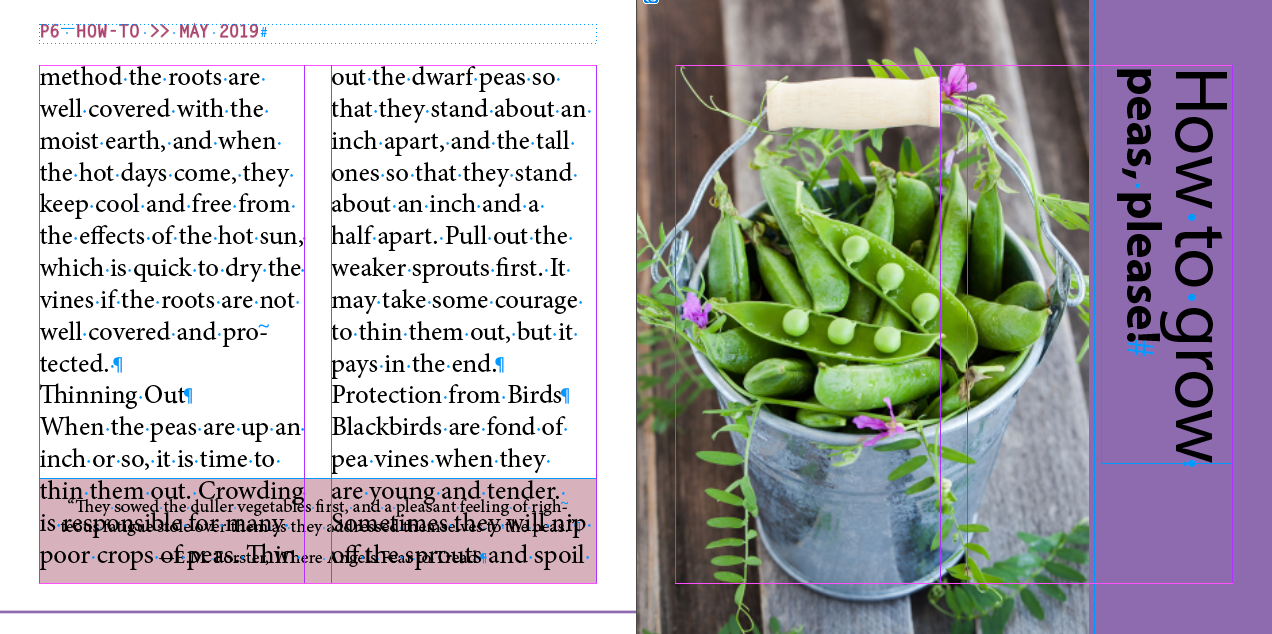
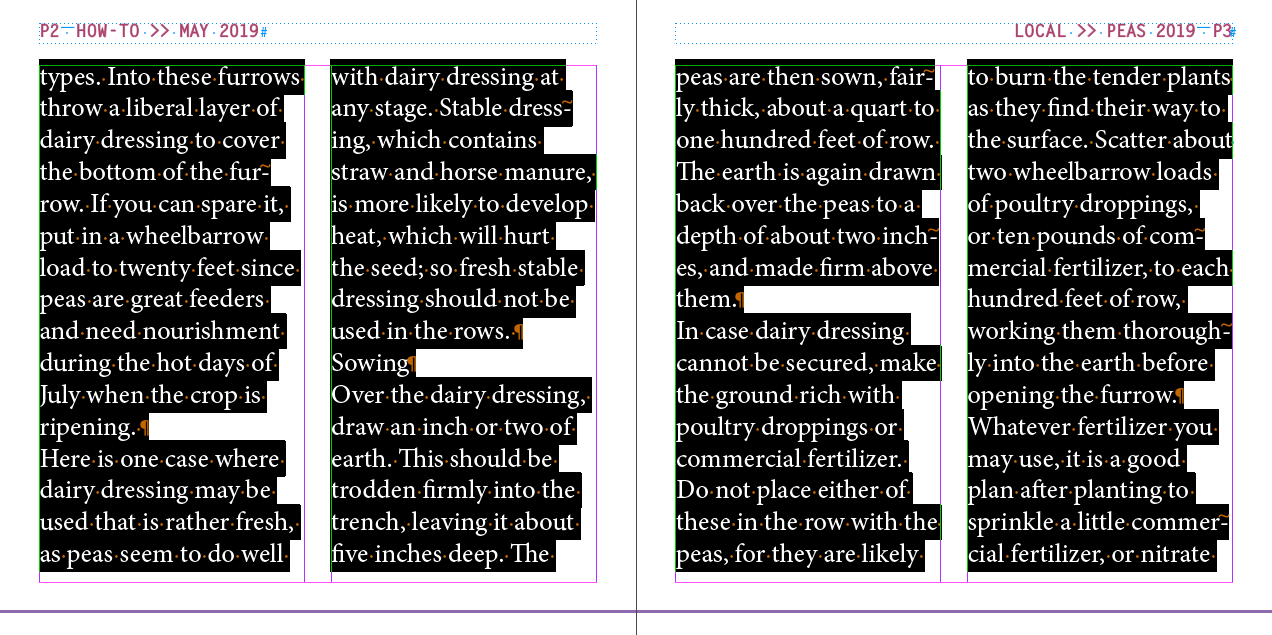
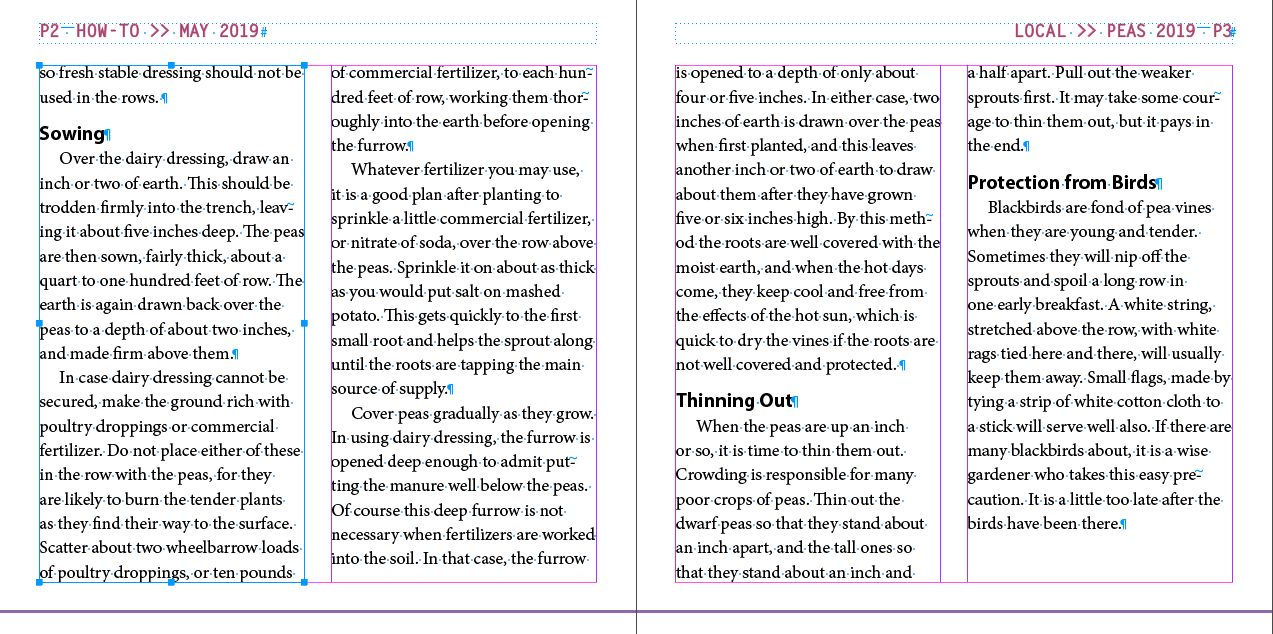
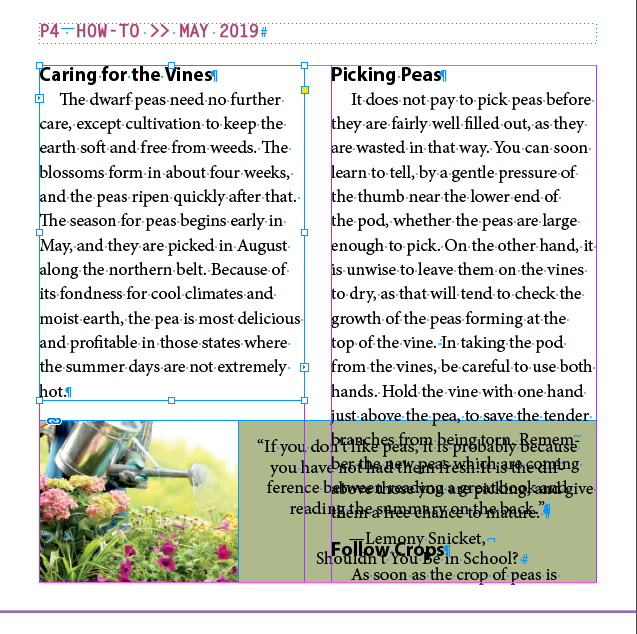
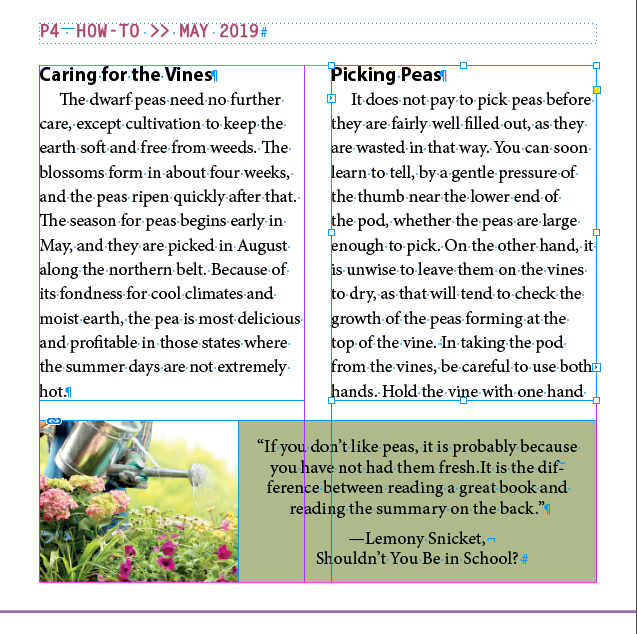
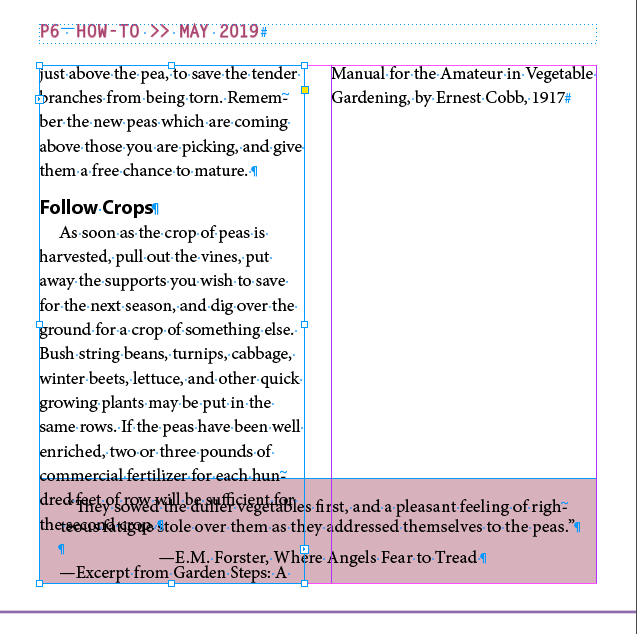
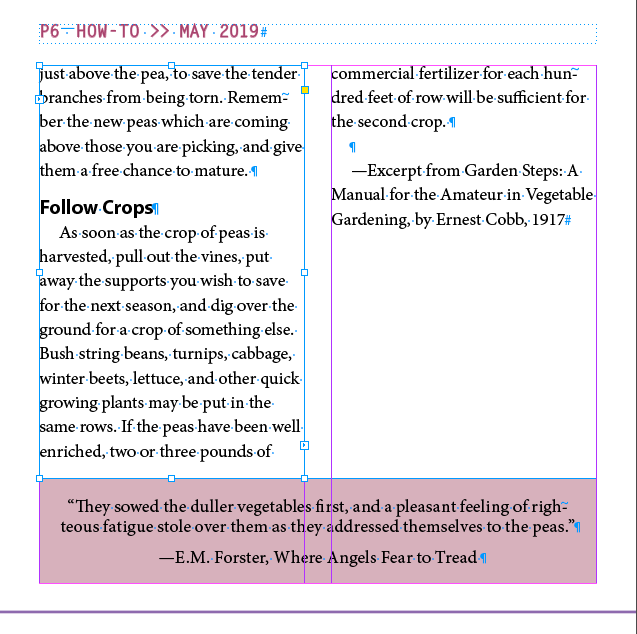
- Place 05_Peas.docx
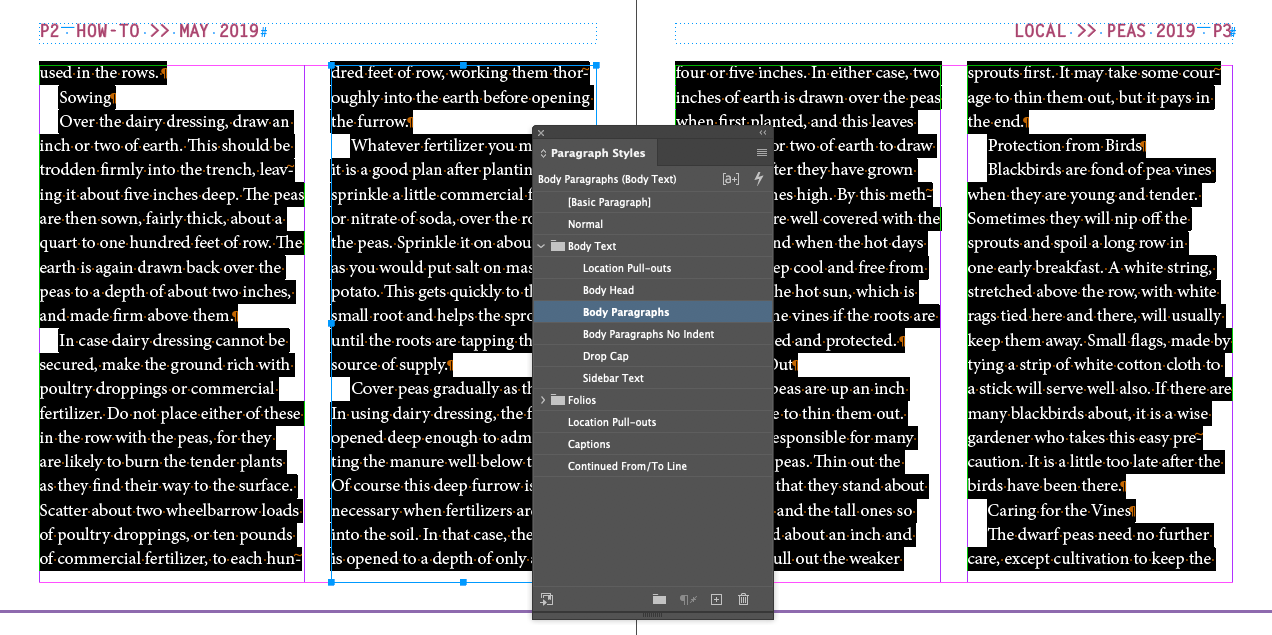
Appying Paragraph Styles to Text
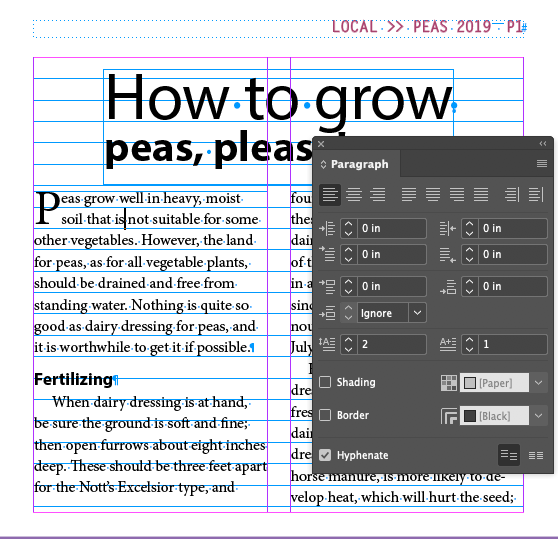
We'll apply the Body Paragraphs style to all the text we just threaded out
Text Style Categories
The world of type and layout has categories for how a style might be used. Generally, they are considered as:
- Heading
Or Head, or Headline. Large and bold and meant to be read first on a given page. Usually a line or two long. Usually not a sentence.
- Subhead
Or Subheading. Smaller than the head, bigger then Body Copy. Often bold.
- Body Copy
Or Body Text, or Body. The meat of the article. Smaller, not bold. Multi-lined, usually in paragraphs.
- Callout
Text used to identify parts of an illustration. Usually around the same size as body copy.
- Caption
Text under images/photos/illustrations describing the image or identifying the creator of the image. Usually around the same size as body copy, but distiguished from body copy by font family or style (like italic).
- Footnote
Or Endnote when at the end of the chapter. Text at the bottom of the page or end of the chapter. Usually a little smaller than body copy, but distiguished from body copy by font family or style (like italic).
- Pull Quote
Or Sidebar. A block of text, larger and usually bolder, that takes a section of text from the body copy and sets it out in a box near the source text.
- Mouse Type
That tiny type you see at the bottom of an add with legal gibberish
Heading
Subhead
Body Copy, paragraph one, lorem ipsum dolor sit amet, consectetur adipiscing elit. Curabitur malesuada tellus id arcu molestie, vitae porttitor turpis faucibus. Mauris tincidunt ut sem congue aliquam. Nam at dignissim risus. Mauris convallis est vitae dolor sagittis, non vehicula eros molestie.
Pull Quote
Body Copy, paragraph two, suspendisse fringilla suscipit dapibus. Vestibulum ante ipsum primis in faucibus orci luctus et ultrices posuere cubilia Curae; Duis vitae sem consectetur, dignissim elit sit amet, consequat risus.*

Callout
Caption
* Footnote at bottom of page.
Mouse type, squeek squeek! The use of this product will probably kill you. Do not take if you are allergic to this product. May cause sudden blindness. Product not refundable or returnable. Not legal in states where it is not legal, which is most of them.
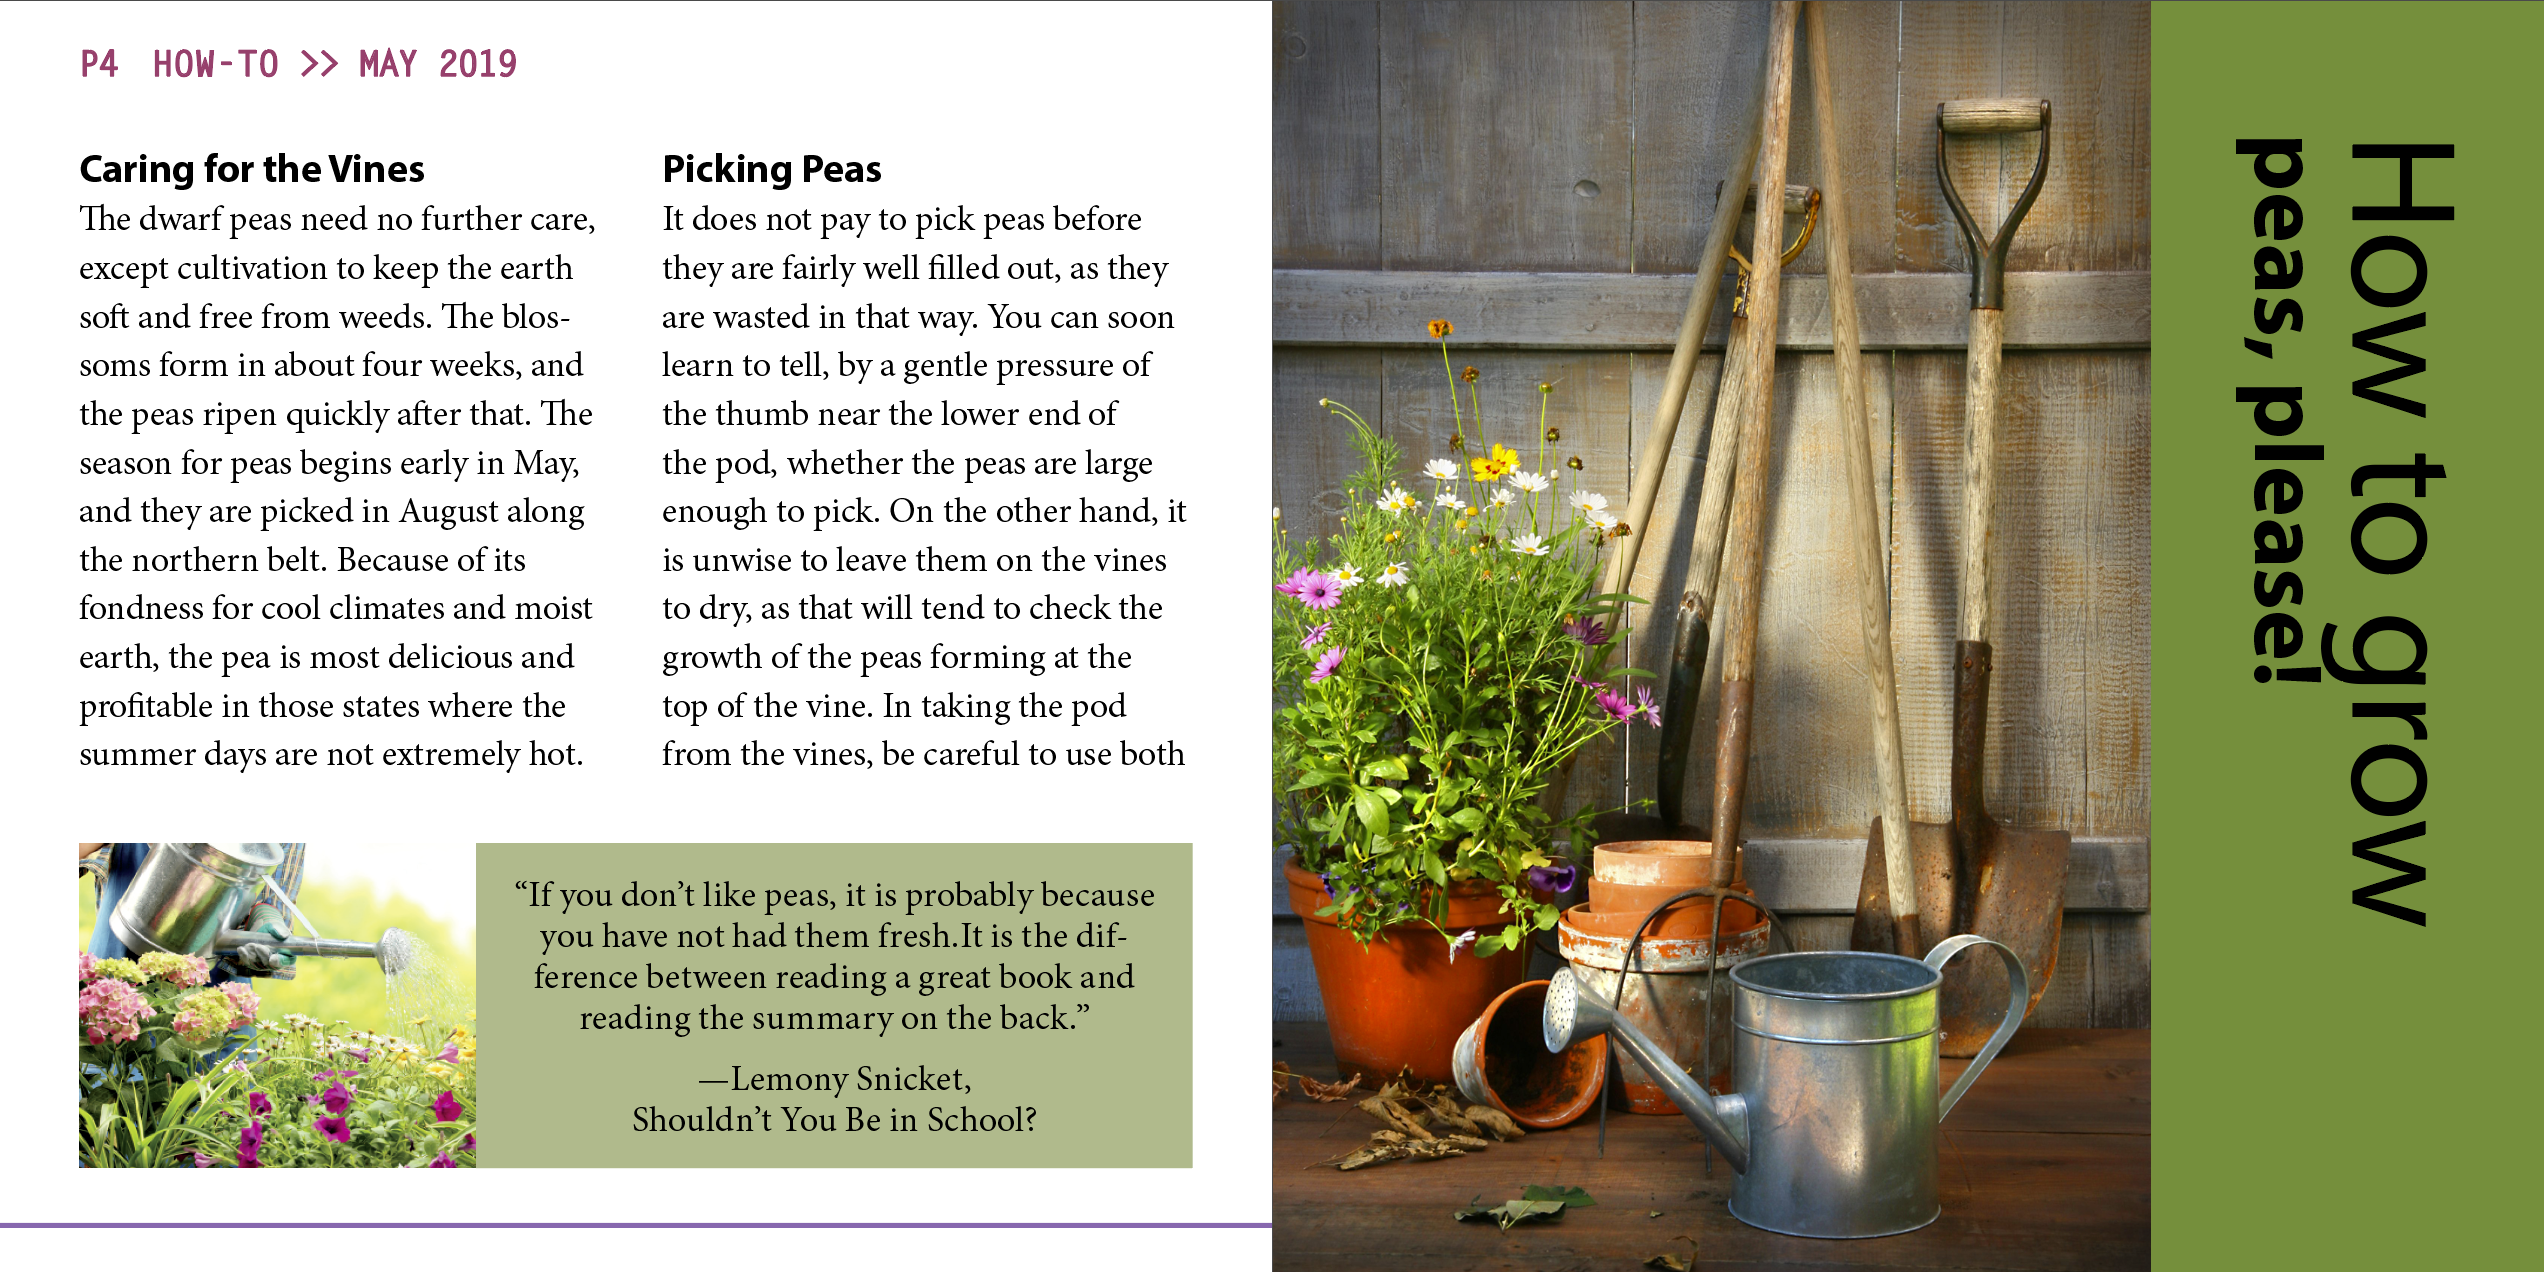
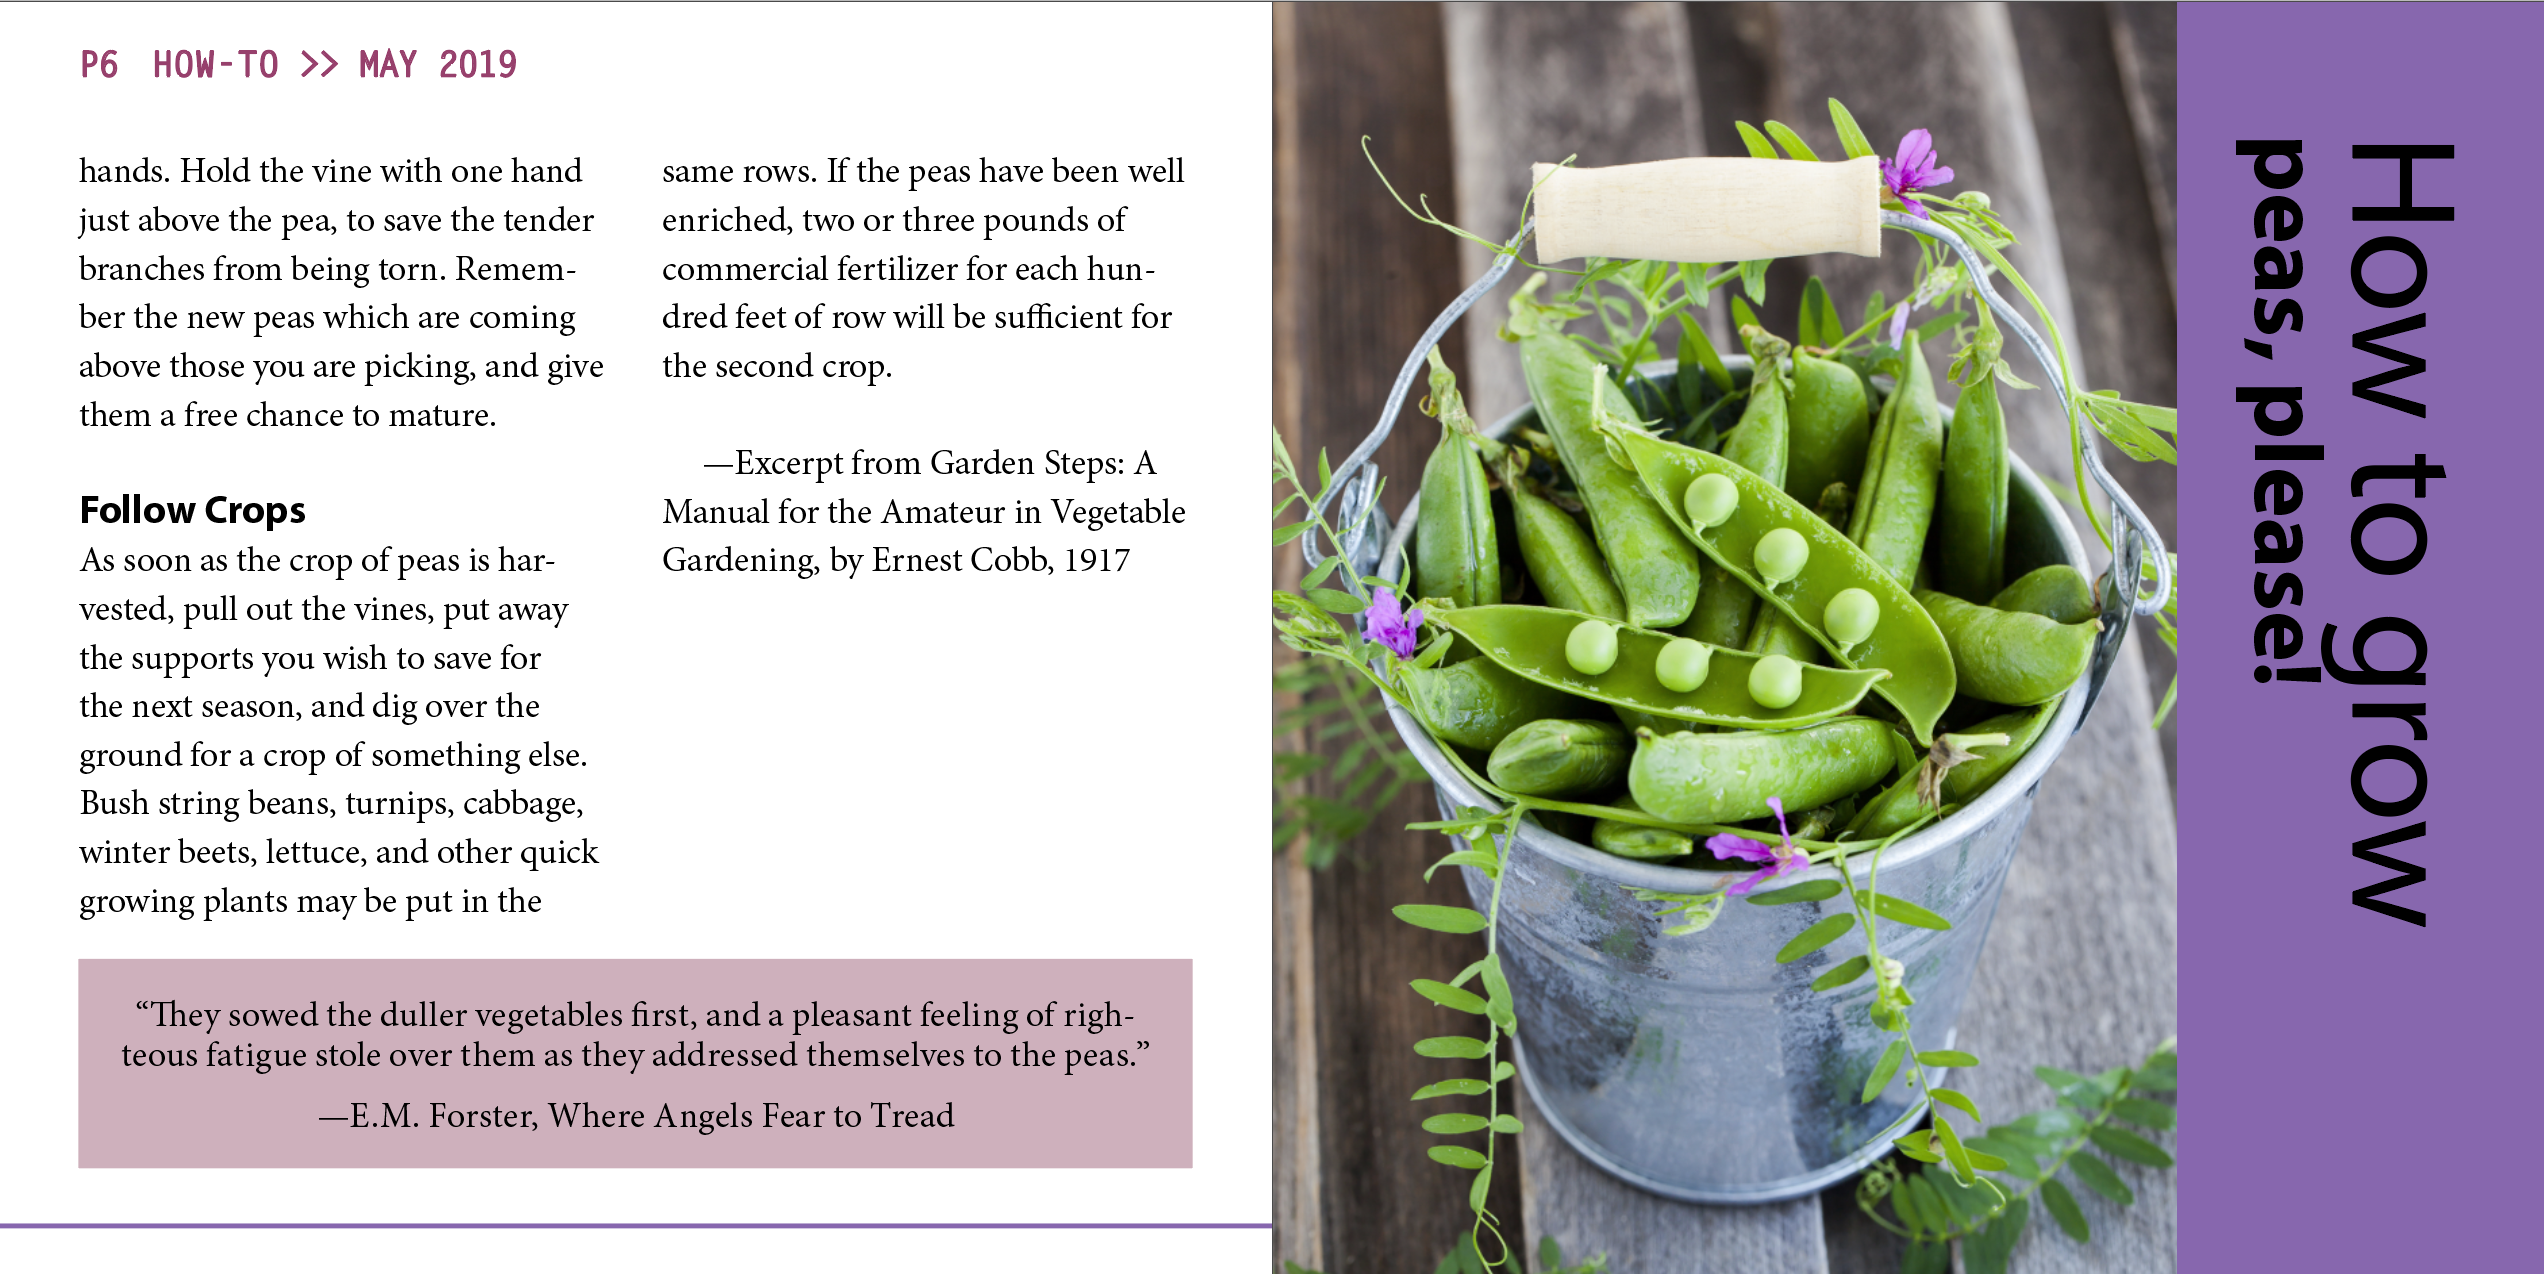
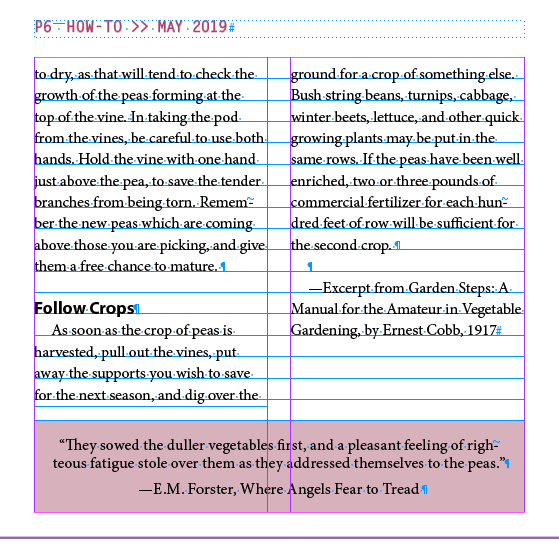
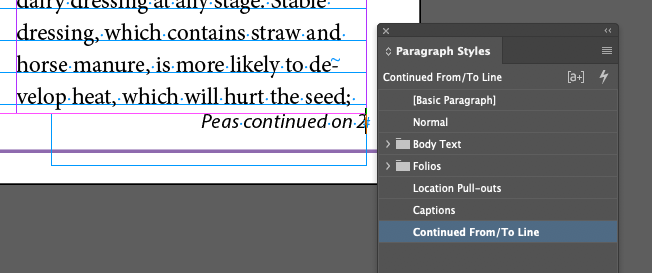
Adding a Jump Line Page Number
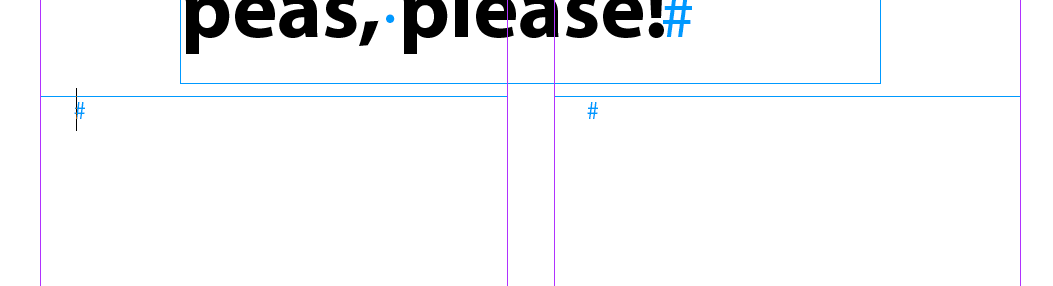
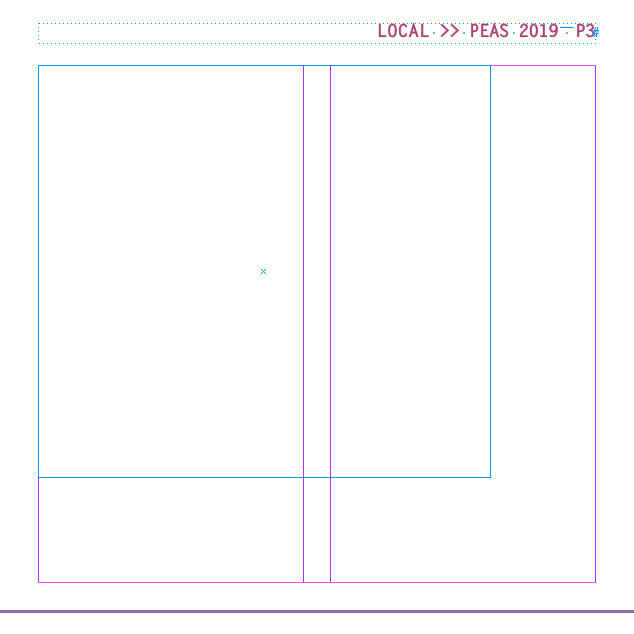
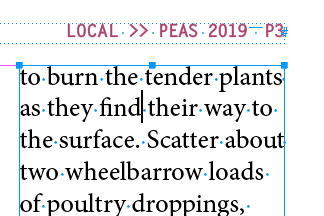
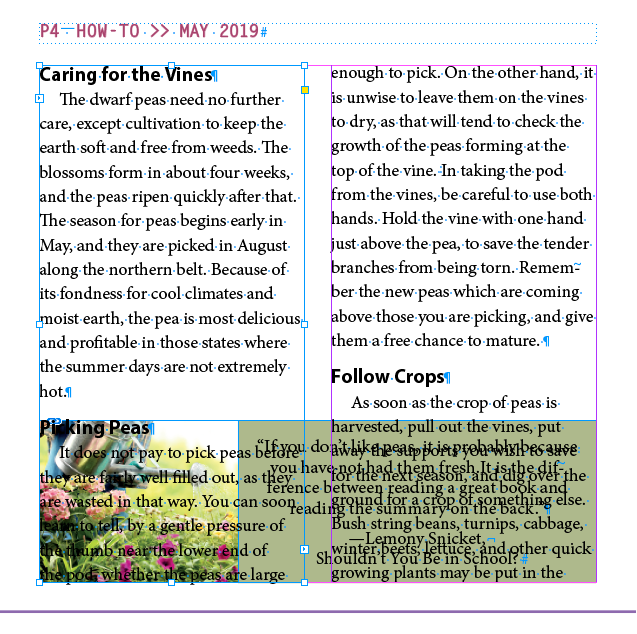
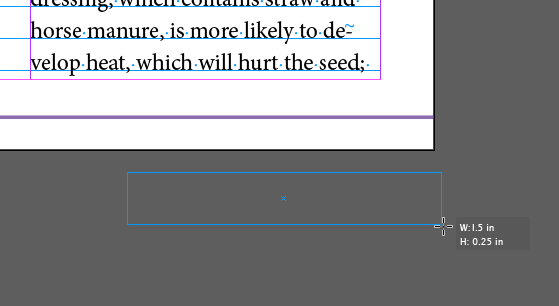
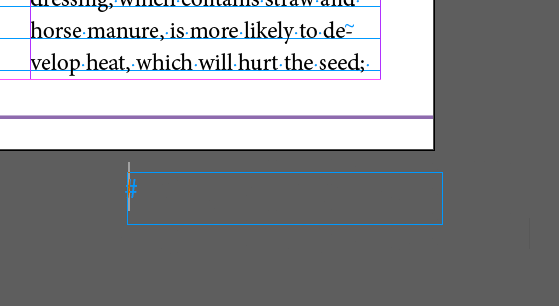
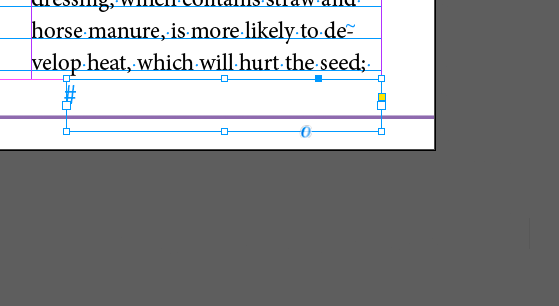
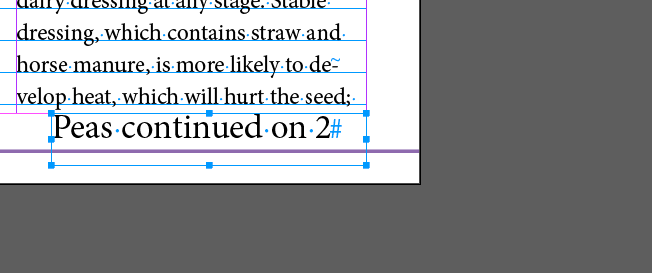
You can add a hint for the reader on where the story is continued, or where the story came from with jump line numbers. The magic gesture is that the Next Page Number
marker has to be in a text frame that touches the text frame of the story to be continued.
CHAPTER 05
Review Questions
- Which tool lets you thread text frames?
- How do you load the text icon?
- What happens when you click the loaded text icons between column guides?
- Which key do you press to automatically divide a text frame into multiple threaded frames?
- What is the name of the feature that automatically adds pages and threaded text frames to contain all the text in an imported text file?
- What feature automatically adjusts the size of a text frame based on the length of the text?
- What do you need to do to ensure that the Next Page Number and Previous Page Number markers work in a jump line?