Class 04
Type 1 Fonts Obsoleted
Adobe has seen fit to remove Type 1 Font support from future versions of InDesign (Adobe Support article). Support will end in January of 2023, so we don't need to worry about it for now. All of our lessons use Type 1 Fonts, specifically Minion and Myriad. So if you see a blue bar with a warning that True Type fonts won't be supported, ignore it.
Chapter 3 Continued
We got to here: lesson03-mid.zip
A Word About Parent/Child Relationships
Adobe changed the name of Master Pages to just Parent. What they're trying to emphasize with the name change is that Parent pages always have a Parent/Child relationship with pages the Parent has been applied to.
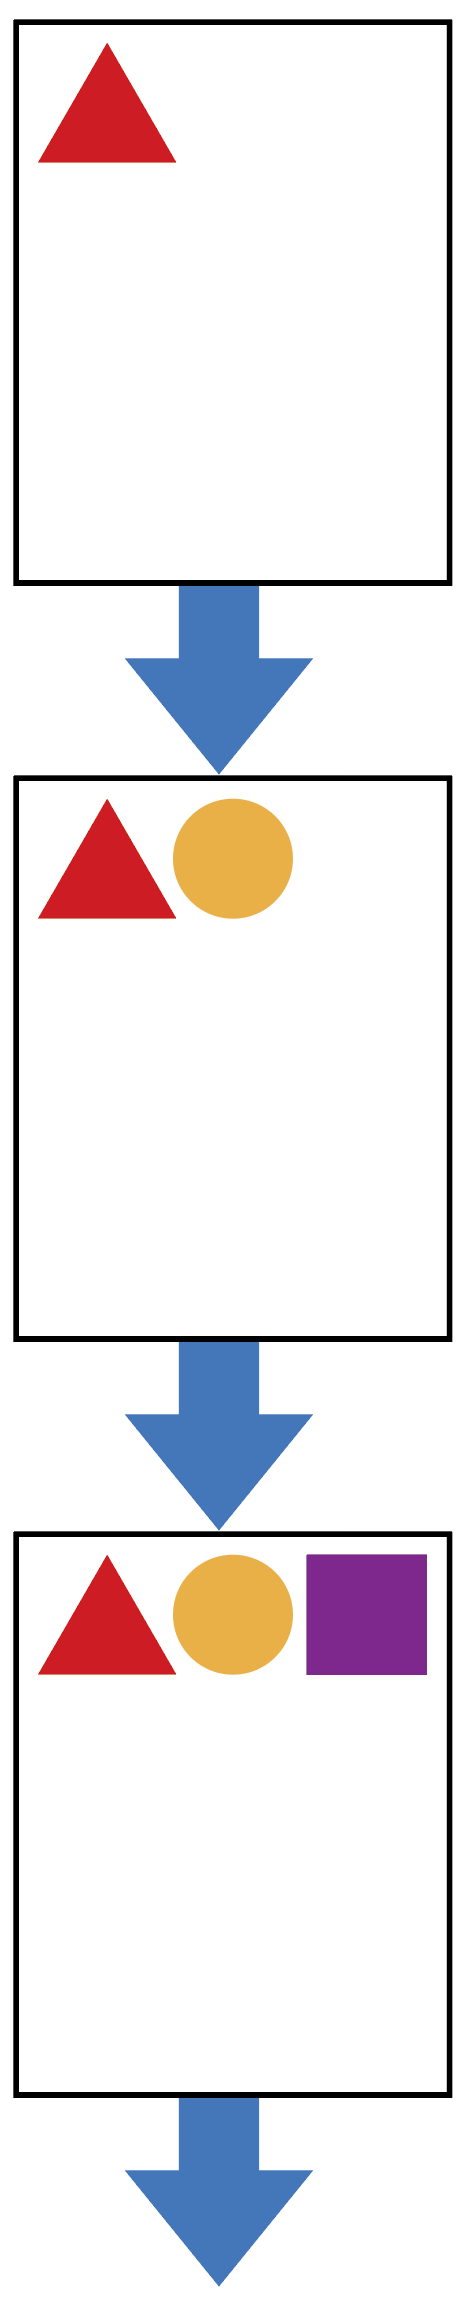
The top parent has and element that is "inherited" by all it's children

Any changes to a parent is "inherited" by all it's children.
The same is true for children of children
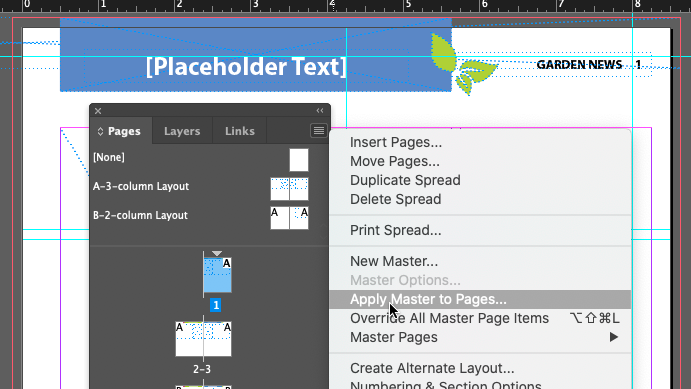
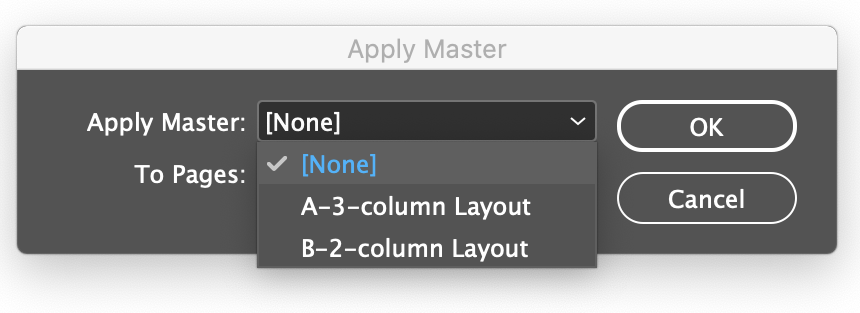
Applying Master/Parent Pages To Document Pages
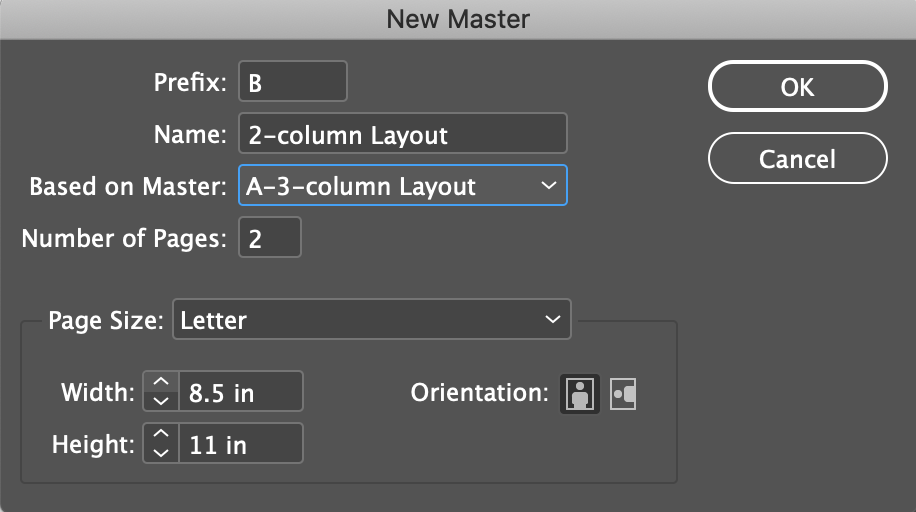
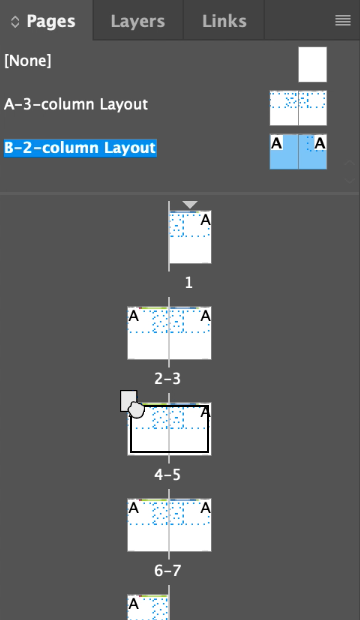
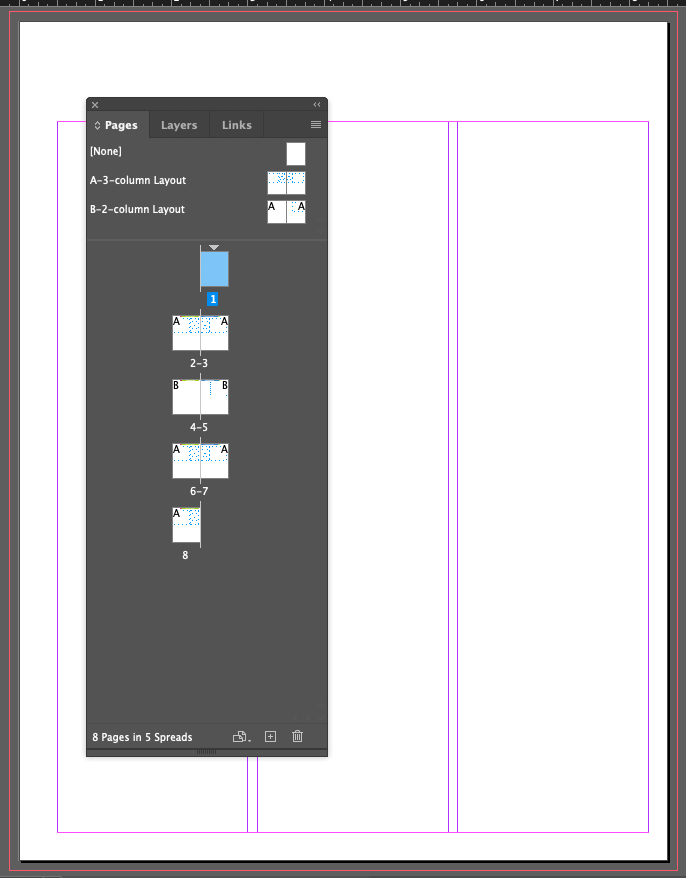
- Click on the B-2-column Layout Master (the Name on the left, not the Icons on the left), then drag either the name or the icons to the icon of page 4 in the Pages panel
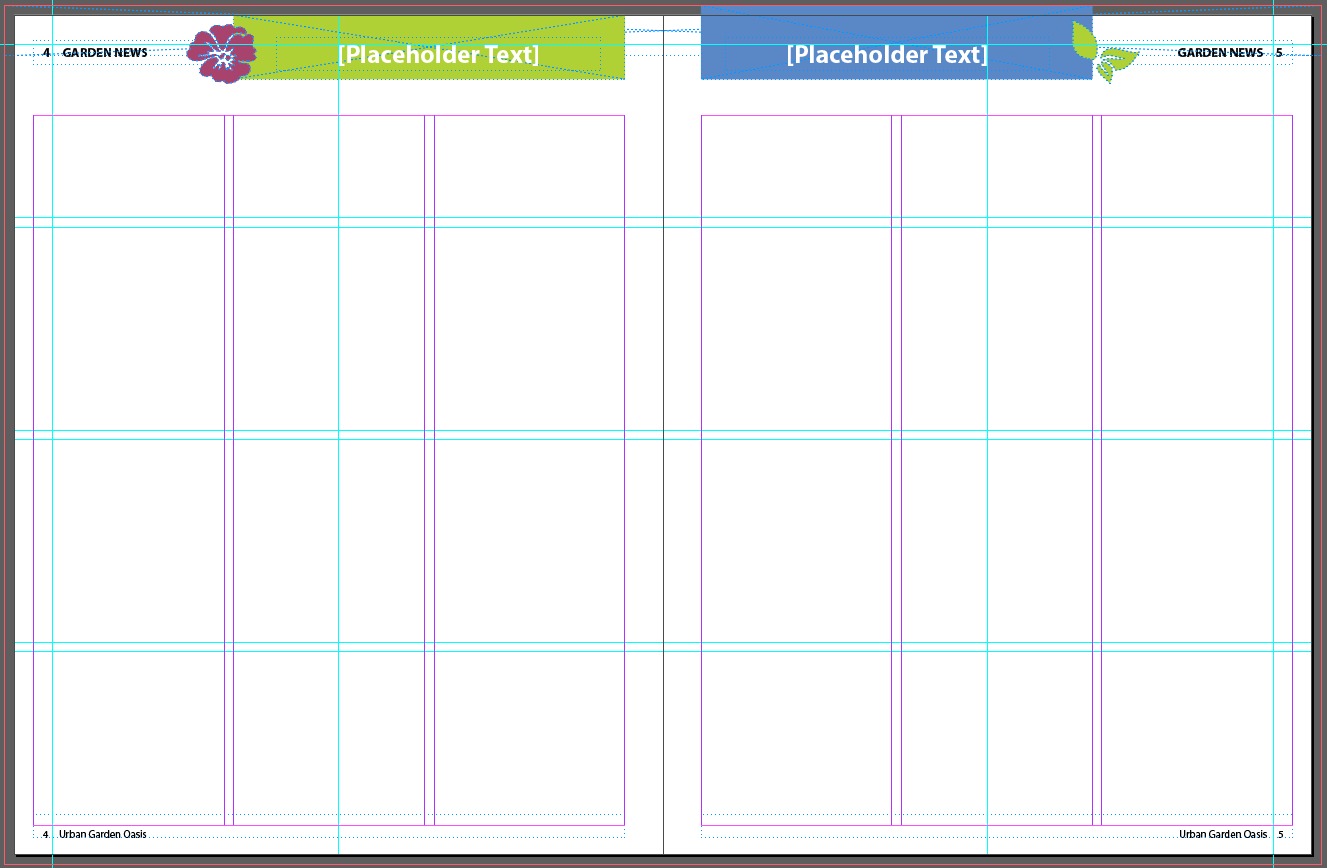
Notice the page numbers are correctly displayed!
Adding New Document Pages
- Choose
Insert Pages
from the Pages panel flyout menu
- Add 6 pages after page 4
- Delete by dragging to trash pages 5 and 6
Rearranging and Deleting Document Pages
It's basically drag and drop
Changing the Size of Pages Within One InDesign File
Skip
Adding Sections to Change Page Numbers
Demo the ability of InDesign to keep track of page number across documents and sections within a document
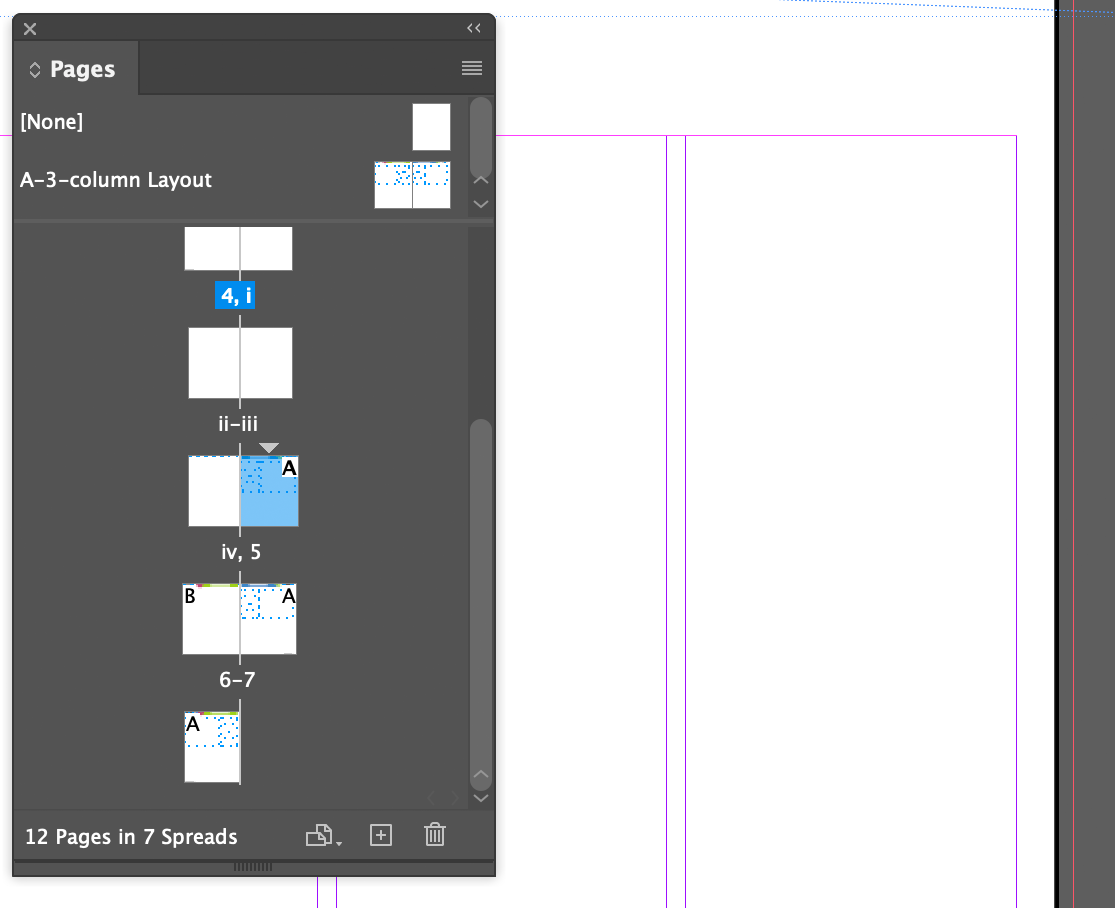
- Focus on Page 5 by double-clicking the page icon.
- From the flyout menu of the Pages panel, choose Numbering & Section Options
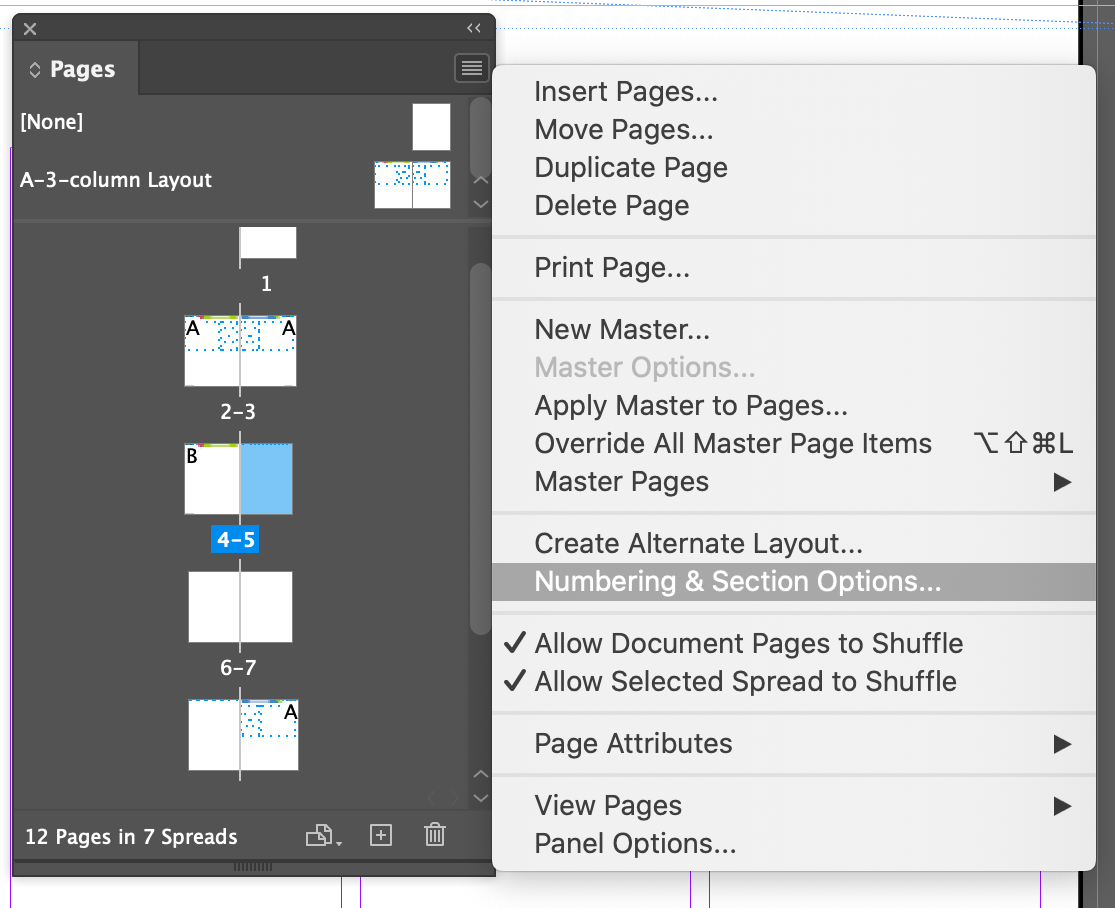
- Set the parameters
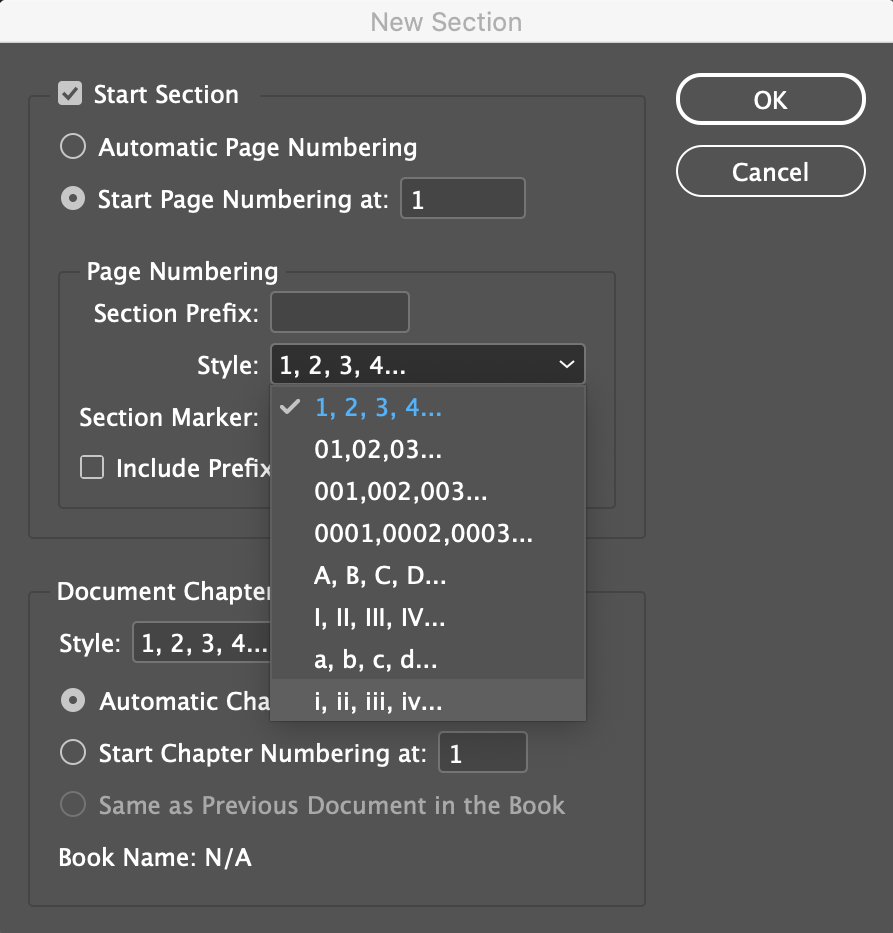
• Start Page Numbering at: 1
Style: i, ii, iii, iv...
- Result
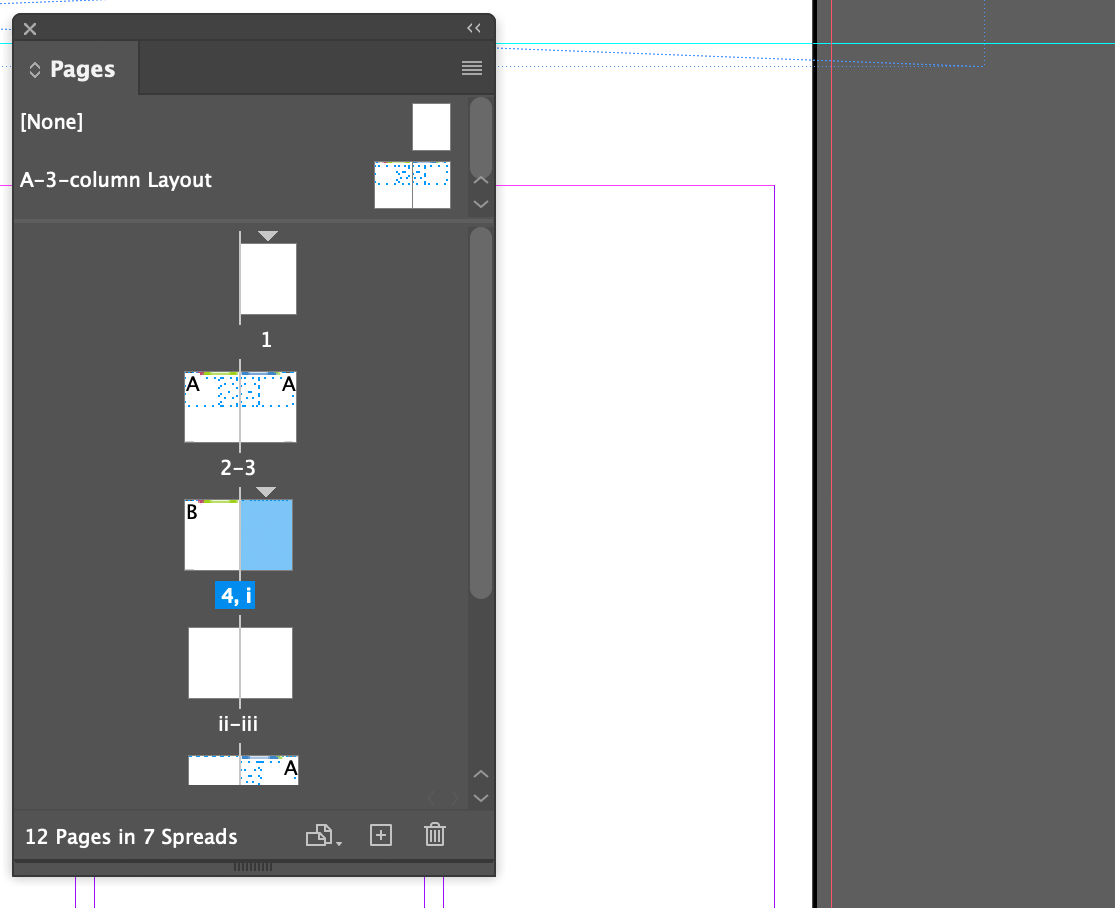
- Now reset the rest of the pages to resume numbering with numbers instead of lower-case Roman numerals (for which there is no automated process). Click on page
v
and open the menu again...
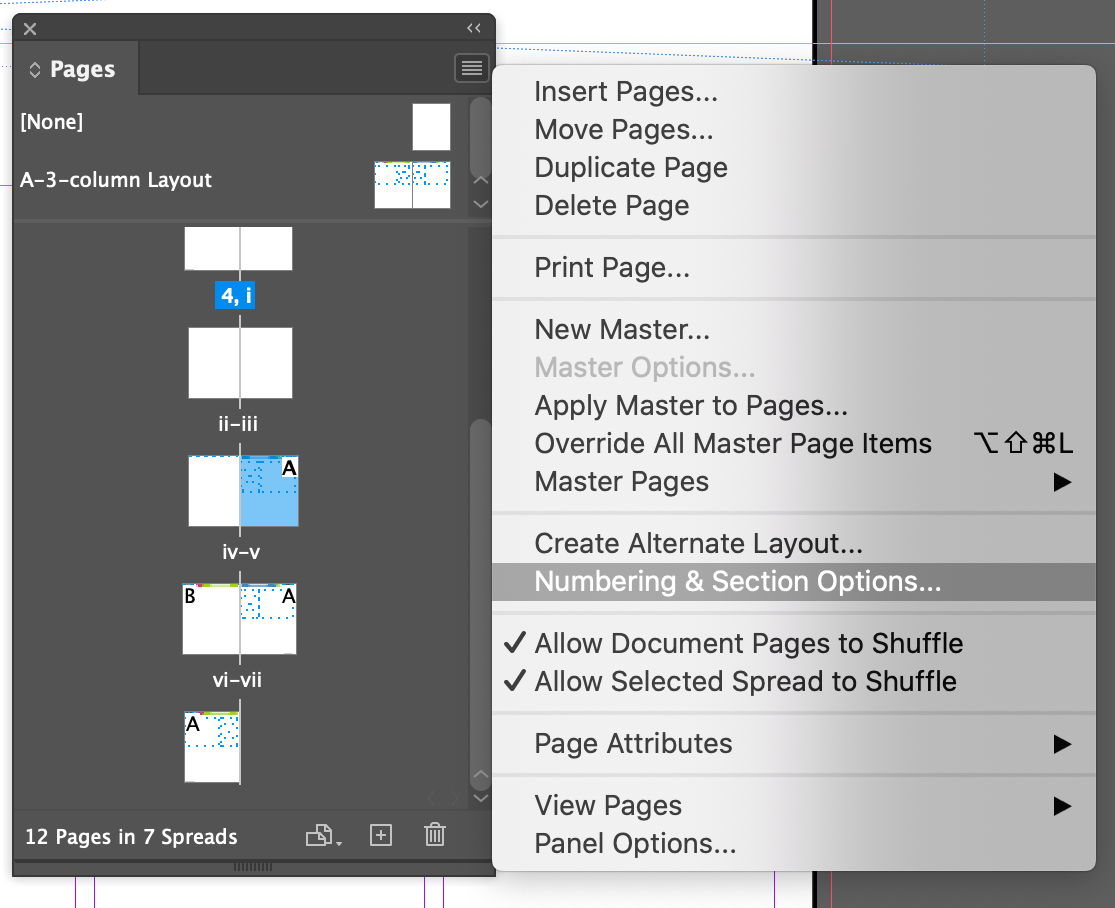
- Set the parameters
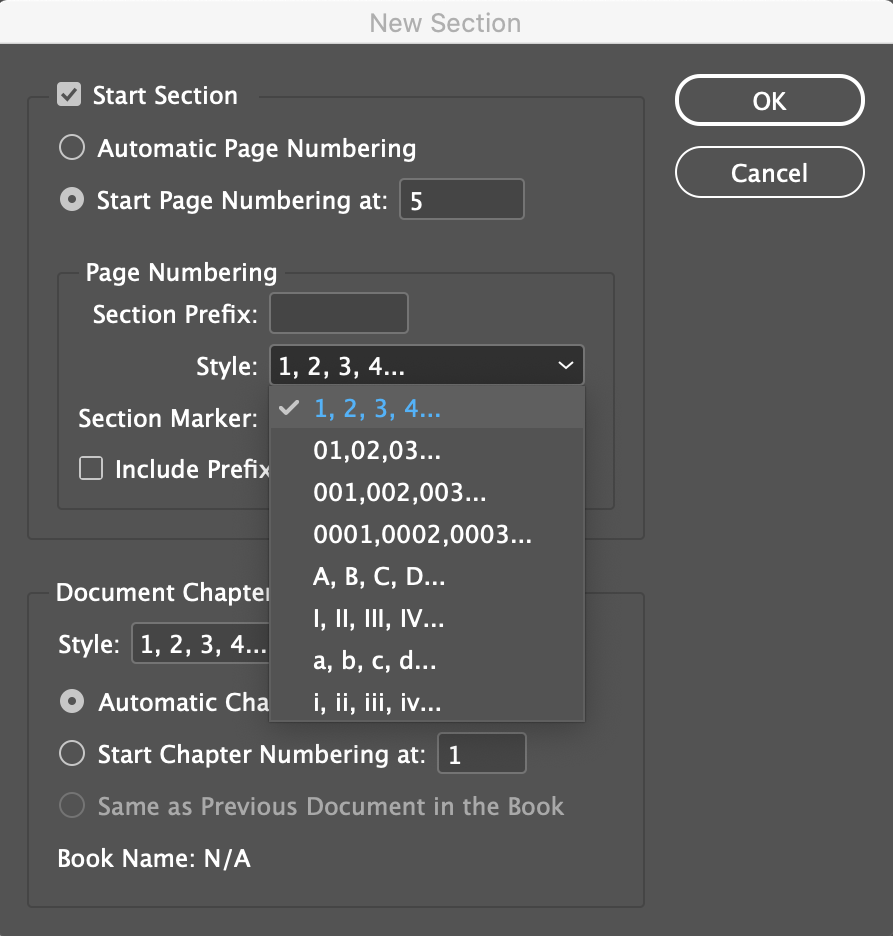
• Start Page Numbering at: 5
Style: 1,2,3,4...
This is actually bad practice. What happens if you add a page or two between pages 1- 4. 5
will now be the wrong number. It's better to use
• Automatic Page Numbering,
which does the right thing.
- Result
- Save this as
03_Newsletter.indd
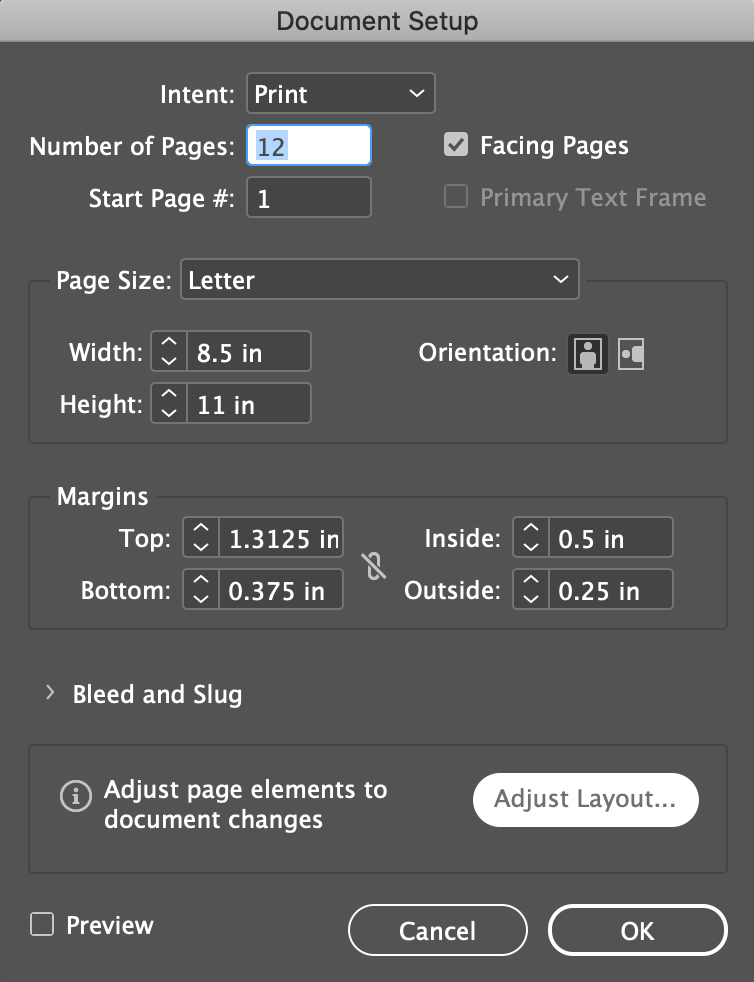
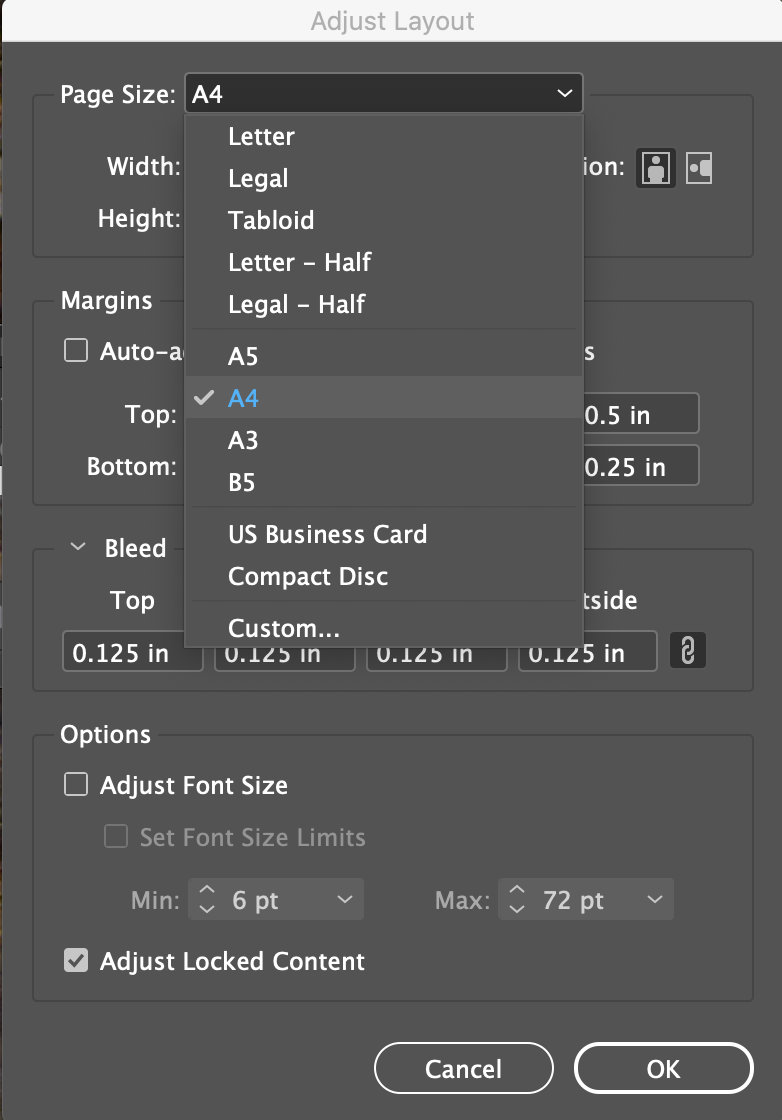
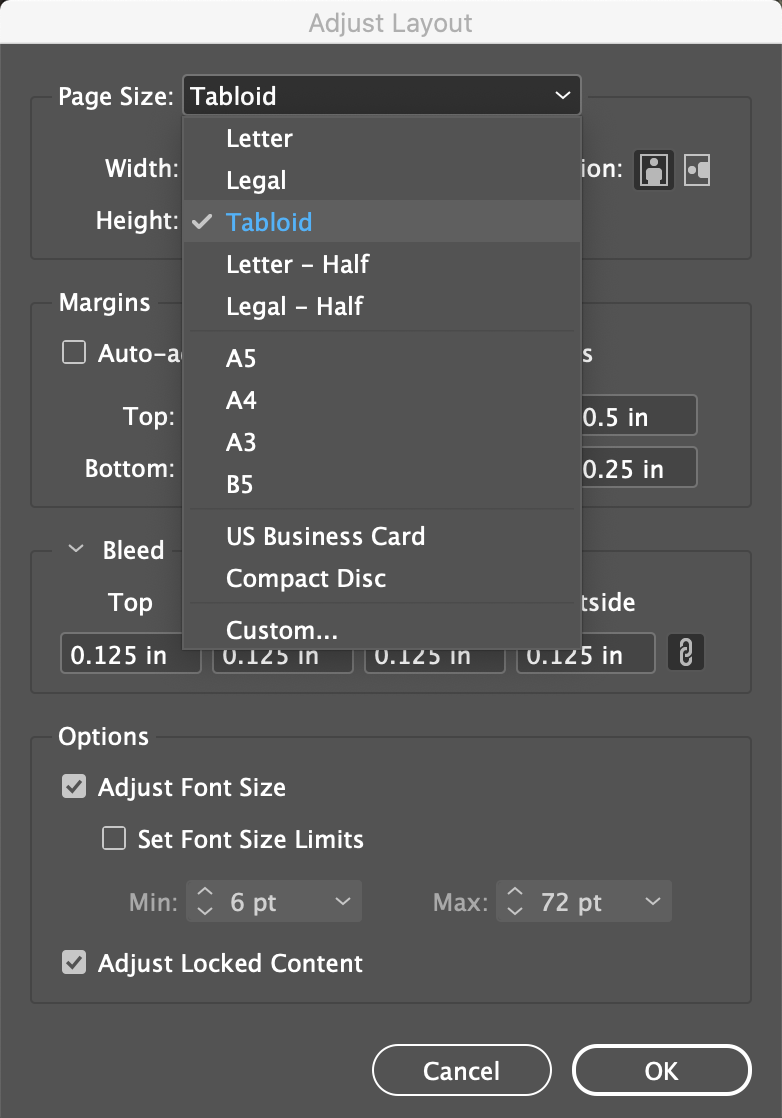
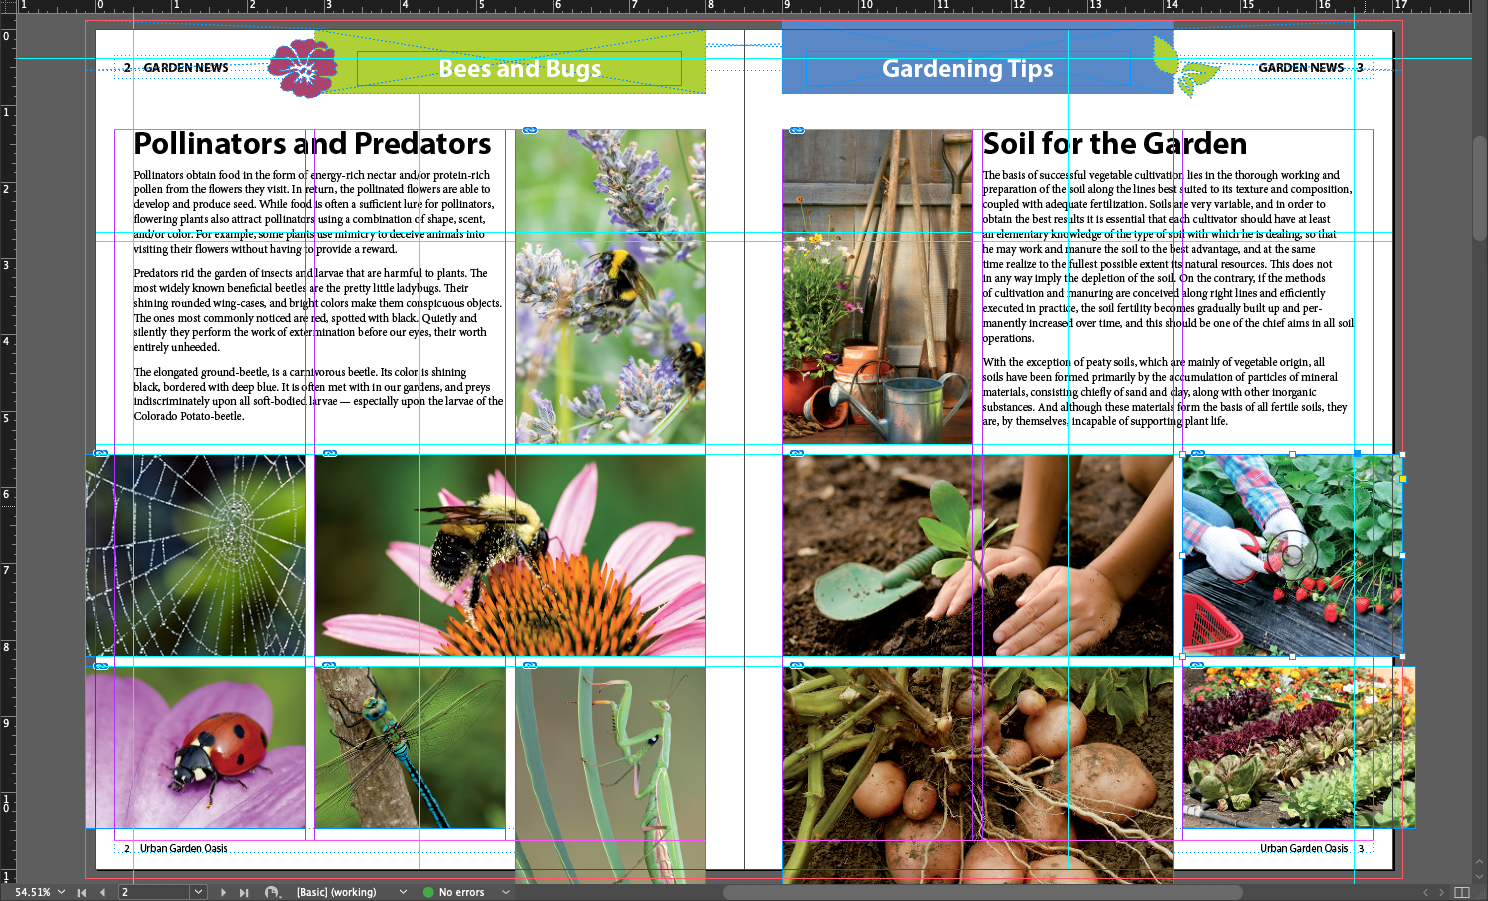
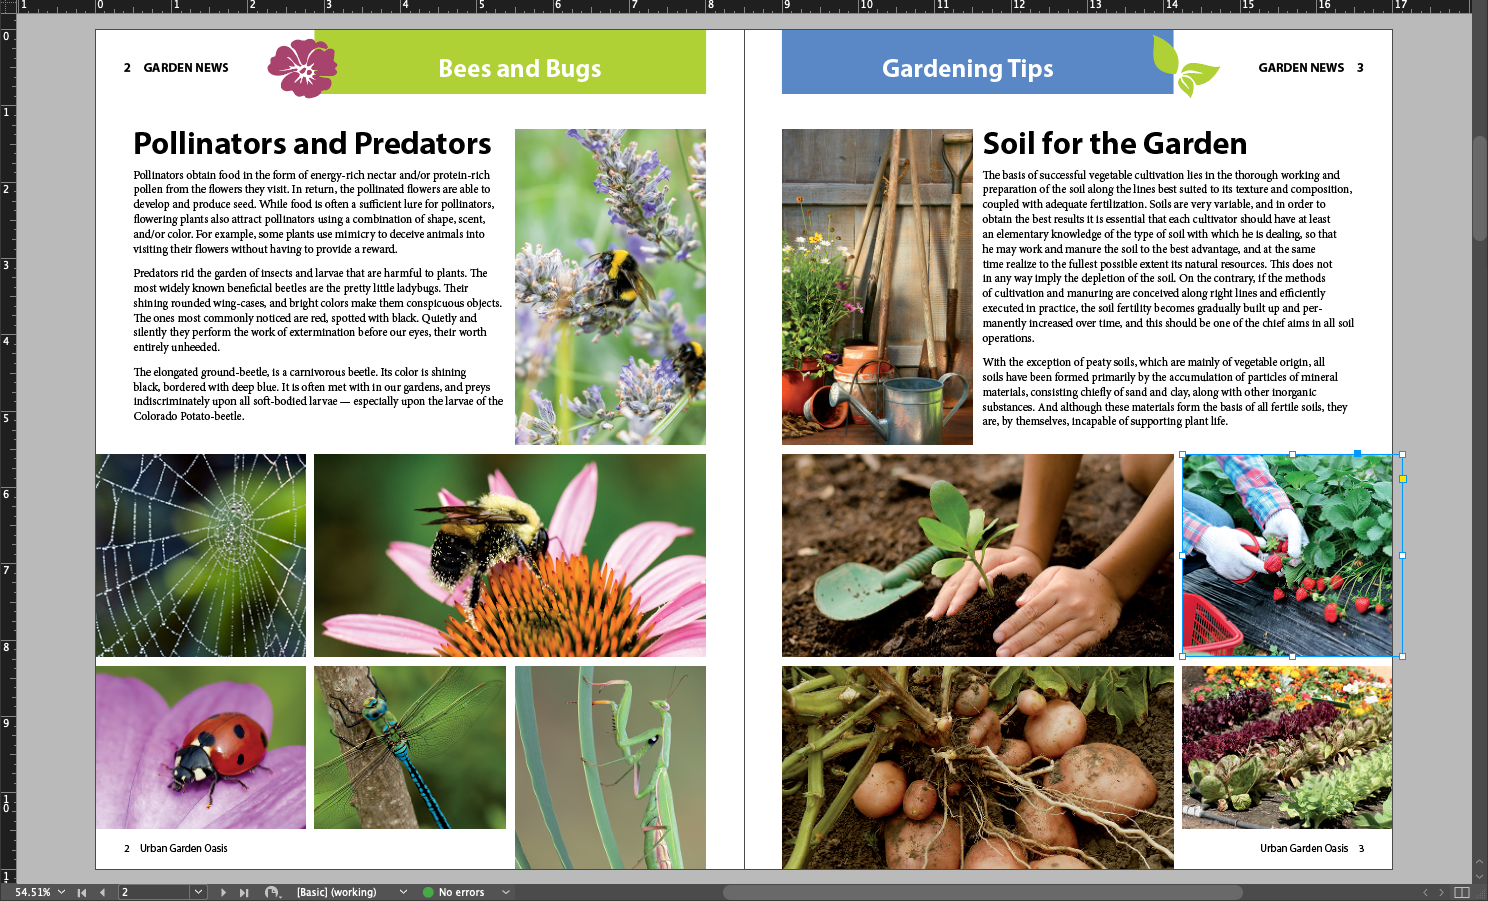
Adjust Layout
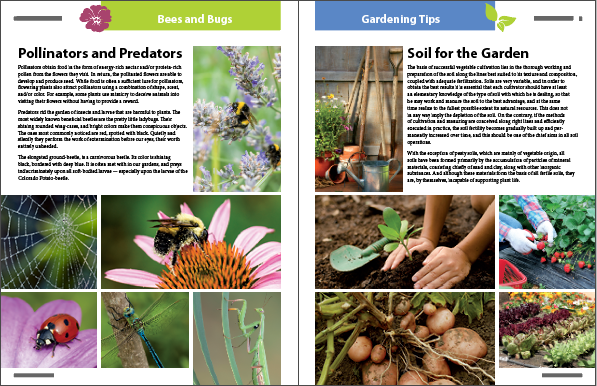
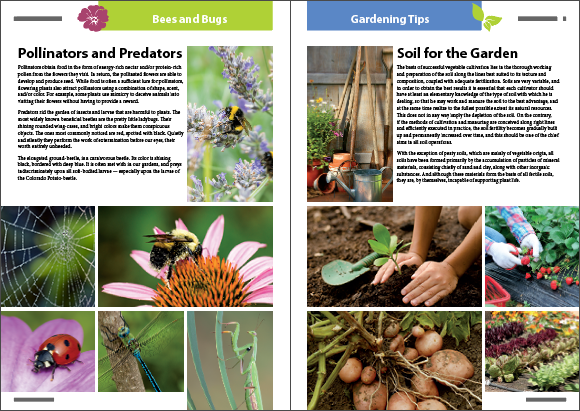
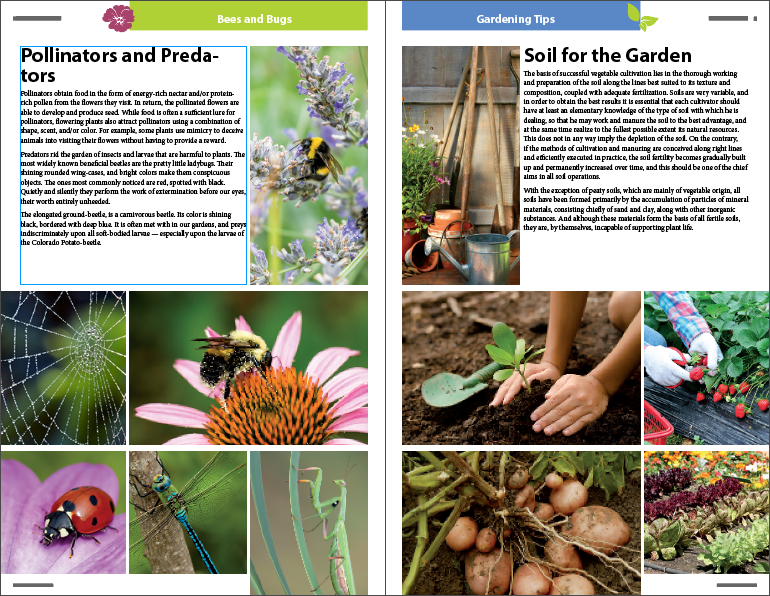
New feature in CC 2019. Not a usual condition, but it can happen that you need to redo the entire document at a different size. Do this with the file 03_end.indd
Letter
A4
Tabloid
Overriding Master/Parent Page Items and Placing Text and Graphics
There are certain sections from our textbook that are critically important to understand to be adept at using inDesign. This is one of them. I will put a thumbs up icon like this at the beginning of the section title (as above) to indicate these sections.
This is where the rubber meets the road, where we put the pedal to the medal, we go all out, and other aphorisms. This is what makes inDesign the powerful, efficient tool that it is. Building a well designed set of Master/Parent Pages, then replacing the placeholder elements by overriding them on the Pages
Working with what we have so far, save it as 03_Newsletter.indd
. Here we'll add some content to the actual pages using the established guides, header and footers, and placholder frames from the A-3-column Layout Master/Parent Page
- Go to page 2 (We're done with Master/Parent Pages, so make sure you're not working on a Master/Parent Page, but an actual Page page). Make sure nothing is currently selected (Menu > Edit > Deselect All... or click with the selection tool on an area where nothing is selectable).
- Menu > File > Place...
- From the Links folder in Lesson 3, choose then open (in this sequence and by holding the Command/Control key when you click):
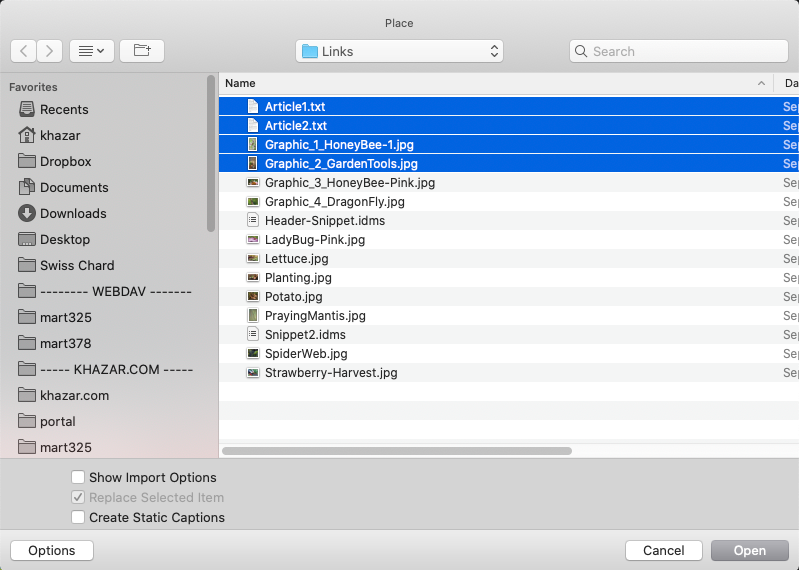
- Article1.txt
- Article2.txt
- Graphic_1_HoneyBee-1.jpg
- Graphic_2_GardentT00ls.jpg
This loads up the cursor with multiple, placeable, objects. Each click and release places the first object in the stack and moves to the next one.
This ain't how it's done in the real world. It's way easier just to find the bits you need sequentially and place them one at a time.
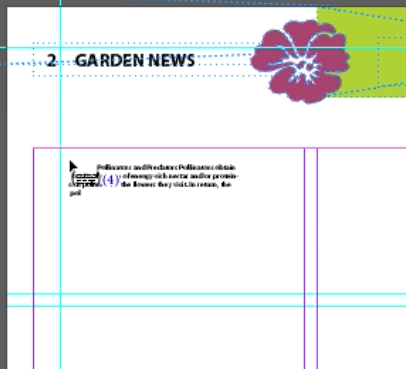
You can see a little (4) showing there's 4 objects loaded into the cursor...
- Click in the upper right corner of the text frame (which is invisible, you gotta know it's there) which will drop Article1.txt into the text frame from the Master/Parent Page
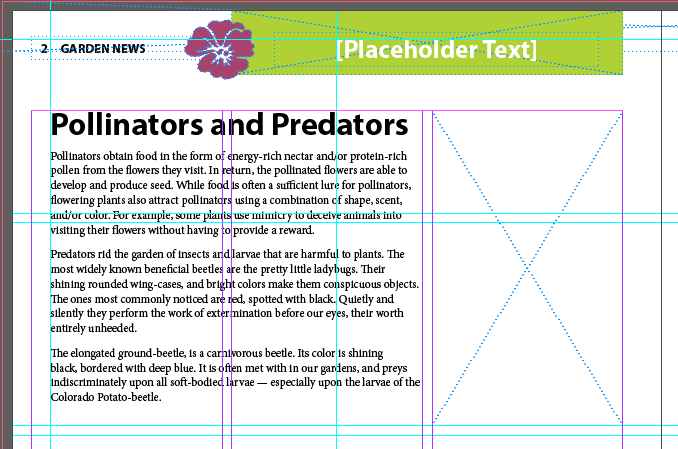
- Do the same for the remaining article and the two images...
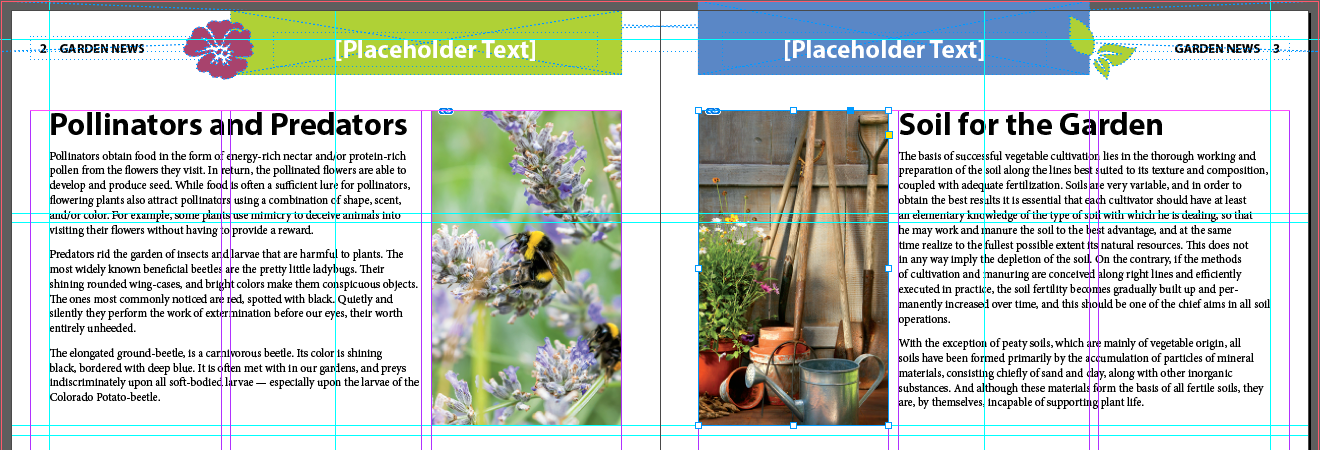
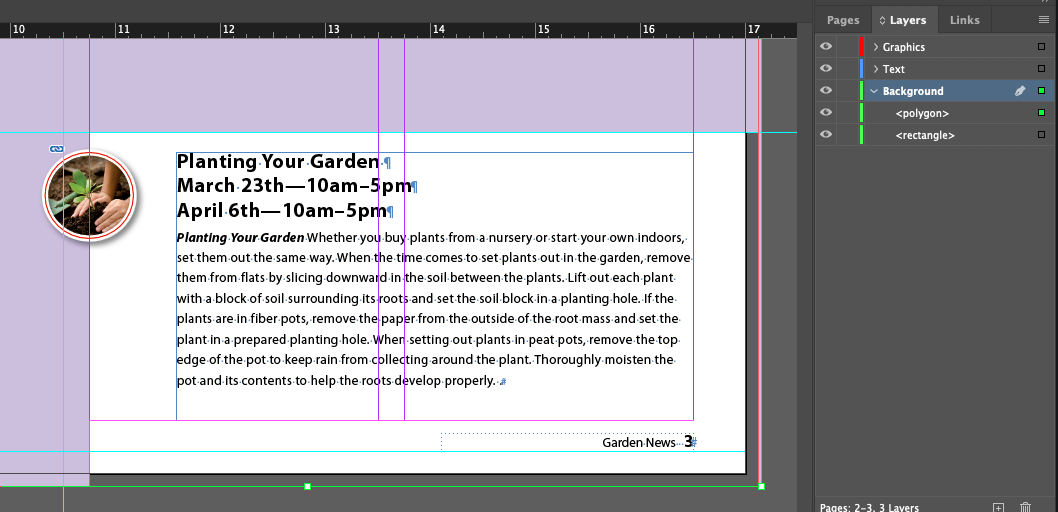
- Now we'll place another one of those snippets (Snippet2.idms) to fill out the bottom half of the two pages. Position the cursor at the upper left edge of the bleed guides.
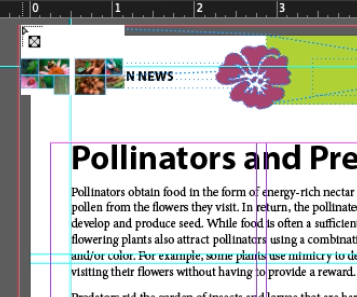
Again, this ain't how it's done in the real world. Snippets should be used for content that gets used multiple times across multiple documents and projects
- Result
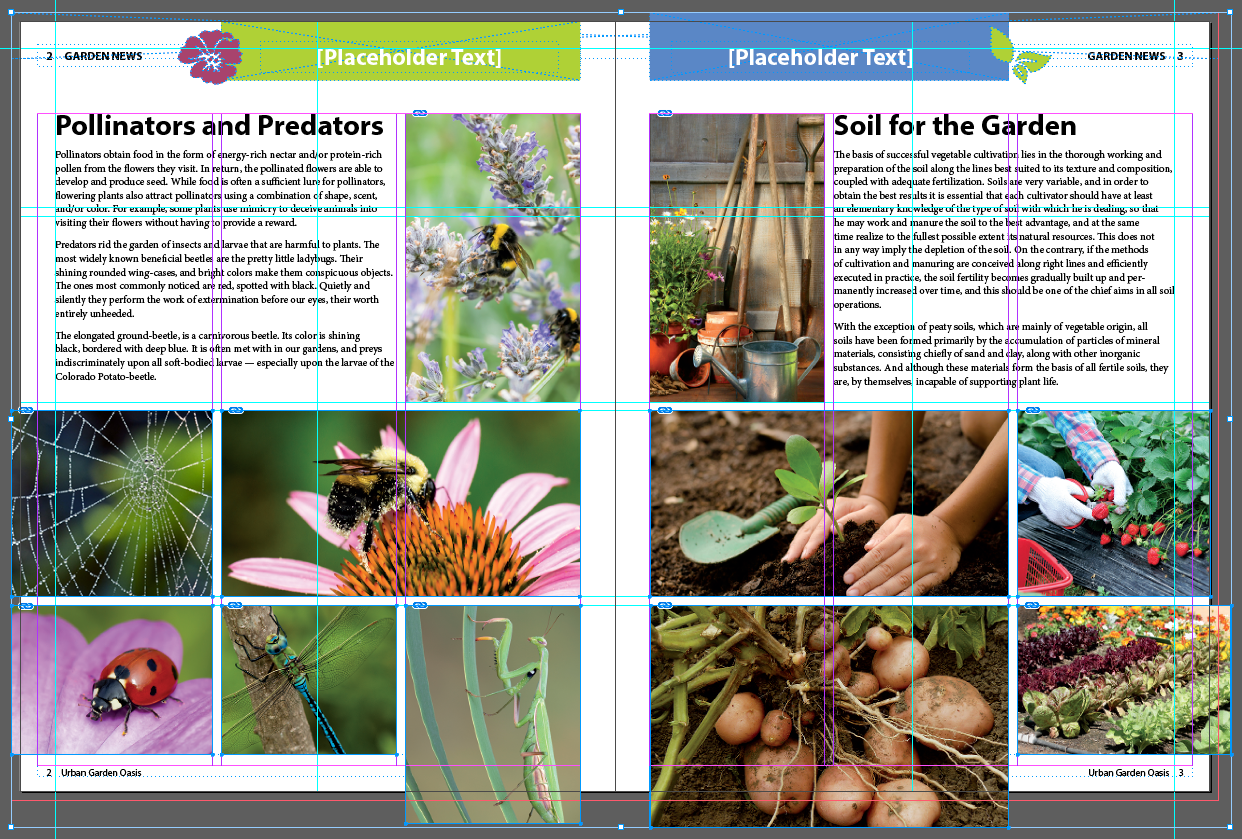
Replacing Placeholder Text
The headers at the top of the page for the two Master/Parent Pages has placeholder text set to a specific font and style. It's been named with the self-descriptive [Placeholder Text]. If you just click on it, you can't select or edit it. It requires the special gesture of Shift+Command/Control click to free it up.
- Zoom in and replace the placeholder text with
Bees and Bugs
on page 2 and Gardening Tips
on page 3


Printing to the Edge of the Paper: Using the Bleed Guides
[Quote from our text] A very important concept to keep in mind when setting up a document is whether any elements will print all the way to the edge of the paper. If so, you need to account for how that is accomplished in commercial printing. The bleed guides that we set up in the newletter template are there to enable you to do that.
In commercial printing, pages are printed on large peper, and pages are arranged to fold correctly on bindery machines, rather than on single sheets as on an office printer. For example, the pages could be 2-up on a small digital press, or 8-up on a ty[p[ical large offset press. Throughout the printing process, tolerances are built in to alow for slight variations, and one of theose tolerances is bleed.
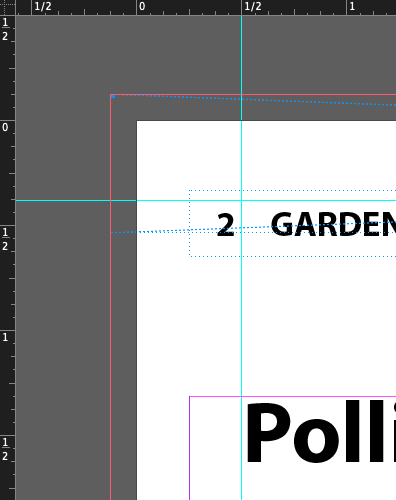
Bleed line
Trim Line / Paper Edge
Margin line
Sheets of printed material are cut while in lage stacks, and even with a very sharp industrial blade, it's impossible to cut exactly to the edge of an image hundreds or even thousands of times. So to get a perfect edge every time while allowing for the mechanics of cutting paper in stacks, any artwork that will print to the edge must acutally extend past where the blade will cut the printed sheet.
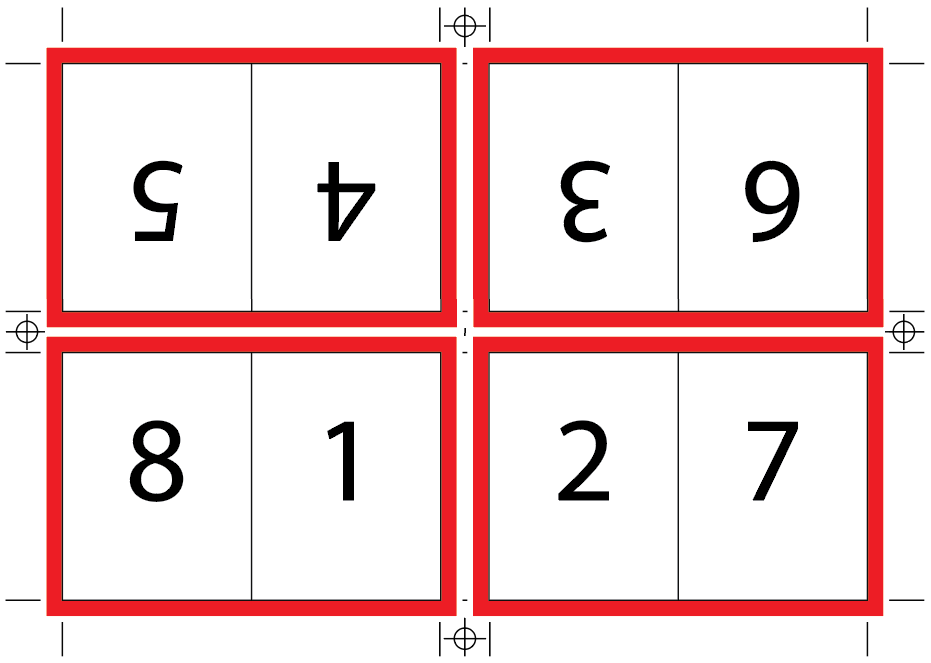
Diagram of a press sheet. Red is the bleed area and is trimmed off.

Therefore, to create a finished piece with photos or other elements that print right to the edge of the page, you actually must extend those items in the InDesign file past where the blade will cut the sheet to the final size. That produces a clean edge because the blade cuts through the printed image, not unprinted paper.
Here, we'll check that items extend sufficiently beyond the page edge, and fix them if they don't.
- Zoom into page 3 near the bottom of the page
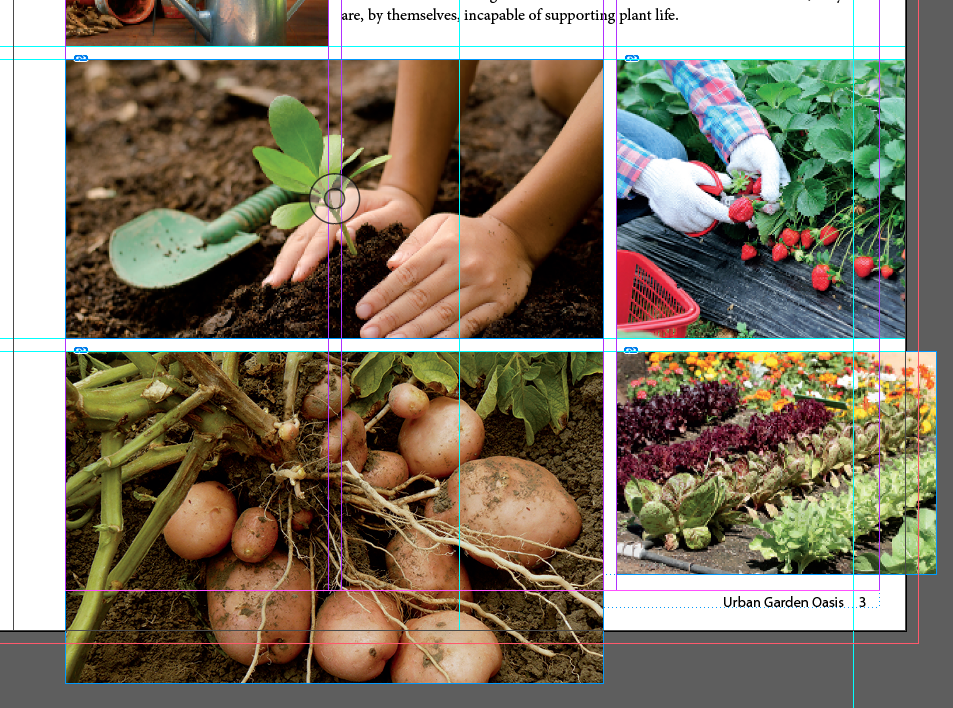
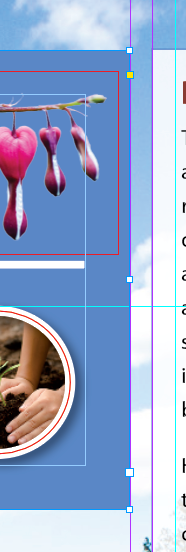
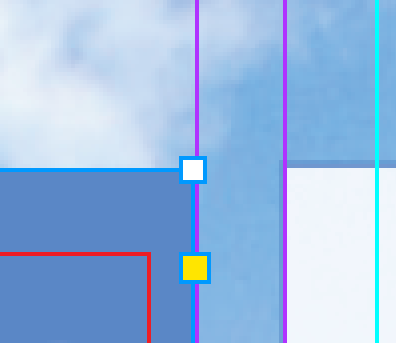
The strawberry image stops at the edge of the paper. Just stretch out the crop frame to the bleed line fix it
- Result
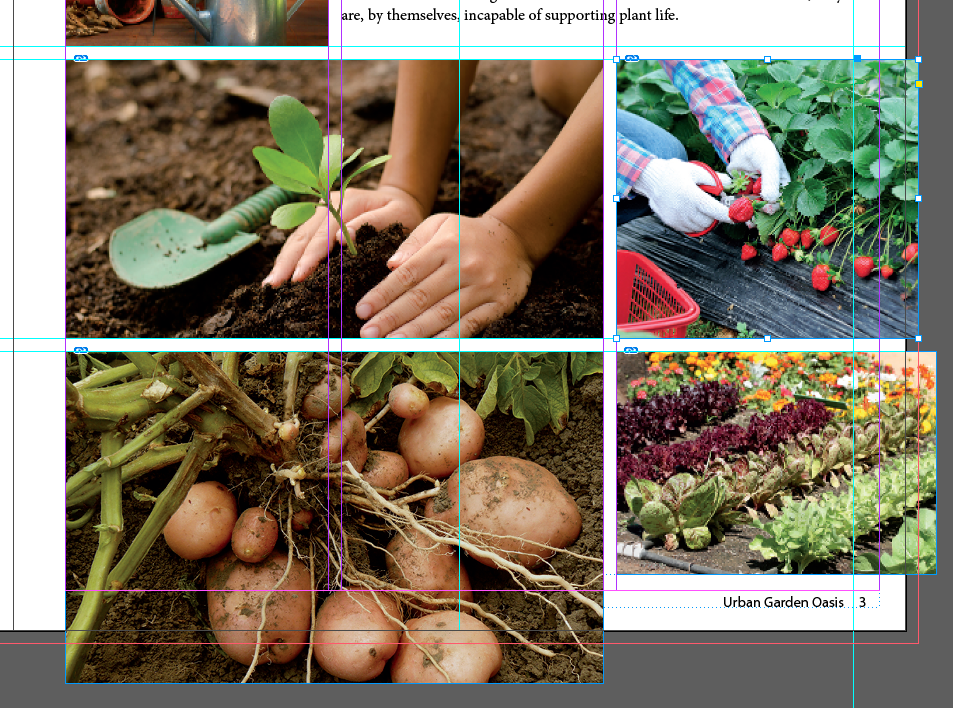
Viewing the Completed Spread
How to get rid of all those margin and guide lines to see how the document will look when printed (but short of the Client Presentation oriented Presentation mode)
Rotating Spreads
Skip this, too much of an edge condition
, as they say in tech support and QA circles.
CHAPTER 3
Review Questions
- What are the advantages of adding objects to Master/Parent Pages?
- How do you change the page-numbering scheme within a document?
- How do you select a Master/Parent Page item on a document page?
- What's the advantage of basing a new Master/Parent Page on an existing Master/Parent Page?
- How do you override a Master/Parent Page item?
- How do you handle items that print to the edge of a paper?
Prep for Assignment 1 (SPEC)
Note: I don't expect (or want) you to copy my layout (masthead, images, etc.). This is just for demonstration purposes.
Source packaged file zipped
Set up your document
Menu > New > Document...
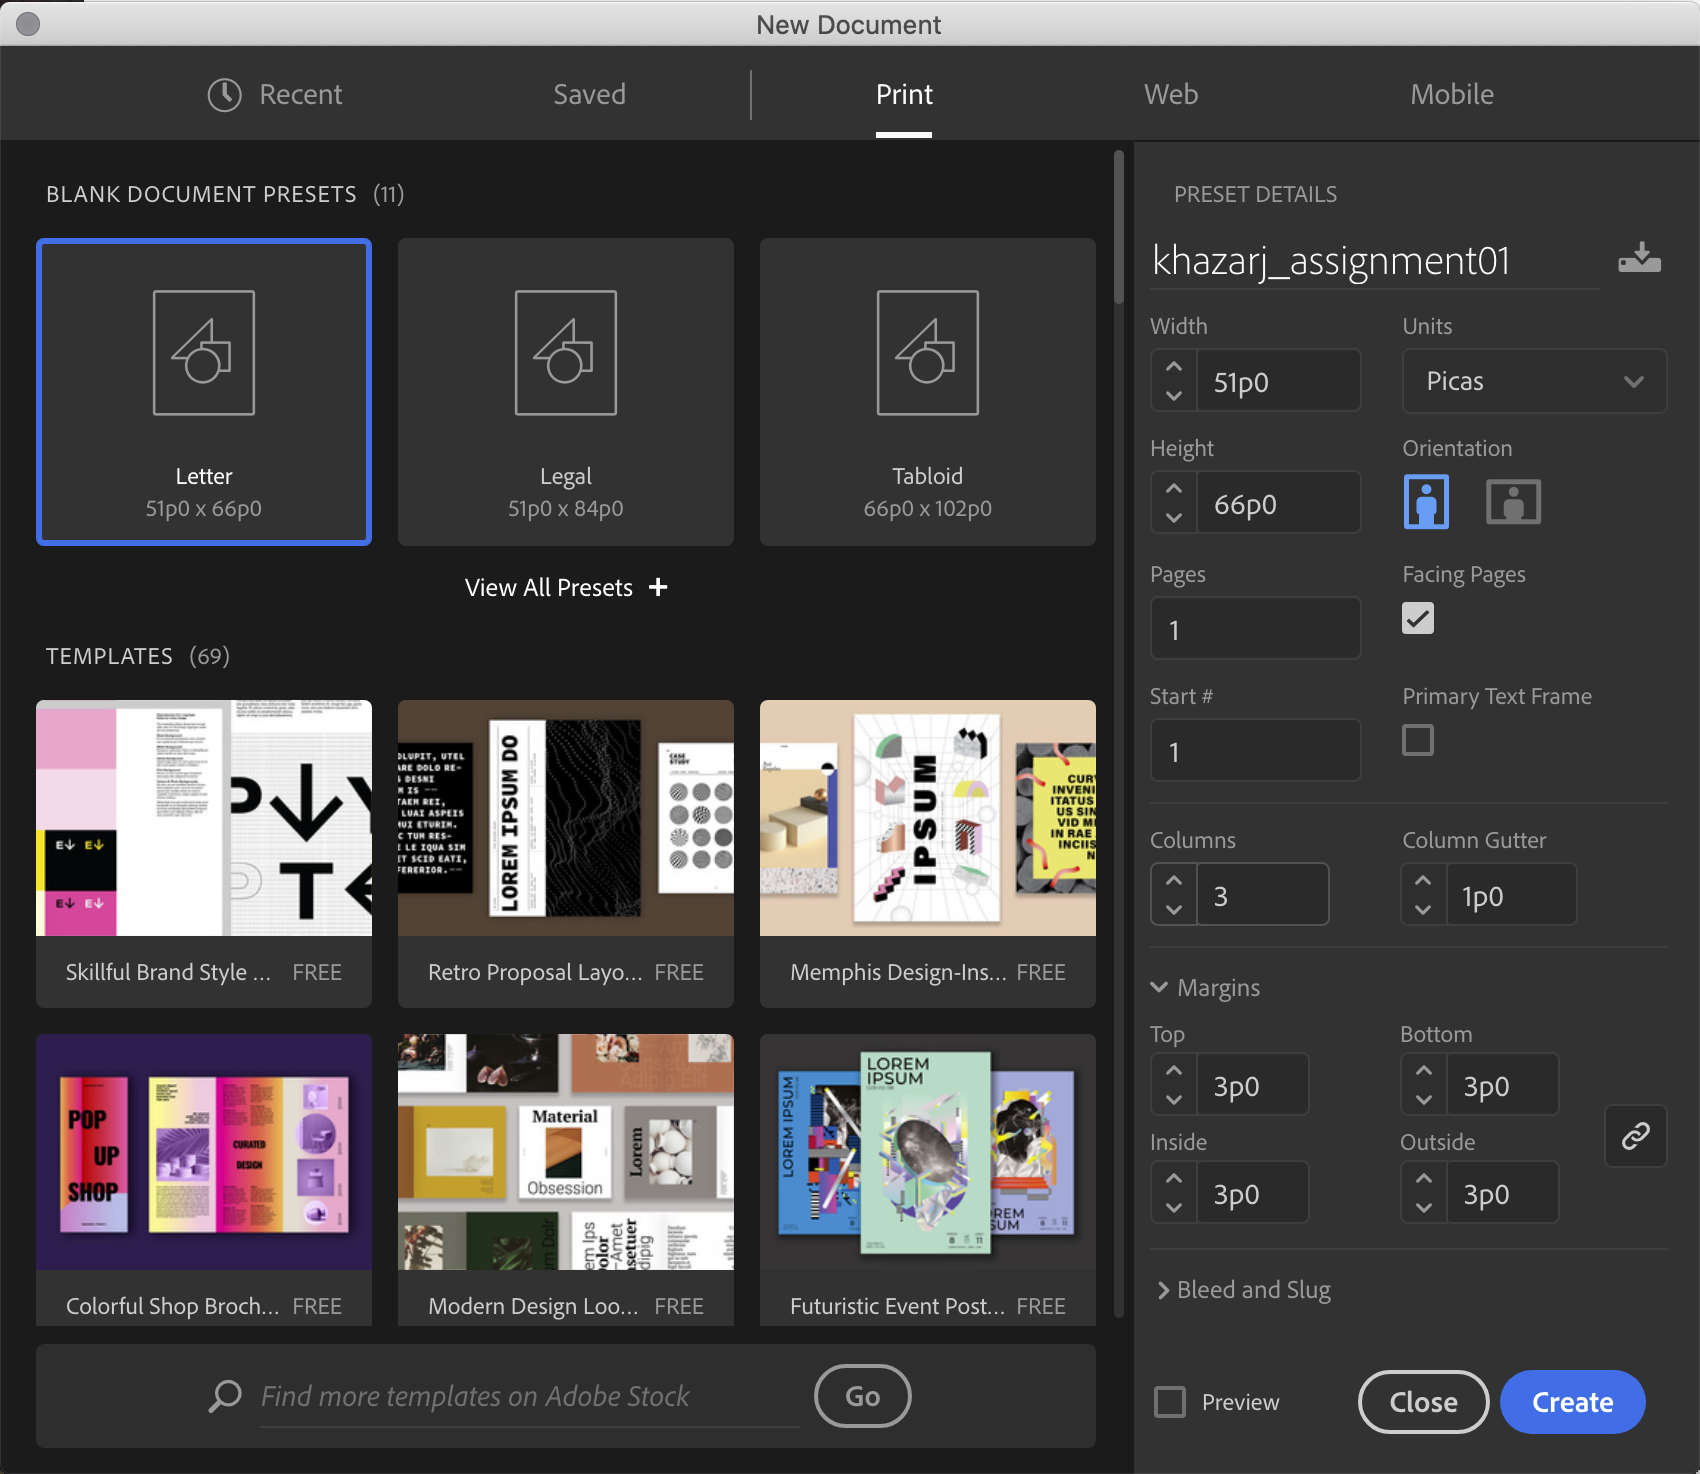
Print tab, choose: Letter
Width: 51p0
Height: 66p0
Orientation: Portrait
Facing Pages:
(checked on)
Columns: 3
Gutter: 1p0
Margins: 3p0 all around
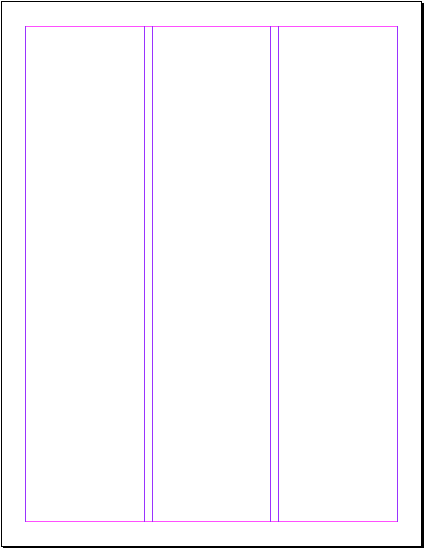
Result
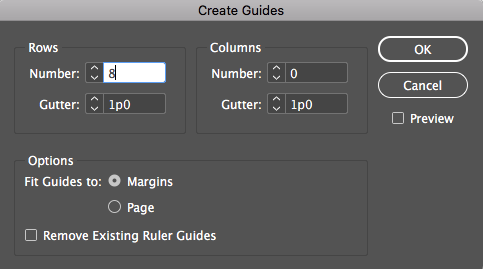
Menu > Layout > Create Guides
Add 8 row guides, 1p gutters, fitted to Margins
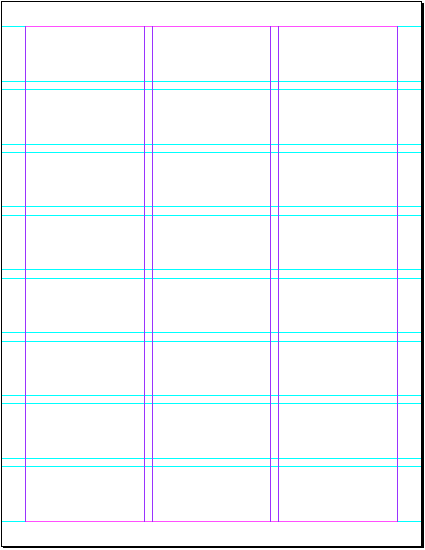
Result
Create a Masthead:
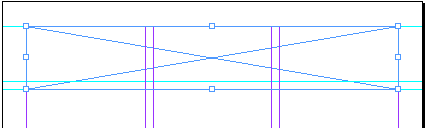
Draw a rect across the top with the Rectangle Frame tool
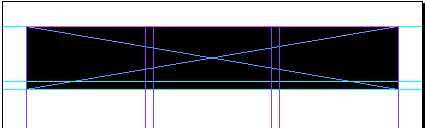
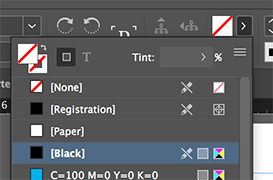
Fill it with black
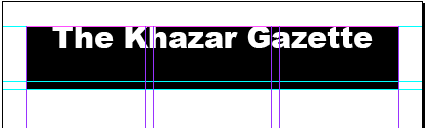
Click into the frame with the Text Tool and type "The Khazar Gazette"
Set it to white (paper color), Arial Black, Regular, 43pt, Centered
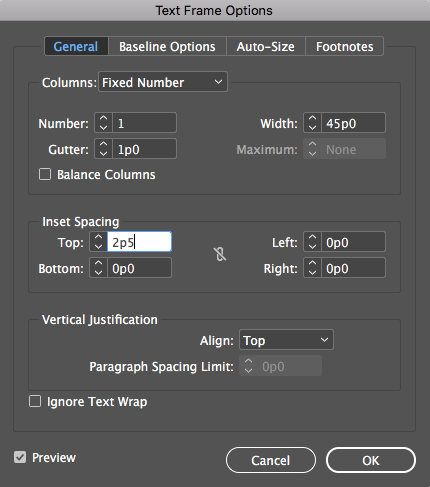
Menu > Object > Text Frame Options
- Inset Spacing: Top: 2p5
- Or, O inset spacing and Vertical Justification Align: Center
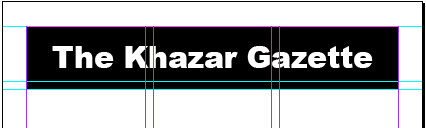
Add a 5pt black line below the masthead, 5pts below the bottom of the rect
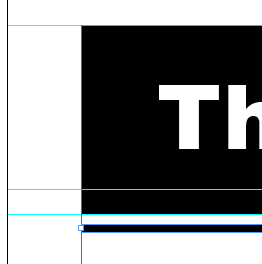
Draw the line at the base of the text box, set it to 5 point, then use Menu > Object > Transform > Move to move it exactly 7.5 pts down, so it will be exactly 5 pts below the base of the Rect.
Add a block of body copy
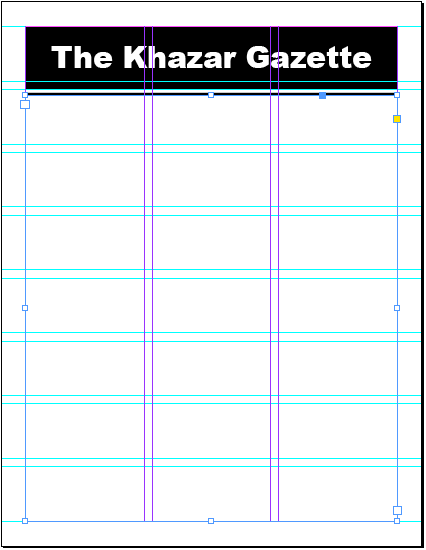
With the text tool, click and drag from the bottom edge of the 5pt
With the Control Panel, move the text frame down to 1p0 and make it 2p0 shorter. Don't forget to reset the Reference Point to upper left.
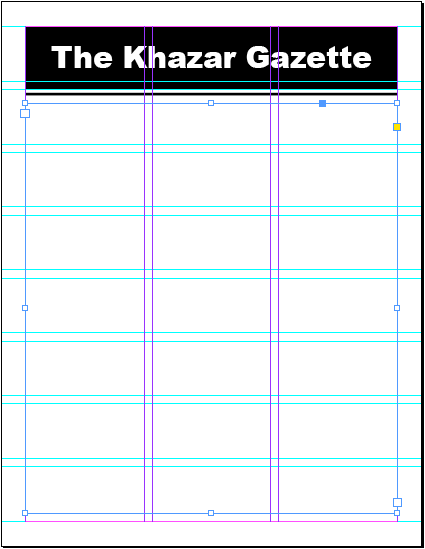
Result
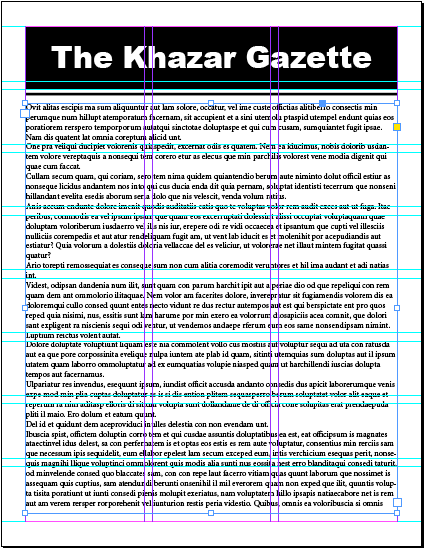
Fill the text box with Placeholder Text.
Menu > Type > Fill with Placeholder Text
Watch out for this!
Sometimes "Align to baseline grid" gets set by default. It will screw up all attempts to set leading. Set it to "Do not align to baseline grid".
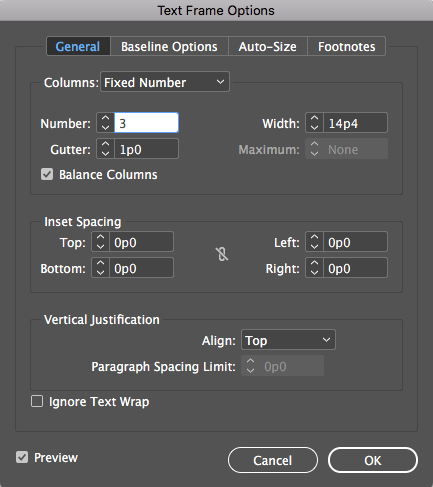
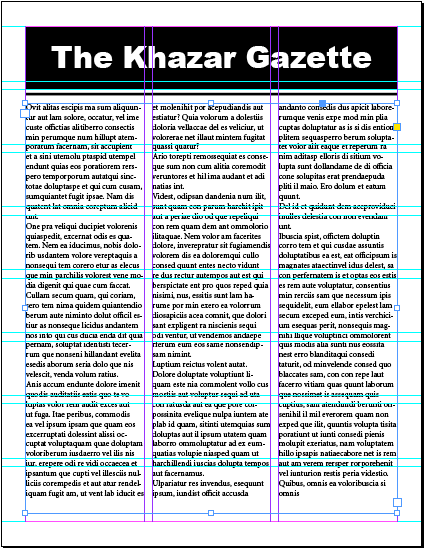
With Menu > Objects > Text Frame Options dialog set number of columns to 3 with 1p gutters
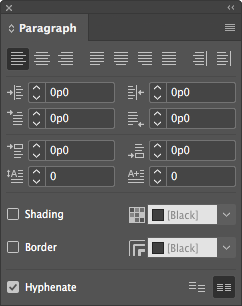
Set the text to Justified with the Paragraph Panel
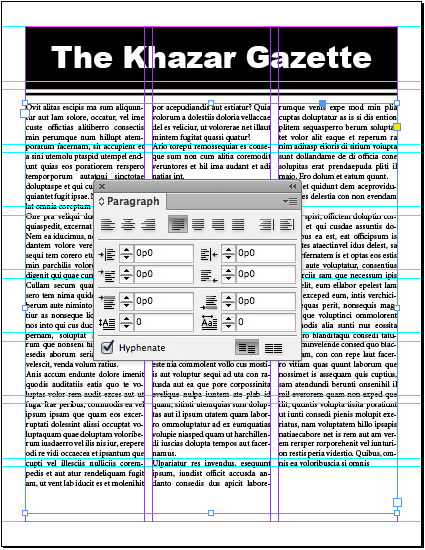
Result
Add some images
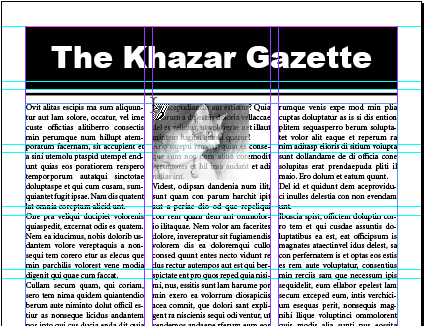
Deselect all
Menu > File > Place... "Pencil_Blended.png"
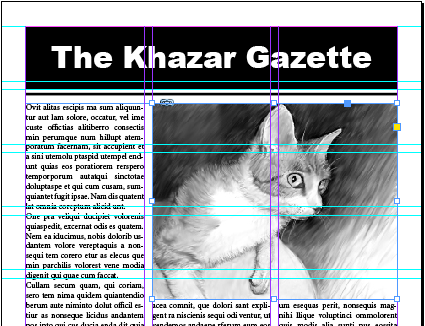
Click at the top of the second column and drag to right margin
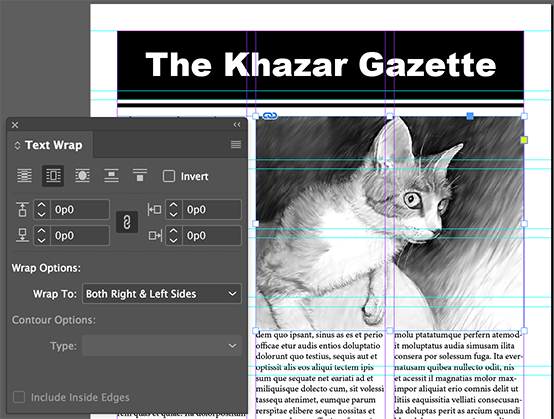
Set the text wrap of the image:
For this object, no spacing around it
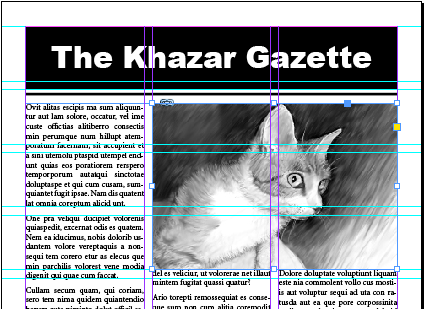
Drag the bottom of the image frame to the horizontal row guide
Adjust the body copy
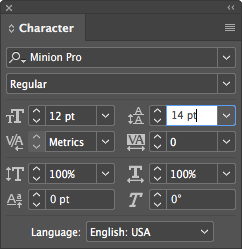
Set the body copy to Minion Pro 12/14
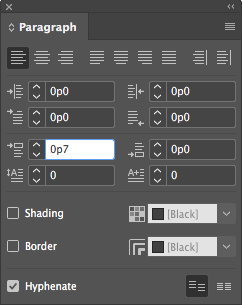
Set the Space Before the paragraph to 7pt (0p7)
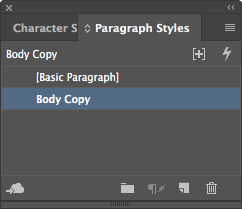
Make it a Paragraph Style
Add A Caption To The Image
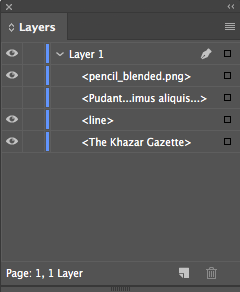
Make the Body Copy layer invisible
Zoom in
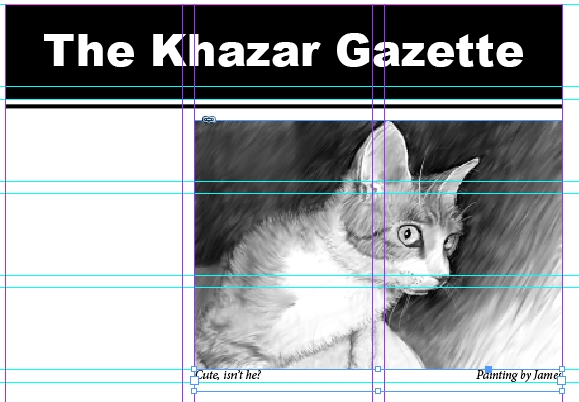
With the text tool, drag from the left edge of column 2 to the right margin, right below the image. Type out "Cute, isn't he?" and Menu > Type > Insert Special Character > Other > Right Indent Tab and "Painting by James". Select it all and set to Italic
To control spacing above and below the caption do the following:
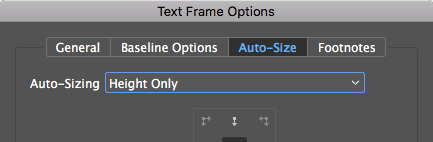
- Use Menu > Object > Text Frame Options to set Auto-Size to Height Only
- Put the baseline of the text on the blue row guide
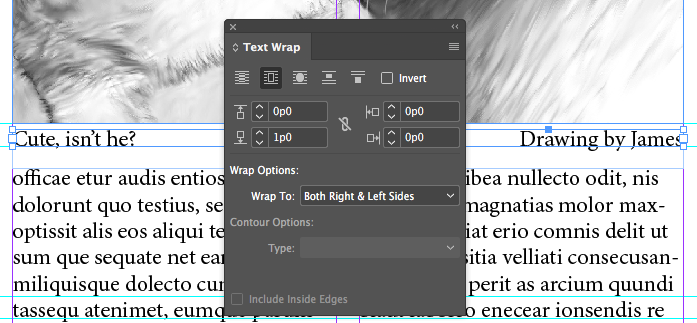
Make the body copy visible again and set the text wrap bottom distance to 1p
Add a headline
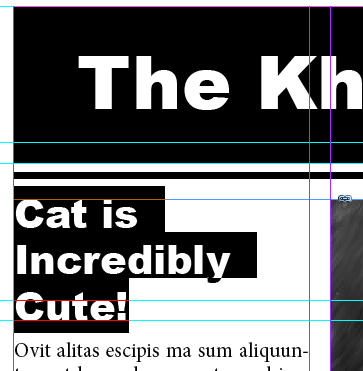
- Insert the cursor at the top of the first column
- Type "Cat Is (shift-return) Incredibly (shift-return) Cute!"
- Set it to Arial Black, Regular, 23/27, Flush Left, no Hyphenation
Add a Rule above the First Paragraph
- Put the cursor in the first paragraph
- In the Paragraph Panel, click on the popup menu in the upper right corner and select "Paragraph Rules"
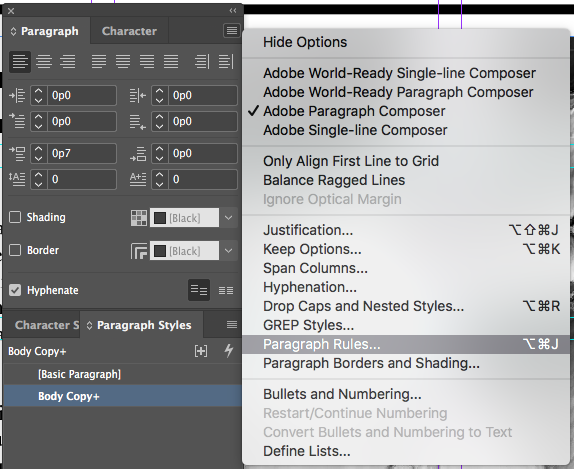
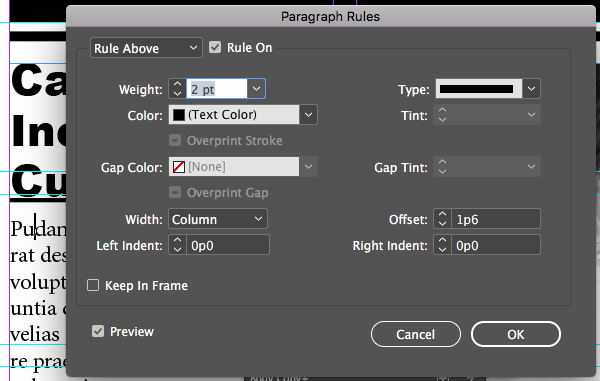
- Set a 2pt Rule Above with and offset of 1p6
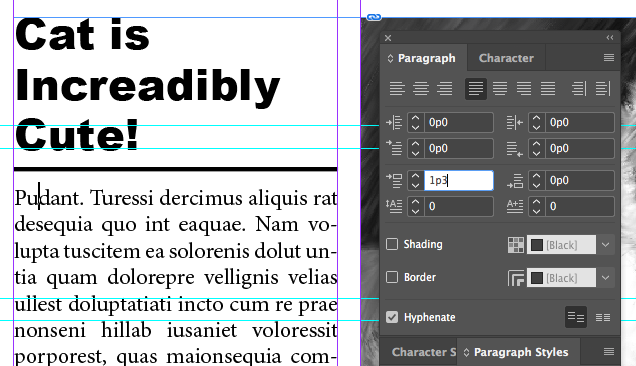
- Then move the paragraph down with the Paragraph Panel with the Space Before value until it lines up with the text in the next column
Other things to do
- Add a small picture in column 3, space it and size it to look good
- Add a line at the bottom
Chapter 4: Working with Objects
Lesson04.zip
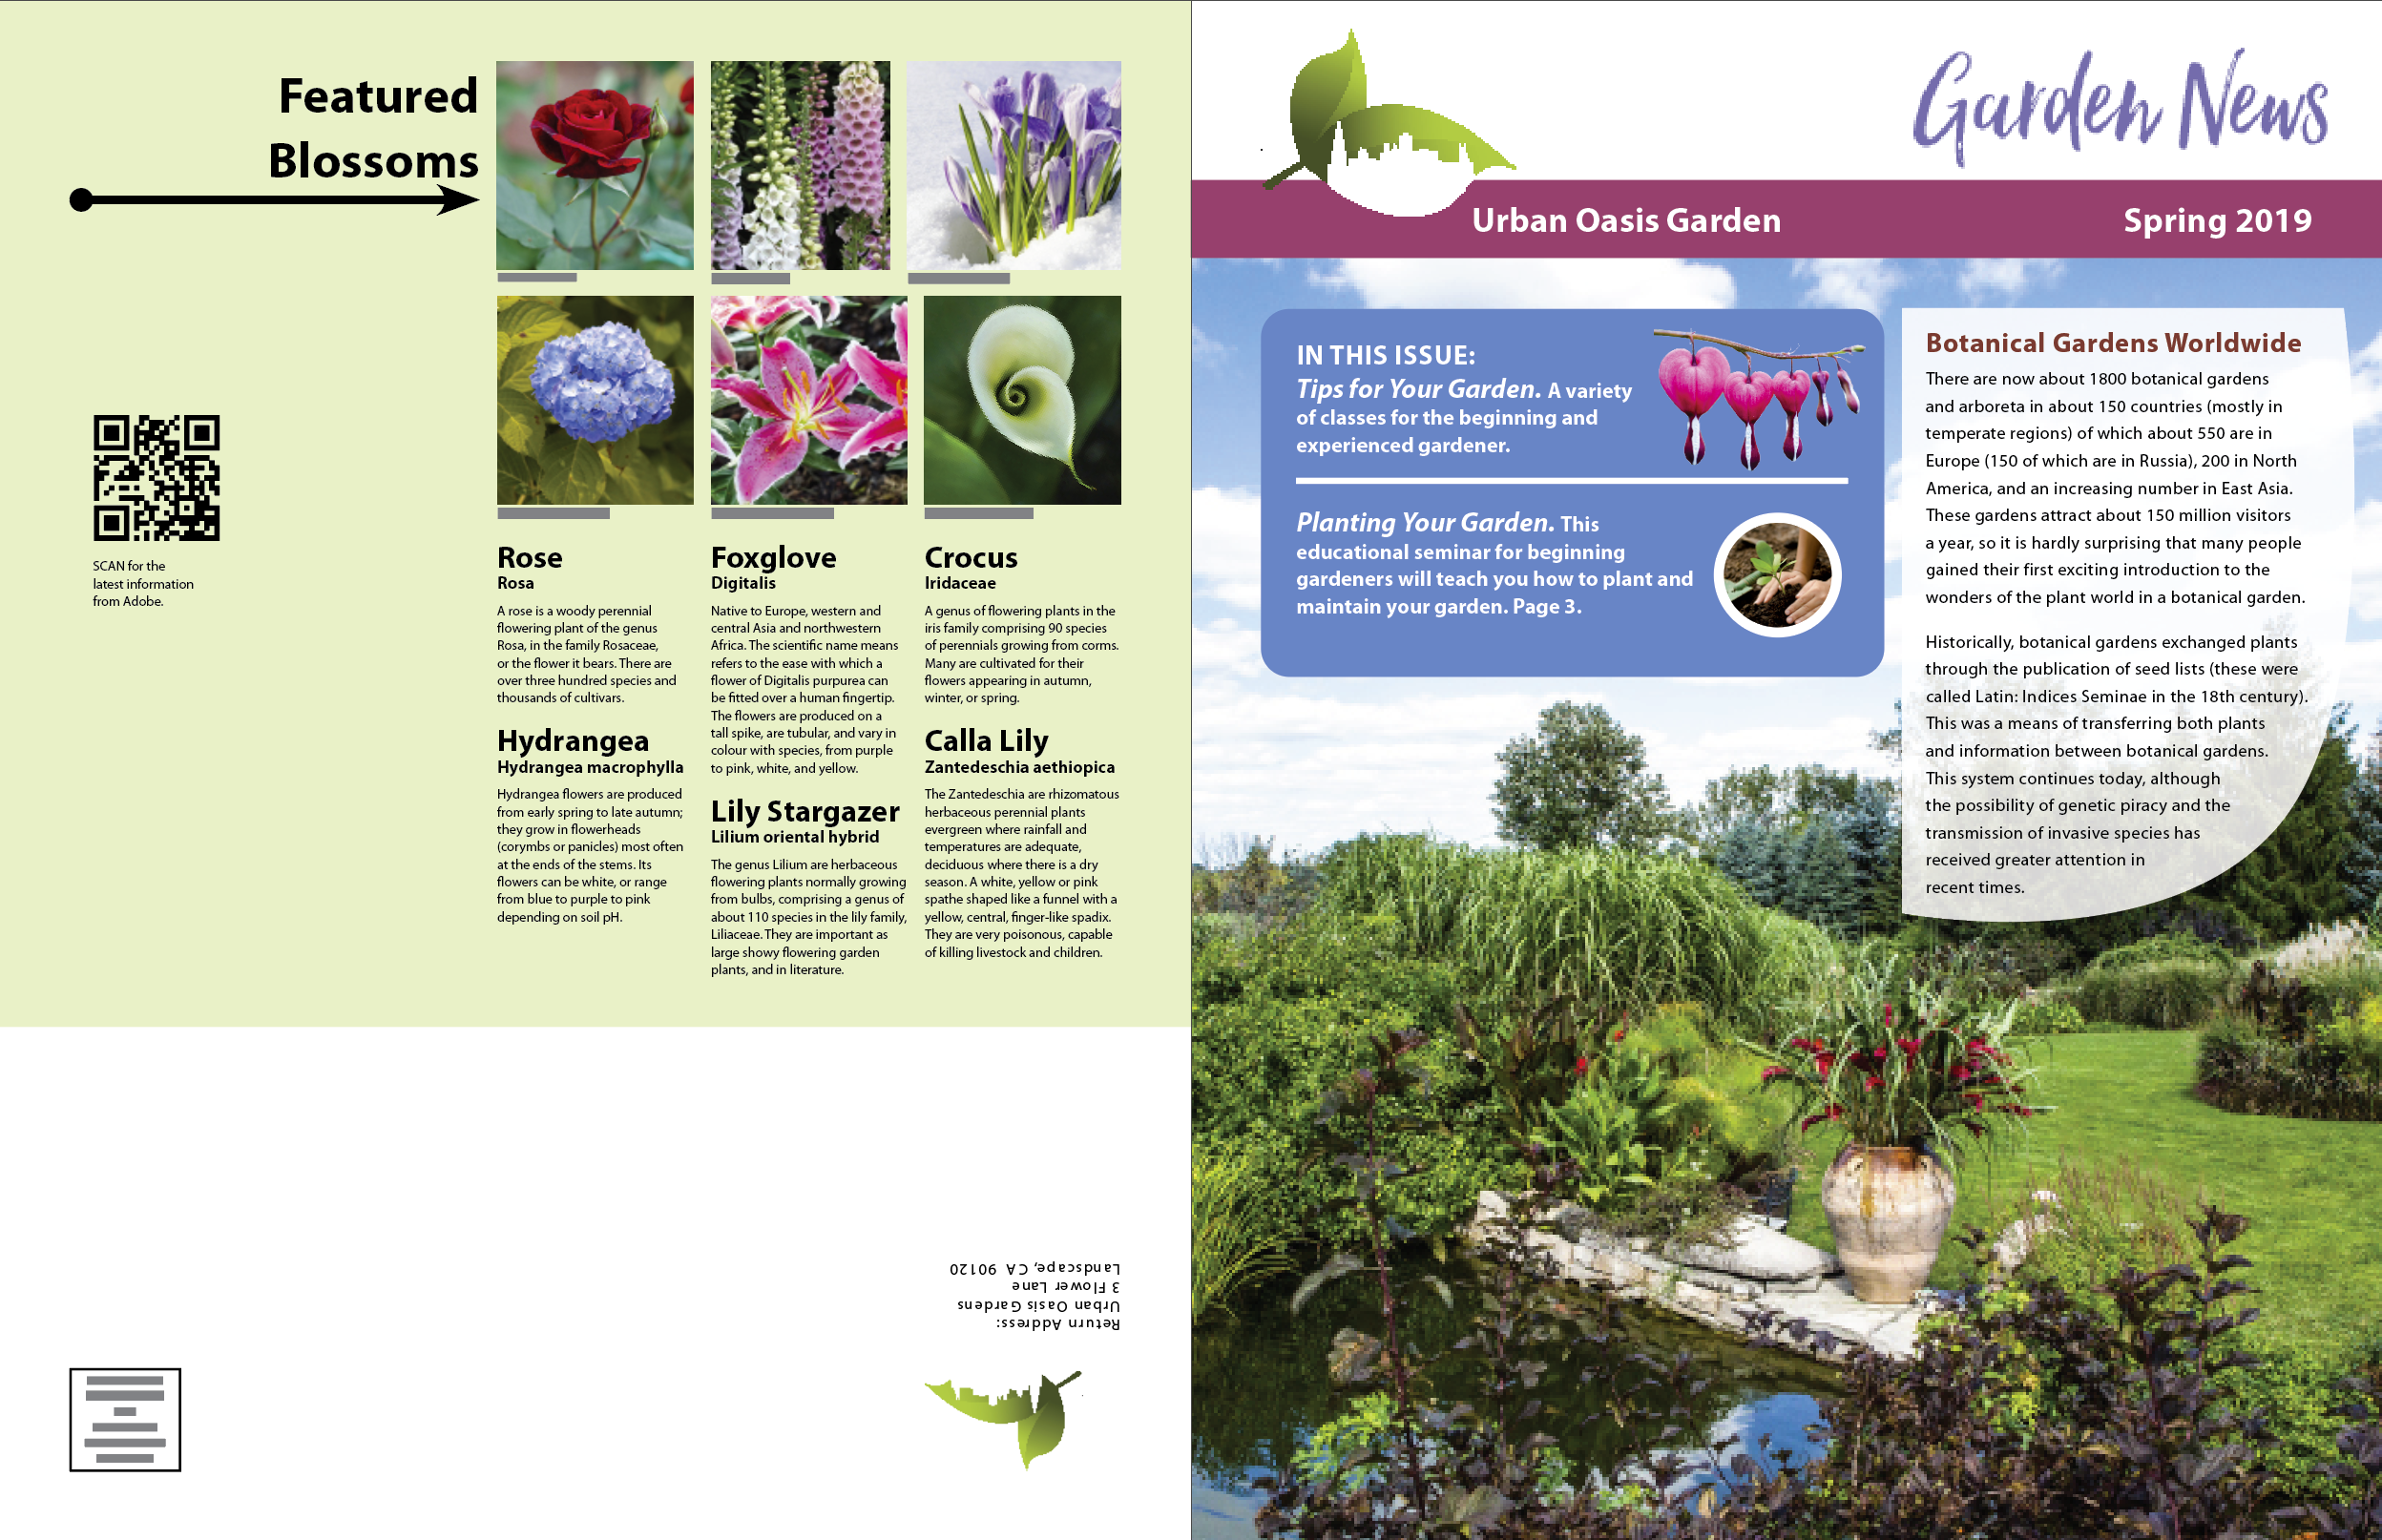
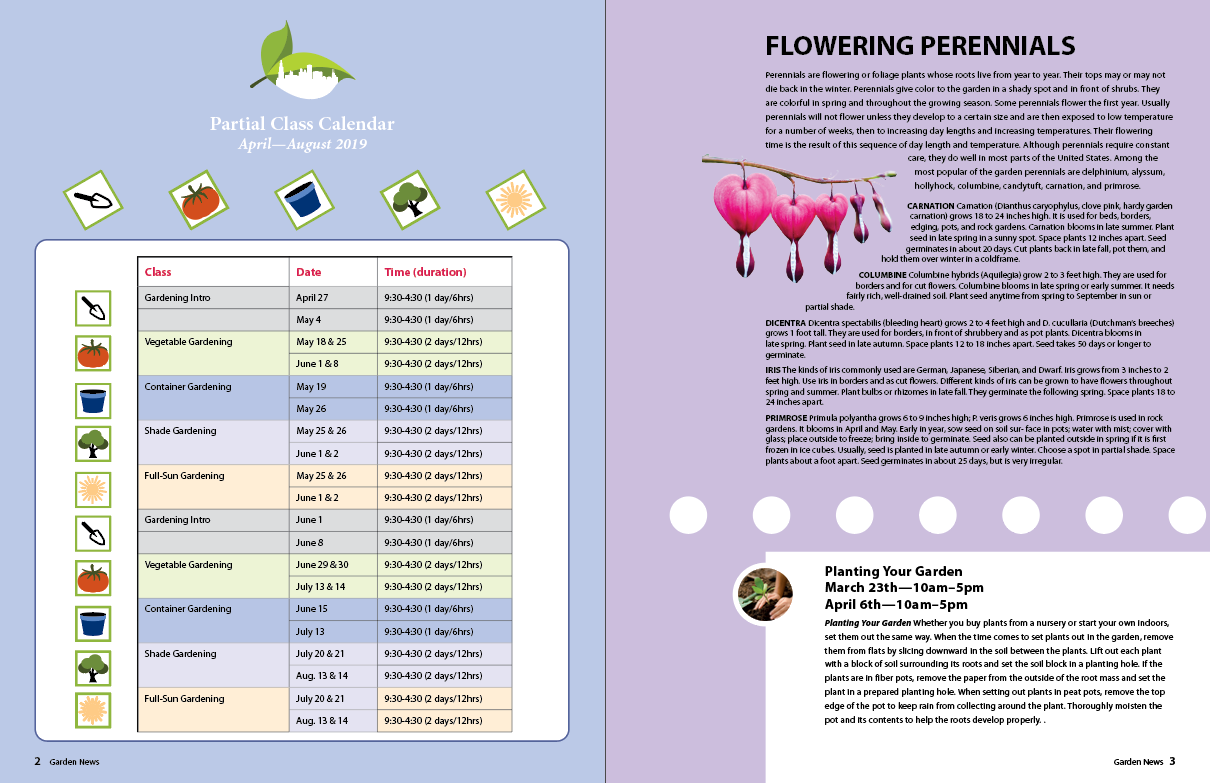
Open 04_Start.indd. Resave as 04_Objects.indd
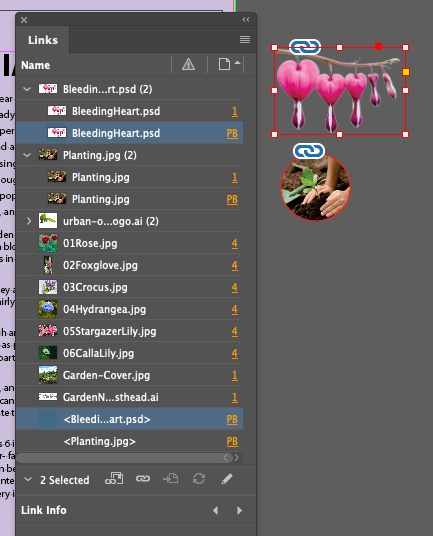
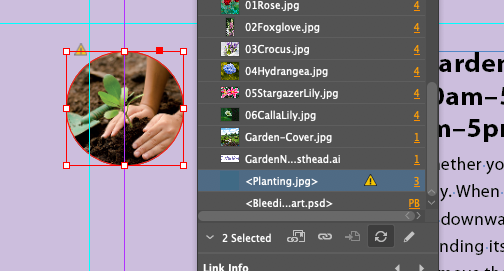
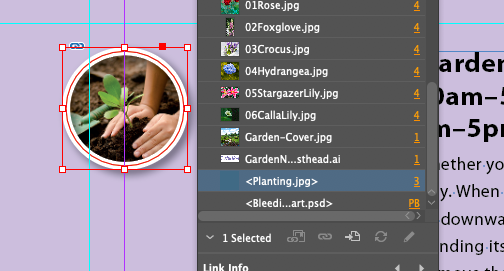
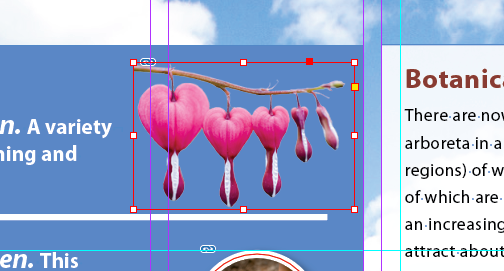
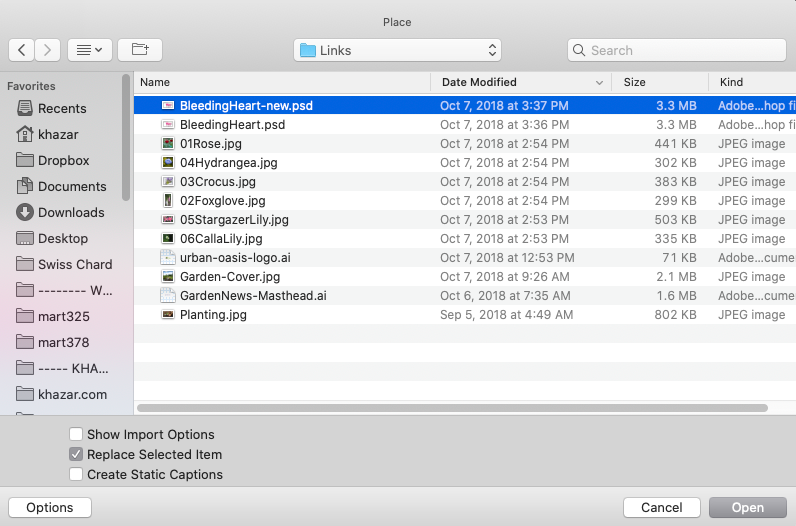
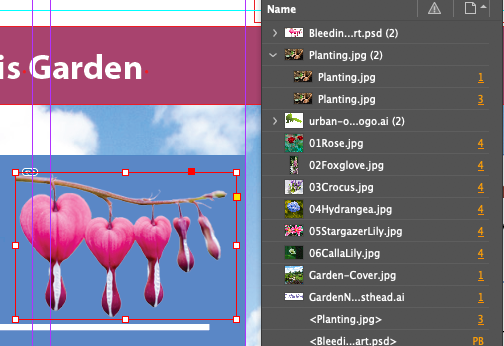
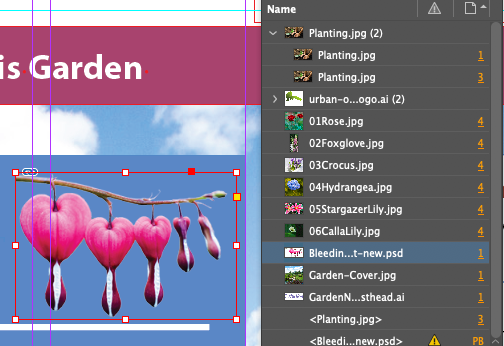
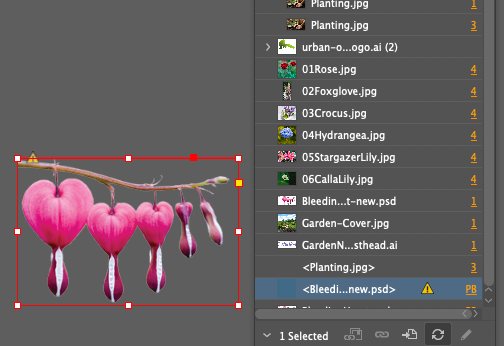
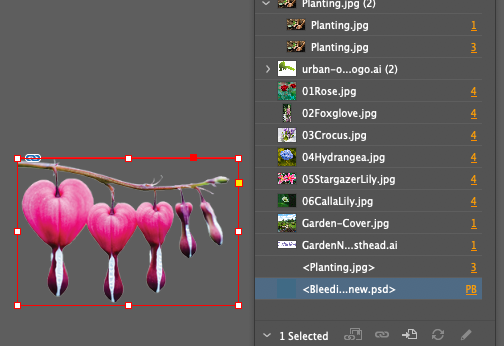
Update the Damn Links
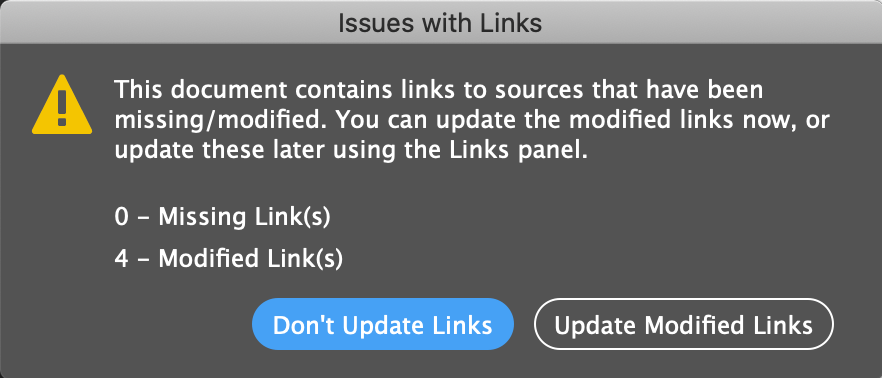
Even though our text doesn't say anything about it, and I thought it was deliberate for about 2/3rds of the demo, it's best to update the links when you first open the 04_Start.indd file
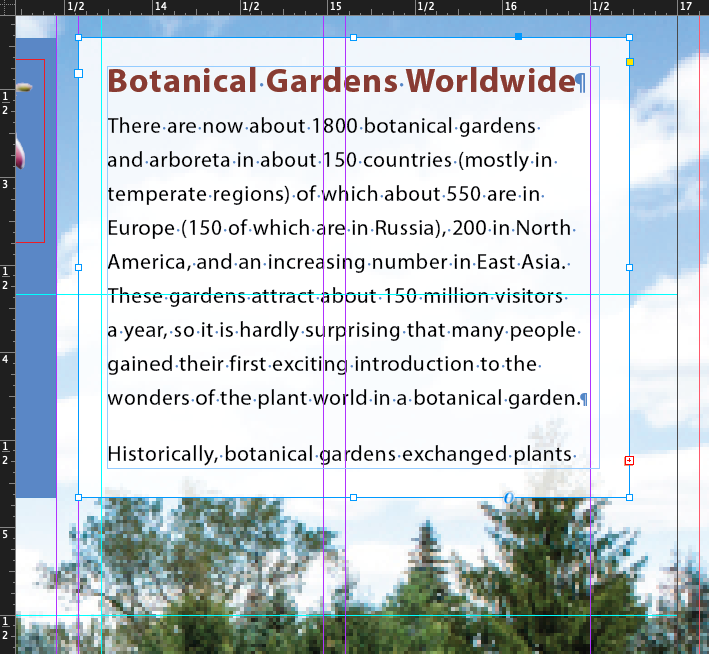
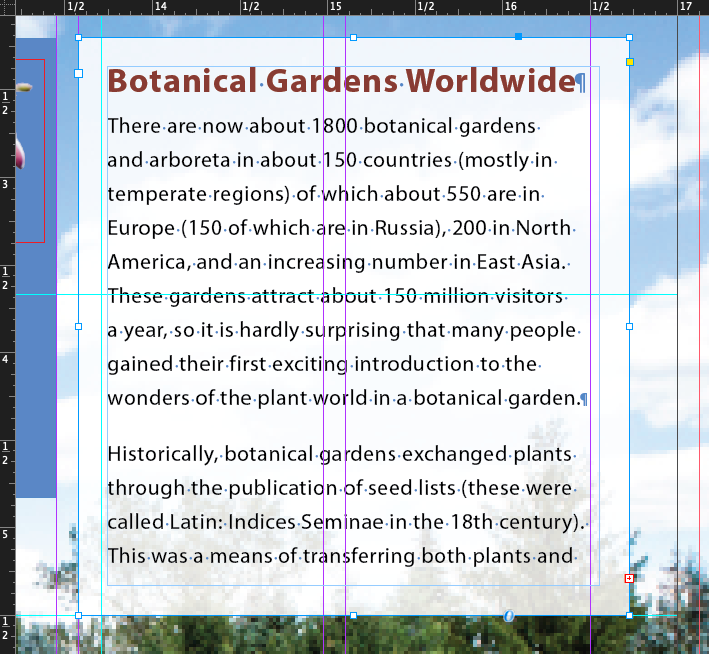
Creating and Modifying Text Frames
Text is usually located within a Text Frame (though you can do type on a path too).
Best practice is to put as much of your text in as few text frames as possible.
Creating and Resizing Text Frames
Reshaping a Text Frame
Just as there are some tutorials from our text that are critically important, there are also lots of tutorials in the text about how to do things that are more feature exposés and marketing hype than actual useful capabilties that are used in the real world. This is one of them. I will mark the heading of sections from our book that are like this (as above) with this thumbs down icon
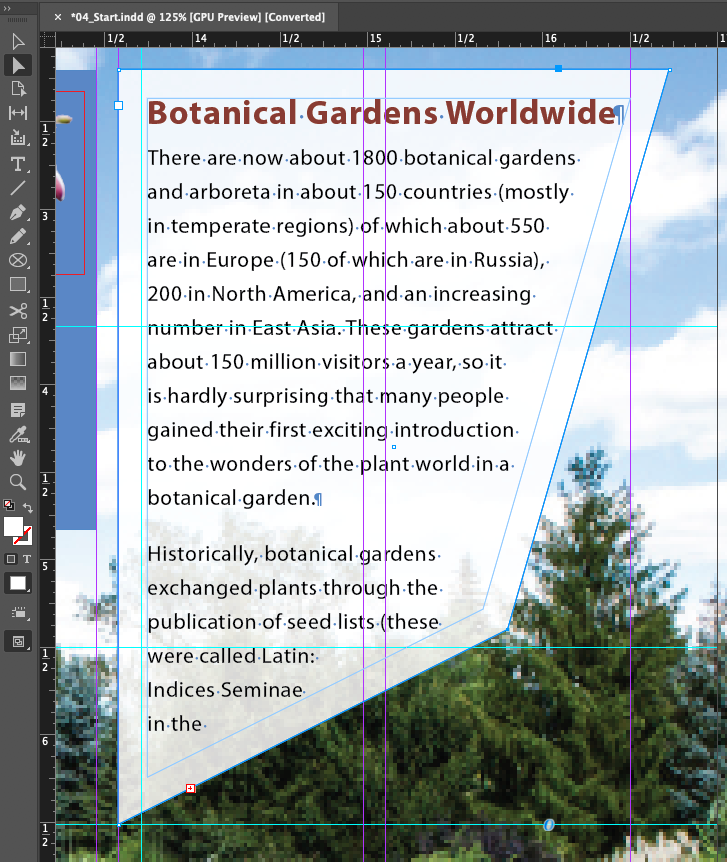
- Use the Direct Selection tool to move the lower left and right corner anchors around. Notice that the Overset text icon is showing again.
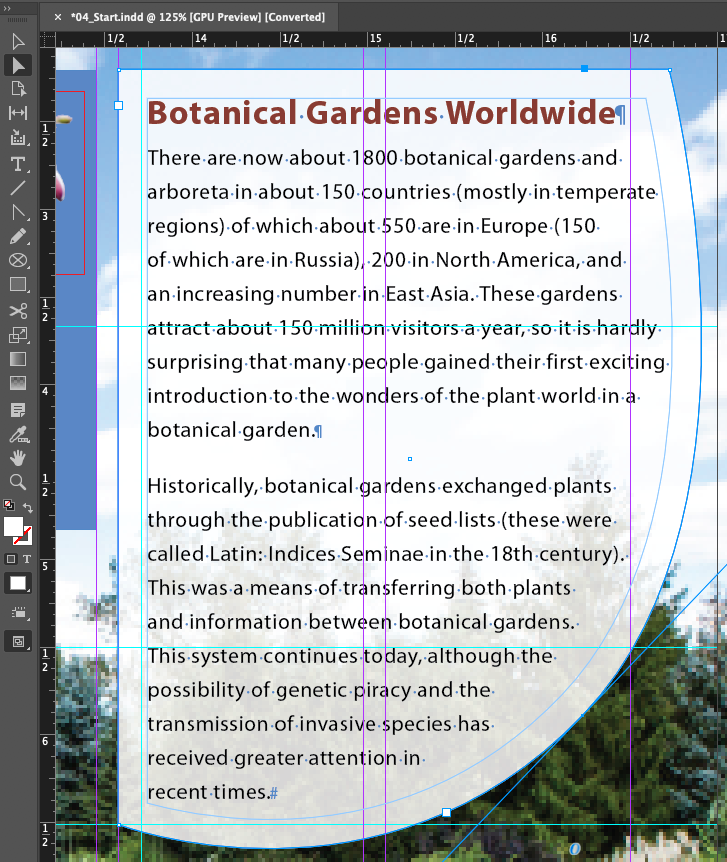
- Use the Convert Direction Point tool (under the Pen tool) and the Direct Selection tool to create a shape that will fit all the text
Using Smart Guides
Really handy UI! Gives live feedback about when things are lined up or the same size
- Align To Object Center
- Align To Object Edges
- Smart Dimensions Causes the width, height, or rotation of an object to snap to the dimensions of other objects on a page or spread. Little green arrows and lines indicate when this can happen.
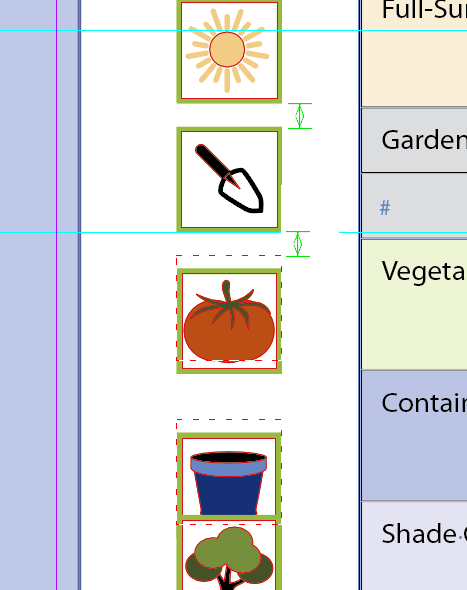
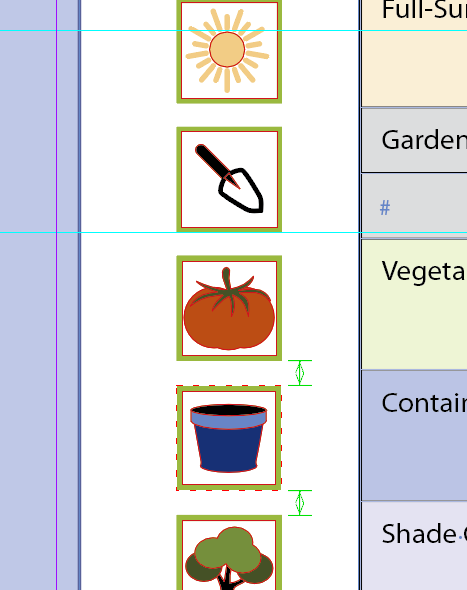
- Smart Spacing Lets you quickly arrange objects so that the space between them is equal
Demo with this file
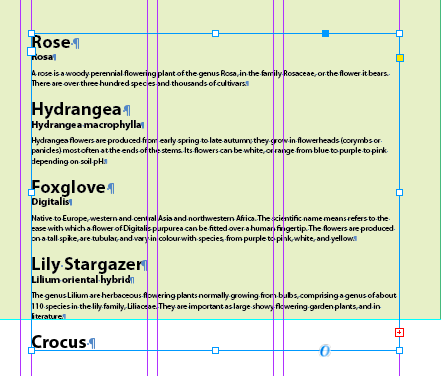
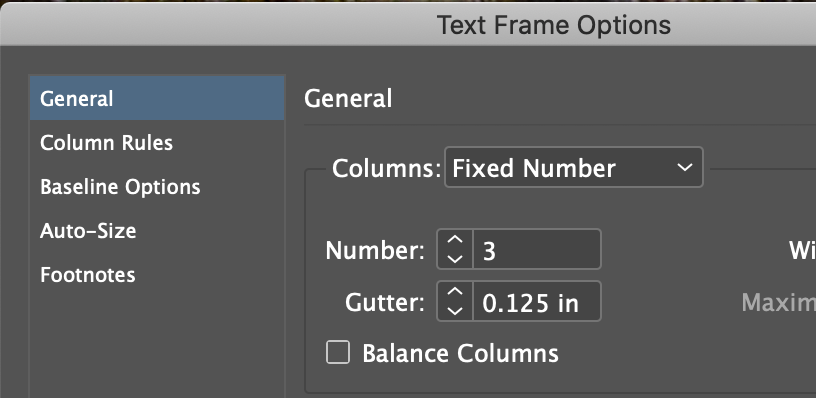
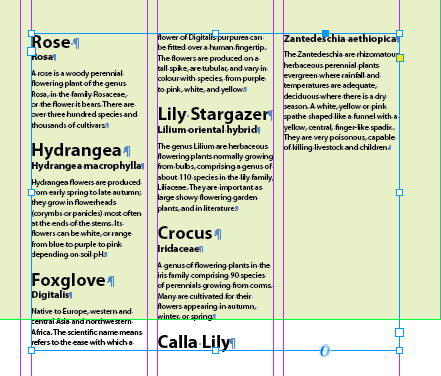
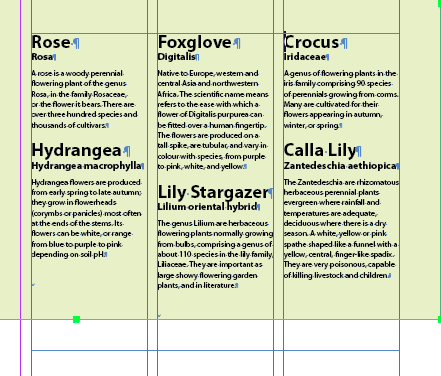
Creating Multicolumn Text Frames
Adjusting text inset and vertical alignment
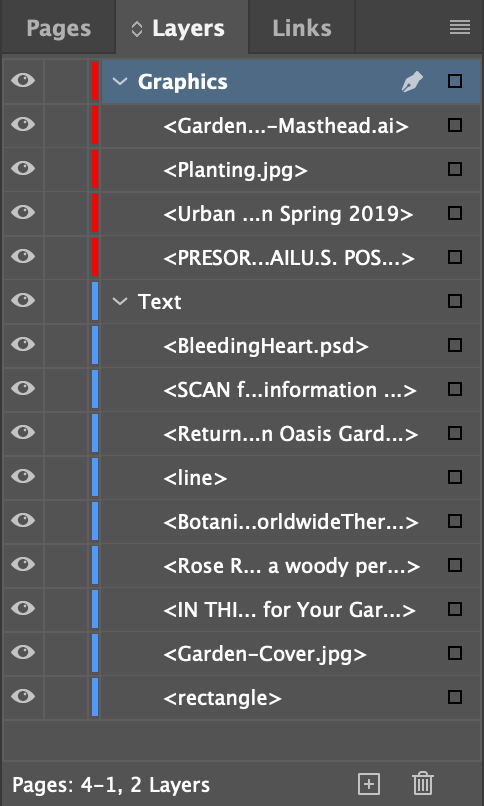
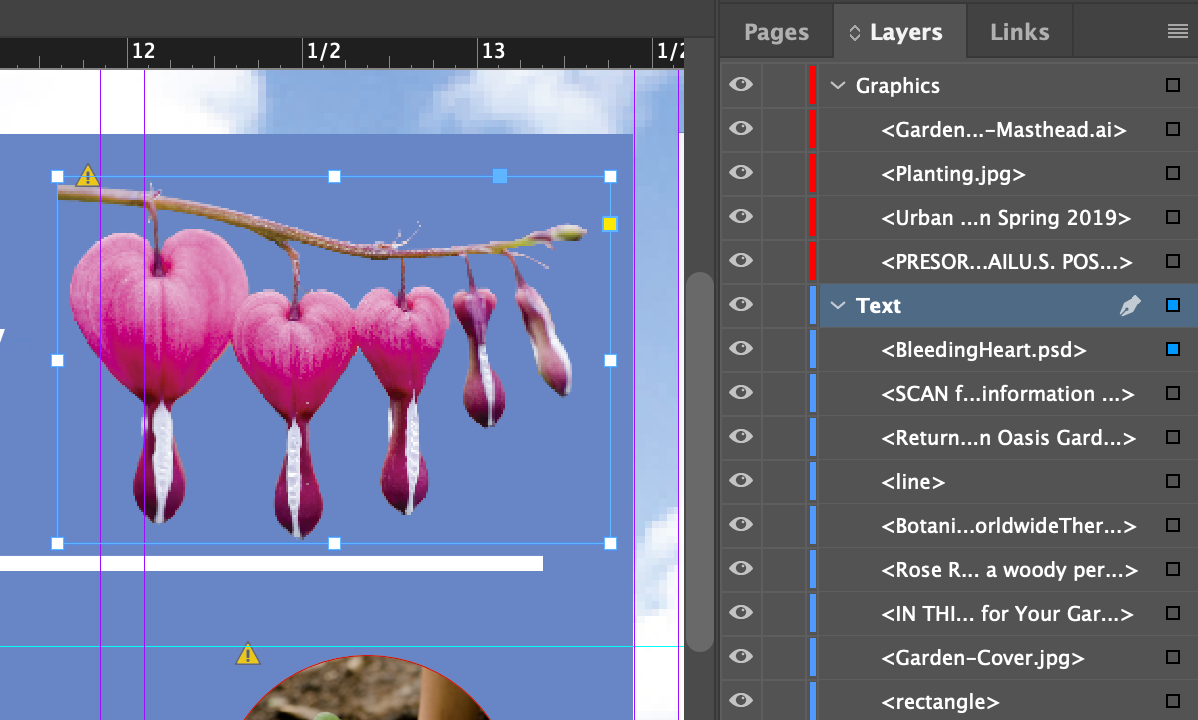
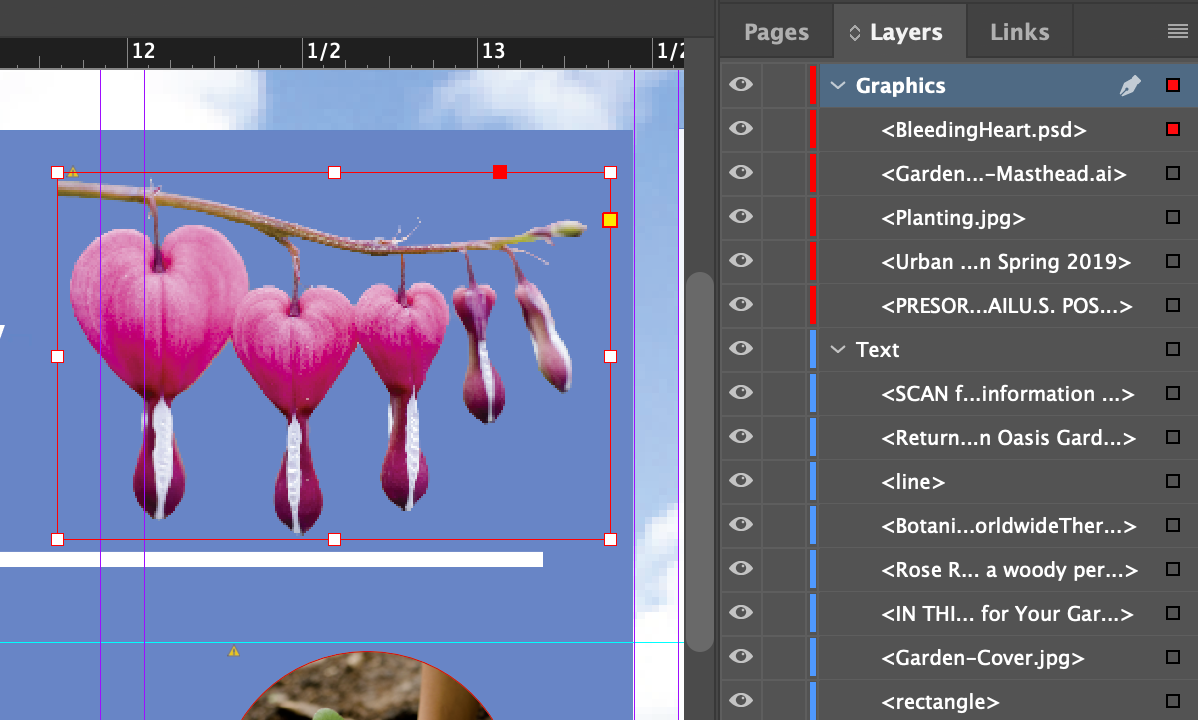
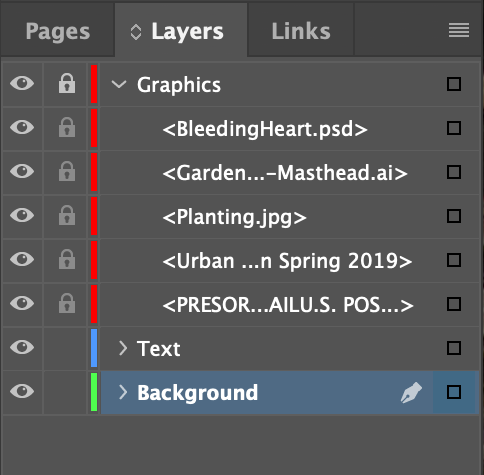
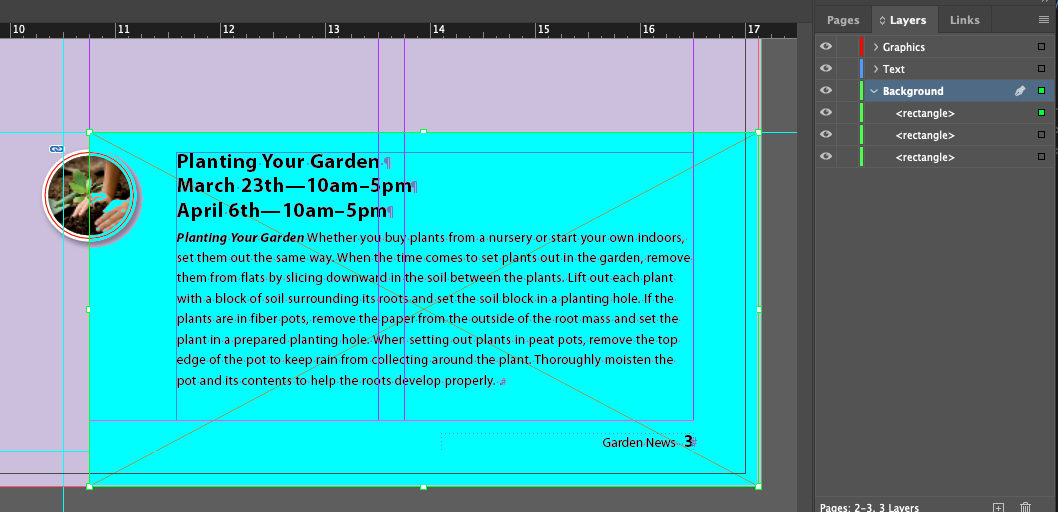
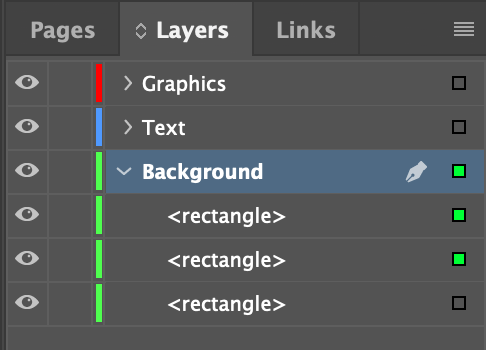
- Unlock the Graphics layer
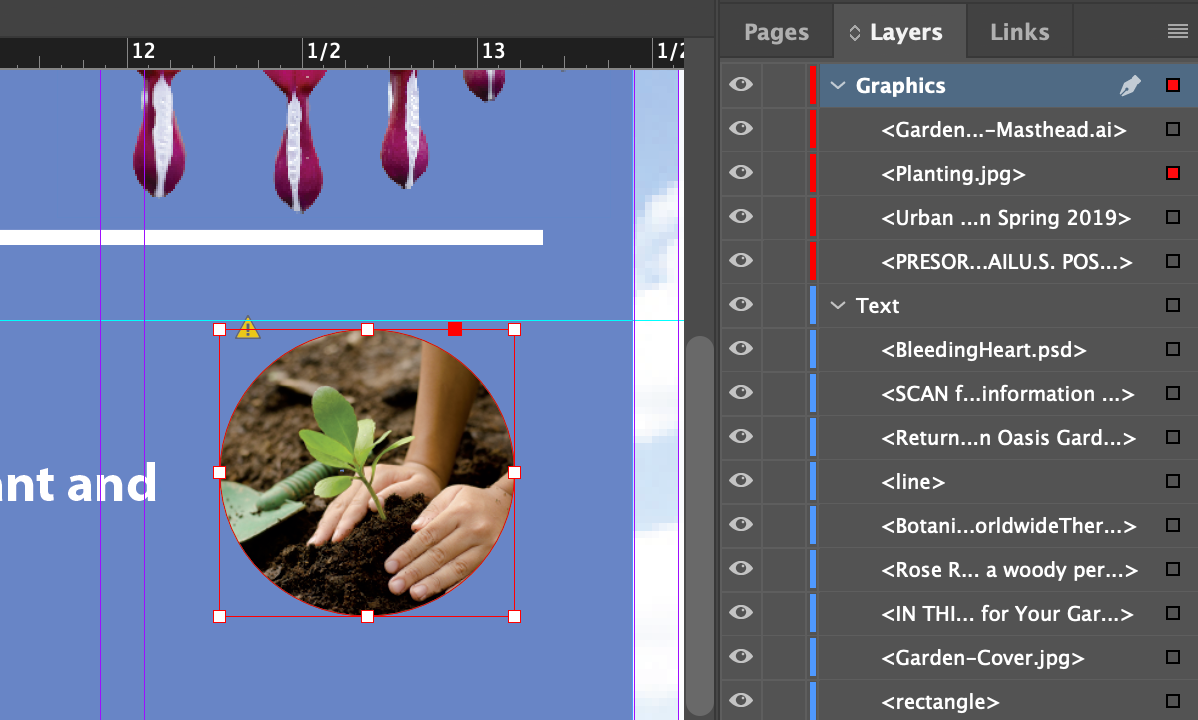
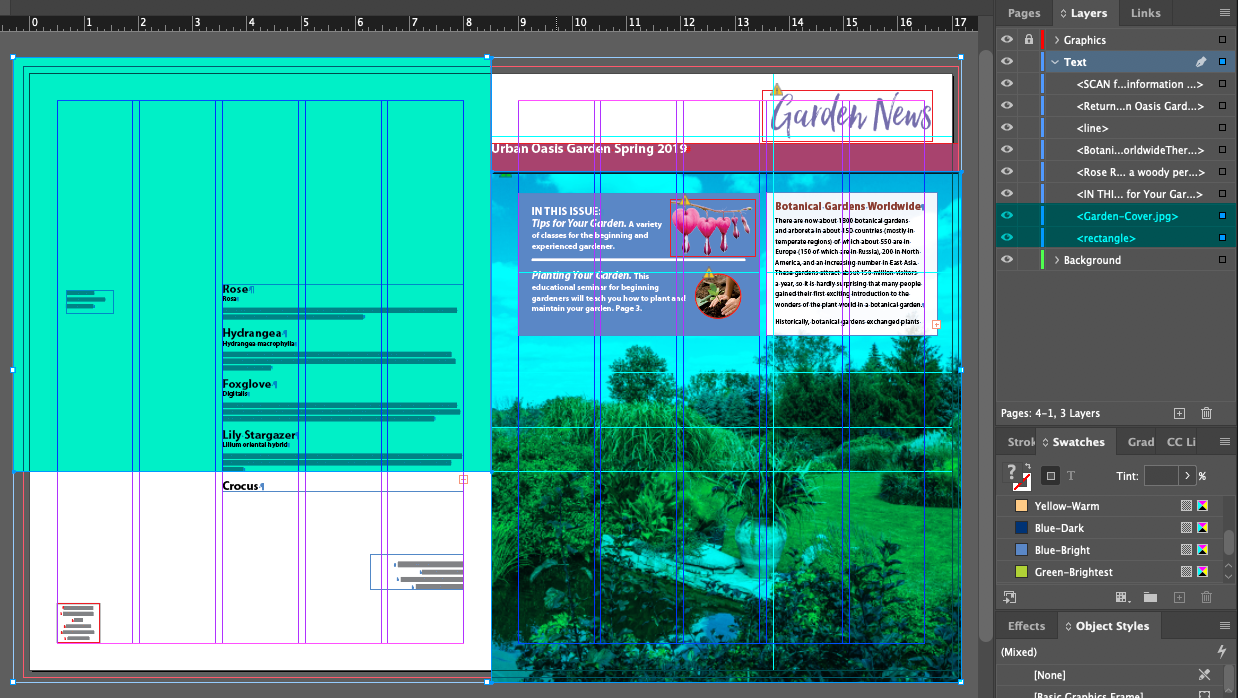
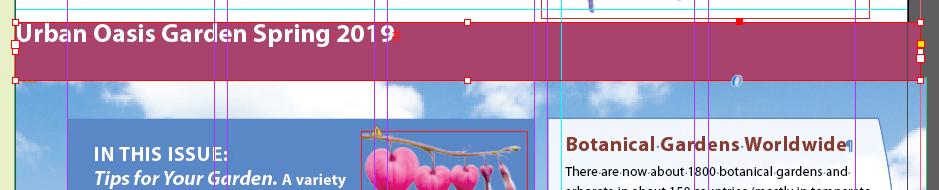
- Select on the burgundy colored text frame on the front page that says
Urban Oasis Garden Spring 2019
- Menu > Object > Text Frame Options...
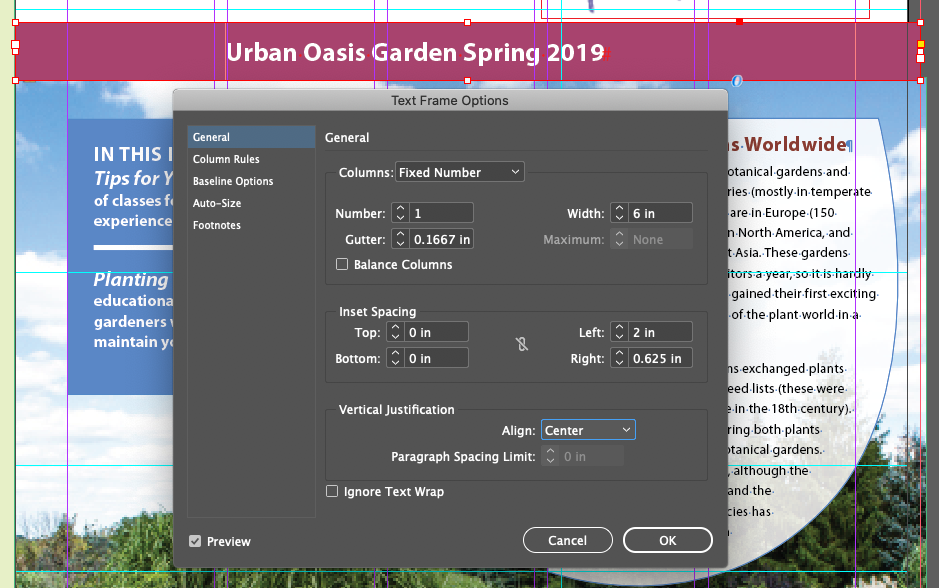
Inset Spacing
Left: 2 in
Right: 0.625 in
- With the Type tool (T), put the cursor in front of the word
Spring
- Menu > Type > Insert Special Character > Other > Right Indent Tab
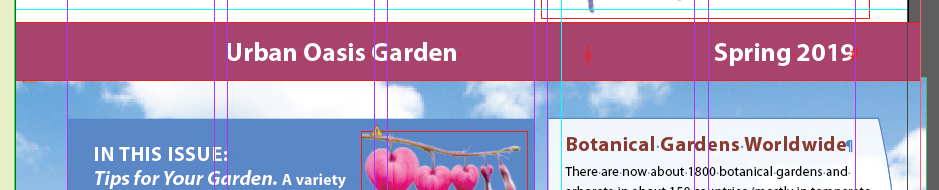
The Right Indent Tab is unique in that it takes any text to the right of it and sets it to align with the right edge of the frame's far right side. Most editing applications do this with a special tab mark that you have to set by hand in the Tab ui
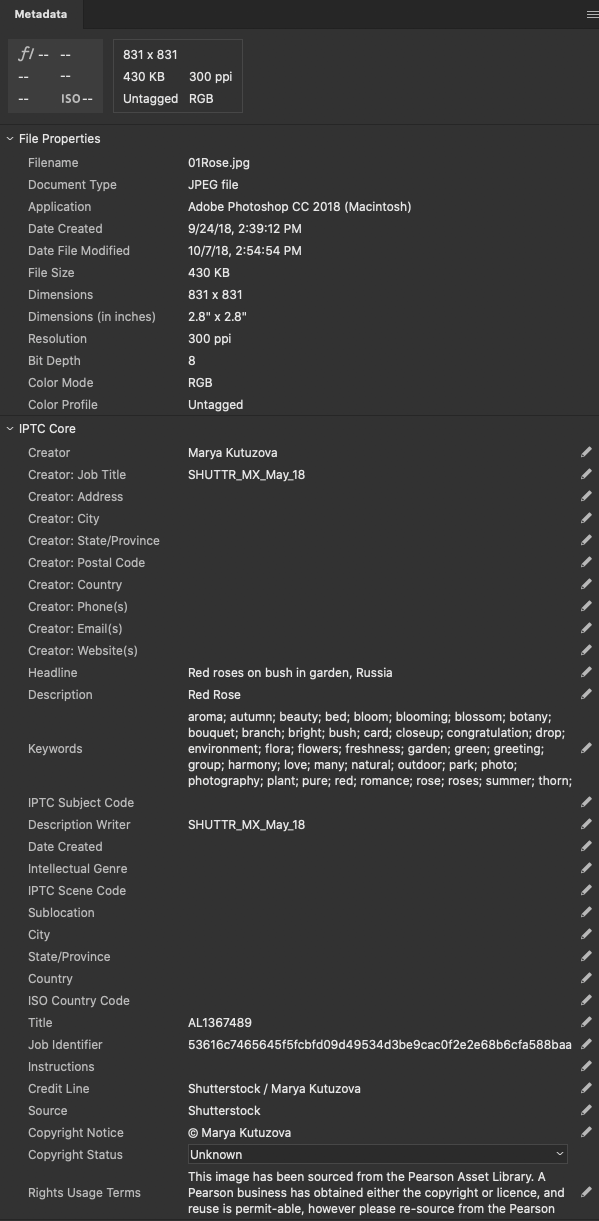
Adding Metadata captions to graphics frames
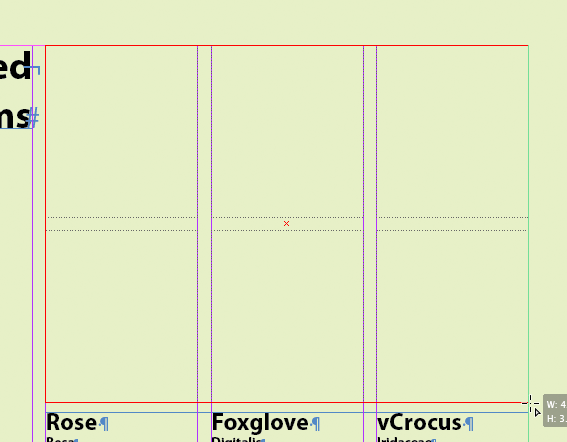
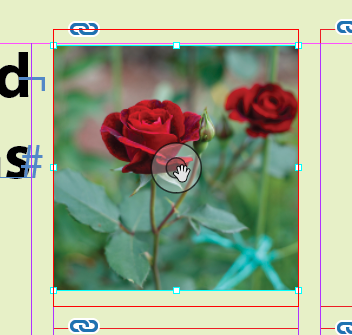
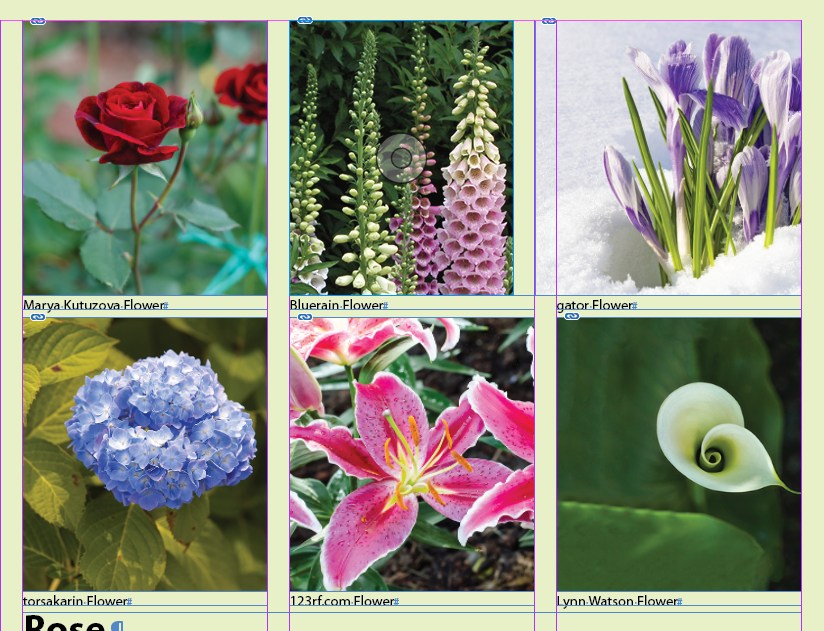
Metadata is information about an image that's part of the image's file data. It can hold things like the GPS location of where a photo was taken, keywords, creator name and address and tons more. The graphic on the left shows the metadata as displayed in Adobe Bridge for the rose image in the upper left
Next we'll retrieve metadata out of the six graphics files to give them a caption
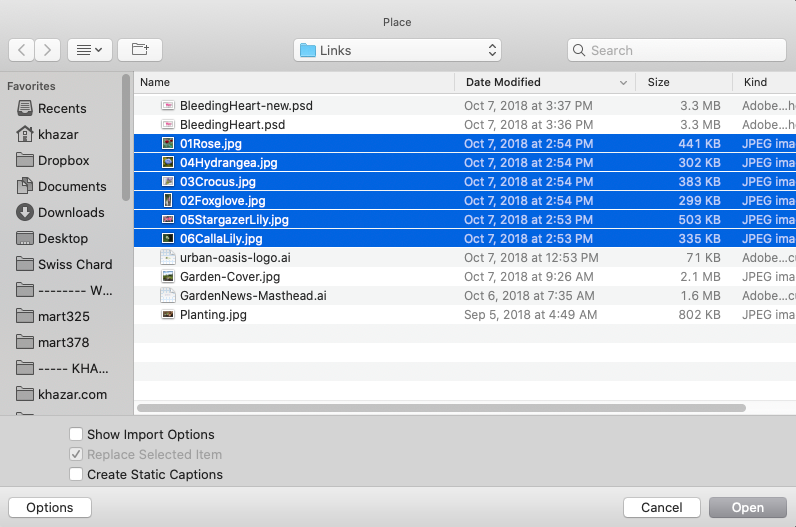
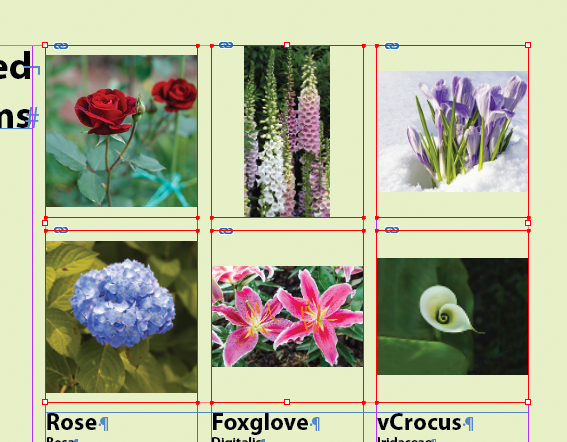
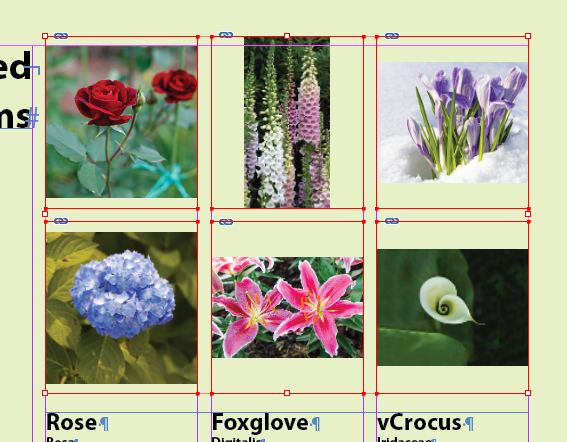
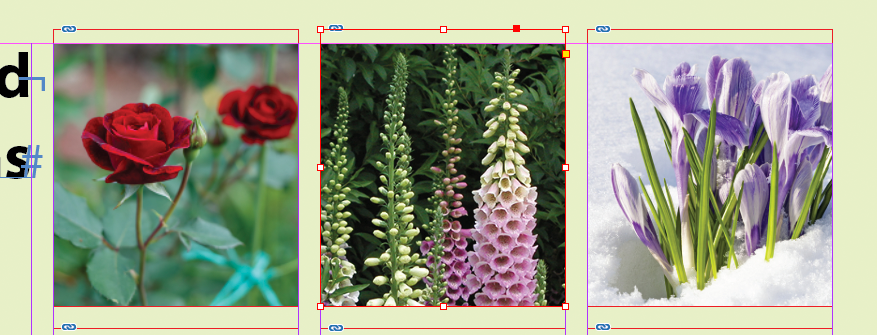
- Select the six images on the back page
- Open the Links panel and choose Flyout Menu > Captions > Caption Setup...
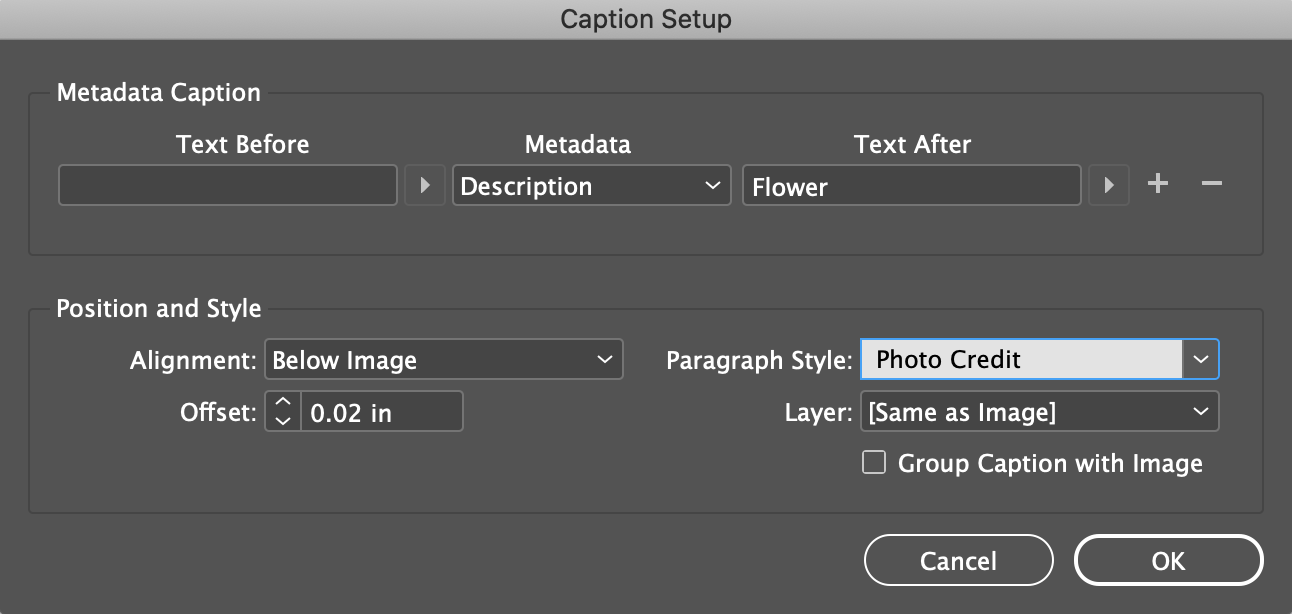
Text Before: (blank)
Metadata: Description (about in the middle of the list)
Text After: Flower
Alignment: Below Image
Offset: 0.02
Paragraph Style: Photo Credit
Layer: [Same as Image]
- Links panel Flyout Menu > Captions > Generate Static Captions
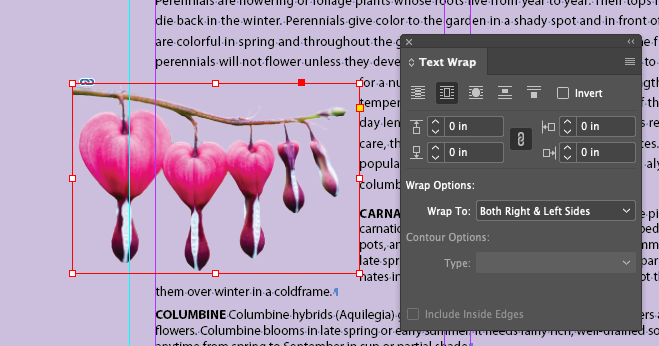
Wrapping text around a graphic
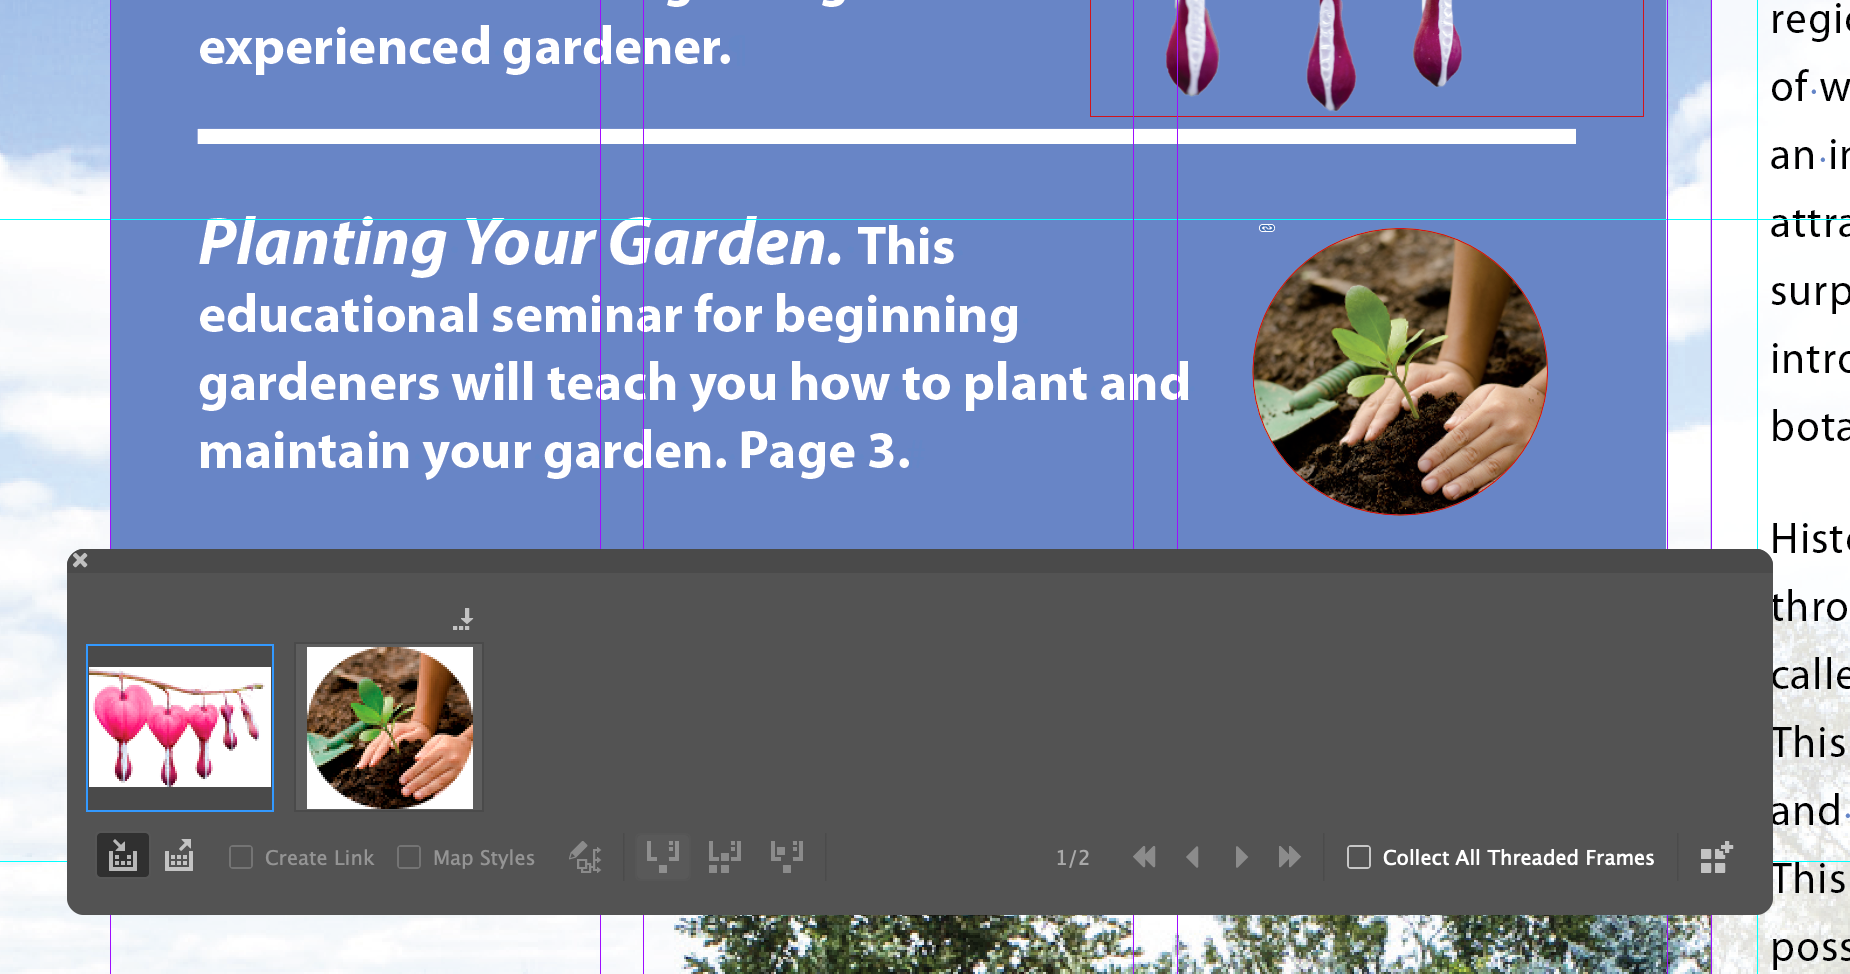
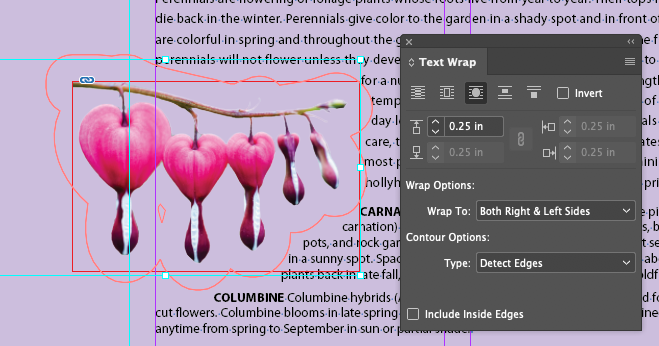
- Get the pink flower picture from the pasteboard
- Focus on the center of page 3
- Move the pink flower so it's centered on the left edge of the first column and so the bottom of the graphic extends a couple of lines below the paragraph starting with
CARNATION
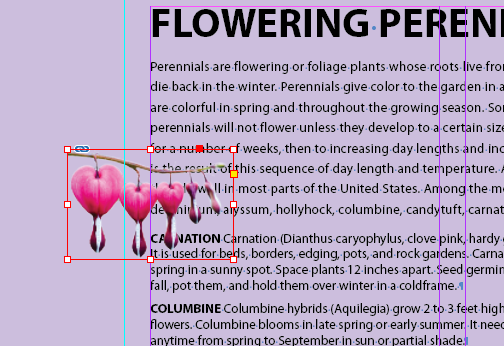
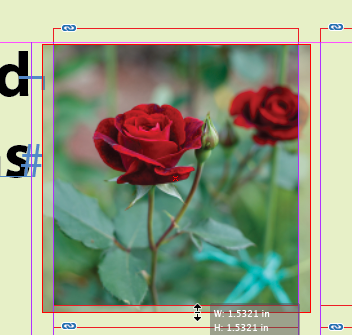
- Scale the graphic about 175% (check the control panel for the %) by shift-command/control dragging from the lower right corner
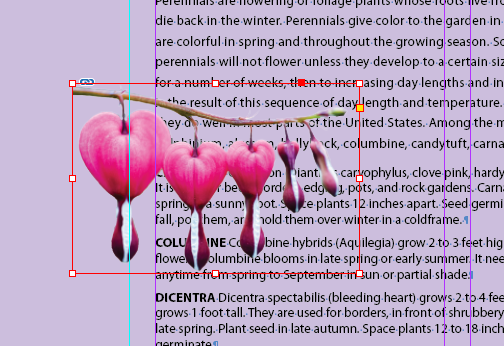
Be sure to hold down the command/control key, or only the frame will change size, and not the graphic.
- Choose Menu > Window > Text Wrap
- Choose the Wrap Around Bounding Box button
- Yuch! Too much space. Let's try Wrap Around Object Shape button
Distance from edge set to 0.25in
Wrap Options: Wrap To:
Both Right & Left Sides
Contour Options: Type:
Detect Edges
Then nudge with the arrow keys to get a good text wrap.
Transforming the Shape of Frames
How to get non-rectangular shapes...
Working with Compound Shapes
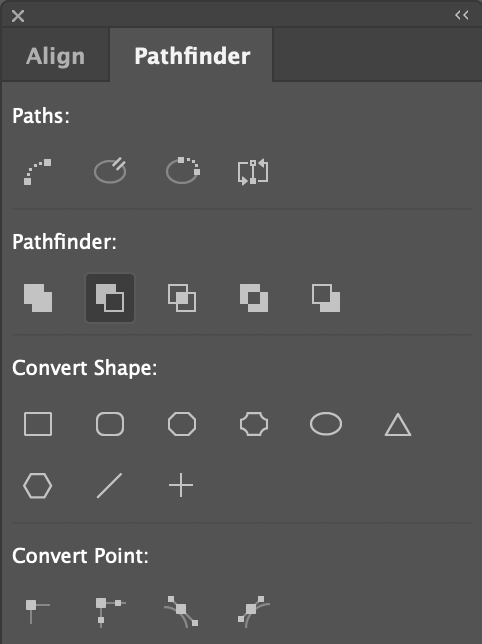
We'll change the shape of an existing rect by subtracting shapes from it
Converting Shapes
This is stupid. No one does this. Just draw a circle instead, but since the book did it to also show repeating shapes and distributing them, let's play along...
- Select the Graphics layer
- With the Rectangle tool (not the Rectangle Frame tool) draw a .5 inch square

- Fill it with white

- Menu > Object > Convert Shape > Ellipse

Repeating Shapes
Much more useful...
- Menu > Edit > Step And Repeat
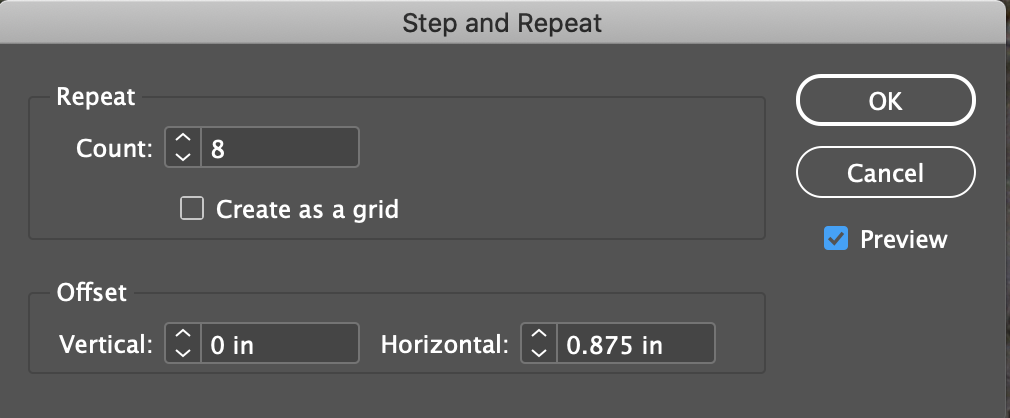
Repeat
Count: 8
(do the distance first, or this will give an error)
Offset
Vertical: 0 in
Horizonal: 0.875 in (7/8 inch)

Result
- Select the 3rd and 8th circles and delete them

Cyan color for visualization only

Result
- Select all the circles

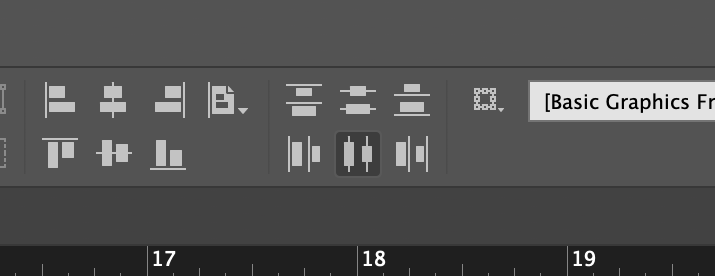
- Choose the Distribute Across Horizontal Centers button in the Align section of the Control Panel

Result
- This isn't in the book, but I feel the positioning of these circles is rather accidental and arbitrary. I'd group them, uset the Center alignment tool int the control panel set to
Align to Page
in the Align popup menu, then tweek them so their centered between the two horizontal guides

Result
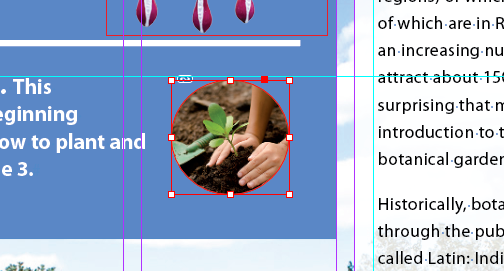
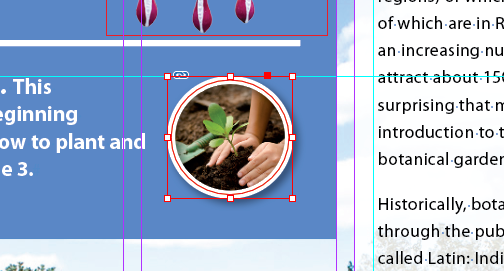
Adding Rounded Corners to Shapes
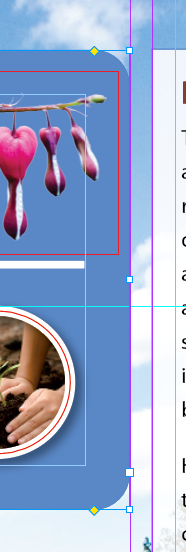
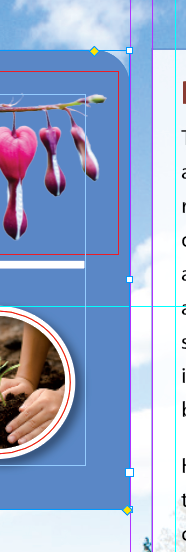
More Ooh, look, the marketing department told us we had to demo this cool new feature
demos. The UI is the same as Illustrator, drag the icon at the corner to round the corner.
Transforming and Aligning Objects
Very similar to every other design app, but a bit more access thru the Control panel
Rotating an Object
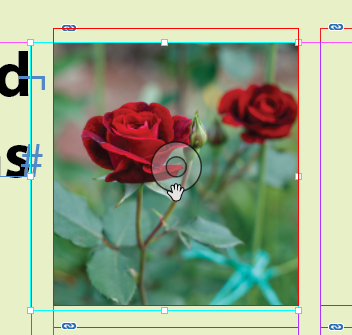
Rotating an image within its frame
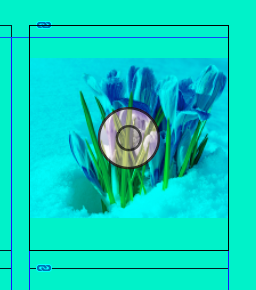
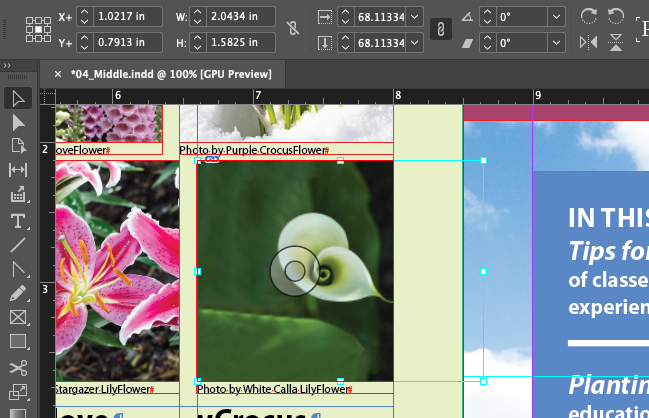
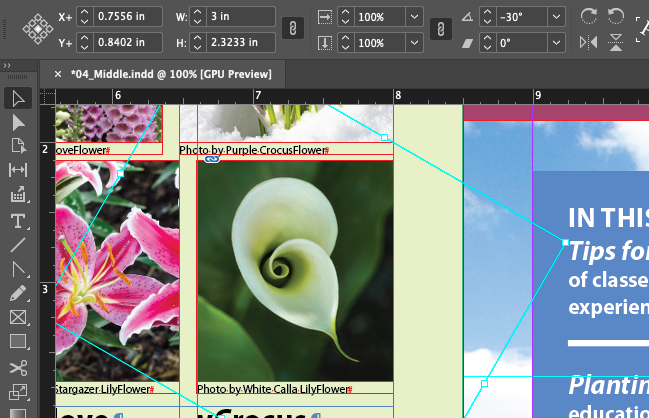
- Focus on the Cala Lily image above where we've been working on page 4
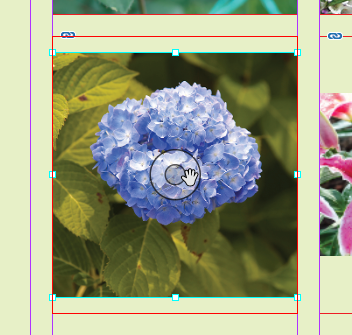
- Select the image (not the frame) by clicking on the donut thingy in the center (aka the content grabber)
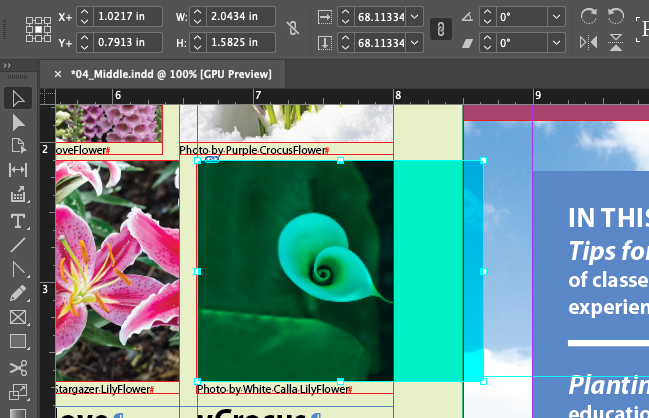
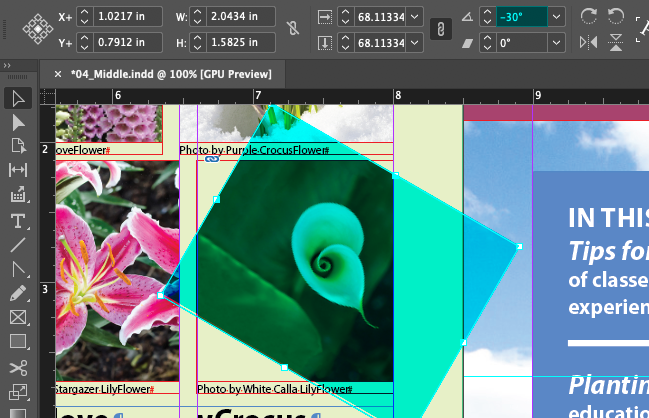
- Drag from the corner to about -30°
- Make sure the Constrain Proportions for Scaling is set to on and change the scale from 68.11334 to 100
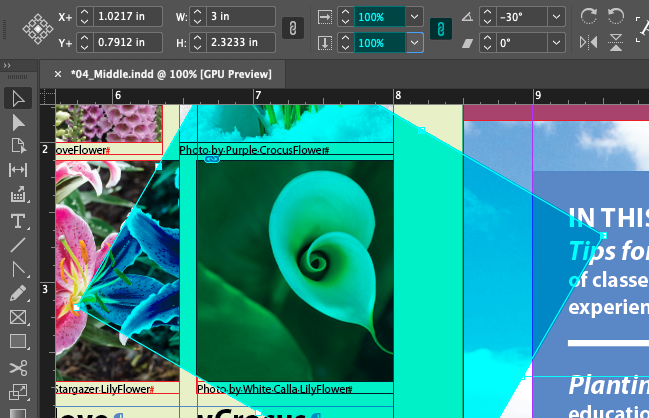
- Nudge the image until it feels centered
Aligning Multiple Objects
Like I like to say, lining stuff up is half of good design. These tools really help with that.
- Focus on page 2
- Menu > Window > Object > Layout >
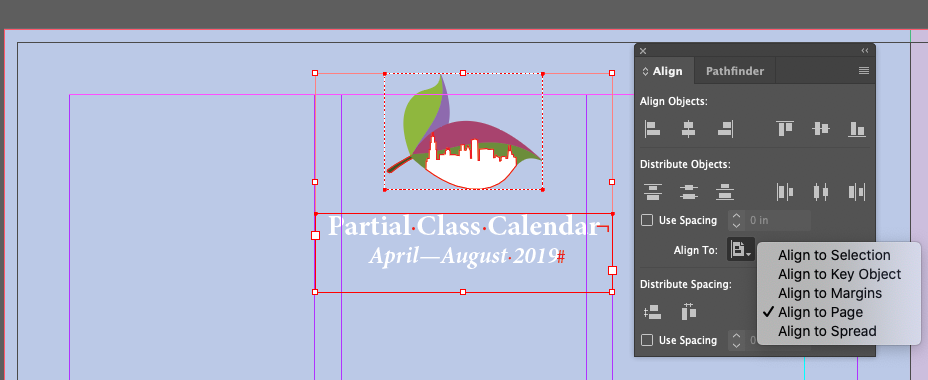
Is it just me, or were these already aligned?
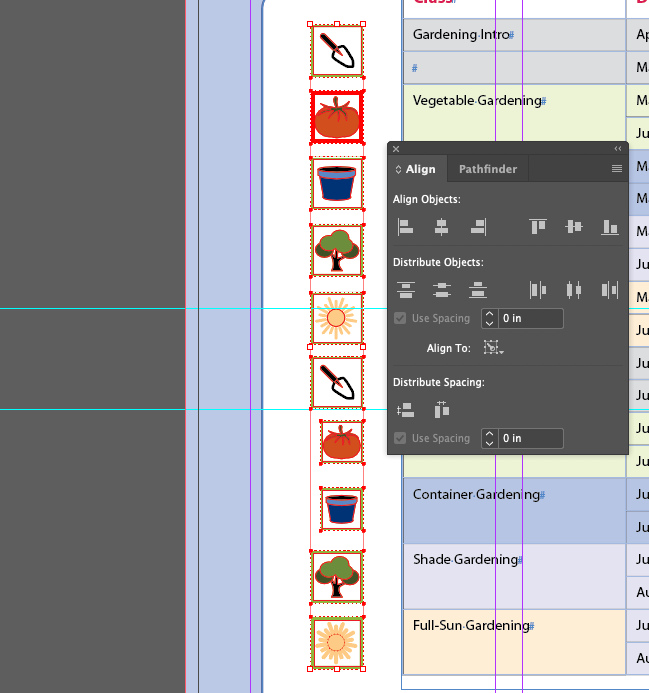
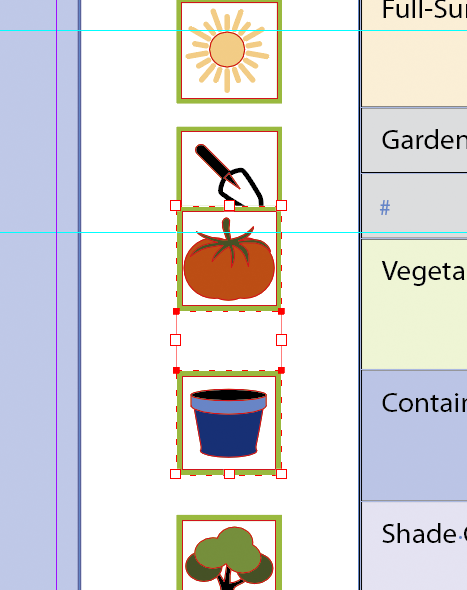
- Select all those little veggie icons on the pasteboard near page 2, along with the tomato icon that's on the page
- Click a second time on the already selected tomato icon to set it to the Key Object to create alignment around
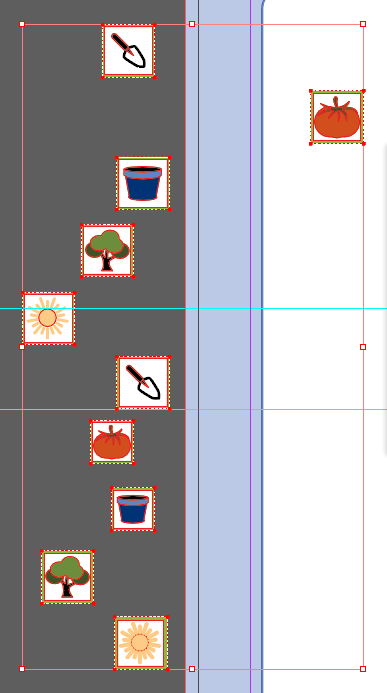
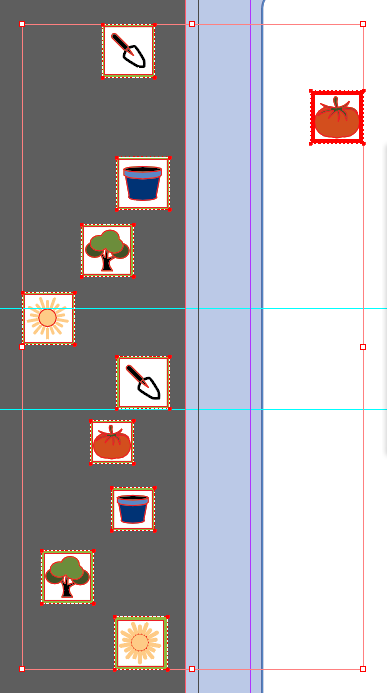
The tomato gets a thick line around it to indicate it is the Key Object for alignment.
The Alignment panel will automatically switch to Align To Key Object mode when you click the second time.
- Click on the Center Objects button
Result
Scaling Multiple Objects
Transforming Multiple Objects
- Option/alt-drag the trowel and the next 5 icons up above the calendar
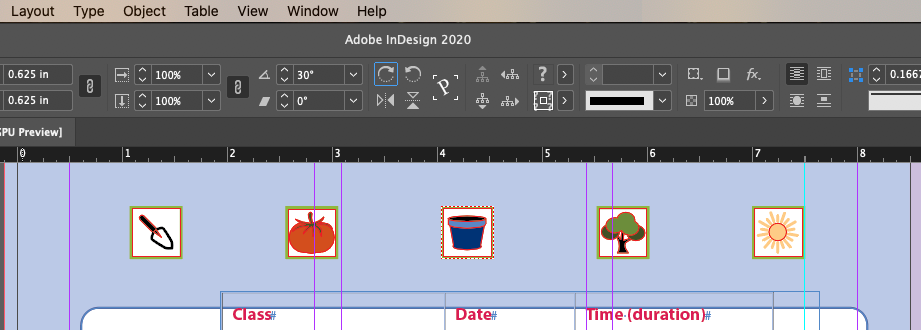
Holding the Option/alt key down when you drag will create a copy of the dragged object. Remember to hold down the option/alt key before clicking, or it won't work.
- Scale the icon to 125% and rotate it 30°
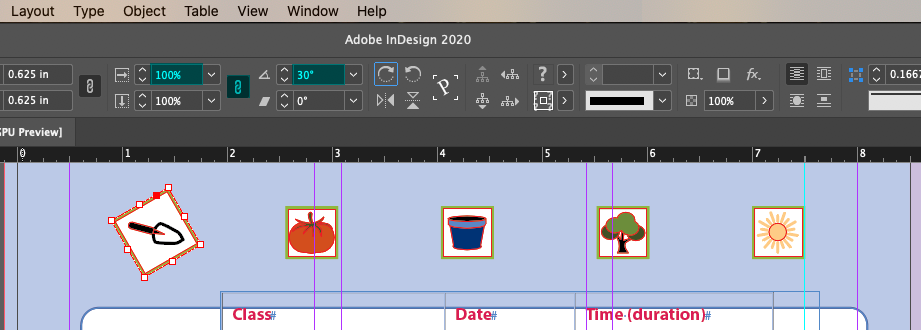
- Choose Menu > Object > Transform Again > Transform Sequence Again Individually
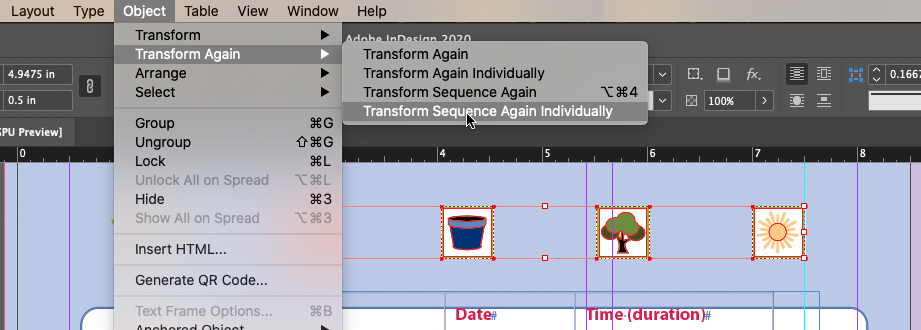
This is a great feature, I know of no other app that has it. Be great if they added it to Illustrator!
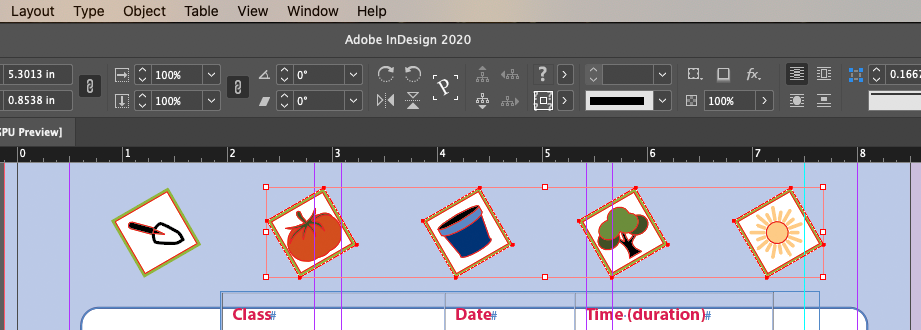
Result
1
Selecting and Modifying Grouped Objects
This is pointless and completely impossible to remember how it works. It's easier just to use the direct selection tool, or ungroup the objects and edit them that way. Or (new feature) you can just double-click on the object within the group you want to select and InDesign does it. Essentially, it Isolation Mode (adapted from Flash) that's existed in Illustrator for about 20 years.
Just skip this...
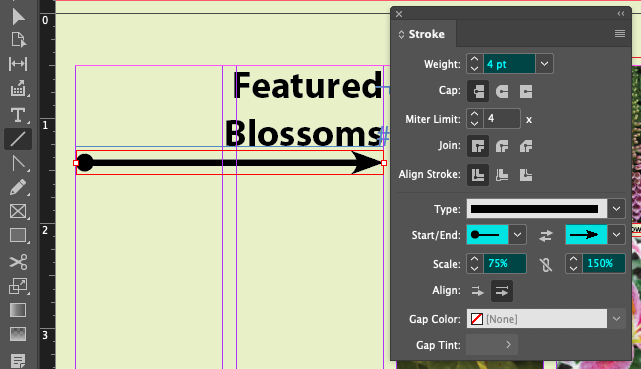
Drawing Lines and Modifying Arrowheads
Yes, InDesign can draw lines with arrowheads (and tails)!
- Pretty much everything you need to know right there in the dialog...
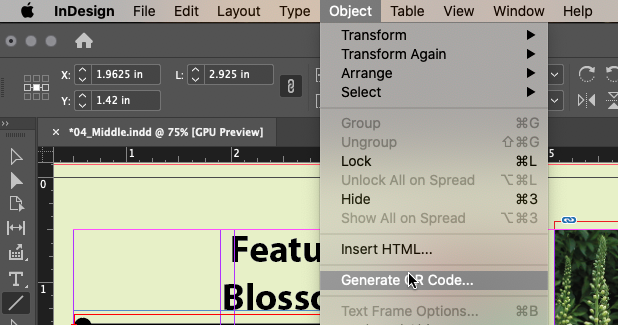
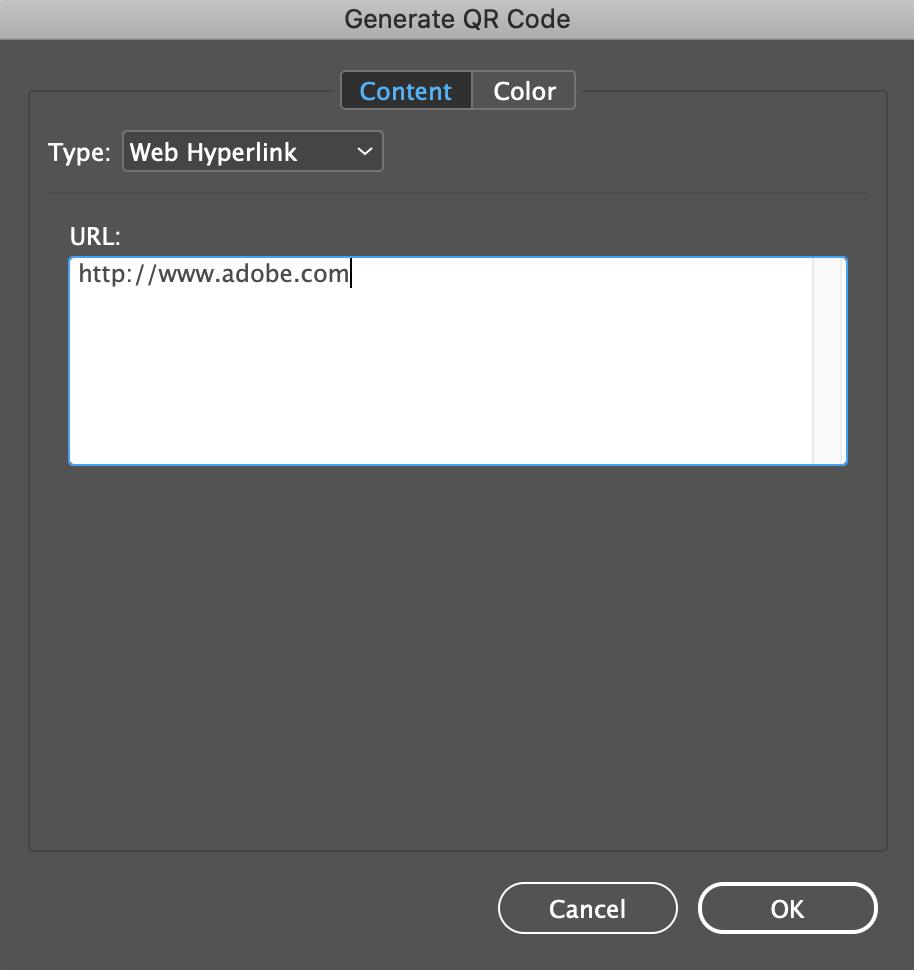
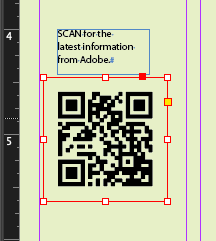
Creating a QR Code
Nice little feature if you ever need it. I don't see them being used as much as they used to be.
CHAPTER 04
Review Questions
- When should you use the Selection tool to select an object, and when should you use the Direct Selection tool to select an object?
- How do you rotate the graphic within a graphics frame without rotating the frame?
- Without ungrouping objects, how do yo select an object within a group?
- How do you align objects to another specific object?