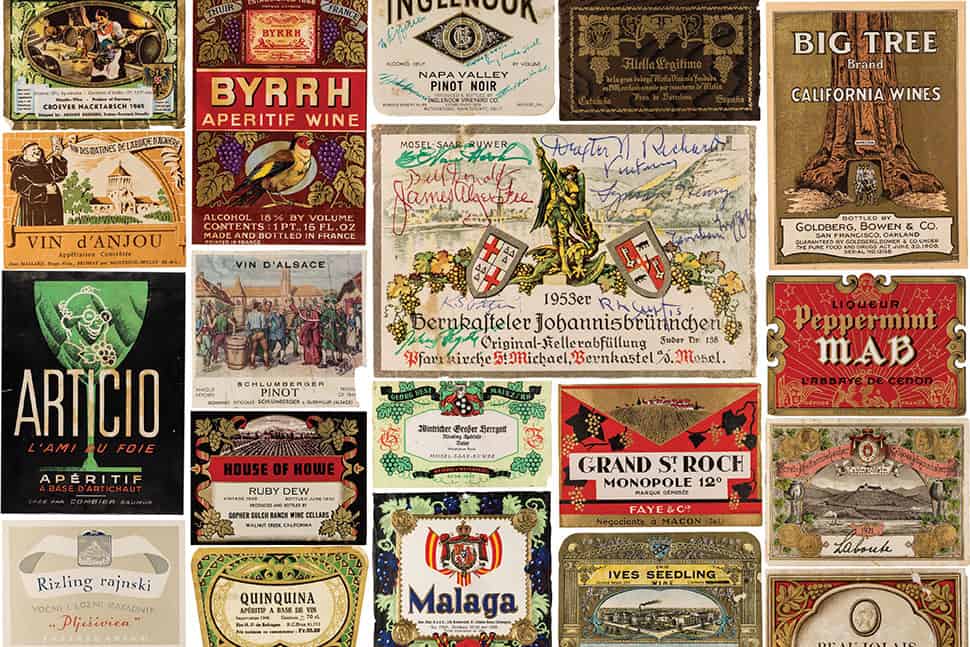
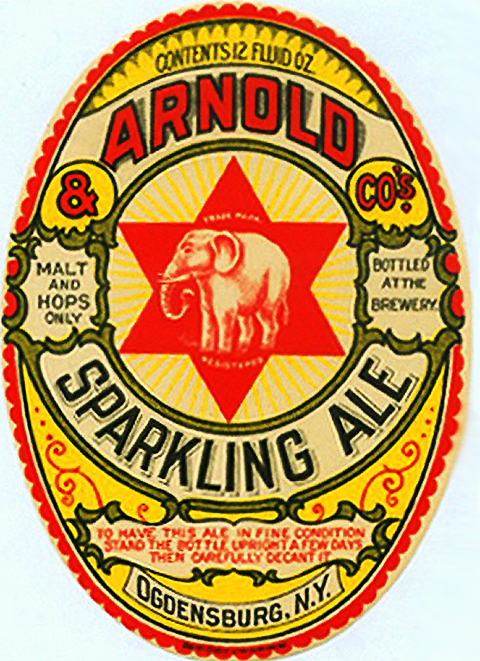
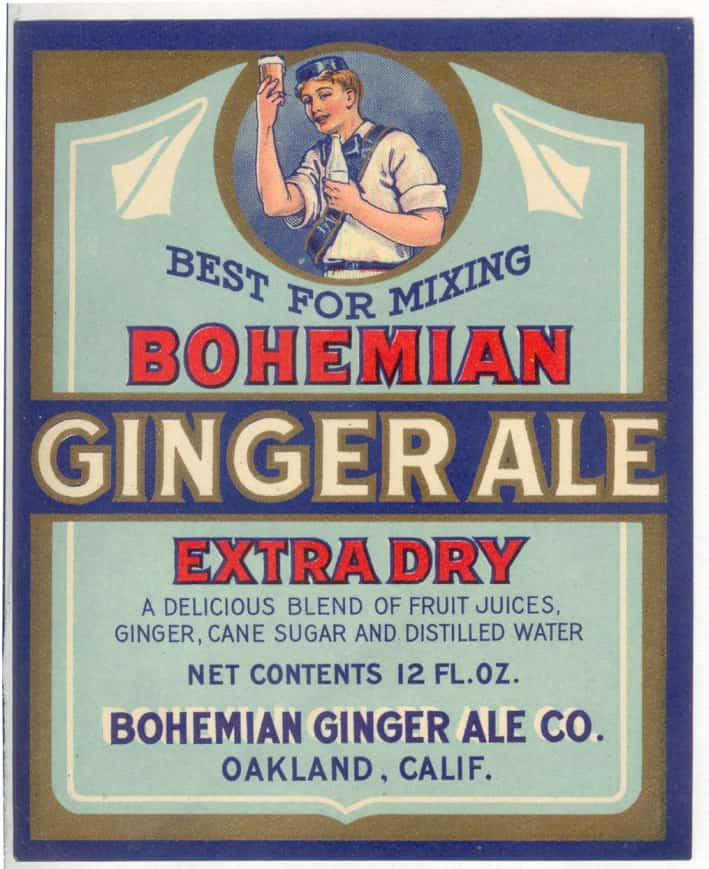
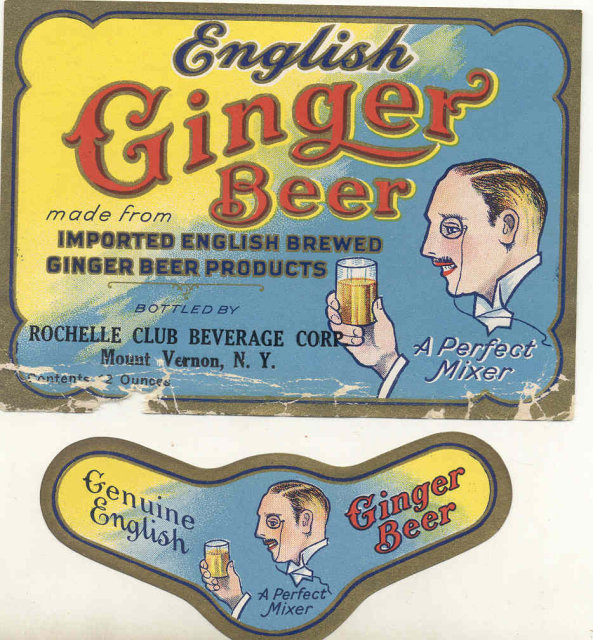
Vintage Labels



www.pinterest.com/enygren89/package-design
Dieline Magazine for packaging designers

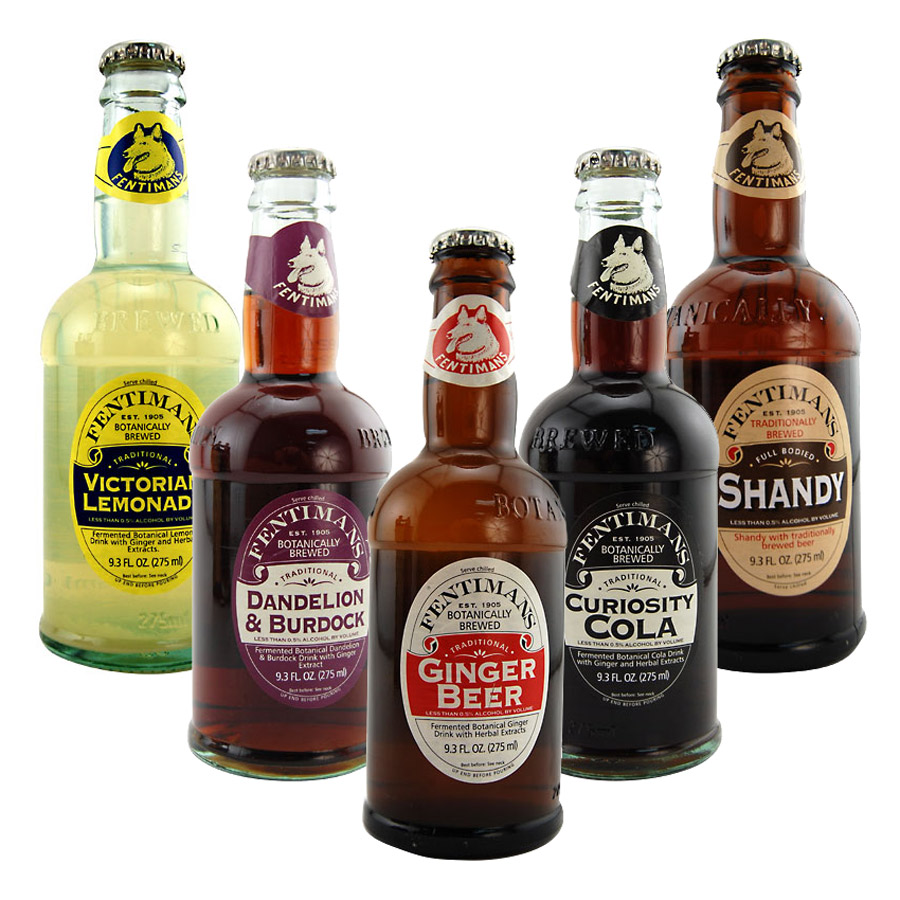
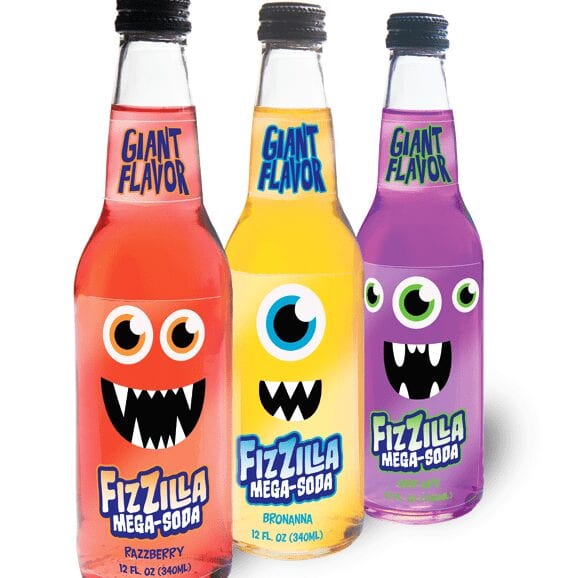
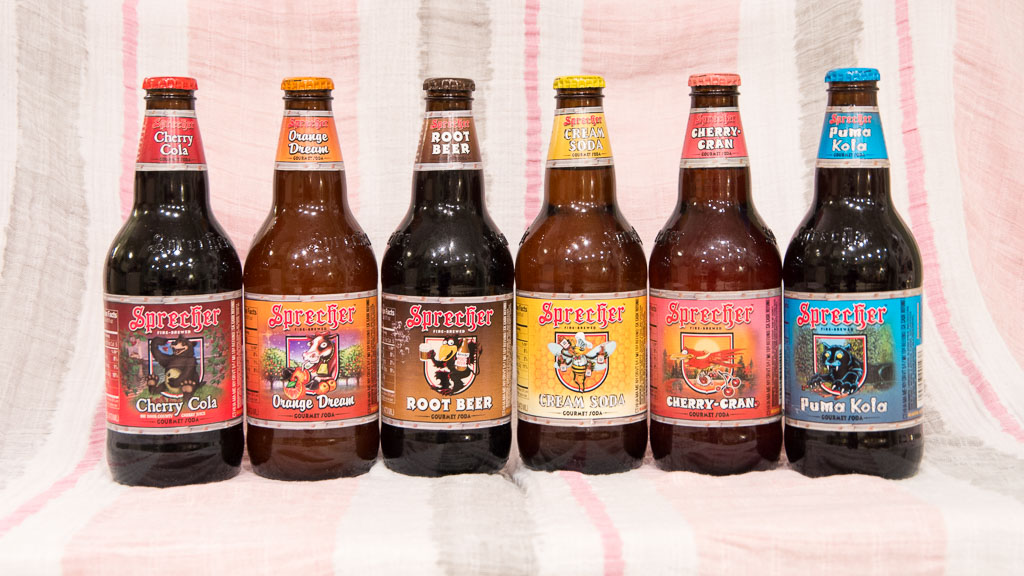

Angry Orchard
(Note how they work tight up next to each other and as a set)

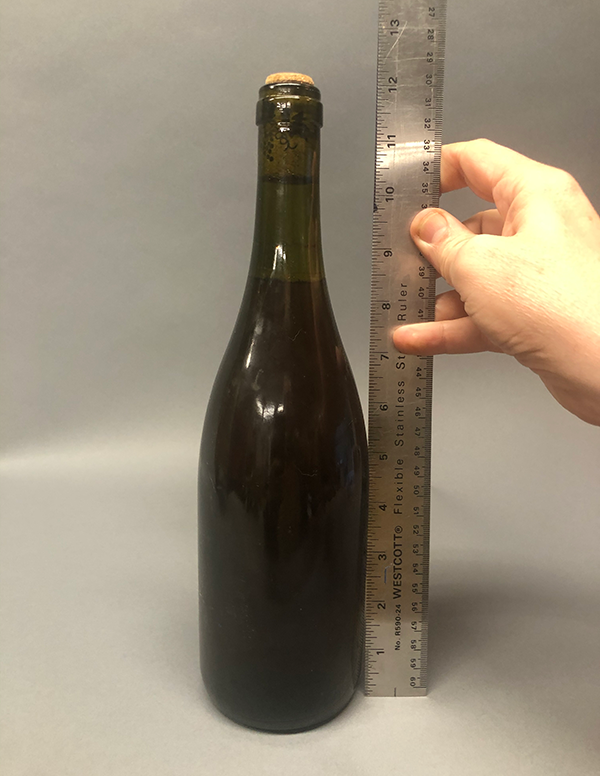
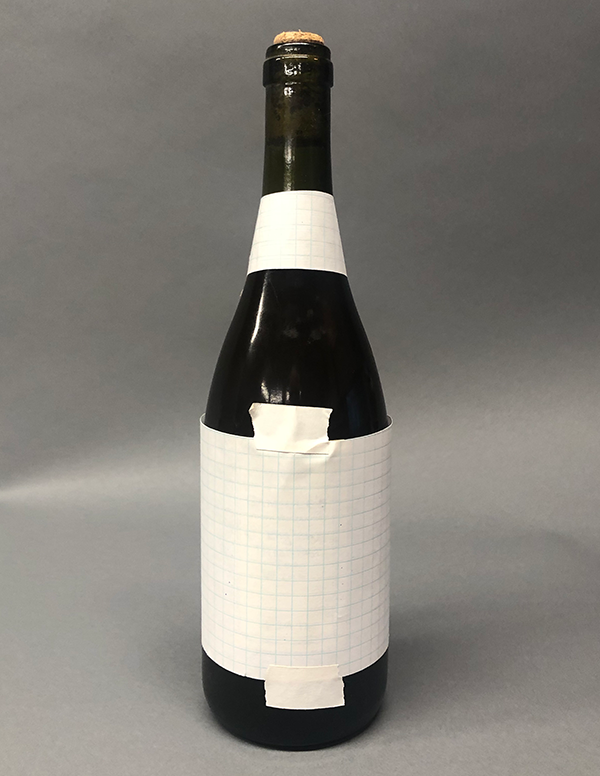
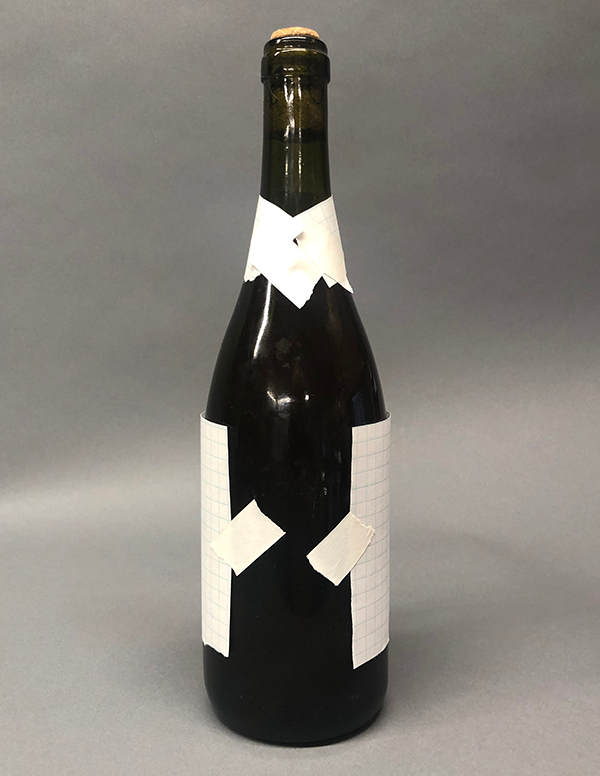
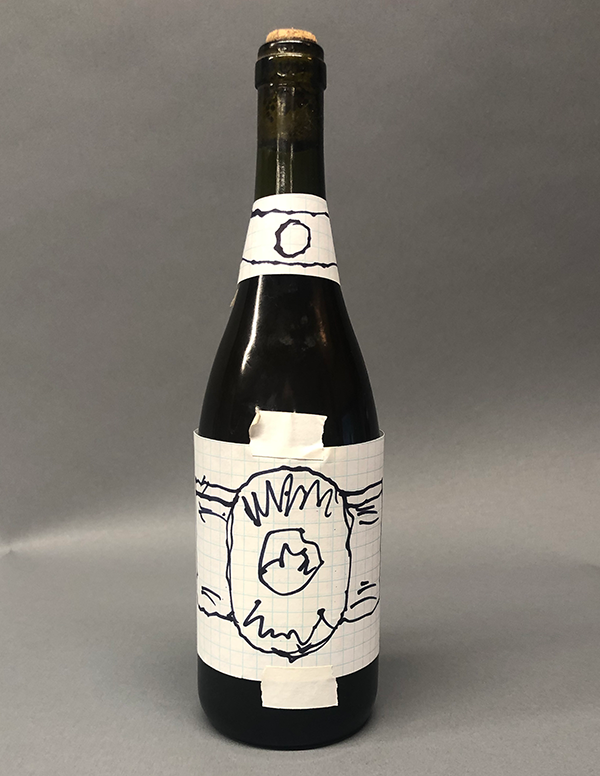
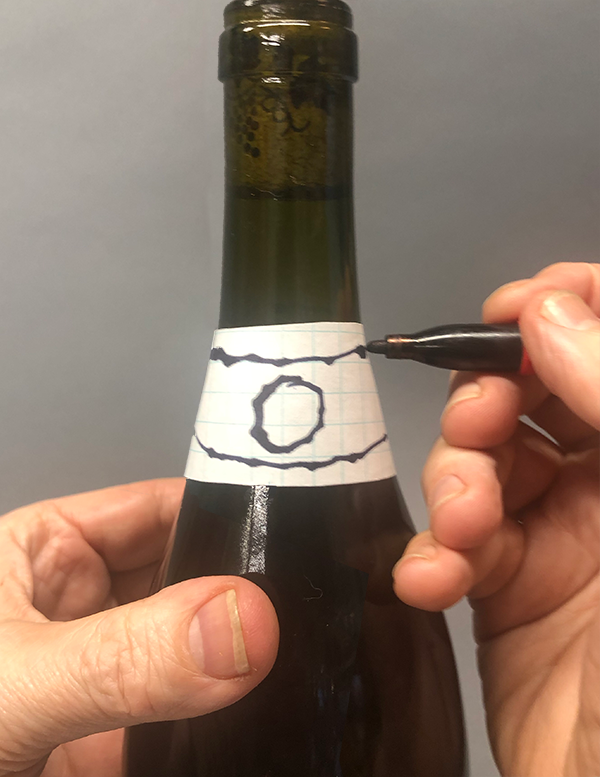
Curved sections of the neck on some bottles can be tricky. Hold your pen still with one hand and rotate the bottle with your other hand
S-Curve Gradient • Patterns • Patterns: Symetrical • Patterns: Hexagonal • Patterns: Irregular • Practical Scatter-Brush • Practical Artbrush • Practical Pattern Brush • Graphic Styles • Scatter Brush • Personal Illustrator Projects •
Based on Satori Graphics YouTube Video

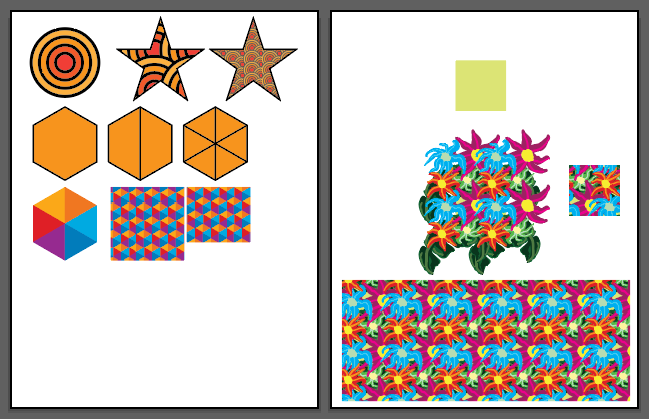
Sample file: patterns01.ai
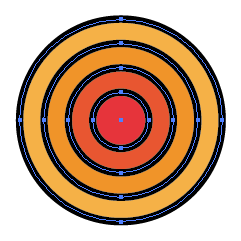
Source shape: 35pts outer diameter
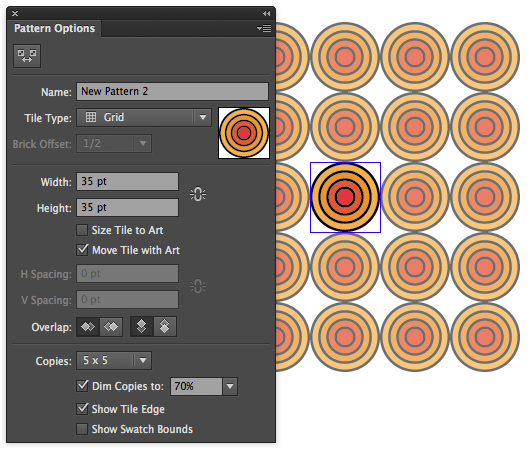
Go to Menu > Objects > Pattern > Make
Set parameters:
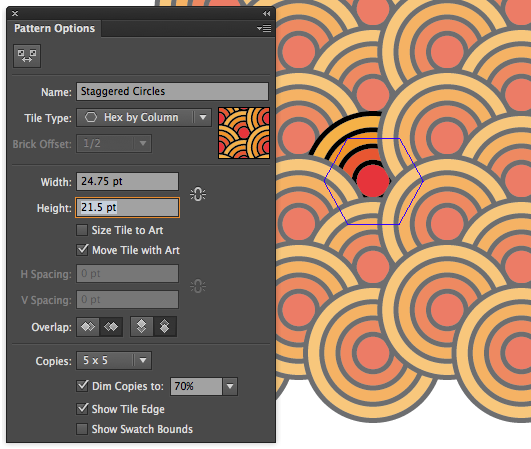
Result of settings.
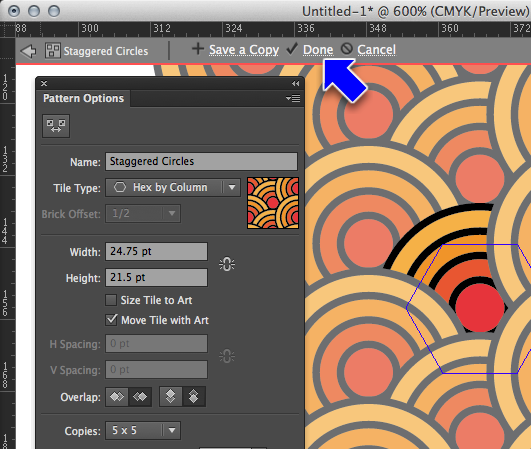
Click "Done" at the top of the window when finished:
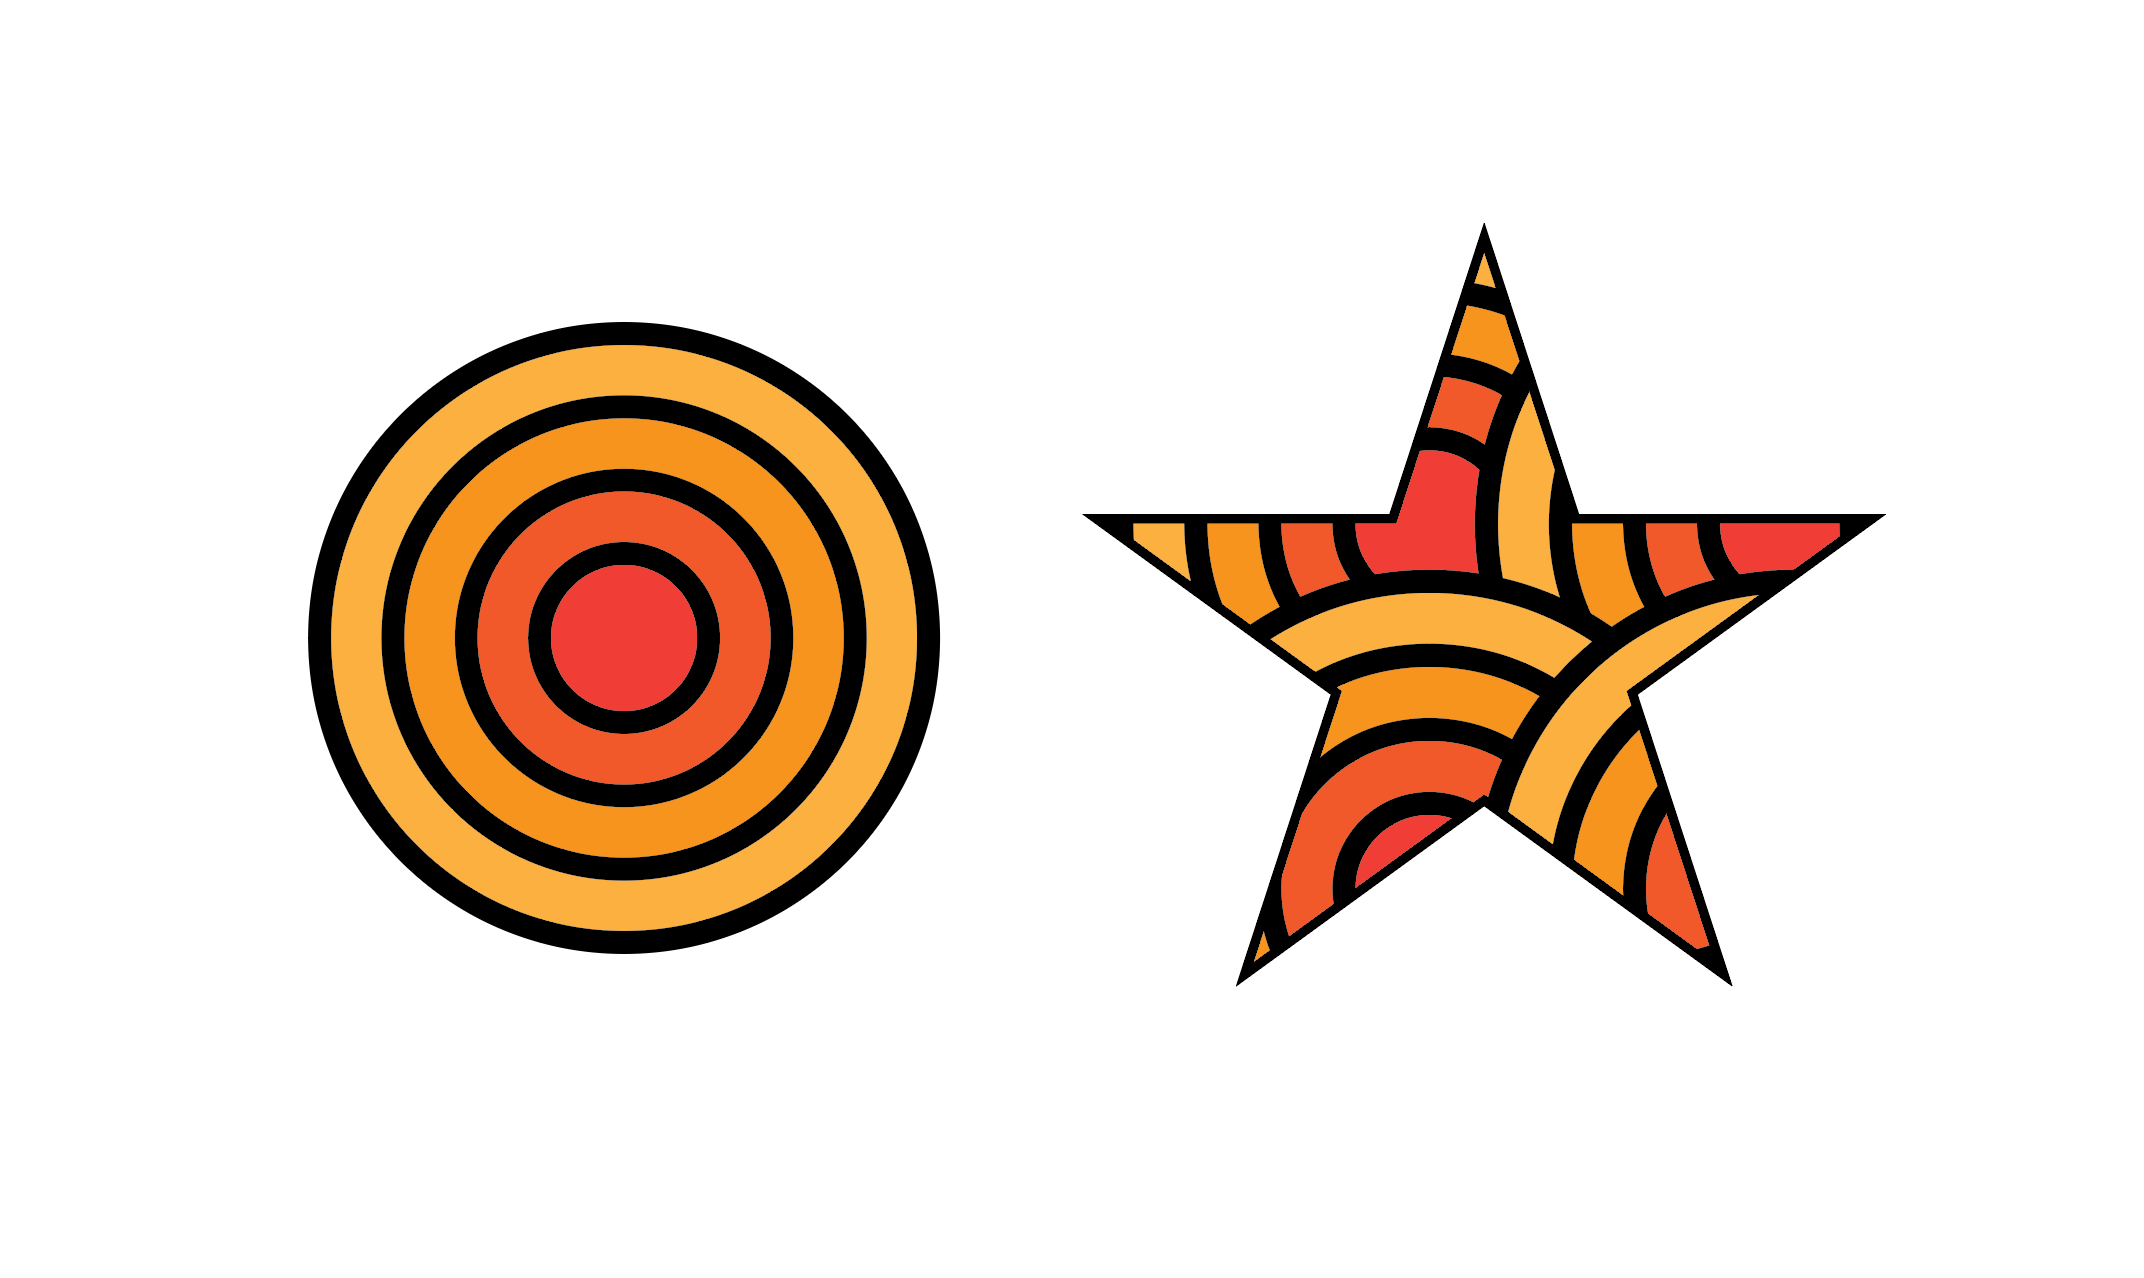
Pattern applied
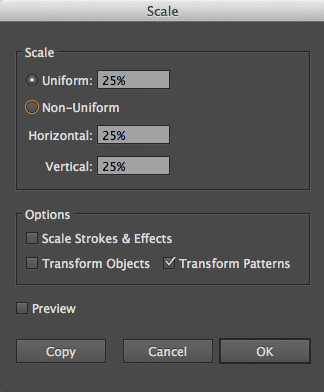
To resize a pattern, double-click on the Scale tool with the object selected and turn off "Scale Strokes & Effects" and "Transform Objects" but turn on "Transform Patterns" then type in a scale value (shown here as 25%):
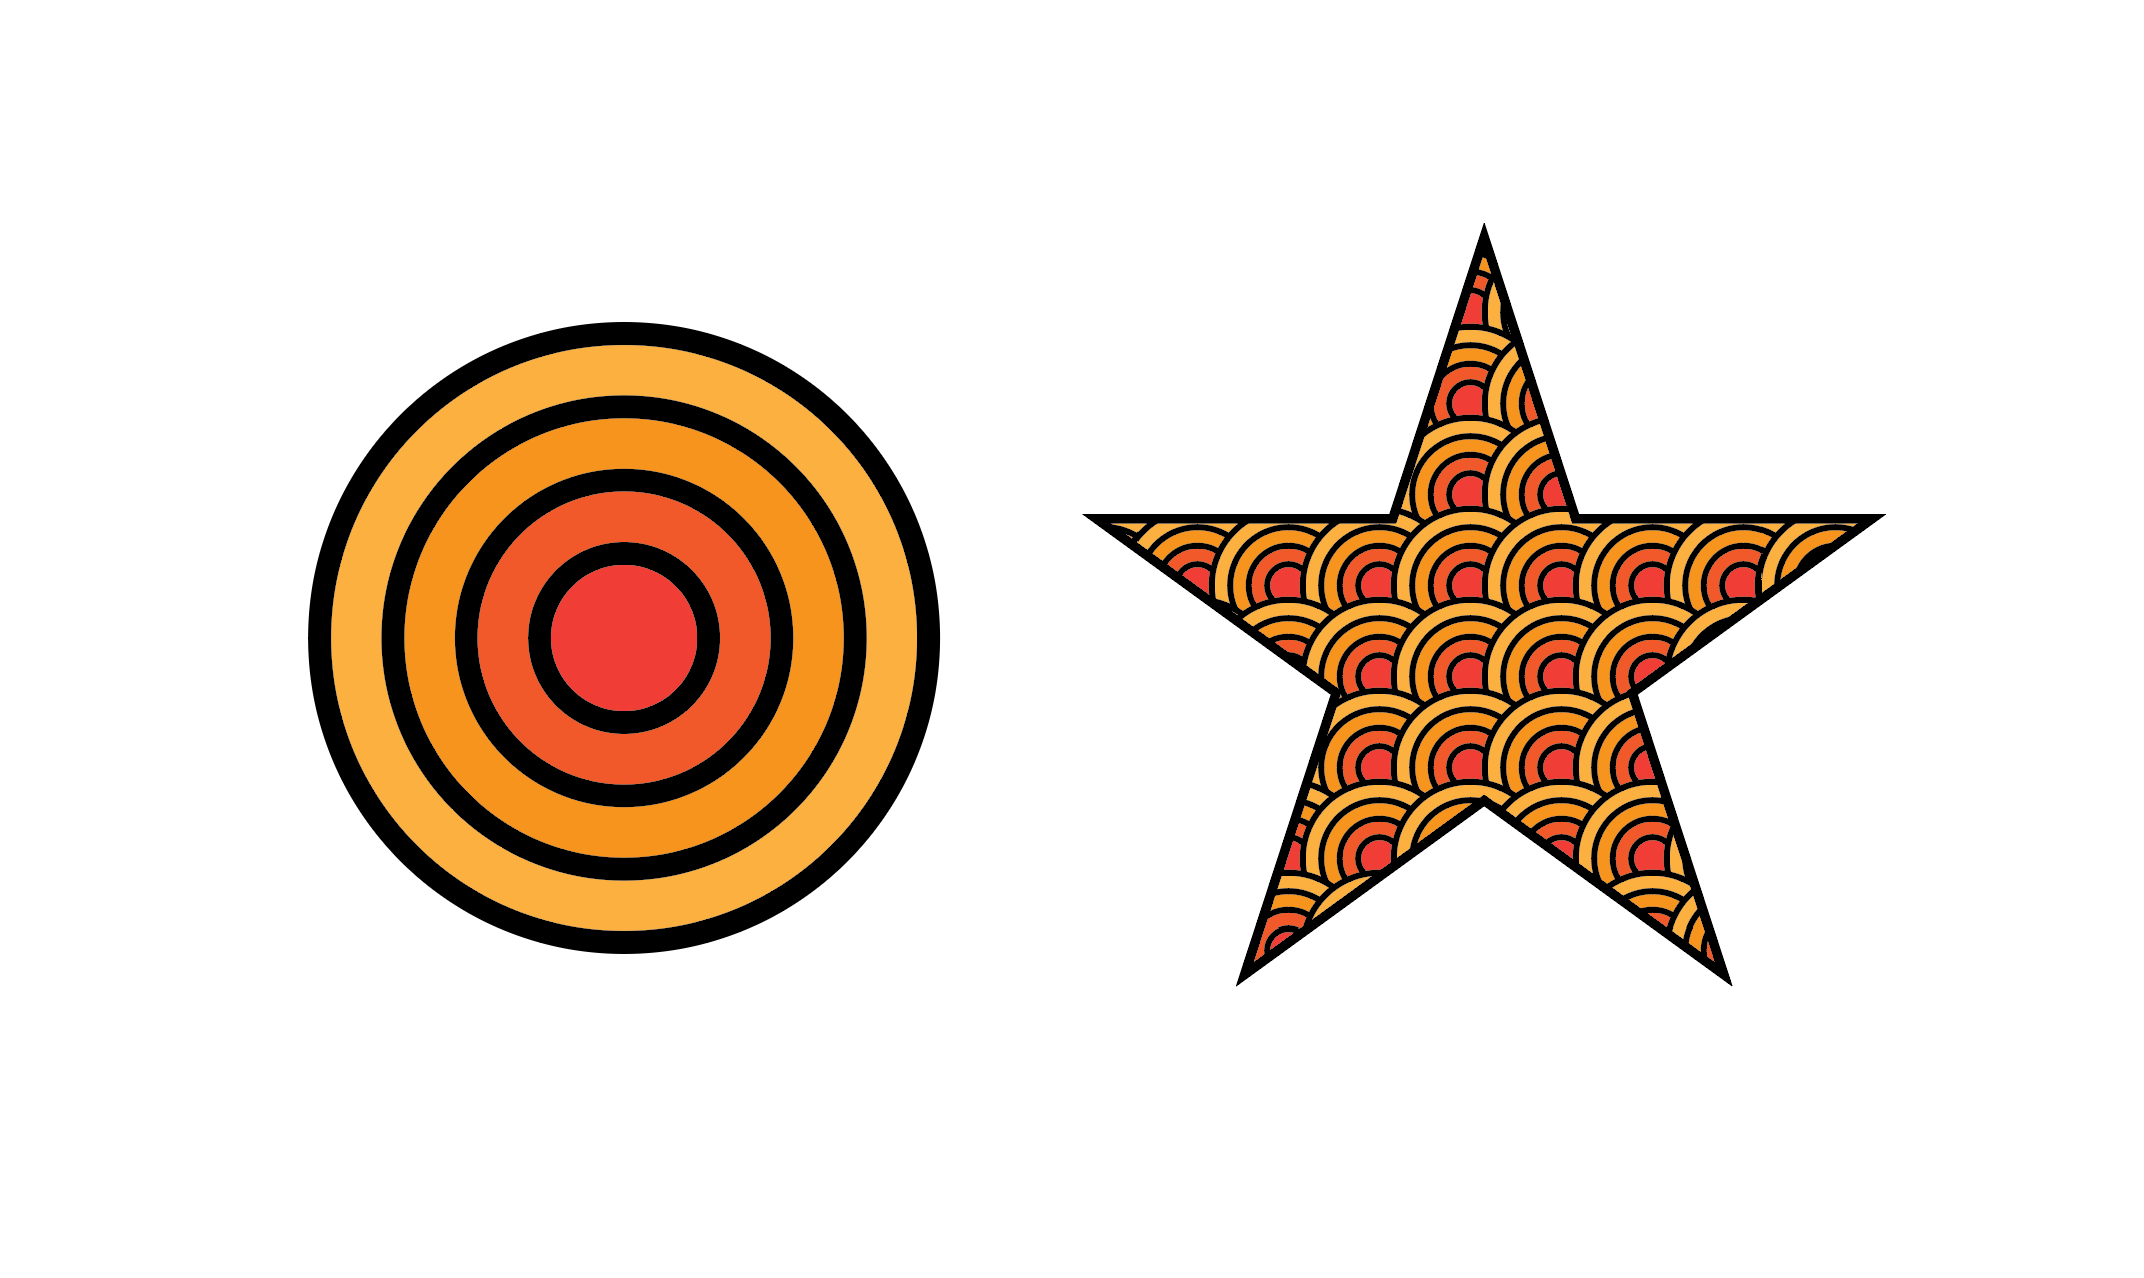
This only works in the "Scale" dialog.
To reposition a pattern within a shape, hold down the ` key (above the TAB key). Drag the shape or use the cursor keys.
A hexagonal non-overlapping pattern
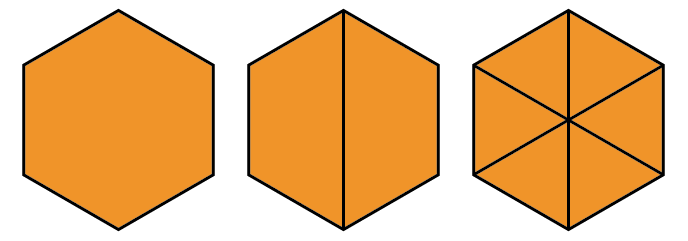

Build the hexagon with:
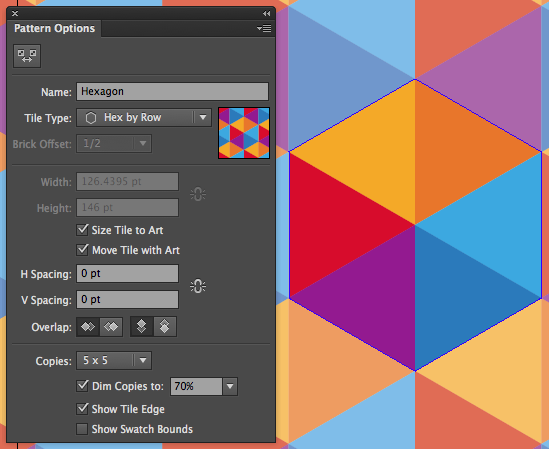
Create the pattern with
Menu > Pattern > Make:
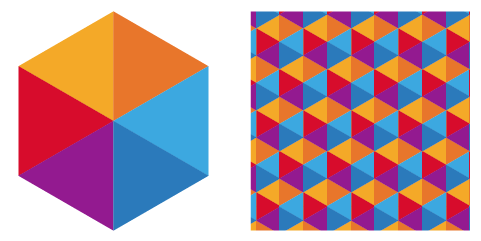
Pattern applied and scaled:
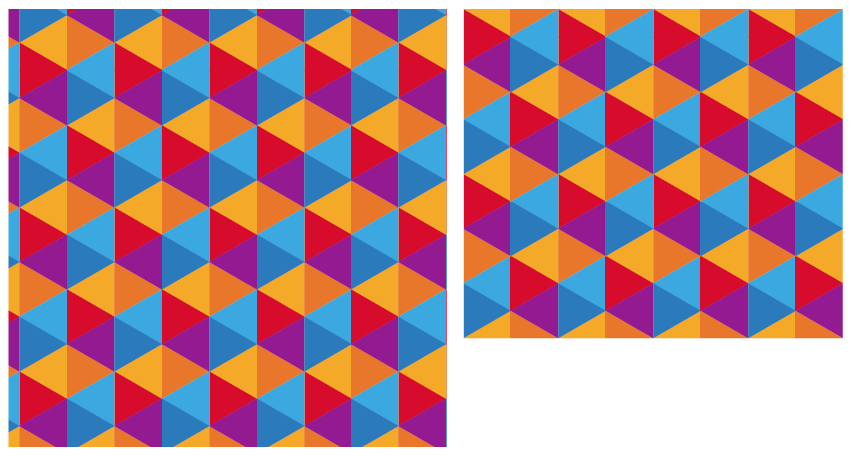
Pattern shifted for exact fit with ` key
(works with cursor keys too).
Modify the shape until if fits the pattern the way you want. The key is to turn on "Transform Pattern Tiles" in the Preferences dialog:
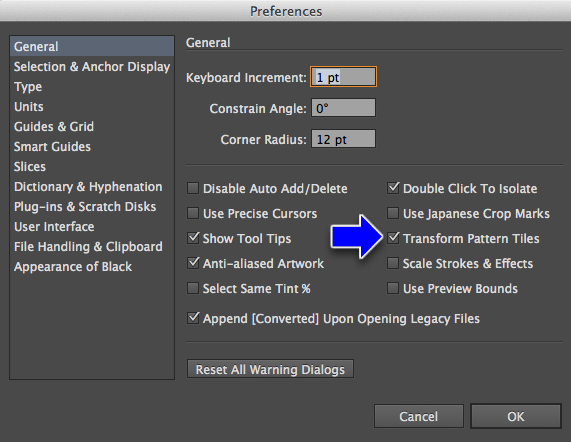
Menu > Illustrator (Mac)/ Edit (Win) > Preferences > General... Transform Pattern Tiles
This is probably better done with Repeat > Grid, but if it needs to be asymmetrical (objects overlap at different distances on each side), this is about the only way to do it
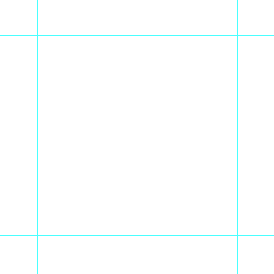
Create a set of guides outline a 100pt x 100pt square
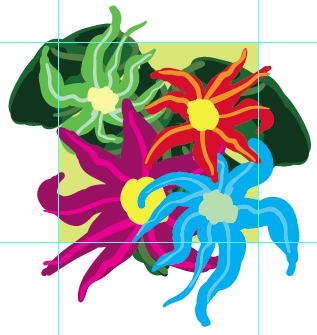
Create objects inside the square and passing the edge of the square
(Add a background color too, if you want one)
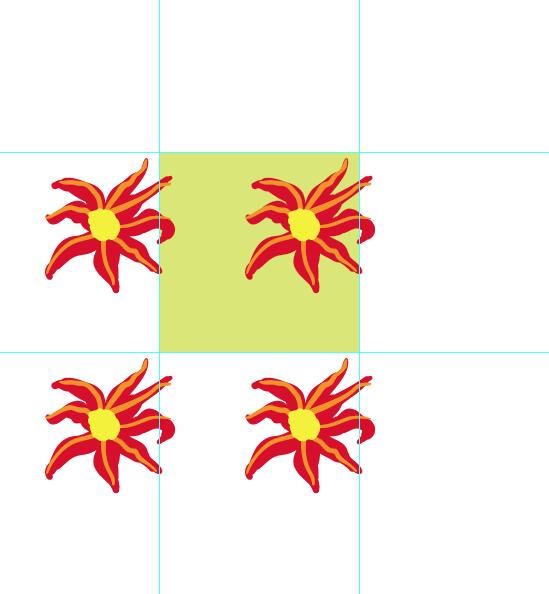
Create quads from the objects that pass the edge of the square using Menu > Object > Transform > Move... with x and y offsets of 100/-100 and the copy button in the dialog
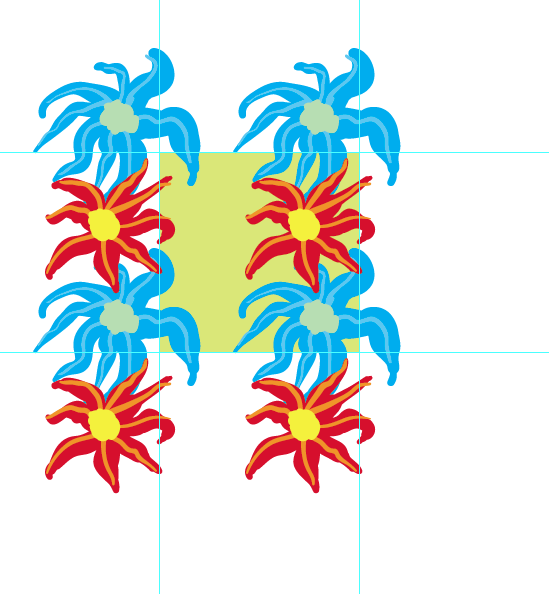
The rule is that any object passing an edge must be added on the opposite side, exactly 100pts away from the original object
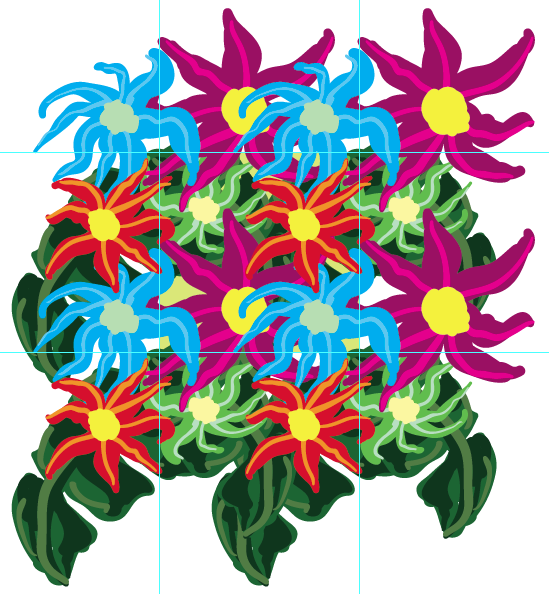
Create a 100pt x 100pt no-fill no-stroke rect over the artwork and use it for a mask
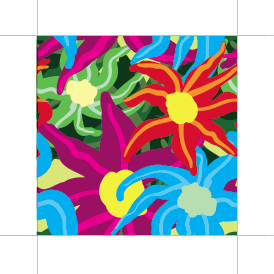
Select the masked object and create the pattern with it with these settings:
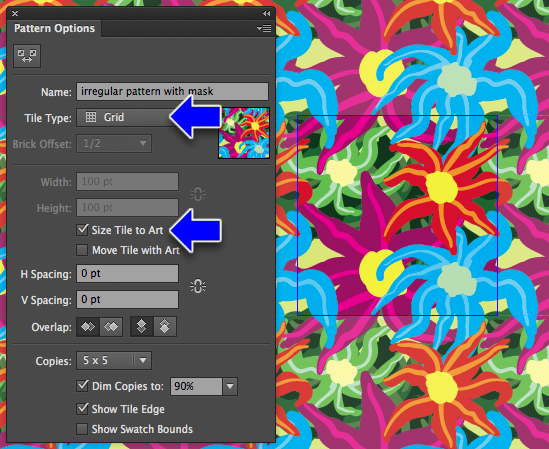
Result:
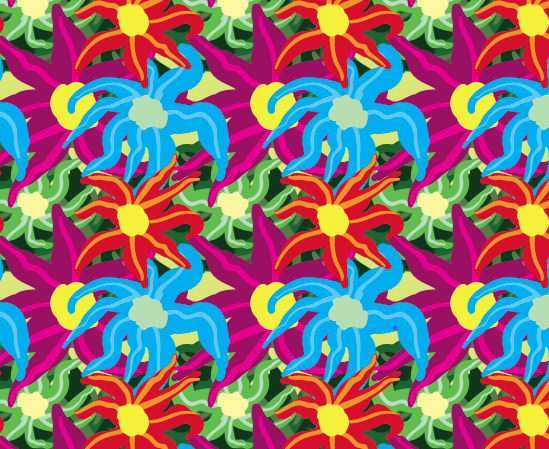
Note that this could be done in any rectangle as long as you repeat your quads with the same dimensions as the rectangle
Practical Scatterbrush (practical_scatterbrush.ai.zip)
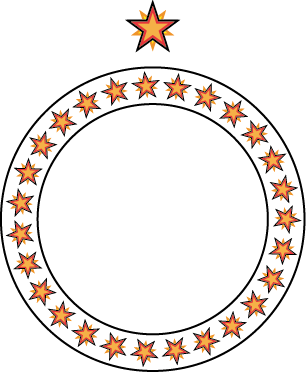
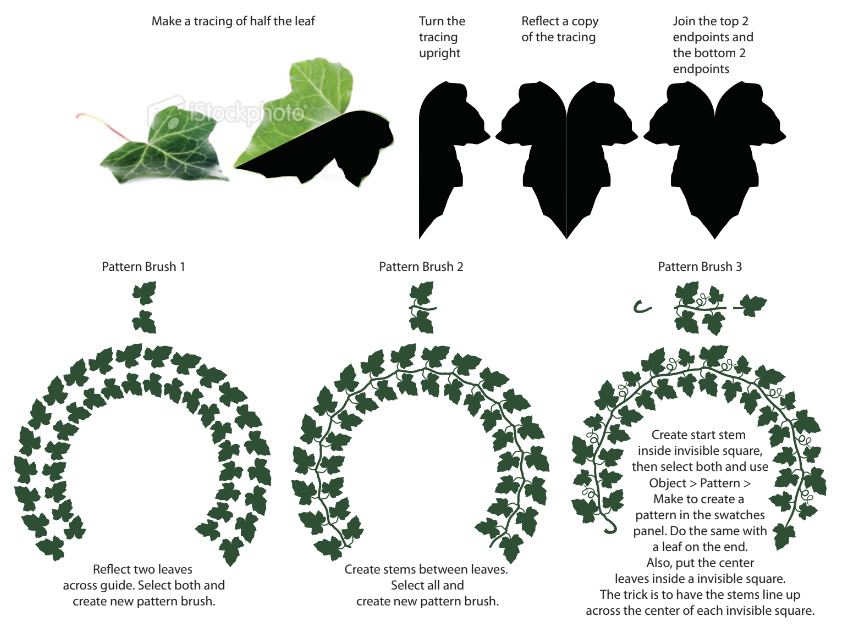
Any set of attributes you apply to an object, as seen in the Appearance Panel, can be saved as a style and applied to other objects
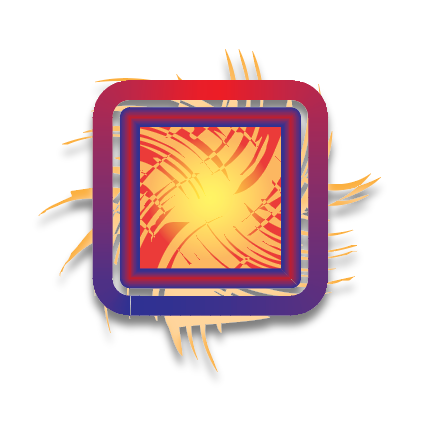
Select the object you want to create a style from
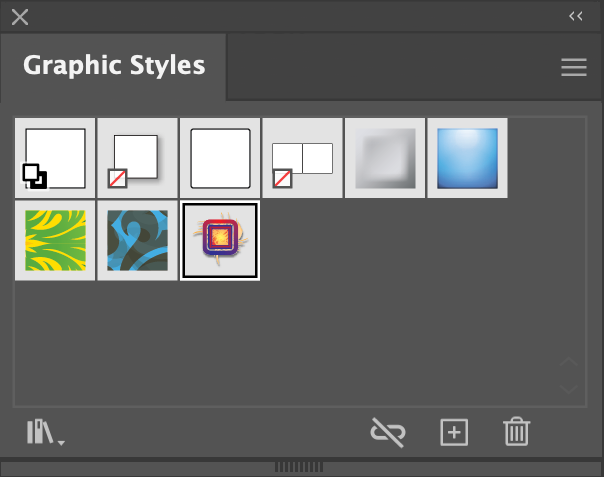
Click on the Create New Style button in the Graphic Styles panel
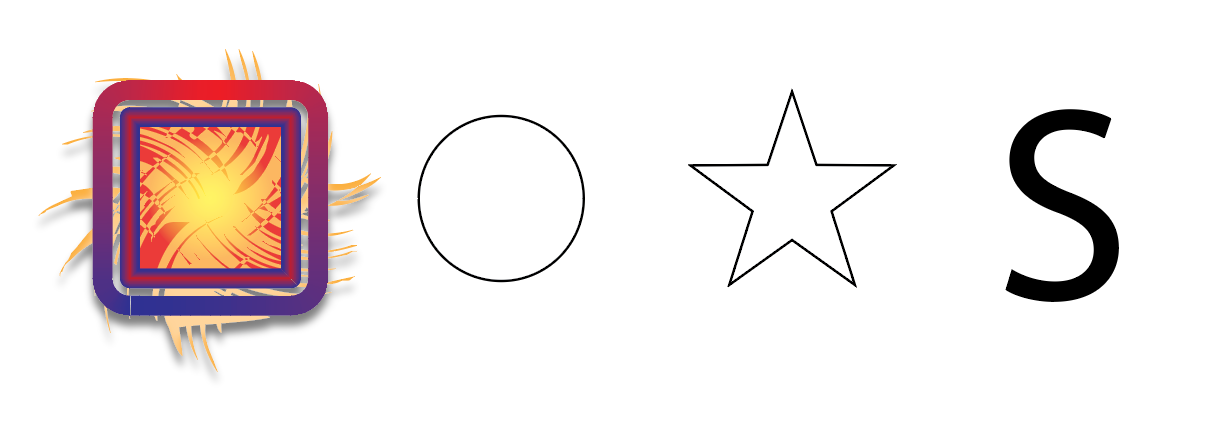
Then select the objects you want to apply the style to and click on the style in the Graphic Styles panel
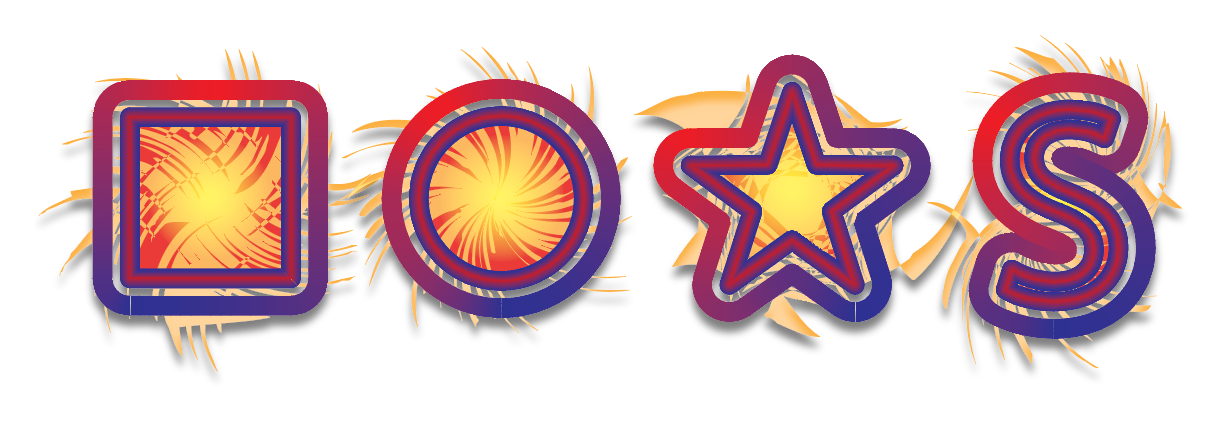
Styles applied. In the latest version of Illustrator, sometimes trying to style text doesn't work.
For interesting effects!
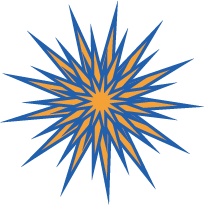
13 point star, radius 1 .8 in, radius 2 .25 in. 2pt stroke. Rotate each about 18.85 degrees (360 divided by 13 divided by 2) and scale down
First, create an object, or group of objects (without gradients, brushes or other fancy stuff)
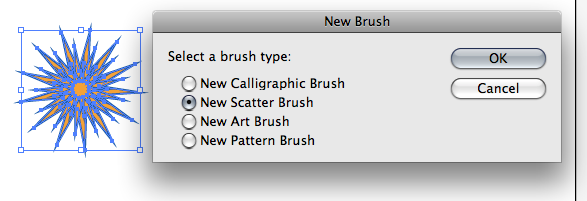
Choose New Brush from the bottom of the Brush Panel
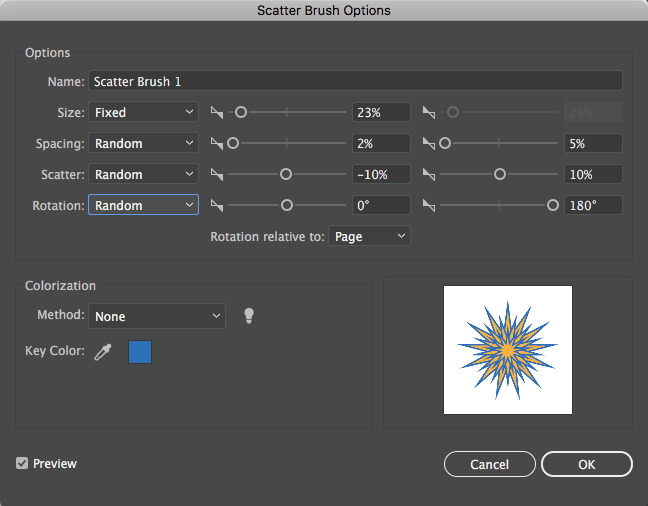
Size: Fixed, 23%
Spacing: Random, 2% - 5%
Scatter: Random, -10% - 10%
Rotation: Random, 0° - 180°
Colorization: None
Set some settings, we can tweak latter...
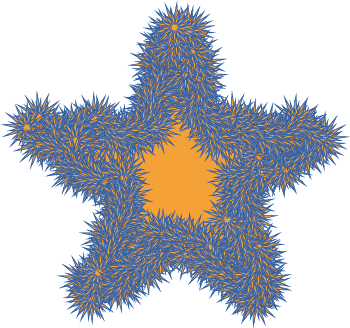
The Scatter Star brush applied to a star
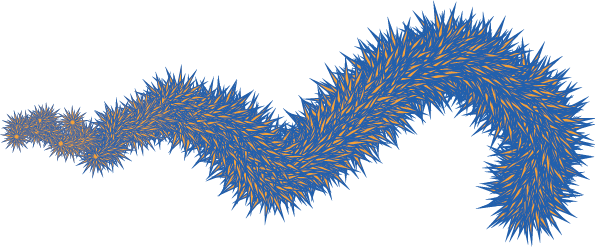
Scatter Star applied to a paintbrush path with pressure controlling size
My wife and I have moved to a new house in a community called Woods Point, and as a part of preparing for the move I've used Illustrator multiple times to help us with the design of the new house.
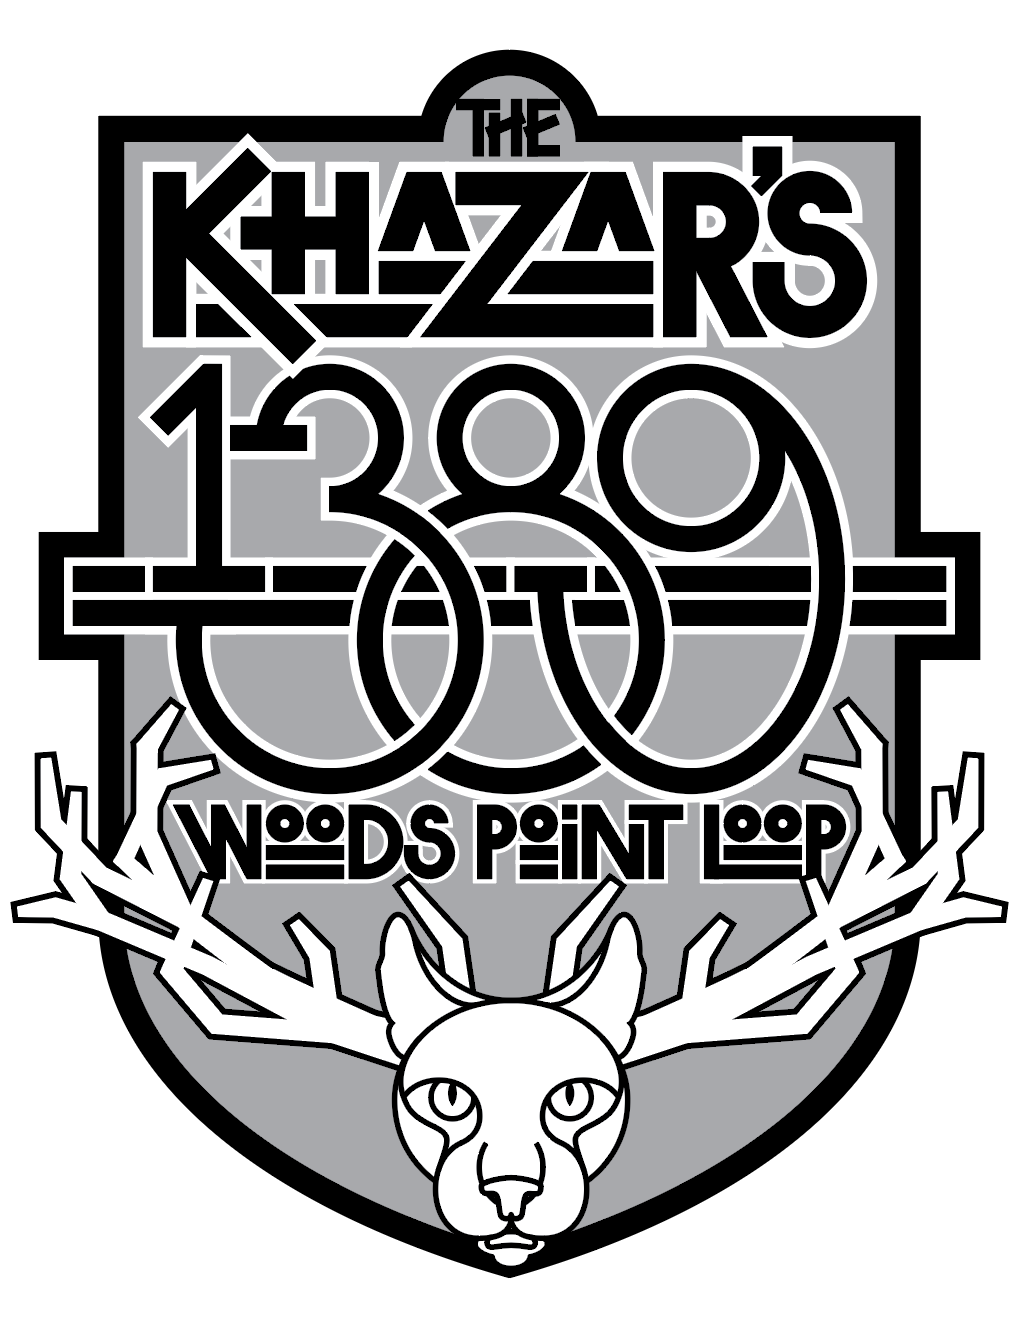
The new home has a Craftsman style, so I wanted to design a plaque for our front entry that had our name and address that had that kind of a design feel to it.
woodspoint1389-v07.ai
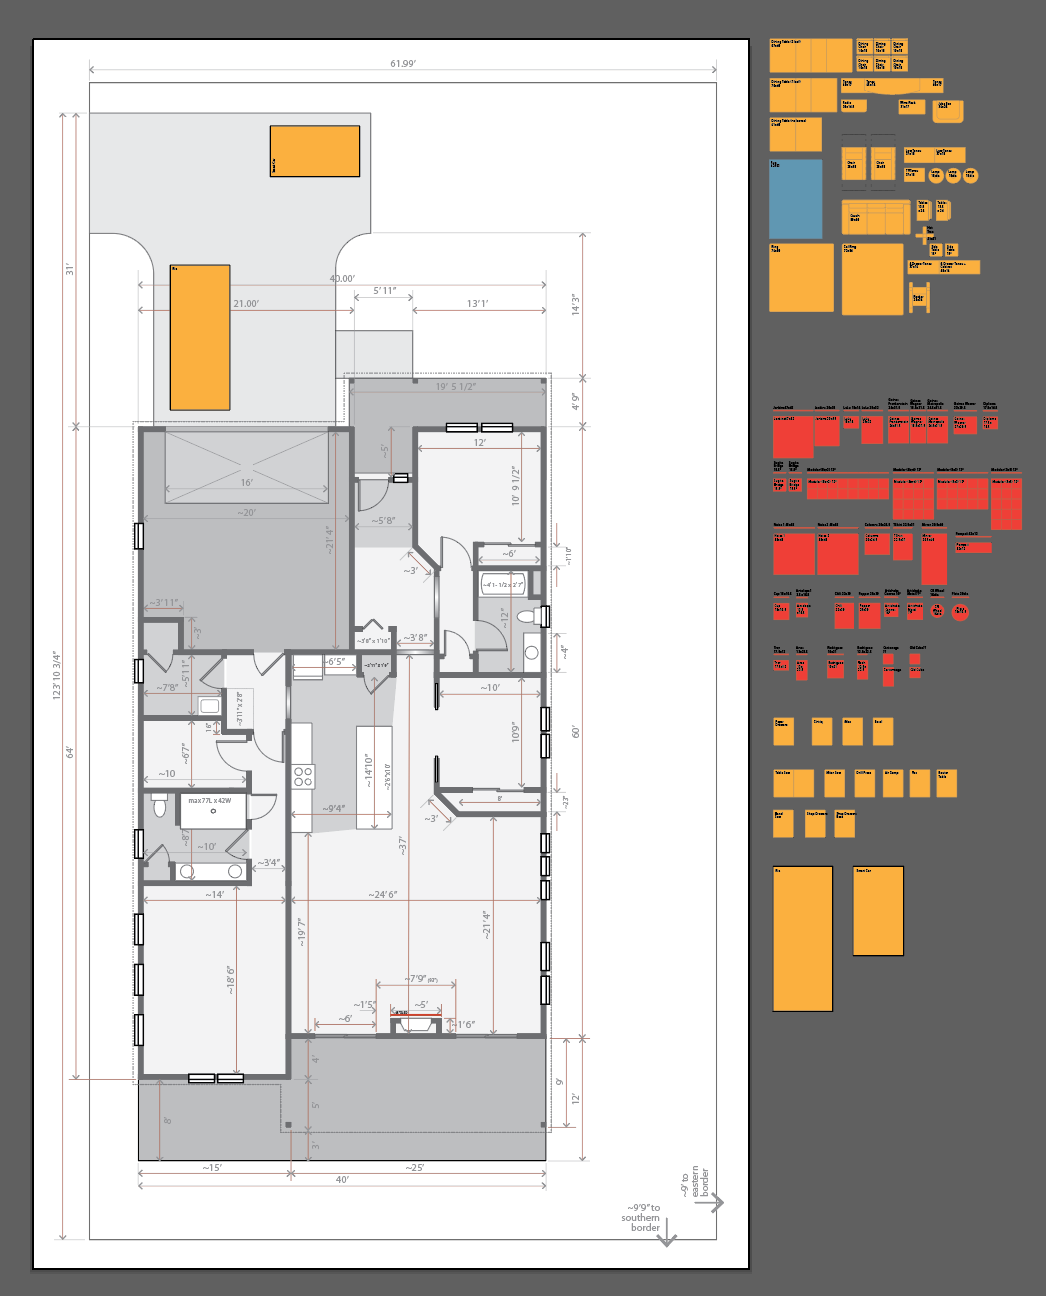
We only got a rough floor plan, but it had written dimensions on it, so I created a t0-scale floor plan (1inch = 1foot) to help us figure out where we could put things and how they would fit into the to-be-built building
woodspointfloorplan.ai

The developer sent us some horrible photographs of color schemes so we could pick the one we liked. Color is something very hard to get right, but very important to be accurate with. The photos we got were taken with a phone and under whatever kinds of lights they use at the office. They were not accurate, to say the least.
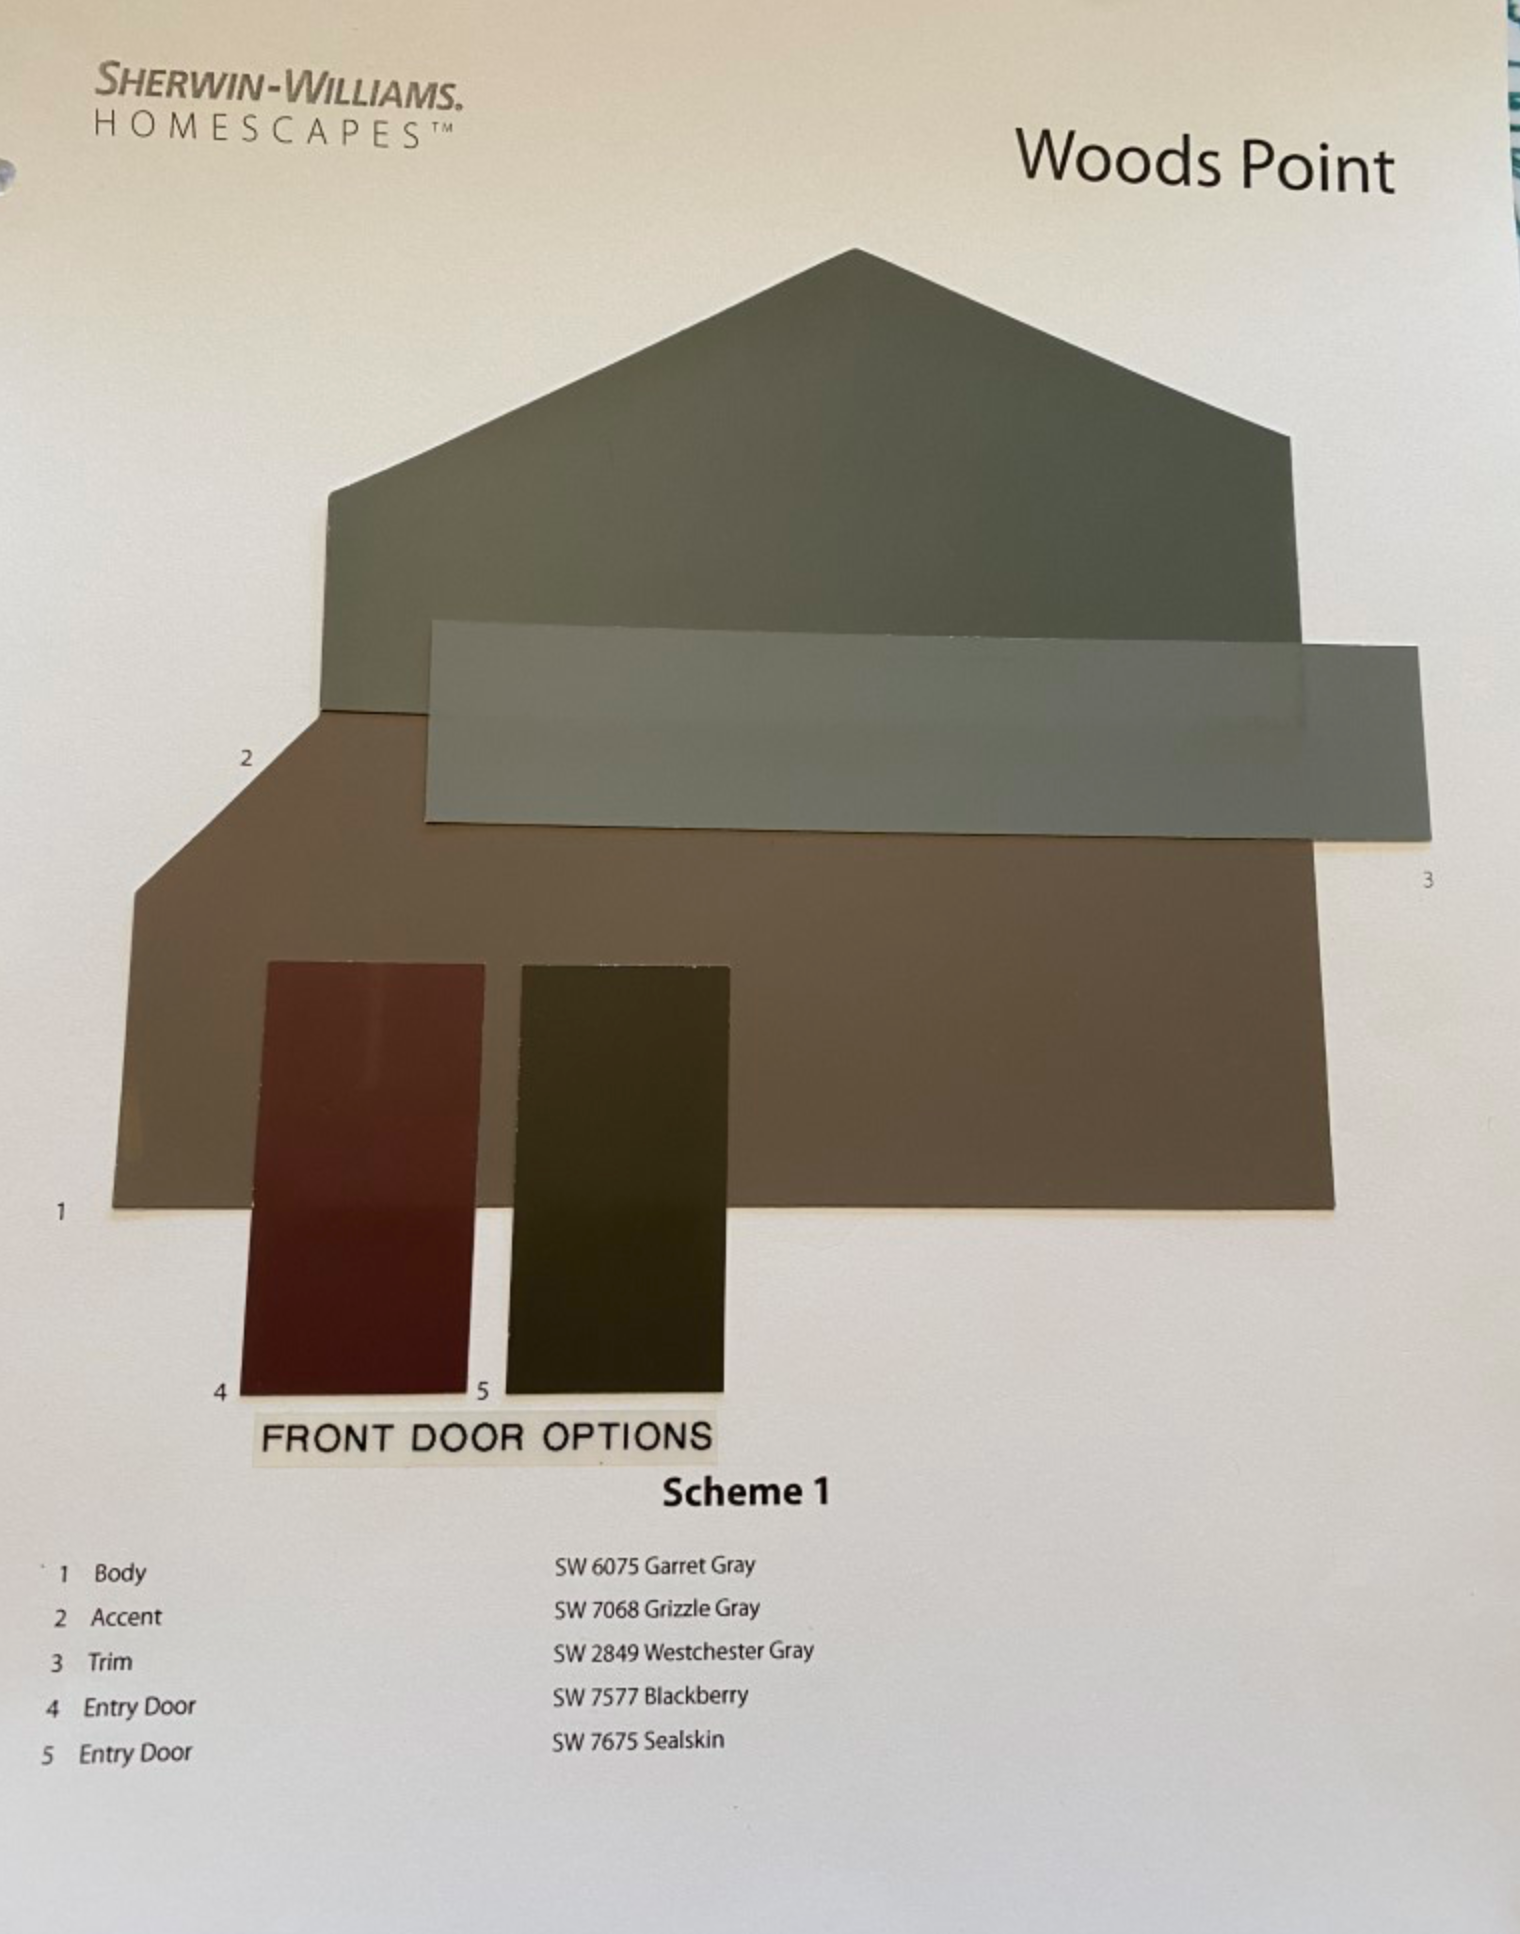
Original photos
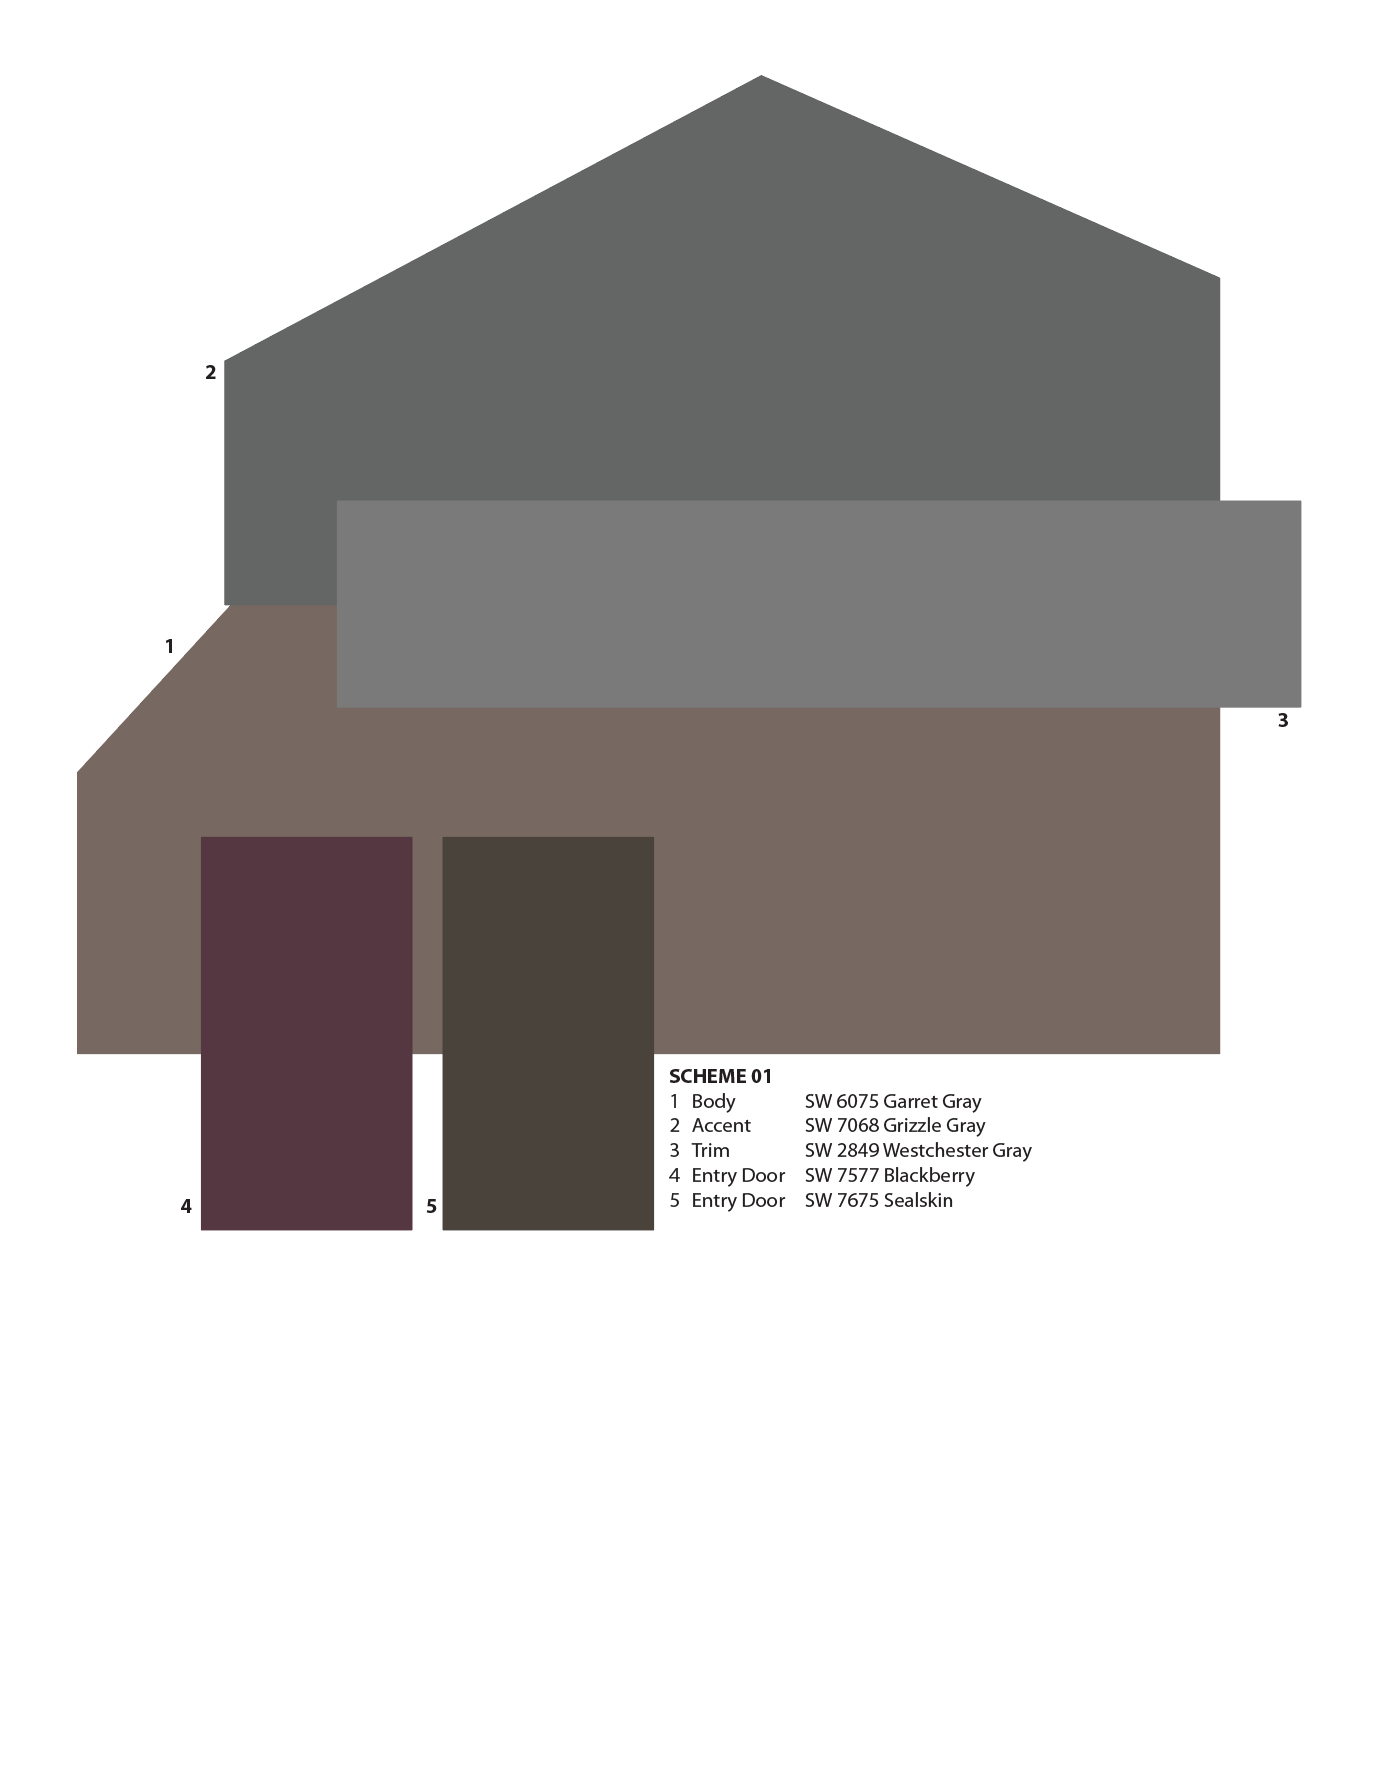
Color corrected illustrator version
woodspointcolor.ai.zip Sherman Williams colors to RGB online pdf
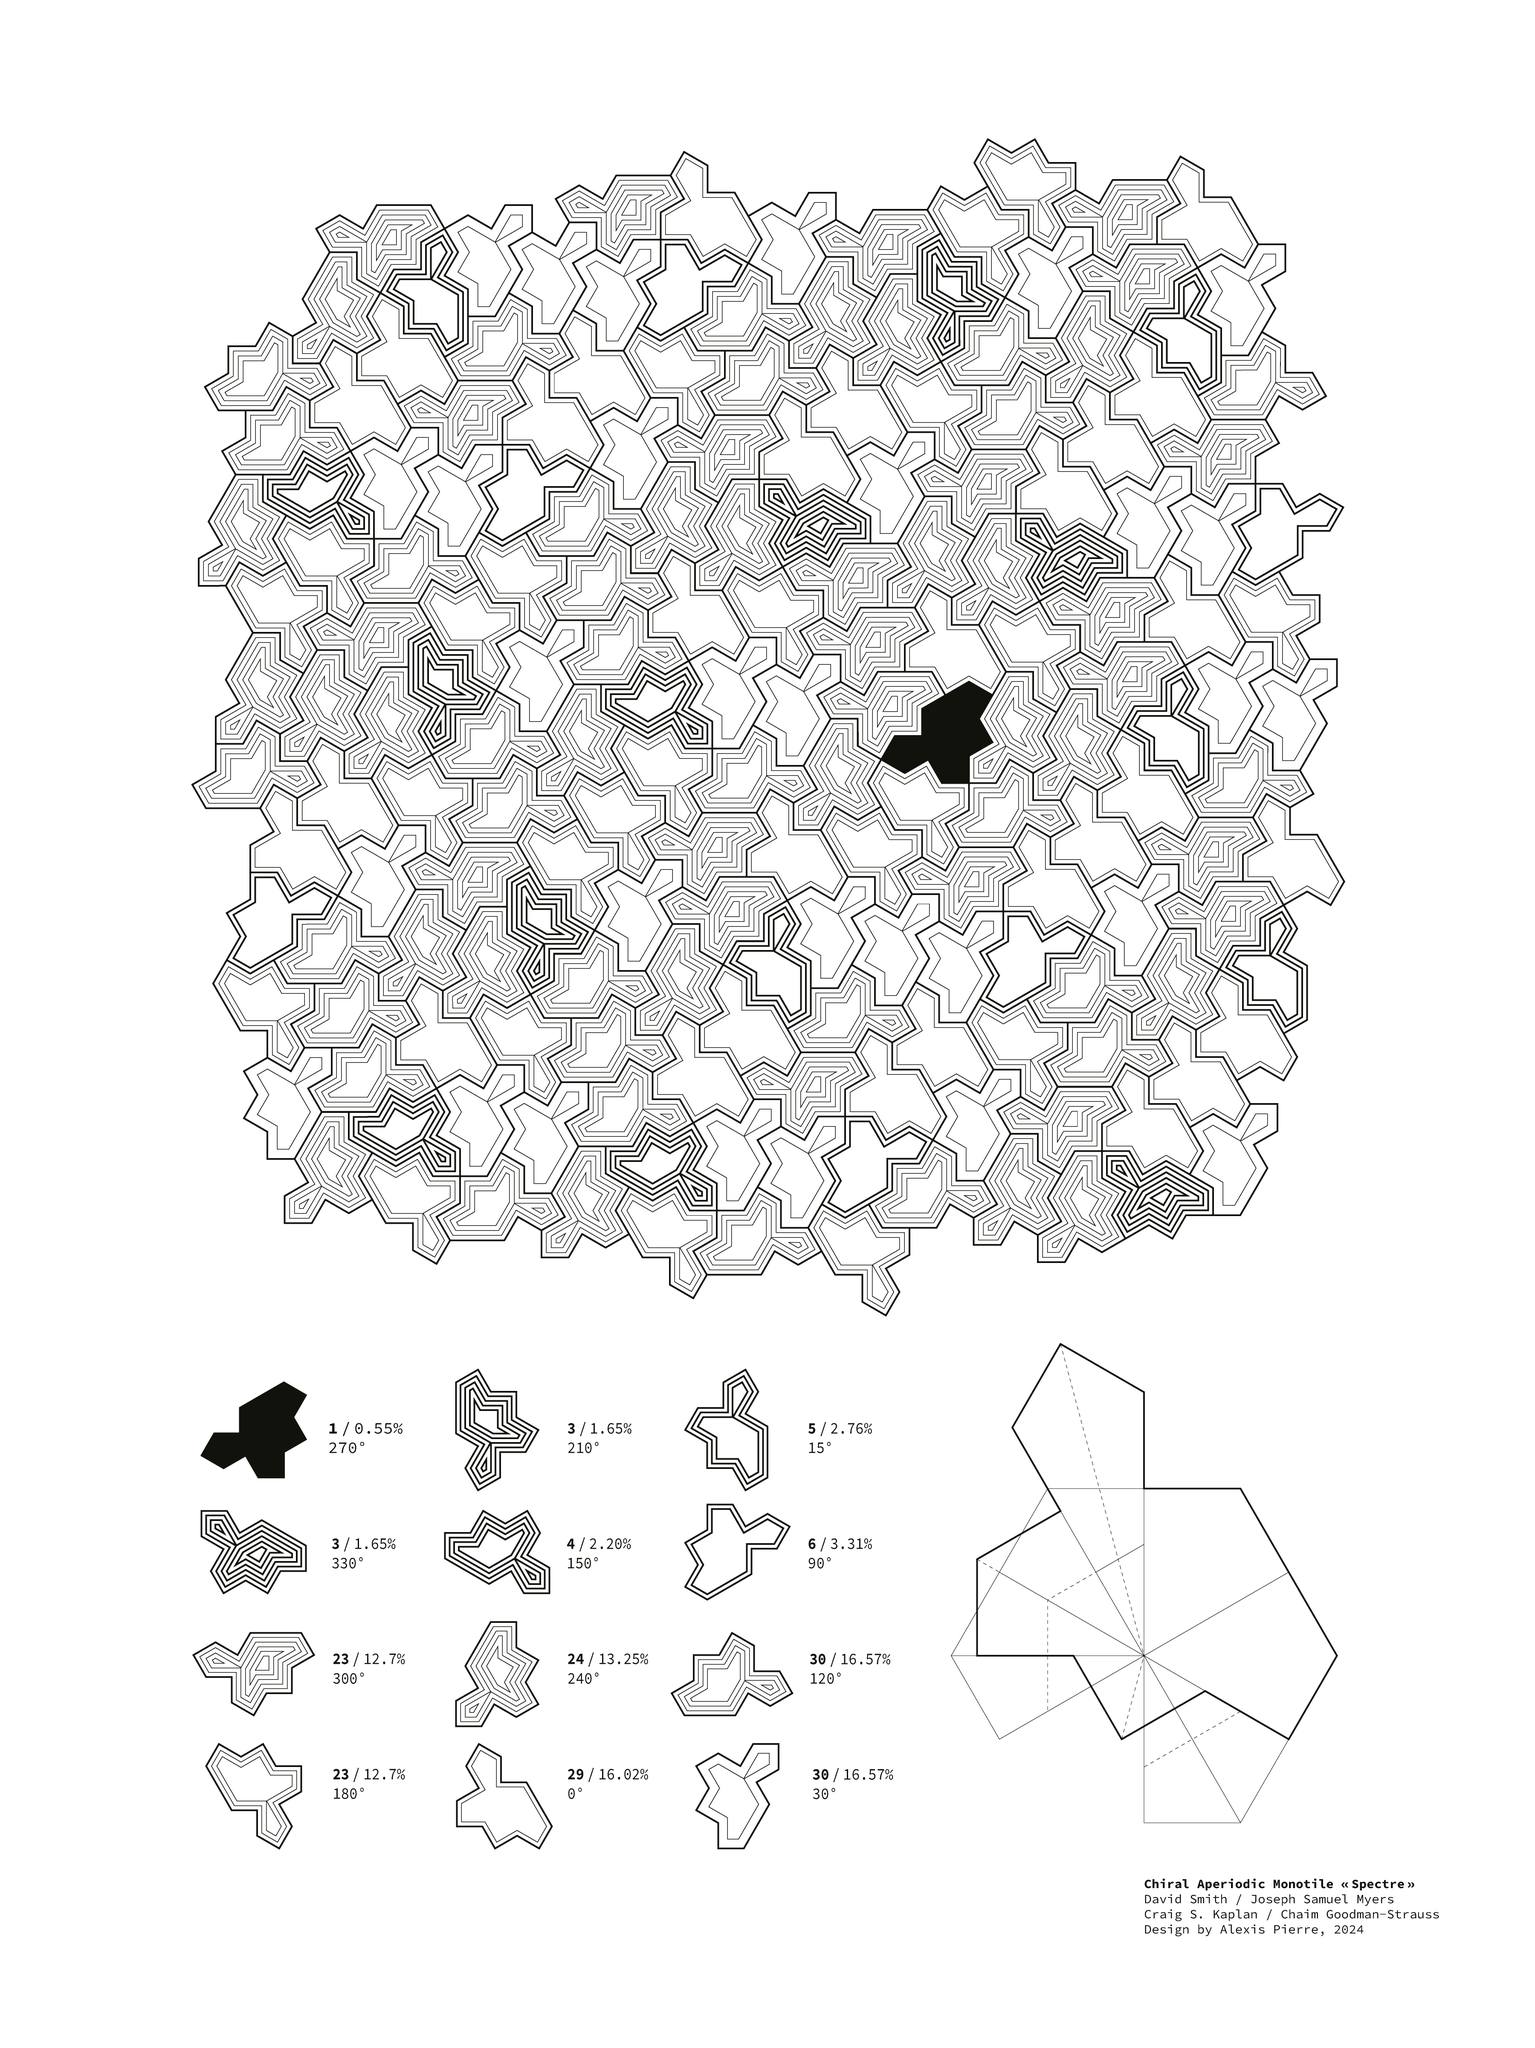
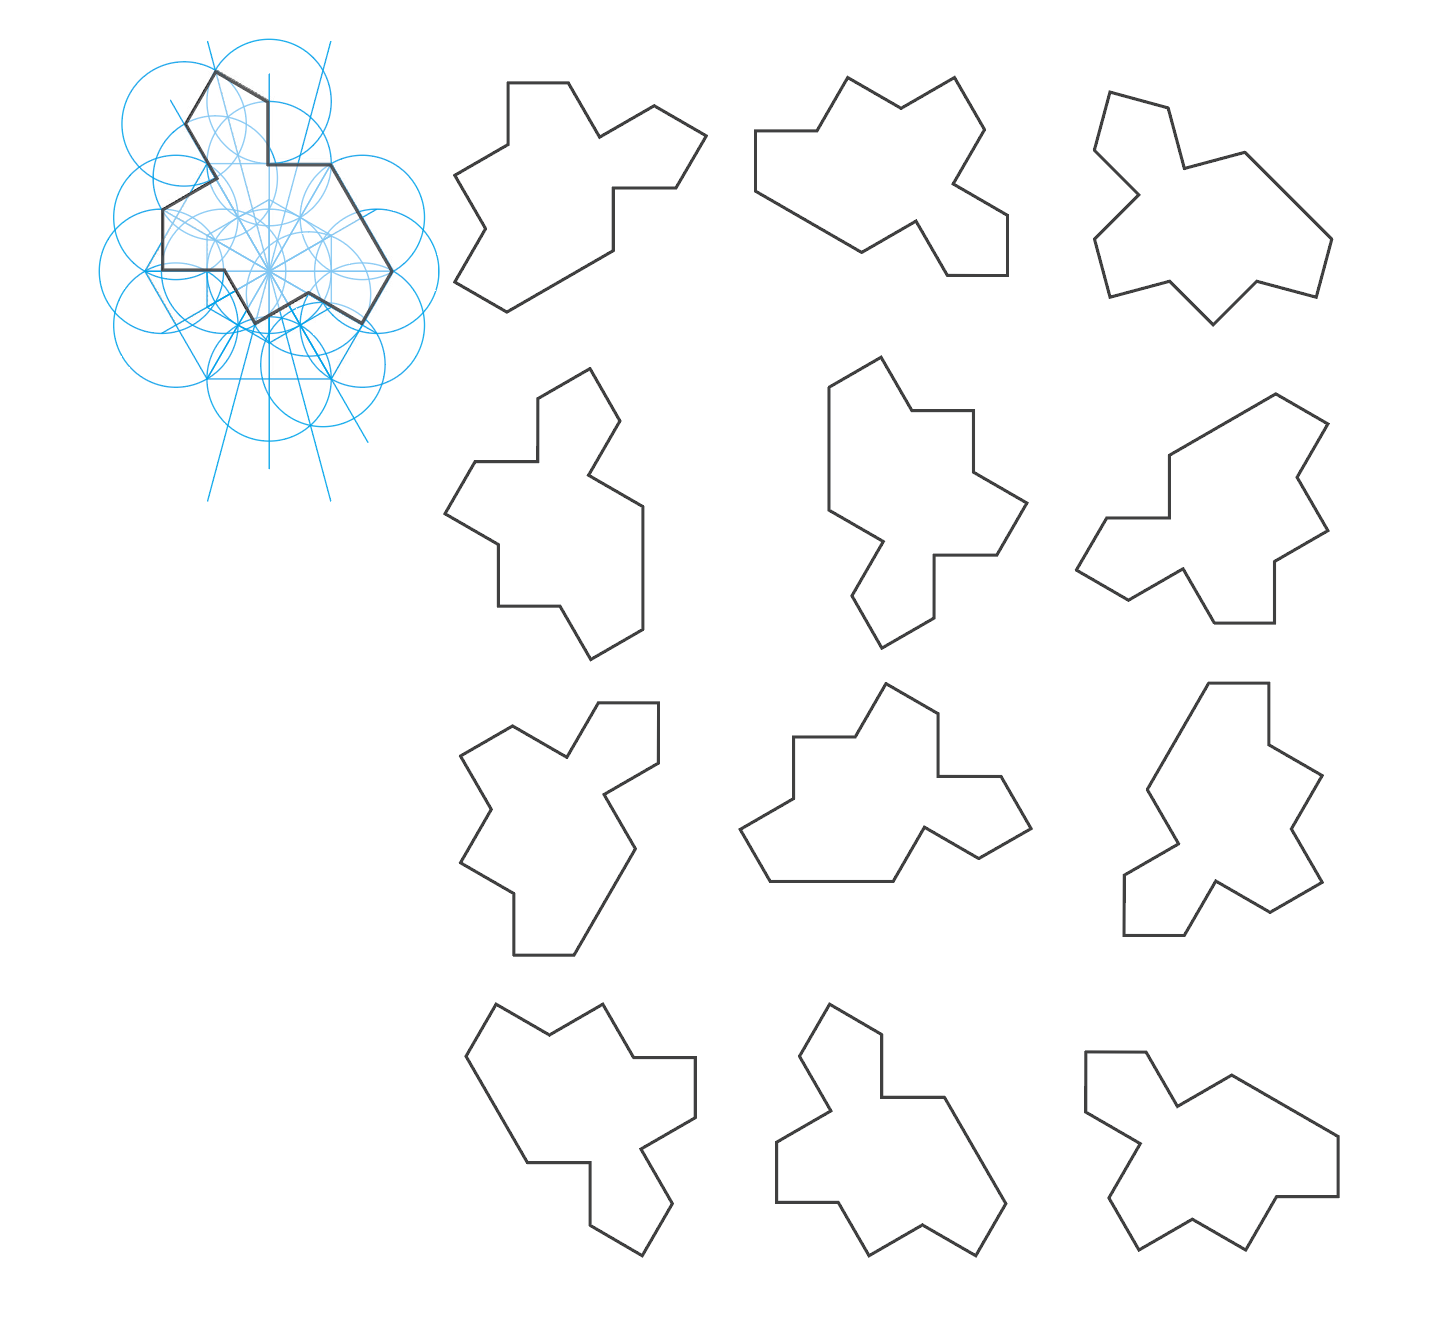
Chiral aperiodic monotiling is a recent mathematical discovery based on Penrose Tiling,
tiling pattern which does not repeat itself, unlike most tile which create a repeating pattern.
The Chiral Aperiodic tile has the additional unique feature that it repeats forever, but there is
only one shape.
aperoiodictile.ai.zip