Class Eleven

Due: Colored Pencil

My artichoke

Assigned: Assignment 5: Color Brushes

Specs

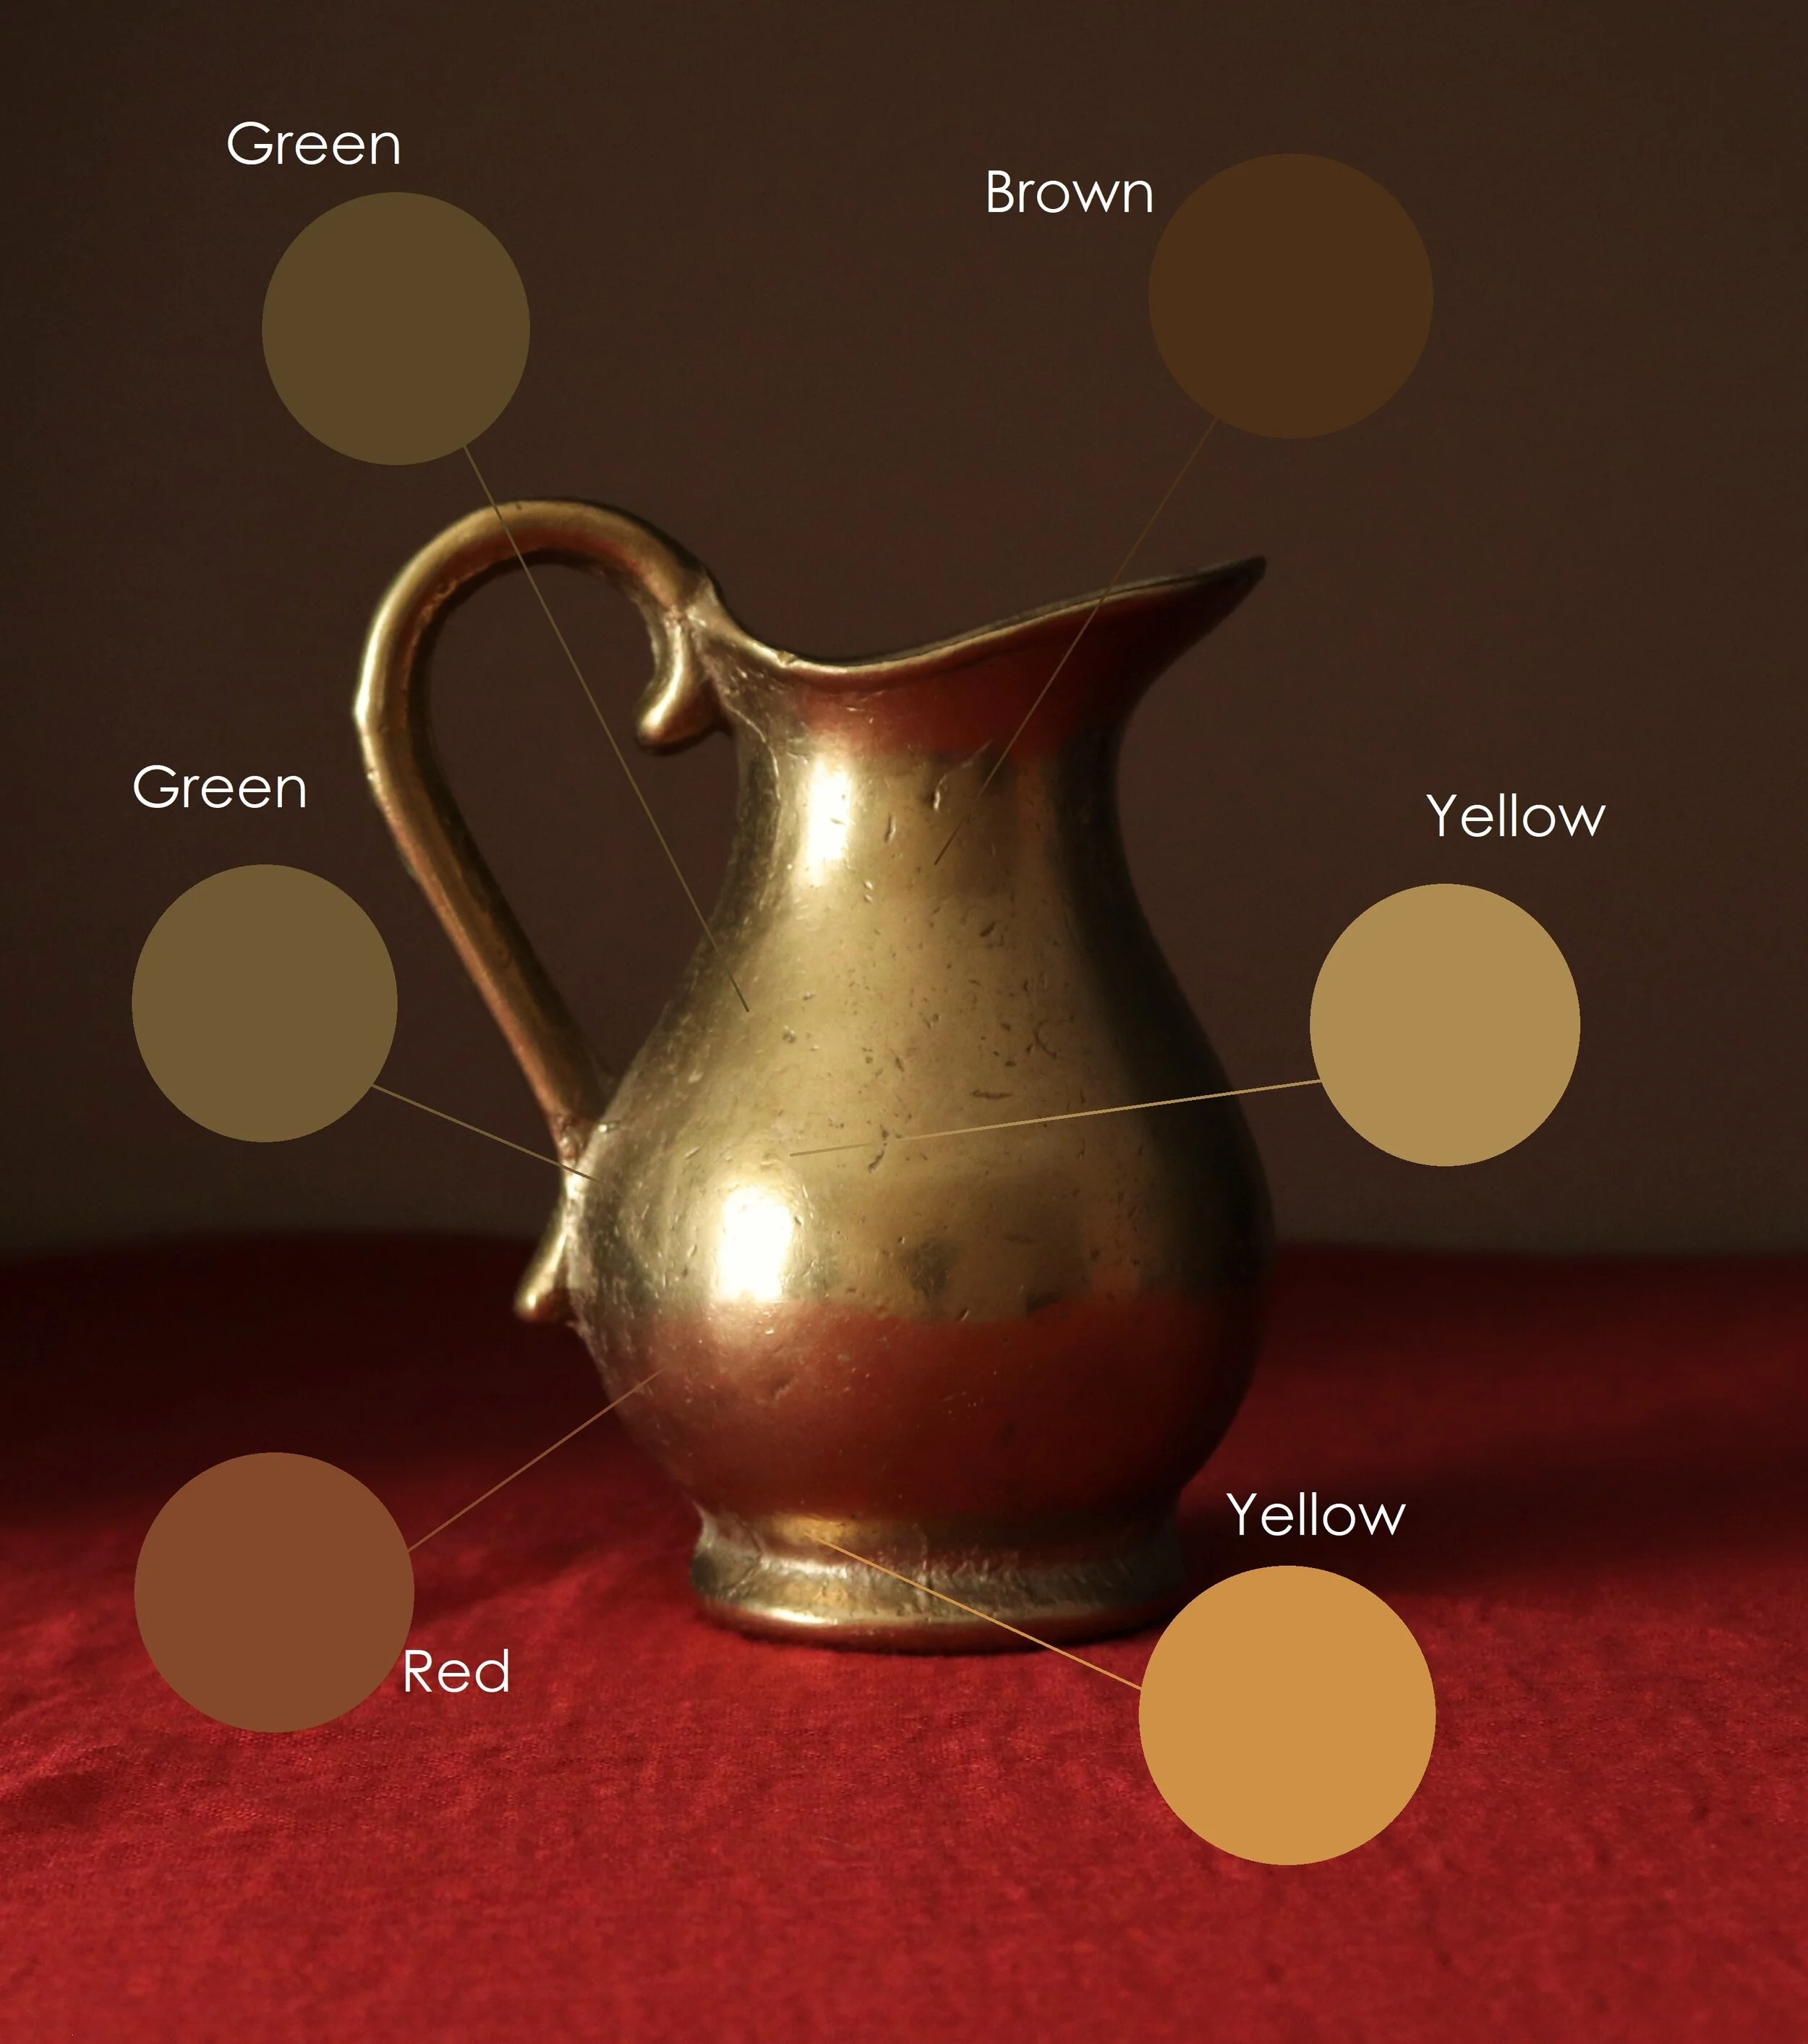
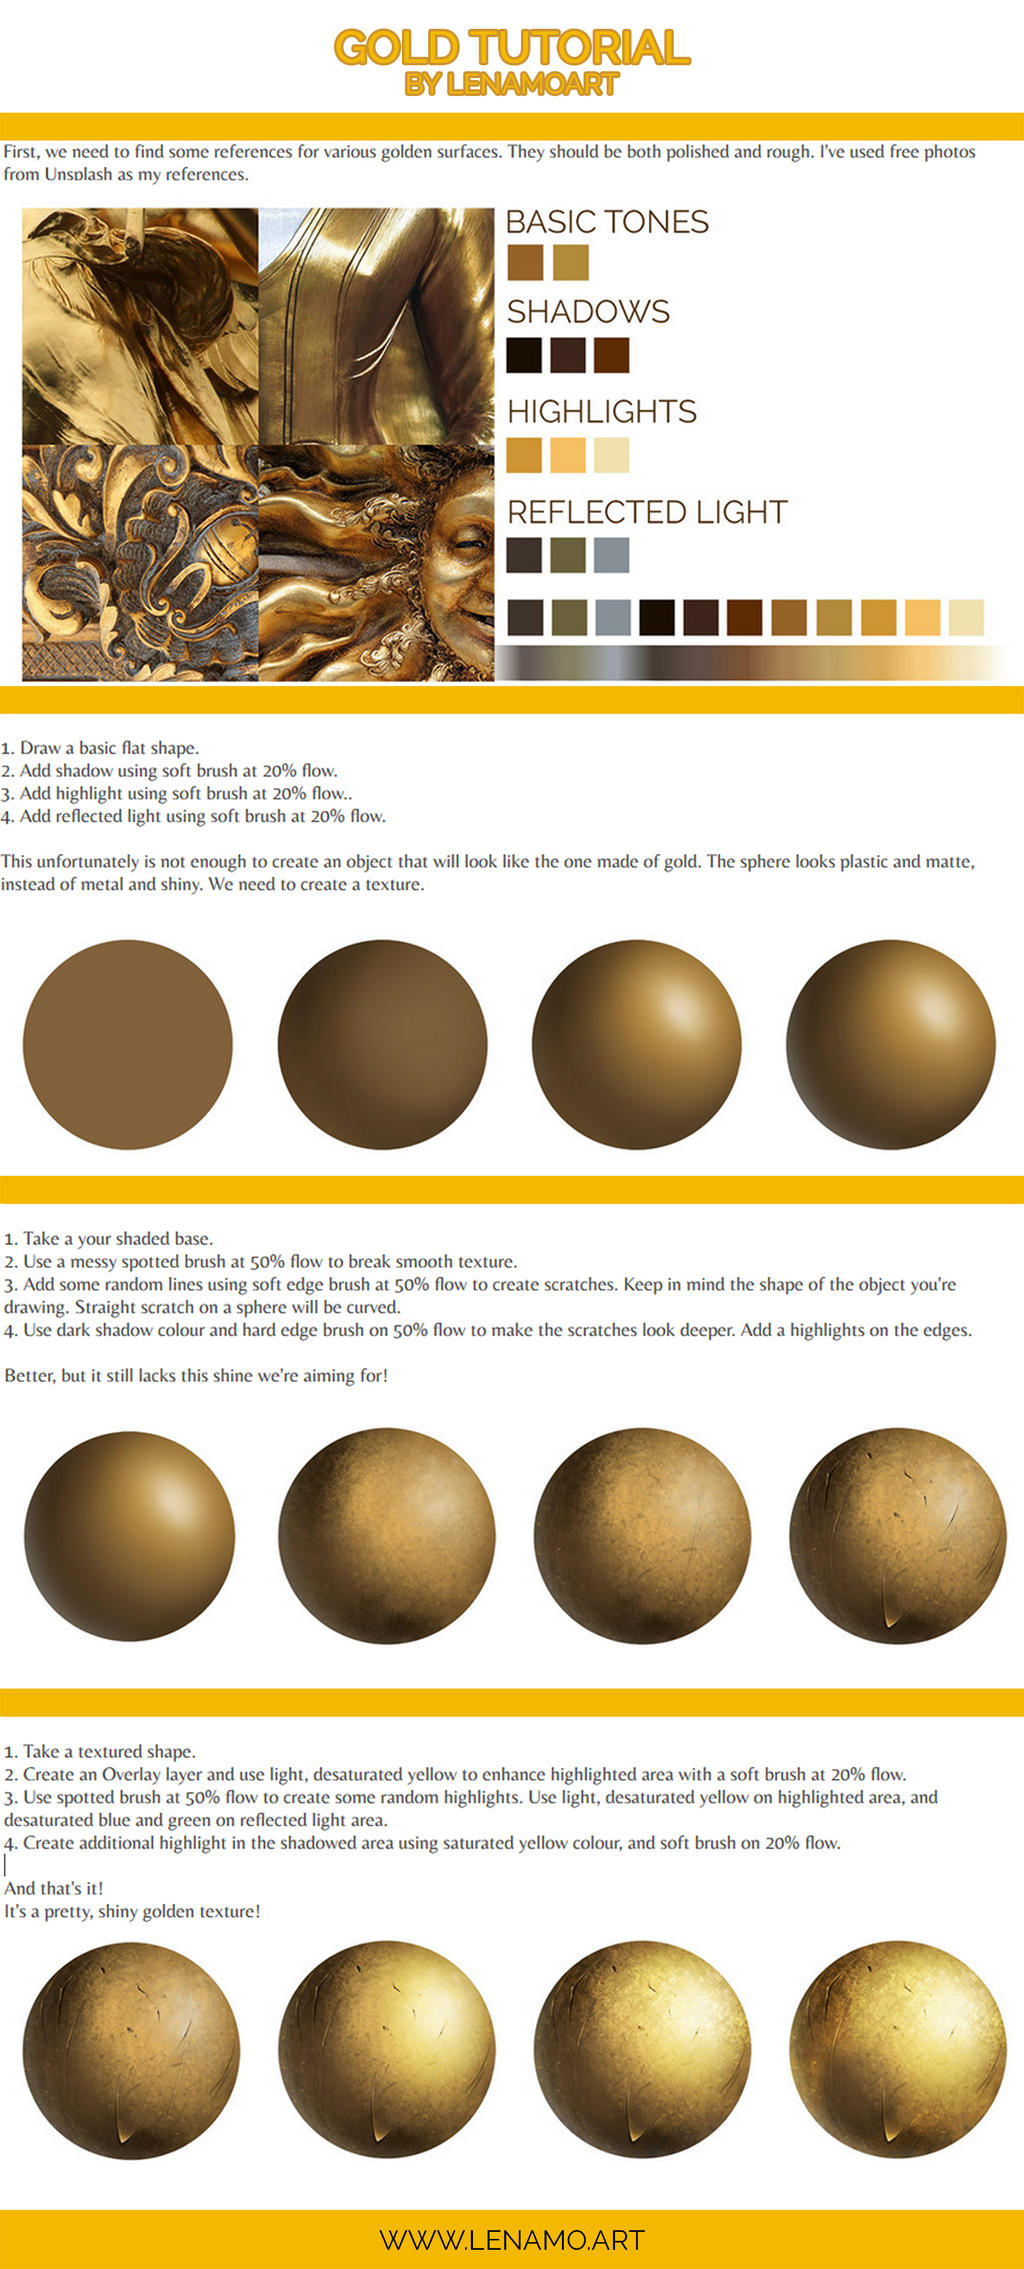
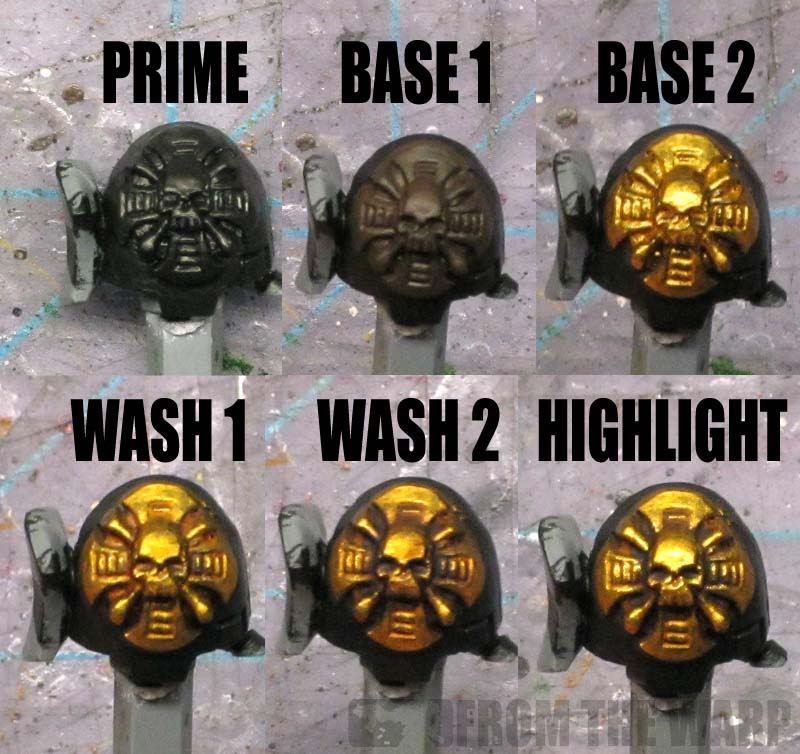
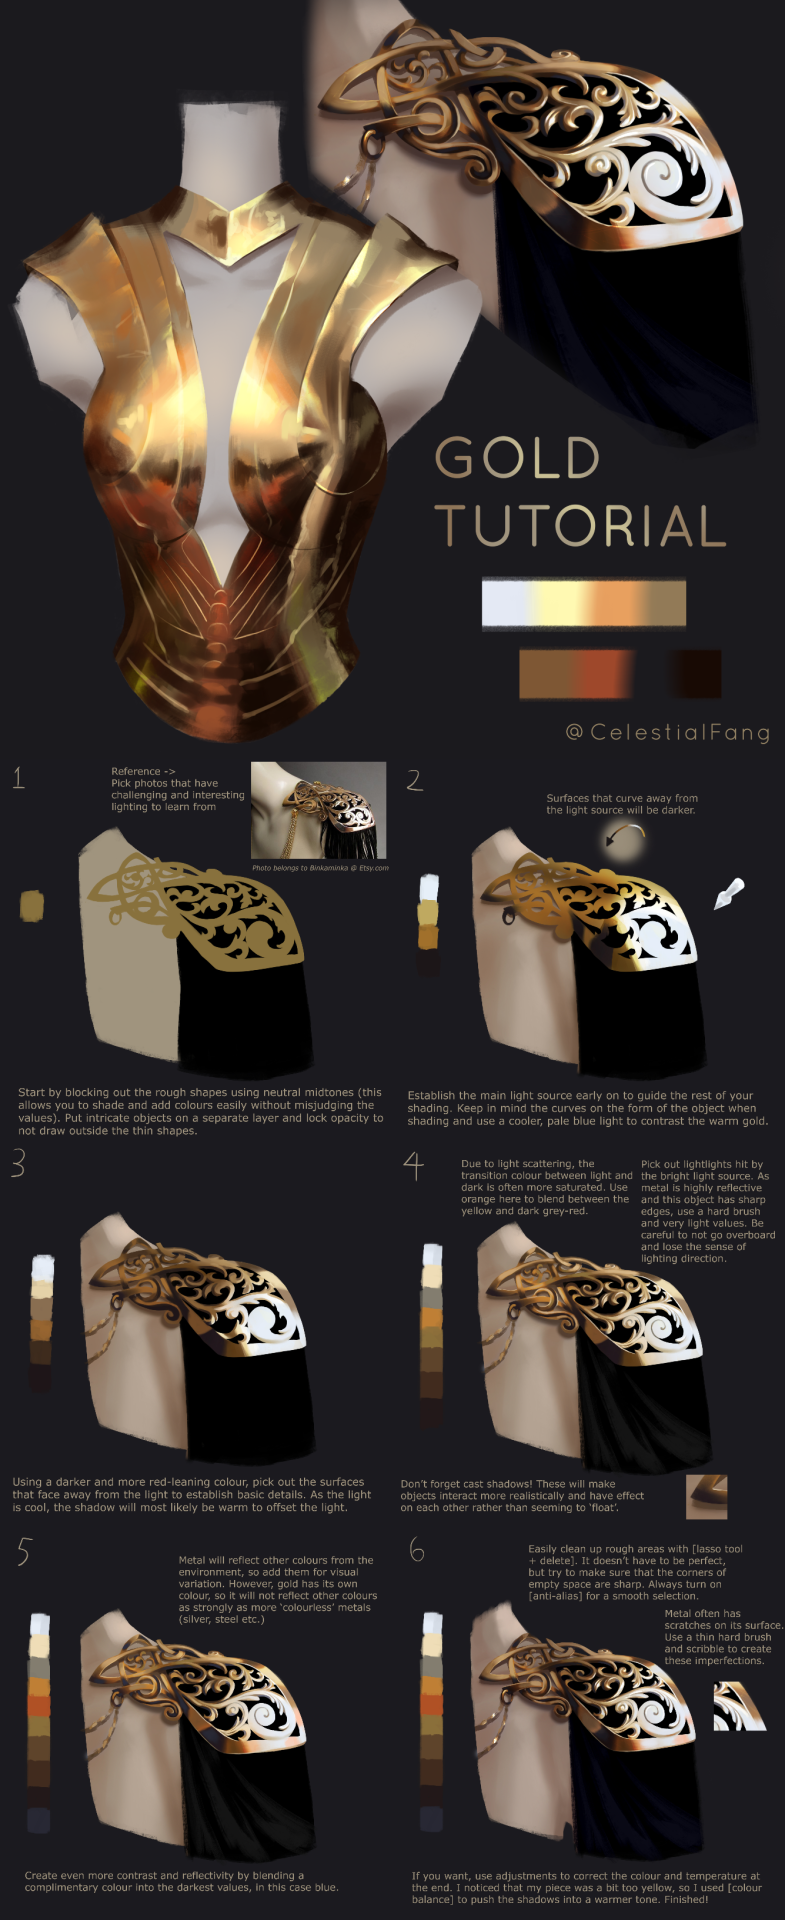
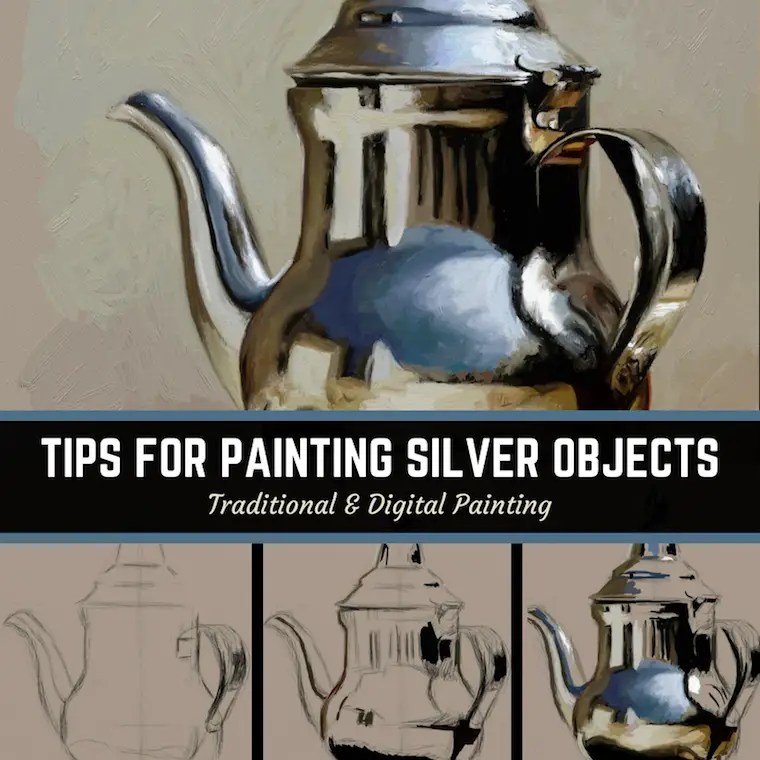
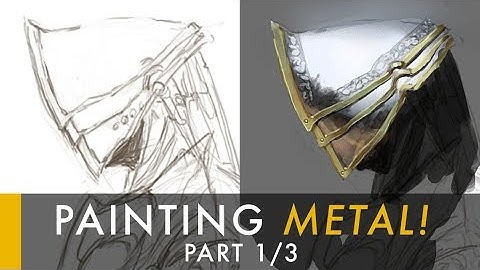
Painting Metalics

Source gold03.psd

Some Tutorials:

Art With Flow

Drawing Den

Panagis Tweets

Oil Painting Journey

Deviant Art LenamoArt

fromthewarp.blogspot.com

drawingden.tumblr.com

shellyhannafineart.com

tropicdrawing.com

Swatches: How to Paint Metal 1/3 - Shiny

Swatches: How to Paint Metal 2/3 - Old Metal

Swatches: How to Paint Metal 3/3 - Dark Metal

Best advice: Work from source. Find a photo or illustration that looks close to what you want and adapt it. Or, best option, work from life...

These three images were quickly sketched in Procreate with live subjects.

Brushes in Adobe Photoshop

Brushes in Photoshop are all built on top of software technology referred to as the "Photoshop Brush Engine," (significantly updated in CS5, 2010) which is a big chunk of computer code with about 75 settable properties that can be access through the Brush Setting panel (#3 below).

Use the:

  1. Tool Bar
  2. Brushes Window
  3. Brush Settings Window
  4. Control Bar

Initial Setup

So we're all on the same page, let's reset all of Photoshop's brushes to their initial state

  1. Close all the folders in the Brush window and shift-click on each to select them all
  2. Click on the Trashcan icon in the lower right to delete all the brushes
  1. Result
  1. Choose Restore Default Brushes... from the Brushes window upper right corner menu
  1. The brushes will be reset and re-installed

Anatomy of a Brush

First, realize that a Brush is technically any tool that's linked up with the controls in the Brushes panel. That means that not only is the Brush Tool a brush, but so are all of these:

That's 14 different tools that use the Brush Engine in Photoshop. But for our purposes, let's just consider these 4:

  1. Brush Tool
  2. Mixer Brush Tool
  3. Eraser Tool
  4. Smudge Tool

Reset Brush Settings

First, let's choose the Brush tool from the Toolbar

Next, let's pick a brush, like Soft Round from the Brushes panel

And let's break down the most relevant settings. Many of the settings are irrelevant or useless, but the most important three are:

Brush Tip Shape

Note: You can create your own brush shape by drawing it then selecting
Menu Edit Define Brush Preset...

This controls the shape of the brush. You can even capture a shape from the document window to use as a brush shape (advanced, but maybe we'll cover it later). There are 30 different tip shapes used in the Default Brushes. You can control:

Shape Dynamics

This controls the Size, Angle and Roundness of the brush. Mostly, it's what allows a brush to react to pen stylus pressure

Most pens have a sensitivity level between 0 and 1023, while some have between 0 and 2047. I don't think it's humanly possible to sense that many levels.

Transfer

Contains two important properties, Opacity and Flow. Opacity, as we know, can also be controlled with the Number keys at the top of the keyboard, and is pretty much what it sounds like. You can also think of it as Transparency, but the higher the Opacity value is, the more opaque the brush is.

Flow, on the other hand, is the amount of color the brush lays down as if moves over itself and when the brush isn't lifted off the document. Hard to explain, works best with Airbrush style brushes and a few others... Mostly, it's handy for building up color slowly with multiple passes of the brush.

Opacity set to 50, Flow set to 100%. Notice that the diagonal stroke is a second drop of the brush and you can see the layering of the opacities

Opacity set to 100, Flow set to 5%. This example is one single stroke. Notice that the color builds up and becomes more opaque at the bottom where I've used multiple passes (without lifting) of the brush.

The other Brush Settings (and there are a lot of them) are less important for now.

Using the Control Panel

The Control Panels is that widget at the top of the Photoshop UI, just under the Menus. It's context sensitive, so it gives you information and access to settable properties for the currently chosen tool. For the Brush tool it looks like this:

  1. Popup menu for Tool Presets and icon of current tool (in this case, the Brush tool)
  2. Popup menu for Brush Presets. Same as the Brush panel from the Window menu
  3. Click to open Brush Settings panel
  4. Mode of applying the brush's color. Same settings and behaviors as the Blending Mode in the Layers panel. Most are useless, but some are useful, especially:
    • Normal: the default. Used 99% of the time.
    • Darken or Multiply: Only puts down colors darker than what's underneath. Like painting with colored gelatin.
    • Lighten: Only puts down colors lighter than what's underneath
    • Screen: Builds up any color to white as it's applied over and over
  5. Opacity setting, 0-100%, 0 completely clear and 100 completely opaque. You can use the number keys to set the values from 10% to 100%, use the slider popup, or directly enter the value in the field.
  6. Toggle button to use stylus pressure to control Opacity. Overrides brush settings
  7. Flow setting, 1-100%, 1% for almost no paint being laid down to 100% for maximum flow. You can use the shift-number keys to set the values from 10% to 100%, use the slider popup, or directly enter the value in the field.
  8. Toggle button to have flow build up even if the stylus is not moving. Like an airbrush or spray paint can in reality.
  9. Smoothing setting, 0-100%. Smoothing will take the path of the stylus as it moves and make the point-to-point. 100% smoothing can cause a real time lag between drawing with the stylus and the screen updating. (0% Smoothing on the left below and 100% on the right)
  10. Additional Smoothing Options popup. Ignore this...
  11. Toggle button to use stylus pressure to control Brush Size. Overrides brush settings


Beyond Basic Brushes

Dry Media, Wet Media, & Special Effects by Kyle

Who the heck is Kyle anyway?

Kyle T. Webster is a professional illustrator whose built a massive amount of custom brushes for Adobe Photoshop. They got to be so popular that Adobe has licensed them to be built some of them into Photoshop and made hundreds more available through the Adobe Creative Cloud. It was getting to where there were so many legacy brushes in earlier versions of Photoshop that they were impossible for Adobe to maintain, so they pulled them from Photoshop CC 2018 and substitued a set of 20 brushes created by Kyle. You can activate the legacy brushes through the Brushes panel, but I wouldn't. They're a mess and badly organized. Instead, if you need a kind of brush to do a specific sort of thing, go to the Creative Cloud and download a set.

Be aware that some of the brushes in the three categories are not Brushes, but are sometimes Smudge tools, Erasers, and Mixer Brush tools (more on Mixer Brushes later).

The easiest way to get new Kyle (and other) brushes is to choose the Get More Brushes..., which will take you to the Creative Cloud. This requires a Creative Cloud account, which you may or may not have. For now, I suggest sticking with the ones that ship with Photoshop.

But if you do want Kyle's Photoshop brushes, get them from our Canvas site, here, which has the same set of brushes but also with some help pages that demo what the brushes in a given set look like.

Dry Media Brushes

Emulates traditional dry media, like pencils, charcoal, and pastels

Regular pencil. Uses paper texture

Softer pencil. Uses paper texture

Really soft pencil. Uses paper texture

Like a charcoal stick. Uses paper texture

Nice tool! Acts like a soft pastel.

Not a brush! An eraser! Check out the icon in the upper right.

Wet Media Brushes

Emulates traditional wet media, like water color, oil and acrylic paints

Like a thick nibbed pen

Similar to previous, but with some paper texture

Not a brush but a blender! Very useful.
 

Has a beat-up brush texture

Thick goopy brush texture

Interesting. Gives a very Painterly effect.

Special Effects Brushes

A catch-all category for things that sort of don't exist in the real world, like Spatter, Foliage, Scratch, and Screentones.

Legacy Brushes

Photoshop still has all it's old brushes, but you have to explicitly load them into Photoshop to use them. You don't need a Creative Cloud account to access them, either. There are two sets, both found under the popup menu in the Brushes panel: Converted Legacy Tool Presets and Legacy Brushes. I'm not sure why there are two sets, but you have to seperately load them if you want to use them.

To load them, just pick them from the popup menu and click on the OK button in the dialog that appears:

This effectively gives you 624 new brushes (!), divided into two folders, Converted Legacy Tool Presets and Legacy Brushes, within which are multiple folders with multiple brushes. Probably 90% are useless.

Converted legacy tool presets (144)

Default Tool Preset (23)
Airbrushes (14)
Art History (17)
Artist's Brushes (24)
Brushes (16)
DP Brushes (10)
Dry Media (15)
Pencil Brushes (7)
Pencils Mixer Brush (13)
Splatter Brush Tool Presets (5)

legacy
brushes (480)

Default Brushes (76!)
Assorted Brushes (34)
Basic Brushes (44)
Calligraphic Brushes (18)
DP Brushes (6)
Drop Shadow Brushes (20)
Dry Media Brushes (24)
Faux Finish (23)
Legacy Brushes (34)
M Brushes (51)
Natural Brushes (24)
Natural Brushes 2 (20)
Round Brushes with Size (27)
Special Effect Brushes (14)
Square Brushes (5)
Thick Heavy Brushes (25)
Wet Media Brushes (35)


Important Keyboard Shortcuts for Brushes

Remember these, life will be much easier when you use them...

b Switch to Brush Tool
e Switch to Eraser Tool. You can also turn the Wacom Stylus around and use the large tip as an eraser.
Option/Alt Hold for Eyedropper Tool to pick up colors
[ & ] Make brush size larger and smaller
{ & } (Shift left and right brackets) Make brush hardness softer and firmer
1 - 9 Set opacity of brush from 10% to 90%
0 Set opacity of brush to 100
Shift & 1 - 9 Set flow of brush from 10% to 90%
Shift & 0 Set flow of brush to 100
Control/Ctrl + Option/Alt (Mac only) Drag horizontal to change size, drag vertical to change opacity. Works with Eraser too, but vertical drag changes hardness instead of opacity. This can be a handy one to set the Wacom Stylus's button to.
Ctrl + Alt (Windows only) Same as Mac control+option, but use the right mouse button to click and drag.
< - > Steps through Brush types. Easy to screw up and doesn's always display correctly in the Brushes panel. But if you're switch between 2 or 3 brushes alot, you can re-order the brushes in the Brush window by dragging them to where you want them, then usethe < - > keys to step between them.
Caps Lock Switch brush cursor from the size of brush (caps lock off) to precision cursor (caps lock on)
Spacebar Switch to Hand tool while held down
h Switch to Hand tool and zooms out so you can move to another part of the image quickly. When you release the h key, it will zoom back in to the new area. Different than the spacebar tool, which will move the canvas, but not zoom in and out.
Command/Control Switch to Move tool while held down and moves the current layer

Assignment 5: Color Brush

Specs

Photoshop Brush Videos

YouTube playlist

Sinix Design - Painting Like A Sculptor

Sinix Design - The Best Brush for Digital Painting

Adobe MAX seminar with Kyle T. Webster (1hr)

Make Your Own Damn Brushes. Boro Drawing

How to Use the Brush Tool in Photoshop | Day 9, PHLEARN
A good basic review of using brushes

My Photoshop Brushed YouTube Playlist with 13 videos