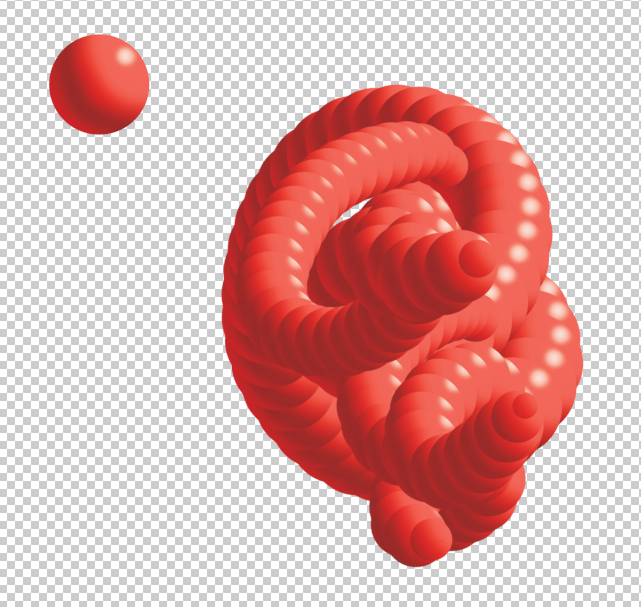
WARNING: This will be a deep and nerdy dive into the way Photoshop makes brushes.
A Word About Experimentation
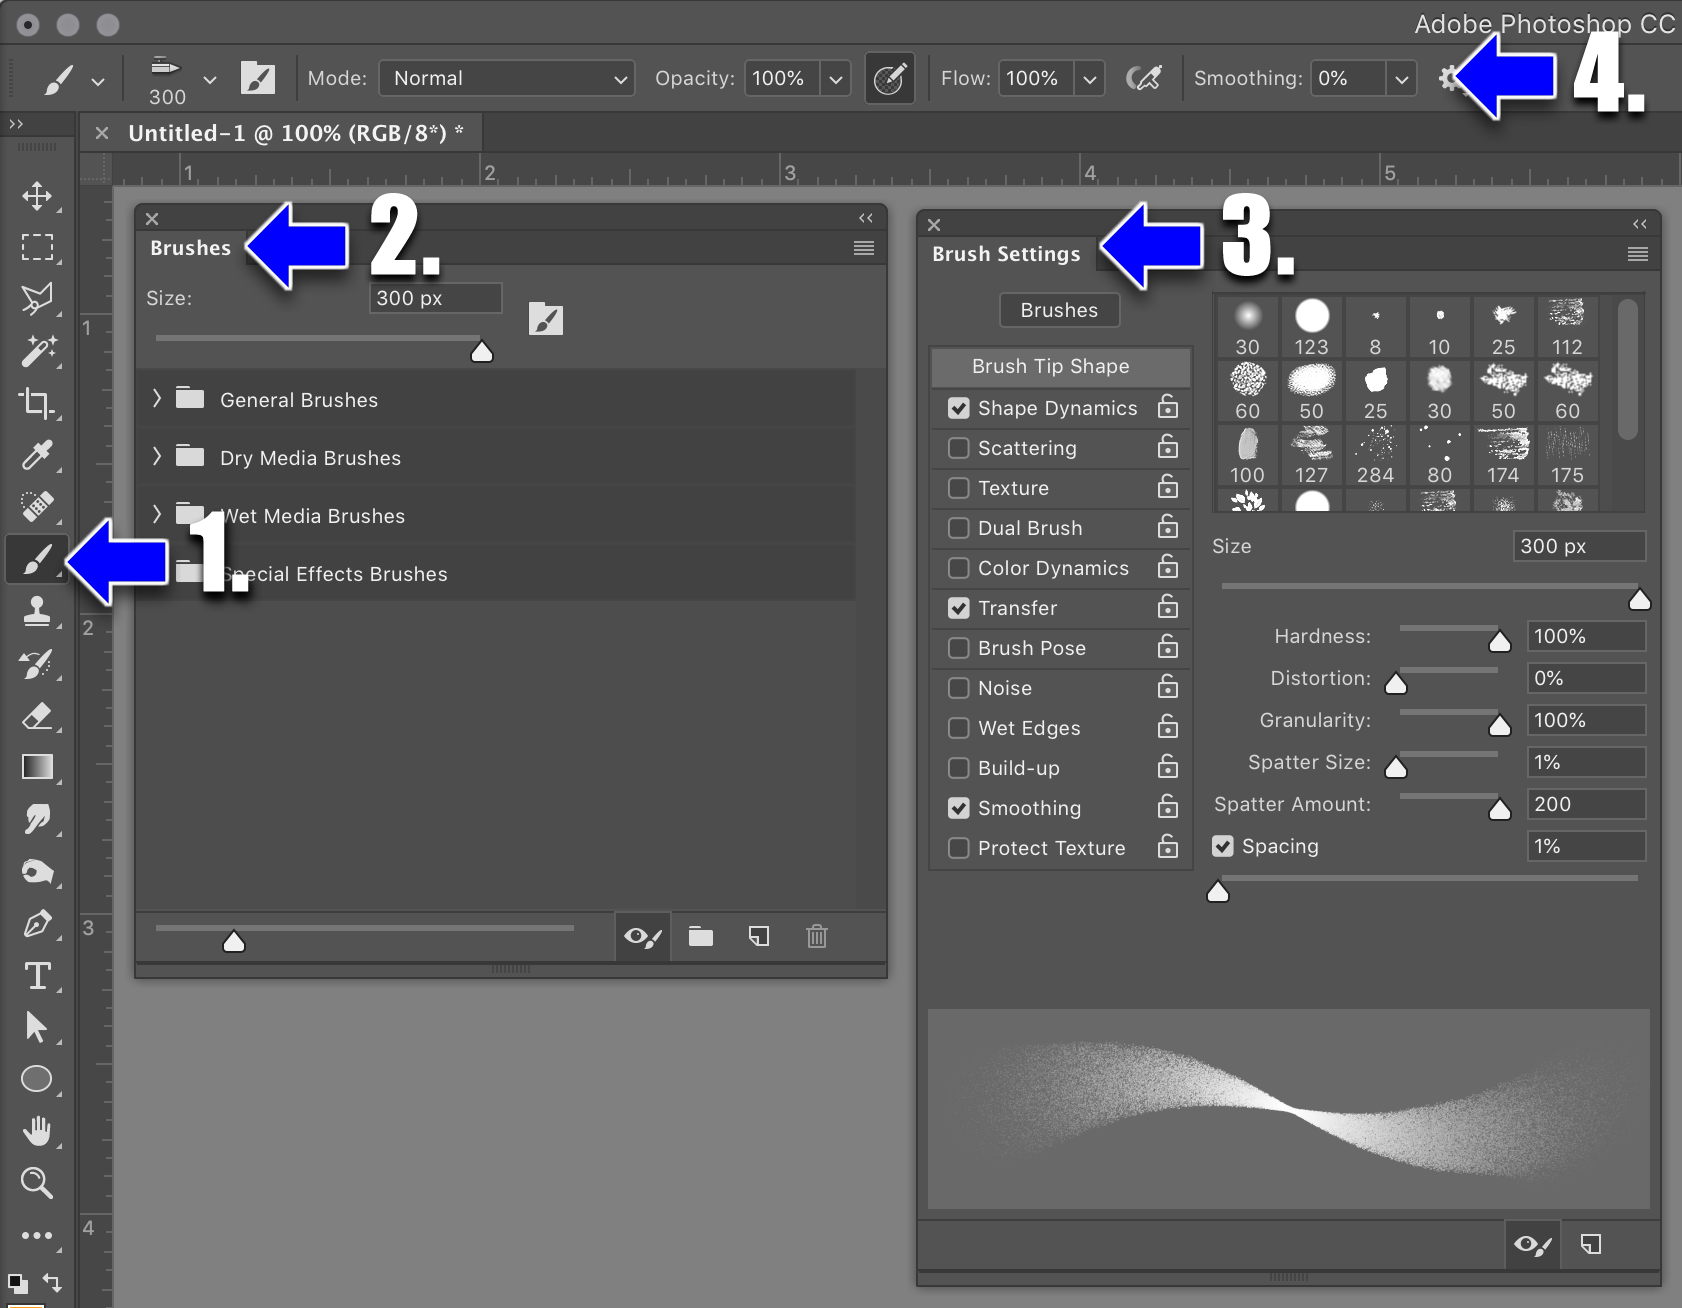
Brushes in Photoshop are all built on top of software technology referred to as the "Photoshop Brush Engine," (significantly updated in CS5, 2010) which is a big chunk of computer code with about 75 set-able properties that can be accessed through the Brush Setting panel (#3 below).
Use the:
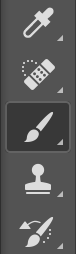
Tool Bar
To select the Brush tool
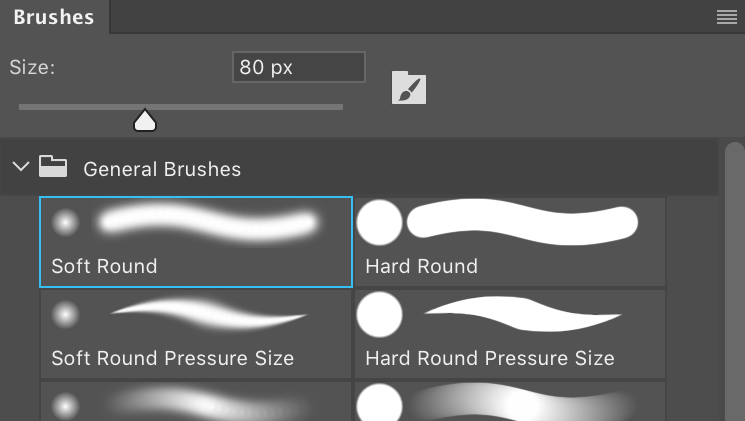
Brushes Window
To find a specific brush once the brush tool is selected
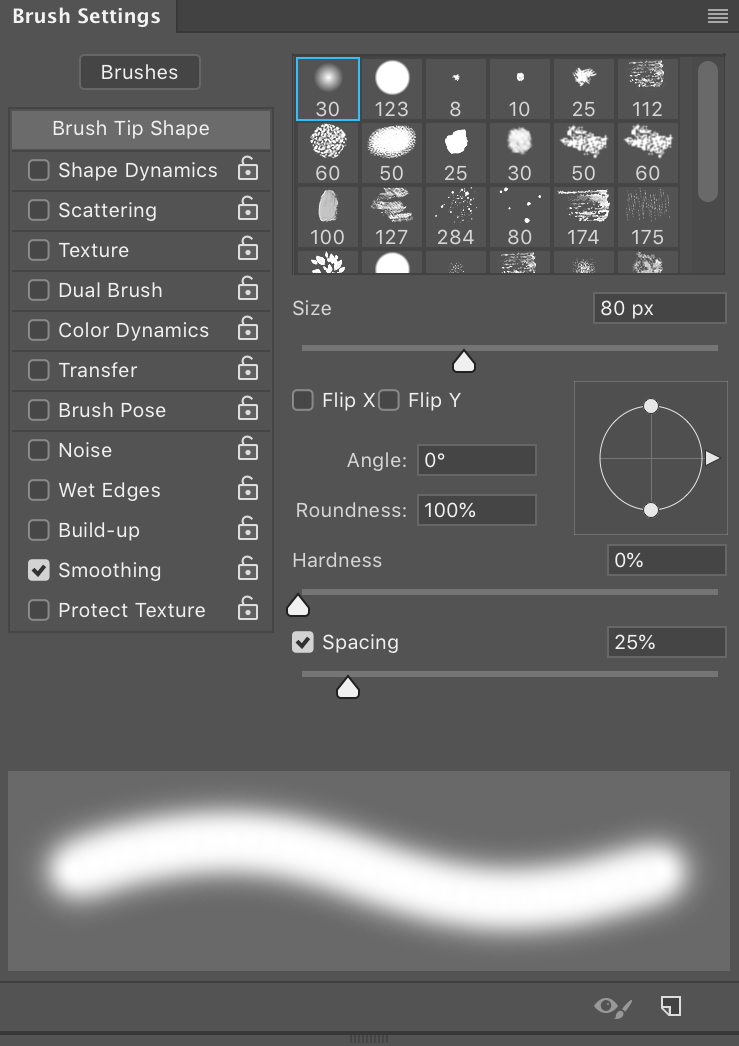
Brush Settings Window
To control the brush's behavior at a very precise level
Control Bar
To control certain aspects of the brush's behavior
Initial Setup
So we're all on the same page, let's reset all of Photoshop's brushes to their initial state
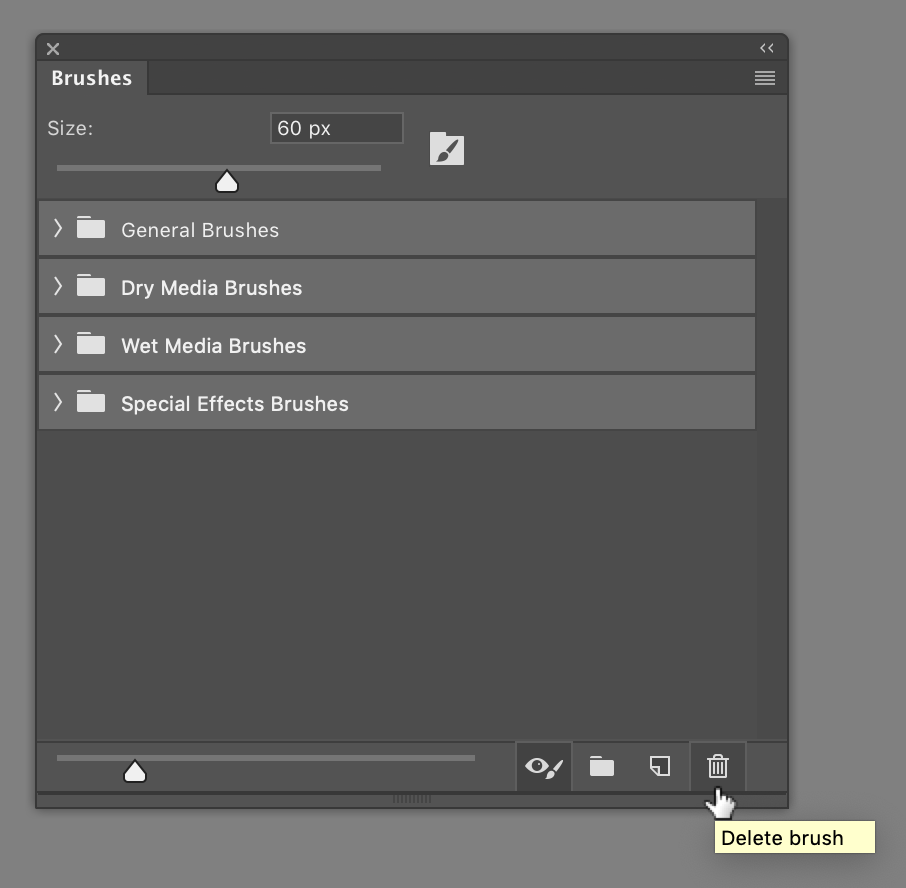
Close all the folders in the Brush window and shift-click on each to select them all
Click on the Trashcan icon in the lower right to delete all the brushes
If you have created brushes on your own, don't select those if you want to keep them
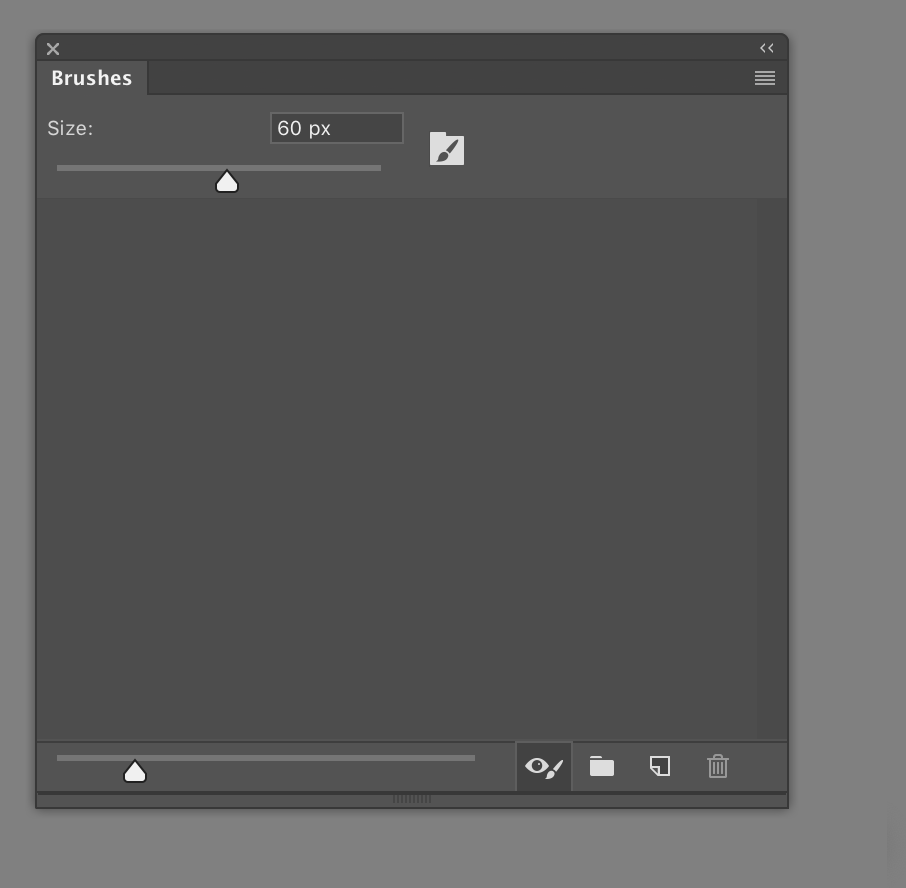
Result
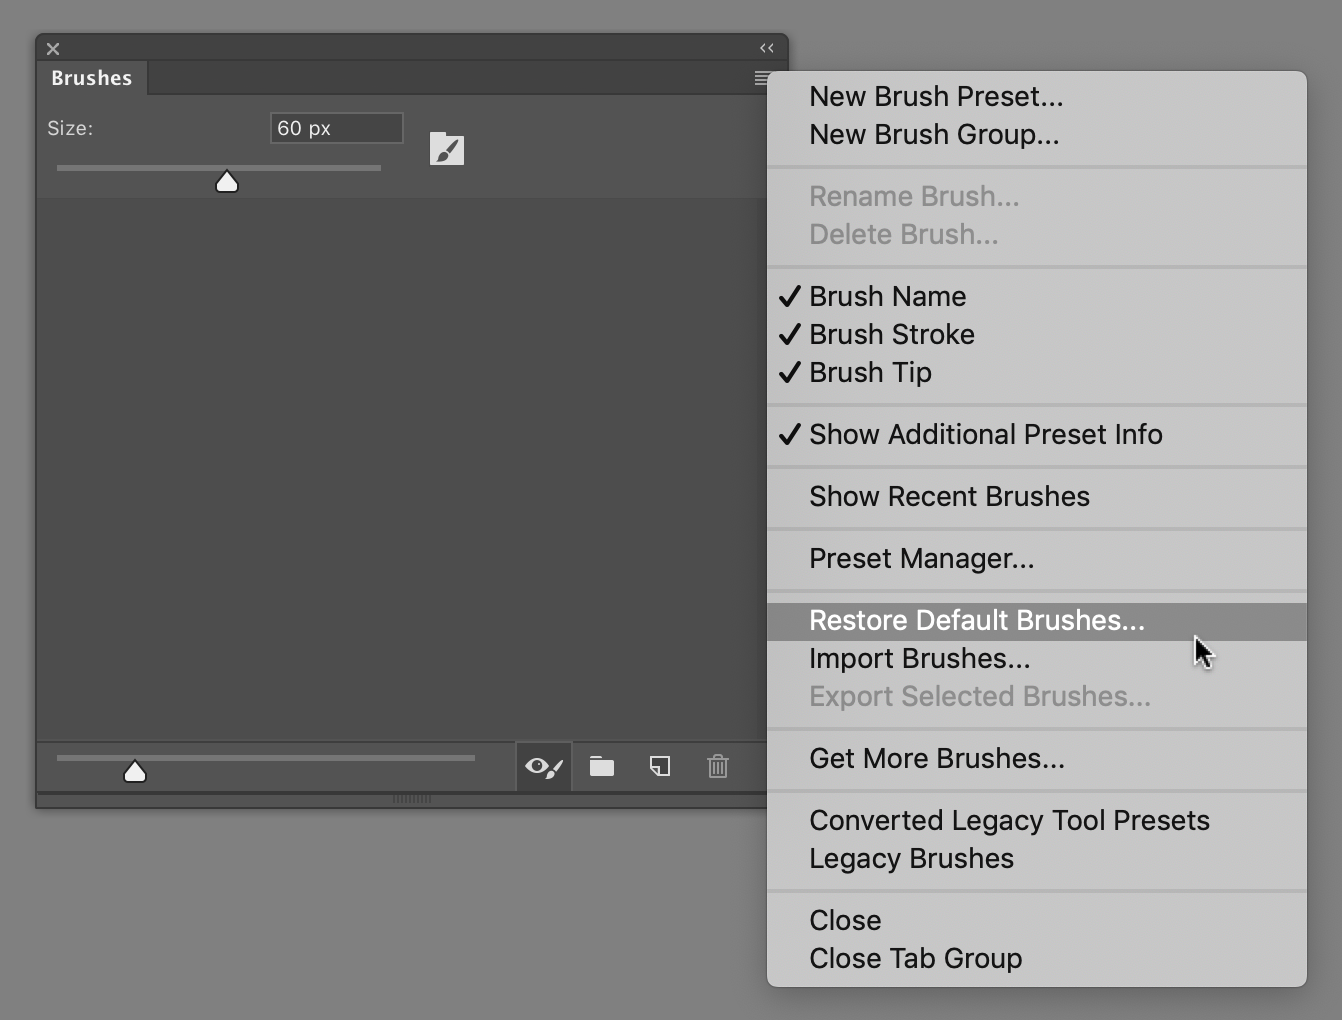
Choose Restore Append Default Brushes... from the Brushes window upper right corner menu
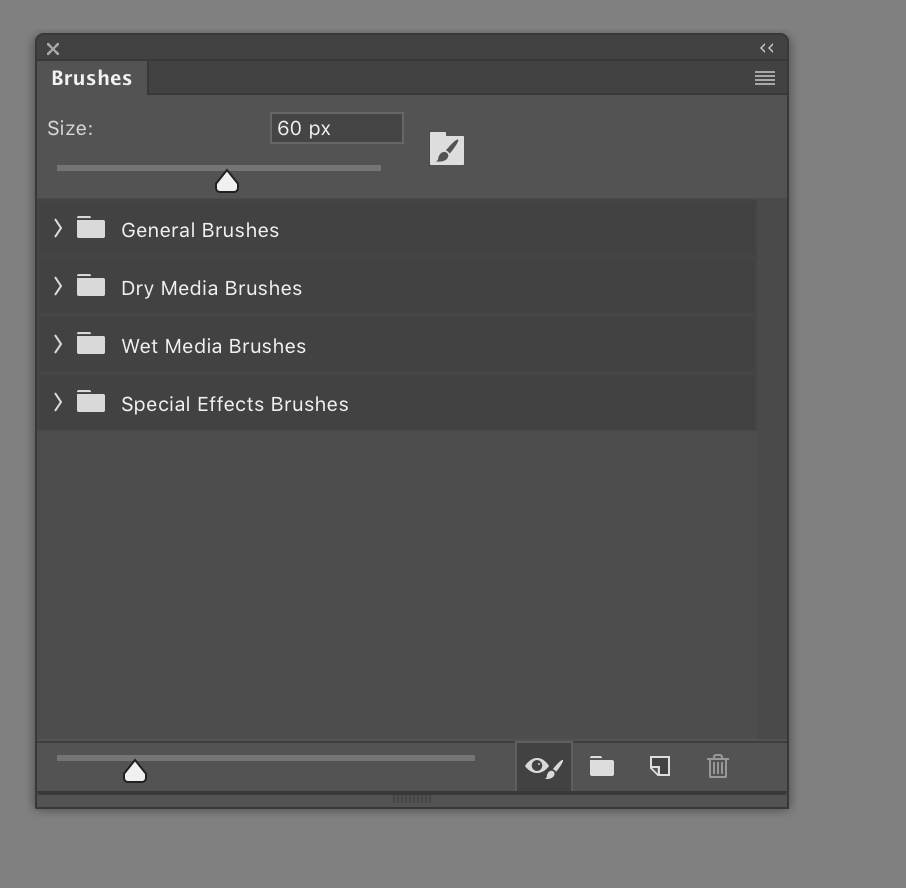
The brushes will be reset and re-installed
Please do this before we continue. Brushes in Photoshop are easy to mess up and break. We'll learn later on how to create custom brushes and save them.
Anatomy of a Brush
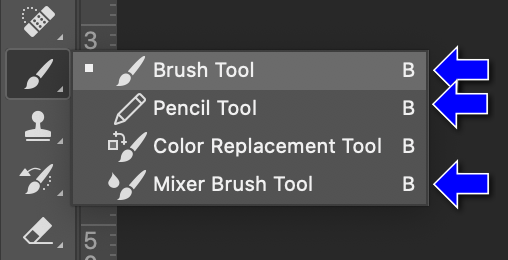
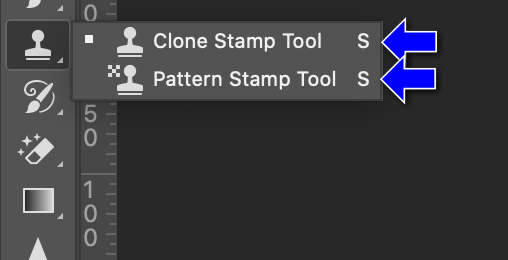
First, realize that a Brush is technically any tool that's linked up with the controls in the Brushes panel. That means that not only is the Brush Tool a brush, but so are all of these:
Brush Tool
Pencil Tool (Basically a quick way of choosing a small brush)
Not the rarely used (read, useless) Color Replacement Tool
Mixer Brush Tool (Very Cool!)
Clone Stamp Tool
Pattern Stamp Tool
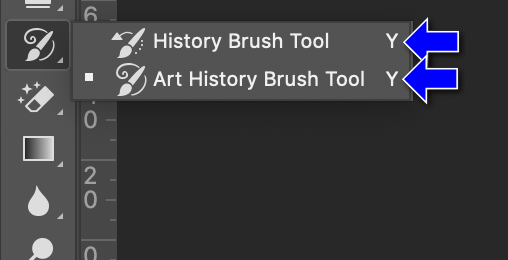
History Brush Tool
Art History Brush Tool
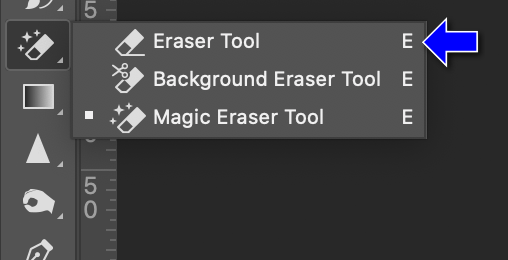
Eraser Tool
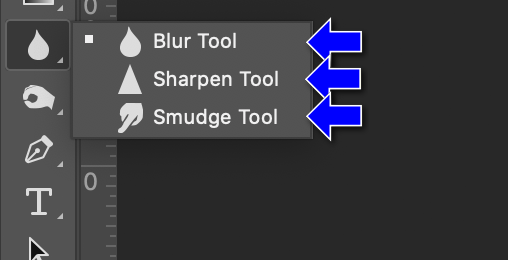
Blur Tool
Sharpen Tool
Smudge Tool
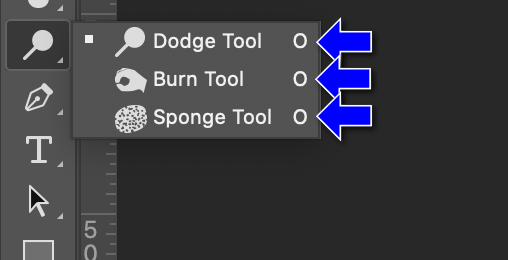
Dodge Tool (Lighten and decrease contrast)
Burn Tool (Darken and increase contrast)
Sponge Tool (Desaturator)
That's 14 different tools that use the Brush Engine in Photoshop. But for our purposes, let's just consider these 4:
Brush Tool
Mixer Brush Tool
Eraser Tool
Smudge Tool
Reset Brush Settings
First, let's choose the Brush tool from the Toolbar
Next, let's pick a brush, like Soft Round from the Brushes panel
And let's break down the most relevant settings. Many of the settings are irrelevant or useless, but the most important three are:
Brush Tip Shape
Shape Dynamics
Transfer
Brush Tip Shape
Note: You can create your own brush shape by drawing it then selecting Menu Edit Define Brush Preset...
This controls the shape of the brush. You can even capture a shape from the document window to use as a brush shape. There are 30 different tip shapes used in the Default Brushes. You can control:
Default Size
Overridden by the [ and ] keys, which increment and decrement the size thustly:
1,2,3,4,5,6,7,8,9,10,then
15,20,25,30,35,40,45,50,then
60,70,80,90,100 then
125,150,175,200 then
250,300,then
400,500,600...5,000 (in 100 unit steps)
Also overridden by Control+Option (Mac) Alt+Right Mouse (Win) Drag left/right
Unlike other properties, Size is not usually set as a part of the brushes properties, so when you return to the brush after using another, it will be the last size it got set to
Pixel size of the brush is dependent on the PPI of the image. A 100pixel brush will be like using a 1inch brush on physical media when the PPI is set to 100 Pixels Per Inch. It the PPI is 50 Pixels Per Inch, then a 100pixel brush will be like using a 2 inch brush on physical media
Roundness and Angle
Controls the aspect ratio or thick & thinness of the brush tip shape. Can be flipped with the two check boxes.
Default Hardness
How soft or hard the edge of the brush tip shape is. 0% is as soft as possible, 100% the hardest
Override with the { and } keys which increment 0, 25%, 50%, 75%, 100%
Or with Control+Option (Mac) Alt+Right Mouse (Win) Drag left/right
Spacing
The distance between imprints of the brush tip shape, in percent of the tip's size. 1% minimum is as close as they can be set together, 1000% the maximum.
Shape Dynamics
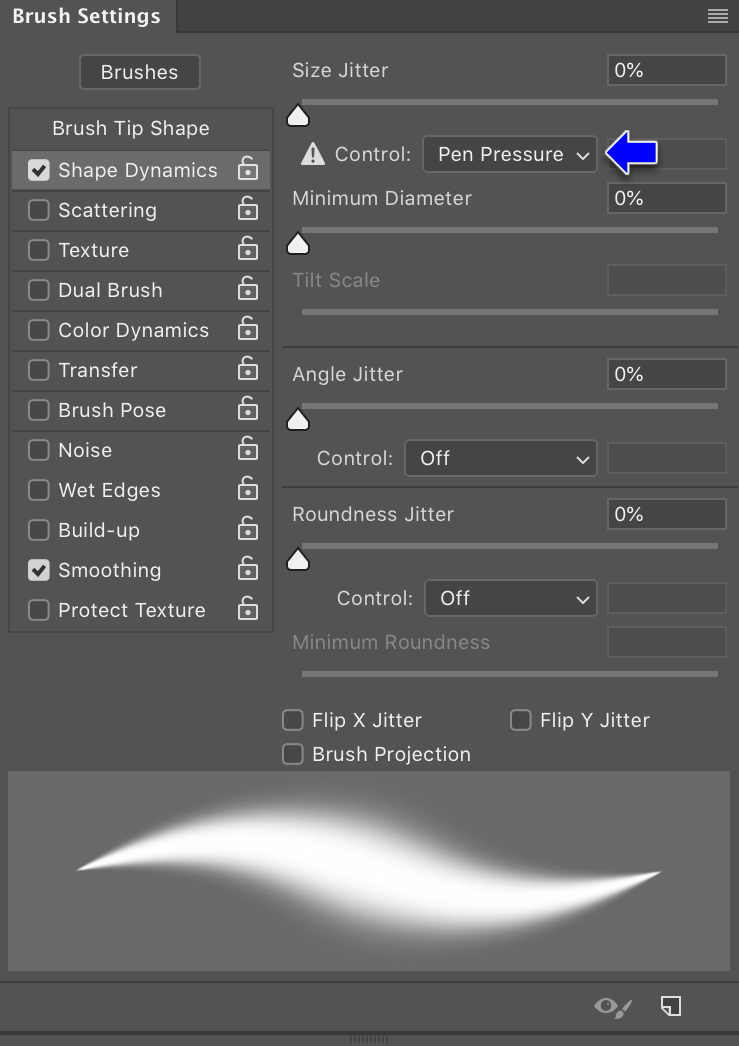
This controls the Size, Angle and Roundness of the brush. Mostly, it's what allows a brush to react to pen stylus pressure
Size Jitter
Jitter is an important concept in Photoshop brushes. It's what gives a sense of randomness and non-computerness to a given property. In essence, it randomly changes the value of a property. Measured as a percentage of the maximum range (sort of).
Size Control (first Control popup)
Popup menu to select the control method for the Size of the brush tip shape. You can choose from Off, Fade, Pen Pressure, Pen Tilt, and Stylus Wheel
Fade: Let's the brush size fade out as the line is drawn out
Pen Pressure: The most common use for a graphic tablet. The harder you press the stylus, the more the brush property changes.
Most pens have a sensitivity level between 0 and 1023, while some have between 0 and 8192. I don't think it's humanly possible to sense that many levels, so don't spend extra money for that feature.
Pen Tilt: Most tablets can give feedback on the tilted angle of the stylus relative to its surface, from 90° to around 40°. This can be used by Photoshop as a control. Personally, I've never been able to make it useful
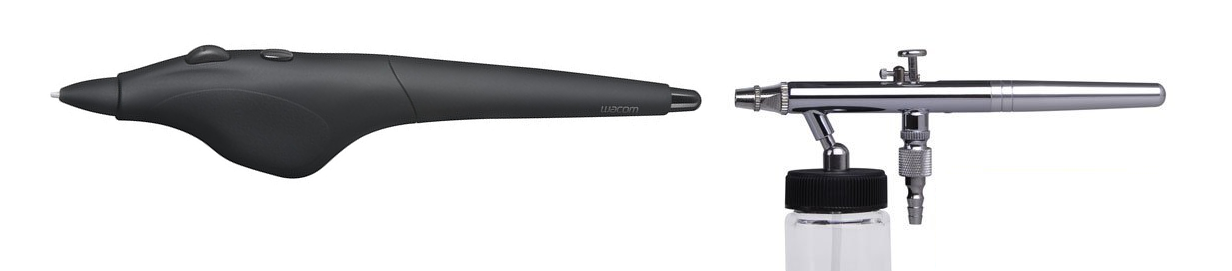
Stylus Wheel: Wacom makes a stylus that has a wheel built into it like the scroll wheel on a mouse (on the left). Made to act like a traditional airbrush (on the right). And I suppose you could use the mouse's wheel, but then you loose pressure sensitivity
Minimum Diameter
The diameter of the brush when the lightest pen pressure is applied
Tilt Scale
Only available if the Control of the Size is set to Pen Tilt
Angle Jitter and Angle Control
Usually the Control of the Angle is set to the Pen Tilt control. I've never been able to get the hang of it...
Roundness Jitter and Roundness Control
You could use pen pressure for this, but it's mostly useless
Transfer
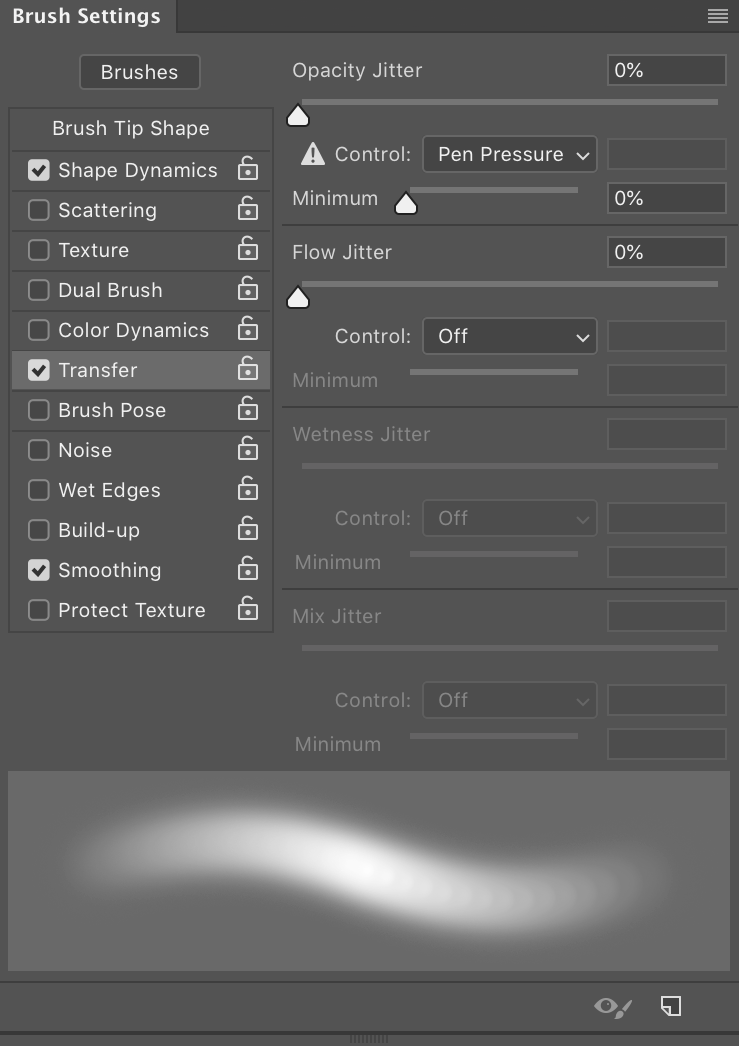
Contains two important properties, Opacity and Flow. Opacity, as we know, can also be controlled with the Number keys at the top of the keyboard, and is pretty much what it sounds like. You can also think of it as Transparency, but the higher the Opacity value is, the more opaque (and less transparent) the brush is.
Flow, on the other hand, is the amount of color the brush lays down as if moves over itself and when the brush isn't lifted off the document. Hard to explain, works best with Airbrush style brushes and a few others... Mostly, it's handy for building up color slowly with multiple passes of the brush, but without the need to release the brush with each pass.
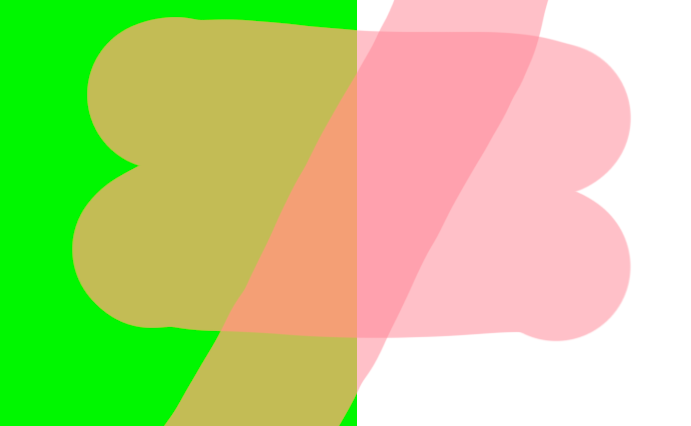
Opacity set to 50, Flow set to 100%. Notice that the diagonal stroke is a second drop of the brush and you can see the layering of the opacities
Opacity set to 100, Flow set to 5%. This example is one single stroke. Notice that the color builds up and becomes more opaque at the bottom where I've used multiple passes (without lifting) of the brush.
The other Brush Settings (and there are a lot of them) are less important for now.
Using the Control Panel
The Control Panels is that widget at the top of the Photoshop UI, just under the Menus. It's context sensitive, so it gives you information and access to settable properties for the currently chosen tool. For the Brush tool it looks like this:
Popup menu for Tool Presets and icon of current tool (in this case, the Brush tool)
Popup menu for Brush Presets. Same as the Brush panel from the Window menu
Click to open Brush Settings panel
Mode of applying the brush's color. Same settings and behaviors as the Blending Mode in the Layers panel. Most are useless, but some are useful, especially:
Normal: the default. Used 99% of the time.
Darken or Multiply: Only puts down colors darker than what's underneath. Like painting with colored gelatin.
Lighten: Only puts down colors lighter than what's underneath
Opacity setting, 0-100%, 0 completely clear and 100 completely opaque. You can use the number keys to set the values from 10% to 100% (1 for 10% to 9 for 90%, with 0 for 100%), use the slider popup, or directly enter the value in the field. The number key for opacity shortcut is very useful.
Toggle button to use stylus pressure to control Opacity. Overrides brush settings
Flow setting, 1-100%, 1% for almost no paint being laid down to 100% for maximum flow. You can use the shift-number keys to set the values from 10% to 100%, use the slider popup, or directly enter the value in the field.
Toggle button to have flow build up even if the stylus is not moving. Like an airbrush or spray paint can in reality.
Smoothing setting, 0-100%. Smoothing will take the path of the stylus as it moves and make the point-to-point. 100% smoothing can cause a real time lag between drawing with the stylus and the screen updating. (0% Smoothing on the left below and 100% on the right). I don't set this very high as it overrides the artist's hand.
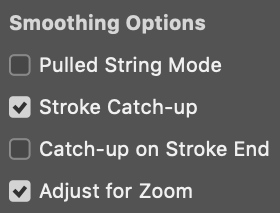
Additional Smoothing Options popup. Ignore this...if you set the smoothing value low you don't need to change the default.
Toggle button to use stylus pressure to control Brush Size. Overrides brush settings. You can have both pressure-size and pressue-opacity on at the same time.
Beyond Basic Brushes
Dry Media, Wet Media, & Special Effects by Kyle
Who the heck is Kyle anyway?
Kyle T. Webster is a professional illustrator whose built a massive amount of custom brushes for Adobe Photoshop. They got to be so popular that Adobe has licensed them to be built some of them into Photoshop and made hundreds more available through the Adobe Creative Cloud. It was getting to where there were so many legacy brushes in earlier versions of Photoshop that they were impossible for Adobe to maintain, so they pulled them from Photoshop CC 2018 and substitued a set of 20 brushes created by Kyle. You can activate the legacy brushes through the Brushes panel, but I wouldn't. They're a mess and badly organized. Instead, if you need a kind of brush to do a specific sort of thing, go to the Creative Cloud and download a set.
Be aware that some of the brushes in the three categories are not Brushes, but are sometimes Smudge tools, Erasers, and Mixer Brush tools (more on Mixer Brushes later).
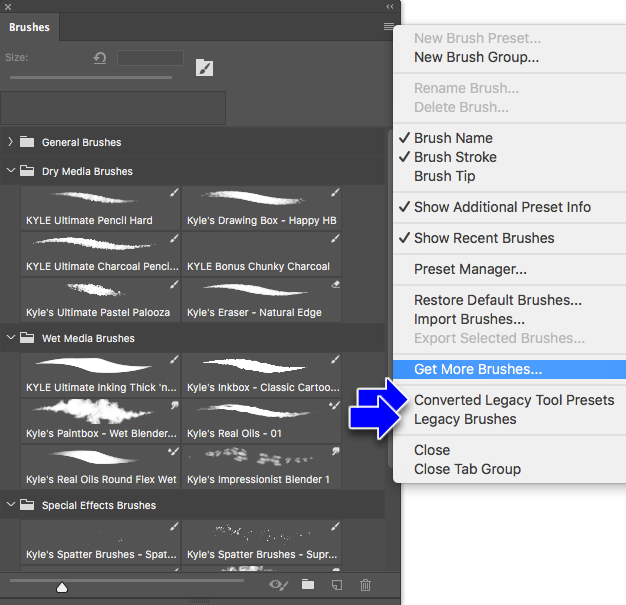
The easiest way to get new Kyle (and other) brushes is to choose the Get More Brushes..., which will take you to the Creative Cloud. This requires a Creative Cloud account, which you may or may not have. For now, I suggest sticking with the ones that ship with Photoshop.
But if you do want Kyle's Photoshop brushes, get them from Adobe here.
Dry Media Brushes
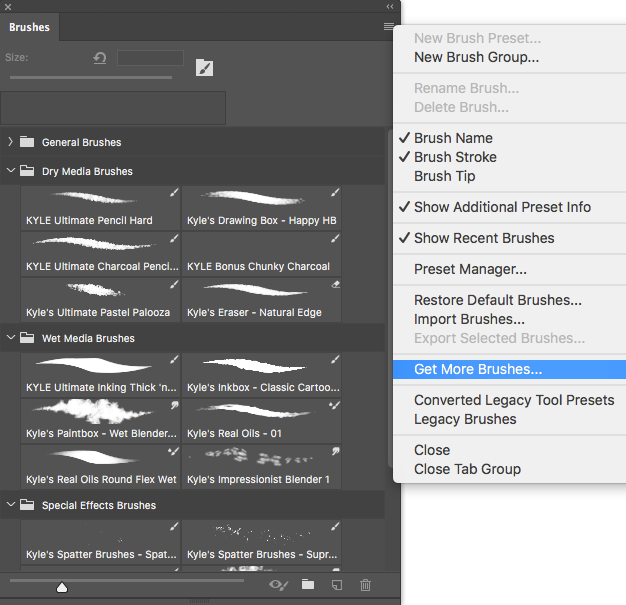
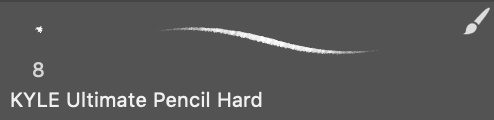
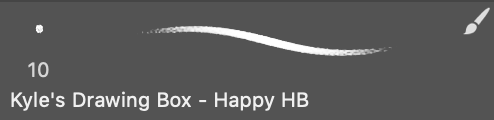
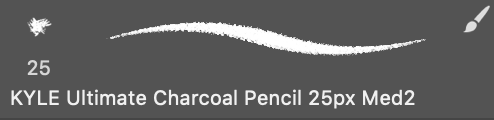
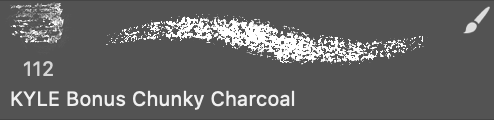
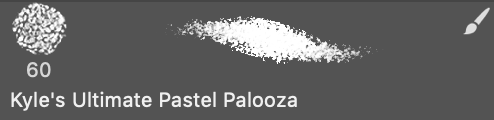
Emulates traditional dry media, like pencils, charcoal, and pastels
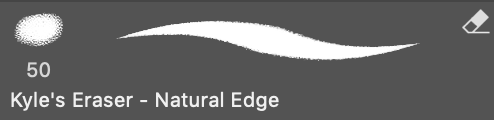
Not a brush! An eraser! Check out the icon in the upper right.
Wet Media Brushes
Emulates traditional wet media, like water color, oil and acrylic paints
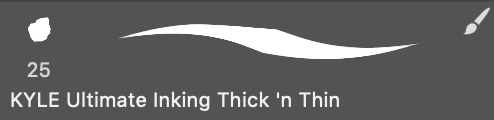
Like a thick nibbed pen
Similar to previous, but with some paper texture
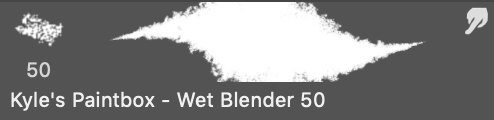
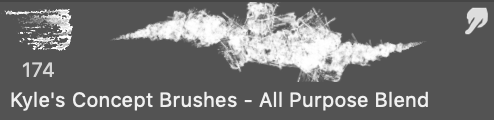
Not a brush but a blender! Very useful.
Has a beat-up brush texture
Thick goopy brush texture
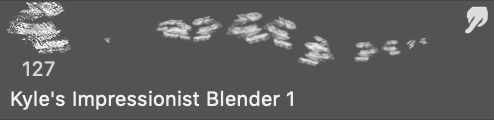
Interesting. Gives a very Painterly effect.
Special Effects Brushes
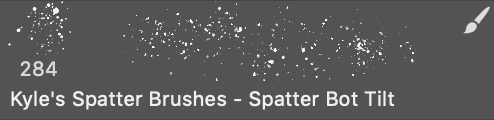
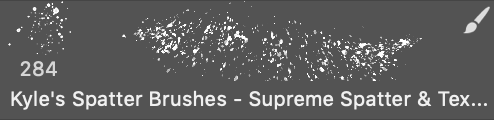
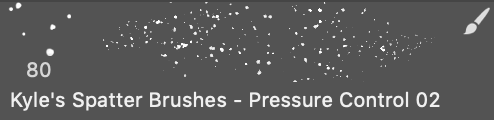
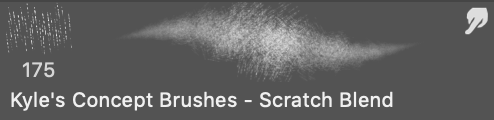
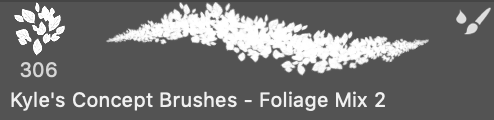
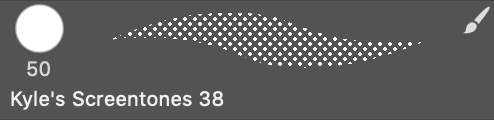
A catch-all category for things that sort of don't exist in the real world, like Spatter, Foliage, Scratch, and Screentones.
Legacy Brushes
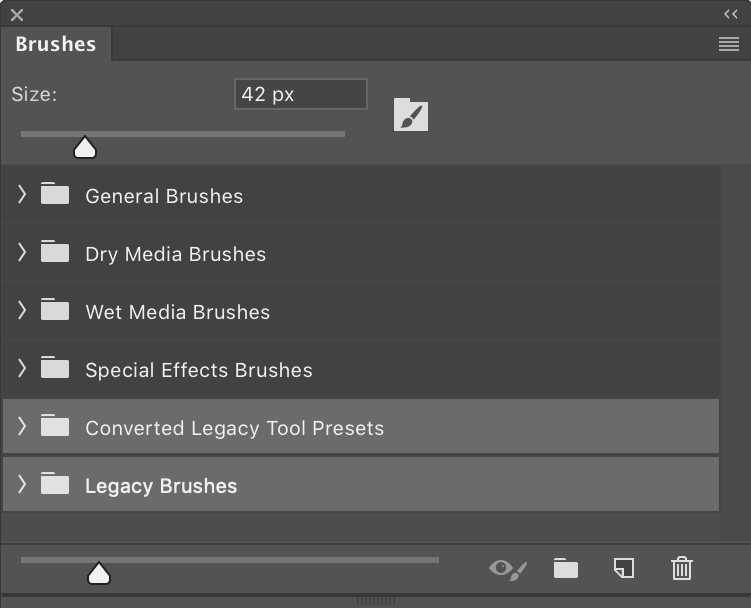
Photoshop still has all it's old brushes, but you have to explicitly load them into Photoshop to use them. You don't need a Creative Cloud accounto to access them, either. There are two sets, both found under the popup menu in the Brushes panel: Converted Legacy Tool Presets and Legacy Brushes. I'm not sure why there are two sets, but you have to seperately load them if you want to use them.
To load them, just pick them from the popup menu and click on the OK button in the dialog that appears:
Better than average brushes Don't waste your time brushes
This effectively gives you 624 new brushes (!), divided into two folders, Converted Legacy Tool Presets and Legacy Brushes, within which are multiple folders with multiple brushes. Probably 90% are useless.
Default Brushes (76!) Assorted Brushes (34) Basic Brushes (44) Calligraphic Brushes (18) DP Brushes (6) Drop Shadow Brushes (20) Dry Media Brushes (24) Faux Finish (23) Legacy Brushes (34) M Brushes (51) Natural Brushes (24) Natural Brushes 2 (20) Round Brushes with Size (27) Special Effect Brushes (14) Square Brushes (5) Thick Heavy Brushes (25) Wet Media Brushes (35)
Important Keyboard Shortcuts for Brushes
Remember these, life will be much easier when you use them...
b
Switch to Brush Tool
e
Switch to Eraser Tool. You can also turn the Wacom Stylus around and use the large tip as an eraser.
option
Hold for Eyedropper Tool to pick up colors
[ & ]
Make brush size larger and smaller
{ & }
(Shift left and right brackets) Make brush hardness softer and firmer
1 - 9
Set opacity of brush from 10% to 90%
0
Set opacity of brush to 100
control + option
(Mac only) Drag horizontal to change size, drag vertical to change opacity. Works with Eraser too, but vertical drag changes hardness instead of opacity. This can be a handy one to set the Wacom Stylus's button to.
control + alt
(Windows only) Same as Mac control+option, but use the right mouse button to click and drag.
<, - >.
Steps through Brush types. Easy to screw up and doesn's always display correctly in the Brushes panel. But if you're switch between 2 or 3 brushes alot, you can re-order the brushes in the Brush window by dragging them to where you want them, then usethe < - > keys to step between them.
Caps Lock
Switch brush cursor from the size of brush (caps lock off) to precision cursor (caps lock on)
spacebar
Switch to Hand tool while held down
h
Switch to Hand tool and zooms out so you can move to another part of the image quickly. When you release the h key, it will zoom back in to the new area. Different than the spacebar tool, which will move the canvas, but not zoom in and out.
Command/Control
Switch to Move tool while held down and moves the current layer
Organizing Your Brushes
If you have a few brushes you use a lot, it's a good idea to organize them into a separate folder in the Brushes panel. But if you drag a brush from one brush folder to another, there is no 'Duplicate' or 'Copy' brush option, so you have to select the brush you want, click on the + button (essentially the same thing as Duplicate), name it appropriately, then move the new brush into your brush folder. Silly, it should just be option-drag. What you don't want to have happen is to move a brush from a collection to a personal folder without copying the original first. Also, there is no 'Undo' function for actions in windows.
Mixer Brushes
The Mixer Brush is a specific Brush tool that's at the bottom of the Tool menu's Pop Up menu for Brushes. It's crazy hard to understand, but here's the jist of how it works...
Mixer brushes can pick up colors underneath them from what's already painted, and the amount to which it does that is controlled with the Mix settings. When the Load Brush After Each Stroke is off, it's a blender brush that doesn't apply its own color.
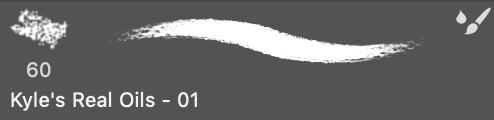
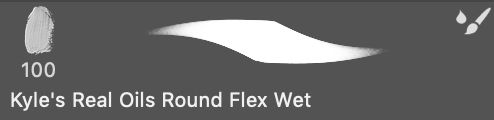
You're probably better off working with existing Mixer brushes, like the one above, Default Wet Media Brushes: Kyle's Real Oils - 01 (which feels like a stiff bristle oil brush) or Default Wet Media Brushes: Kyle's Real Oils Round Flex Wet (which is a bit more goopy). A useful technique is to pair two Mixer brushes together that look sort of the same, but one is for applying color and the other for mixing it. Download these MART325-Real_Oils_Paired.abr from
the Megapack, Real Oils: Illustration King and Bristle Blender (no load).
Crazy Mixer Brush
Taken from Aaron Blaise, who has a nice demo of this on
YouTube that does some neat foliage work.
Settings:
Make a ball with a solid circle, locked transparent pixels, airbrush
Choose Mixer Brush with Hard Round Brush type
Set size of brush to size of ball
Set Control Panel > Current Brush Load to "Load Brush" (icon right of Brush folder icon)
Make sure "Load Solid Colors Only" is not checked
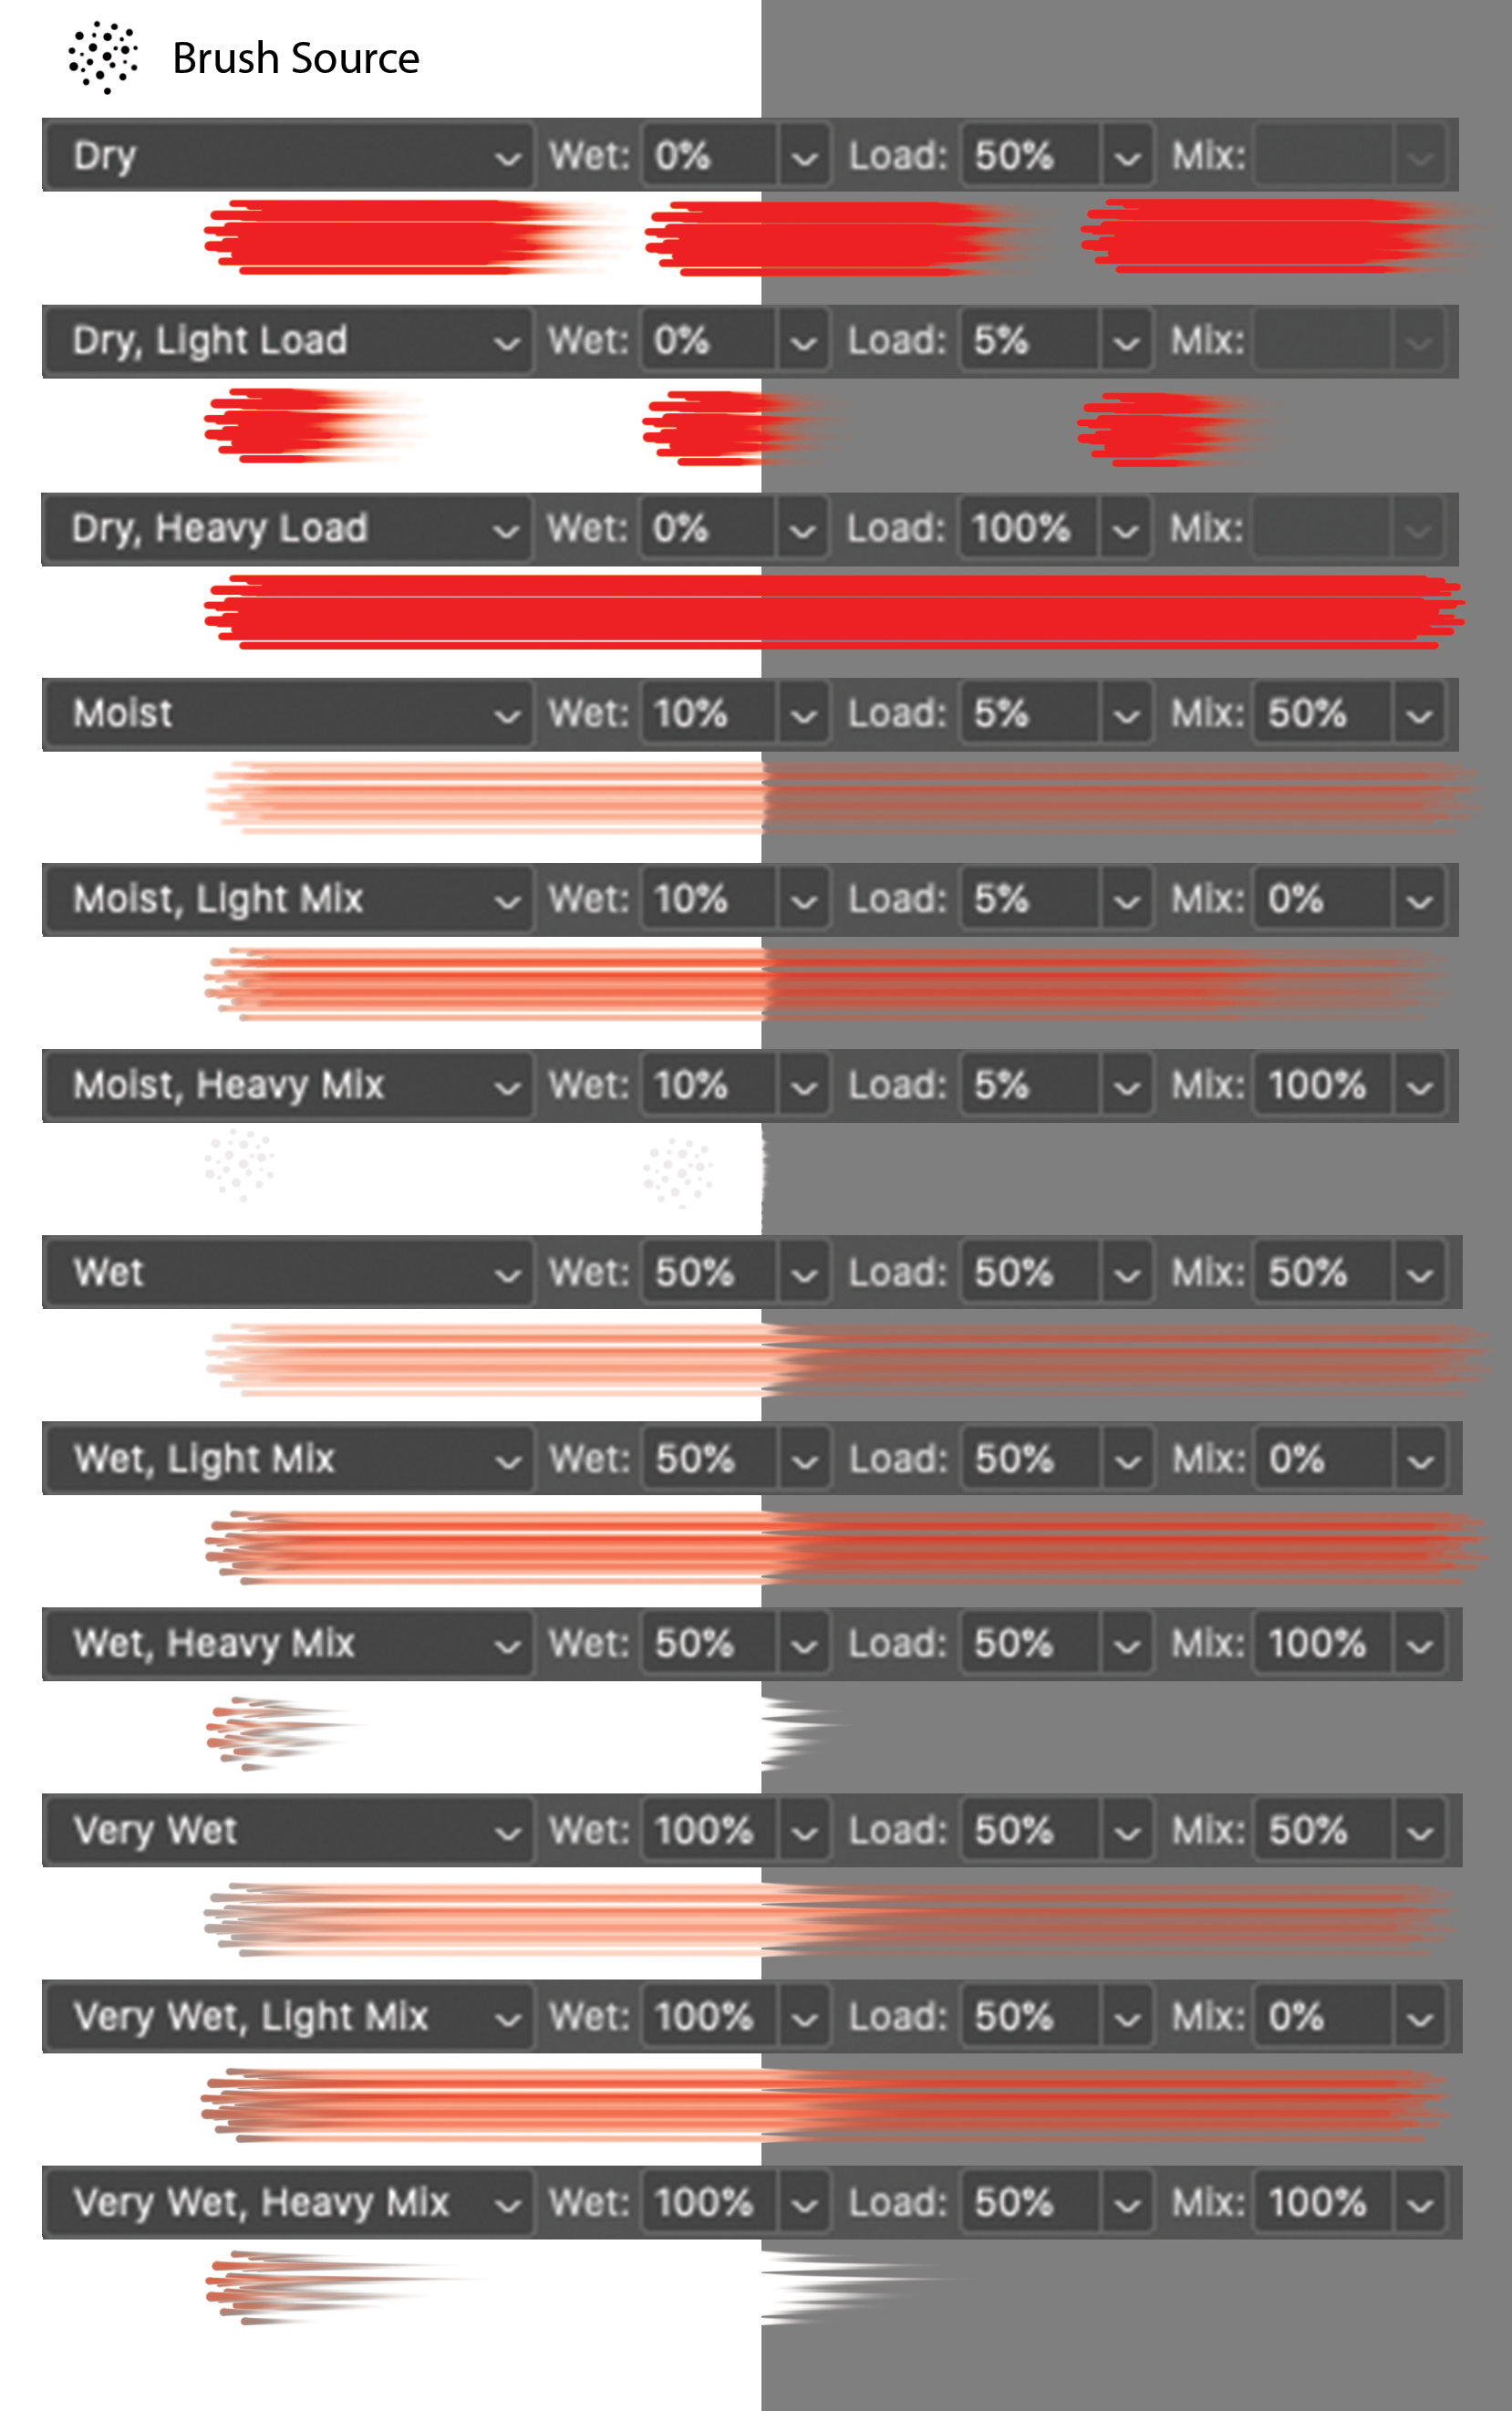
Set Control Panel > Useful Mixer Brush Combinations popup menu to "Dry, Heavy Load"
Set Control Panel > (icon) Load Brush After Each Stroke to On
Set Control Panel > (icon) Clean Brush After Each Stroke to Off
Capture the sphere by holding the Option key whil clicking exactly over the sphere
Set Brushes Panel > Brush Tip Shape > Spacing to 25%
Set Brush Settings Panel > Shape Dynamics > Size Jitter > Control > Pen Pressure
Set Brush Settings Panel > Shape Dynamics > Minimum Diameter to ~50%
 Brush Tool
 Mixer Brush Tool
 Eraser Tool
 Smudge Tool