Color On Lines

If your lines are black, you can paint directly on the same layer if you set your Brush Mode to Darken or Multiply
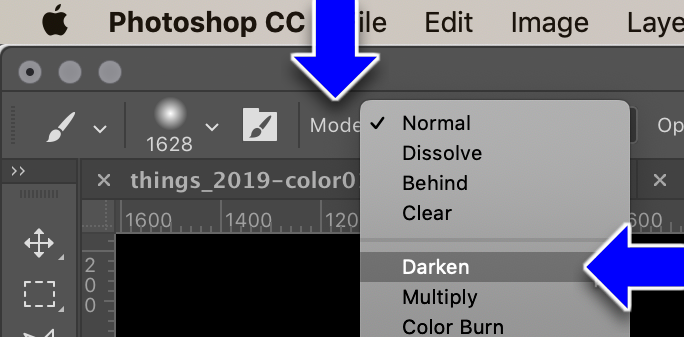
DOWNSIDE: It's really hard to fix errors, and you can't paint a lighter color over a darker color.
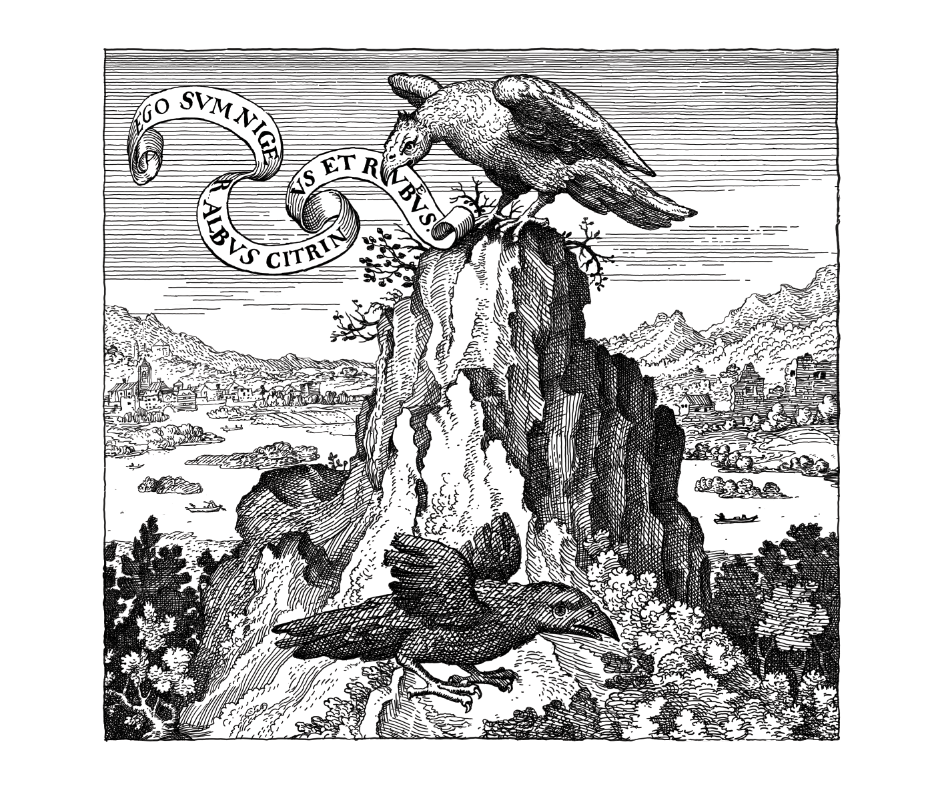
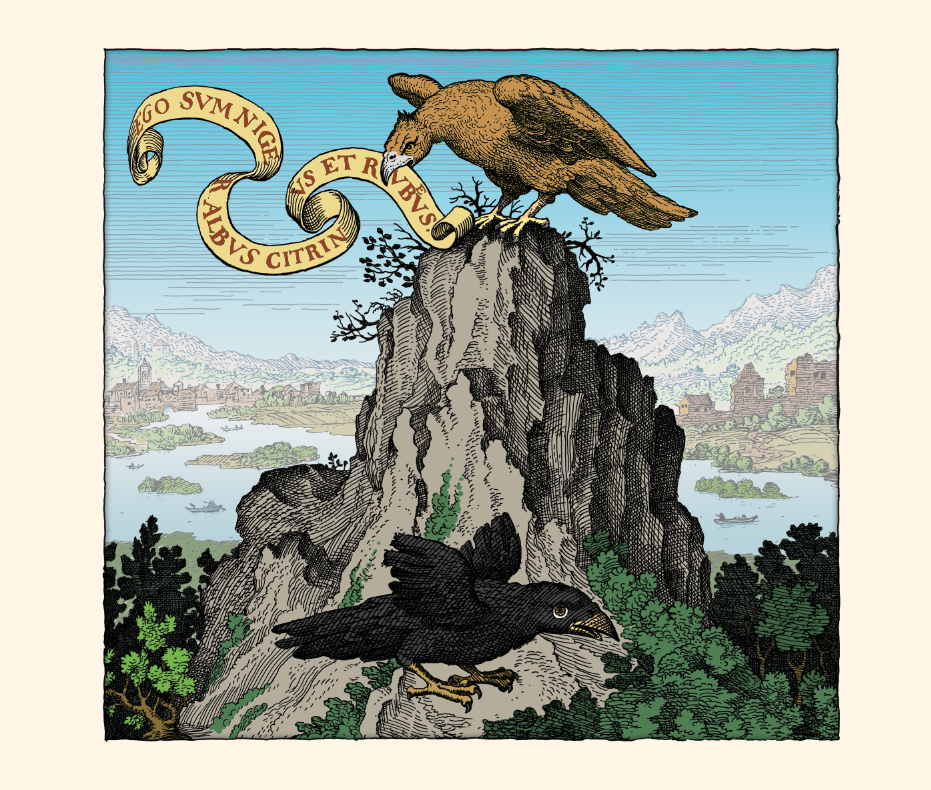
Download khazarj_assignment03.psd.zip
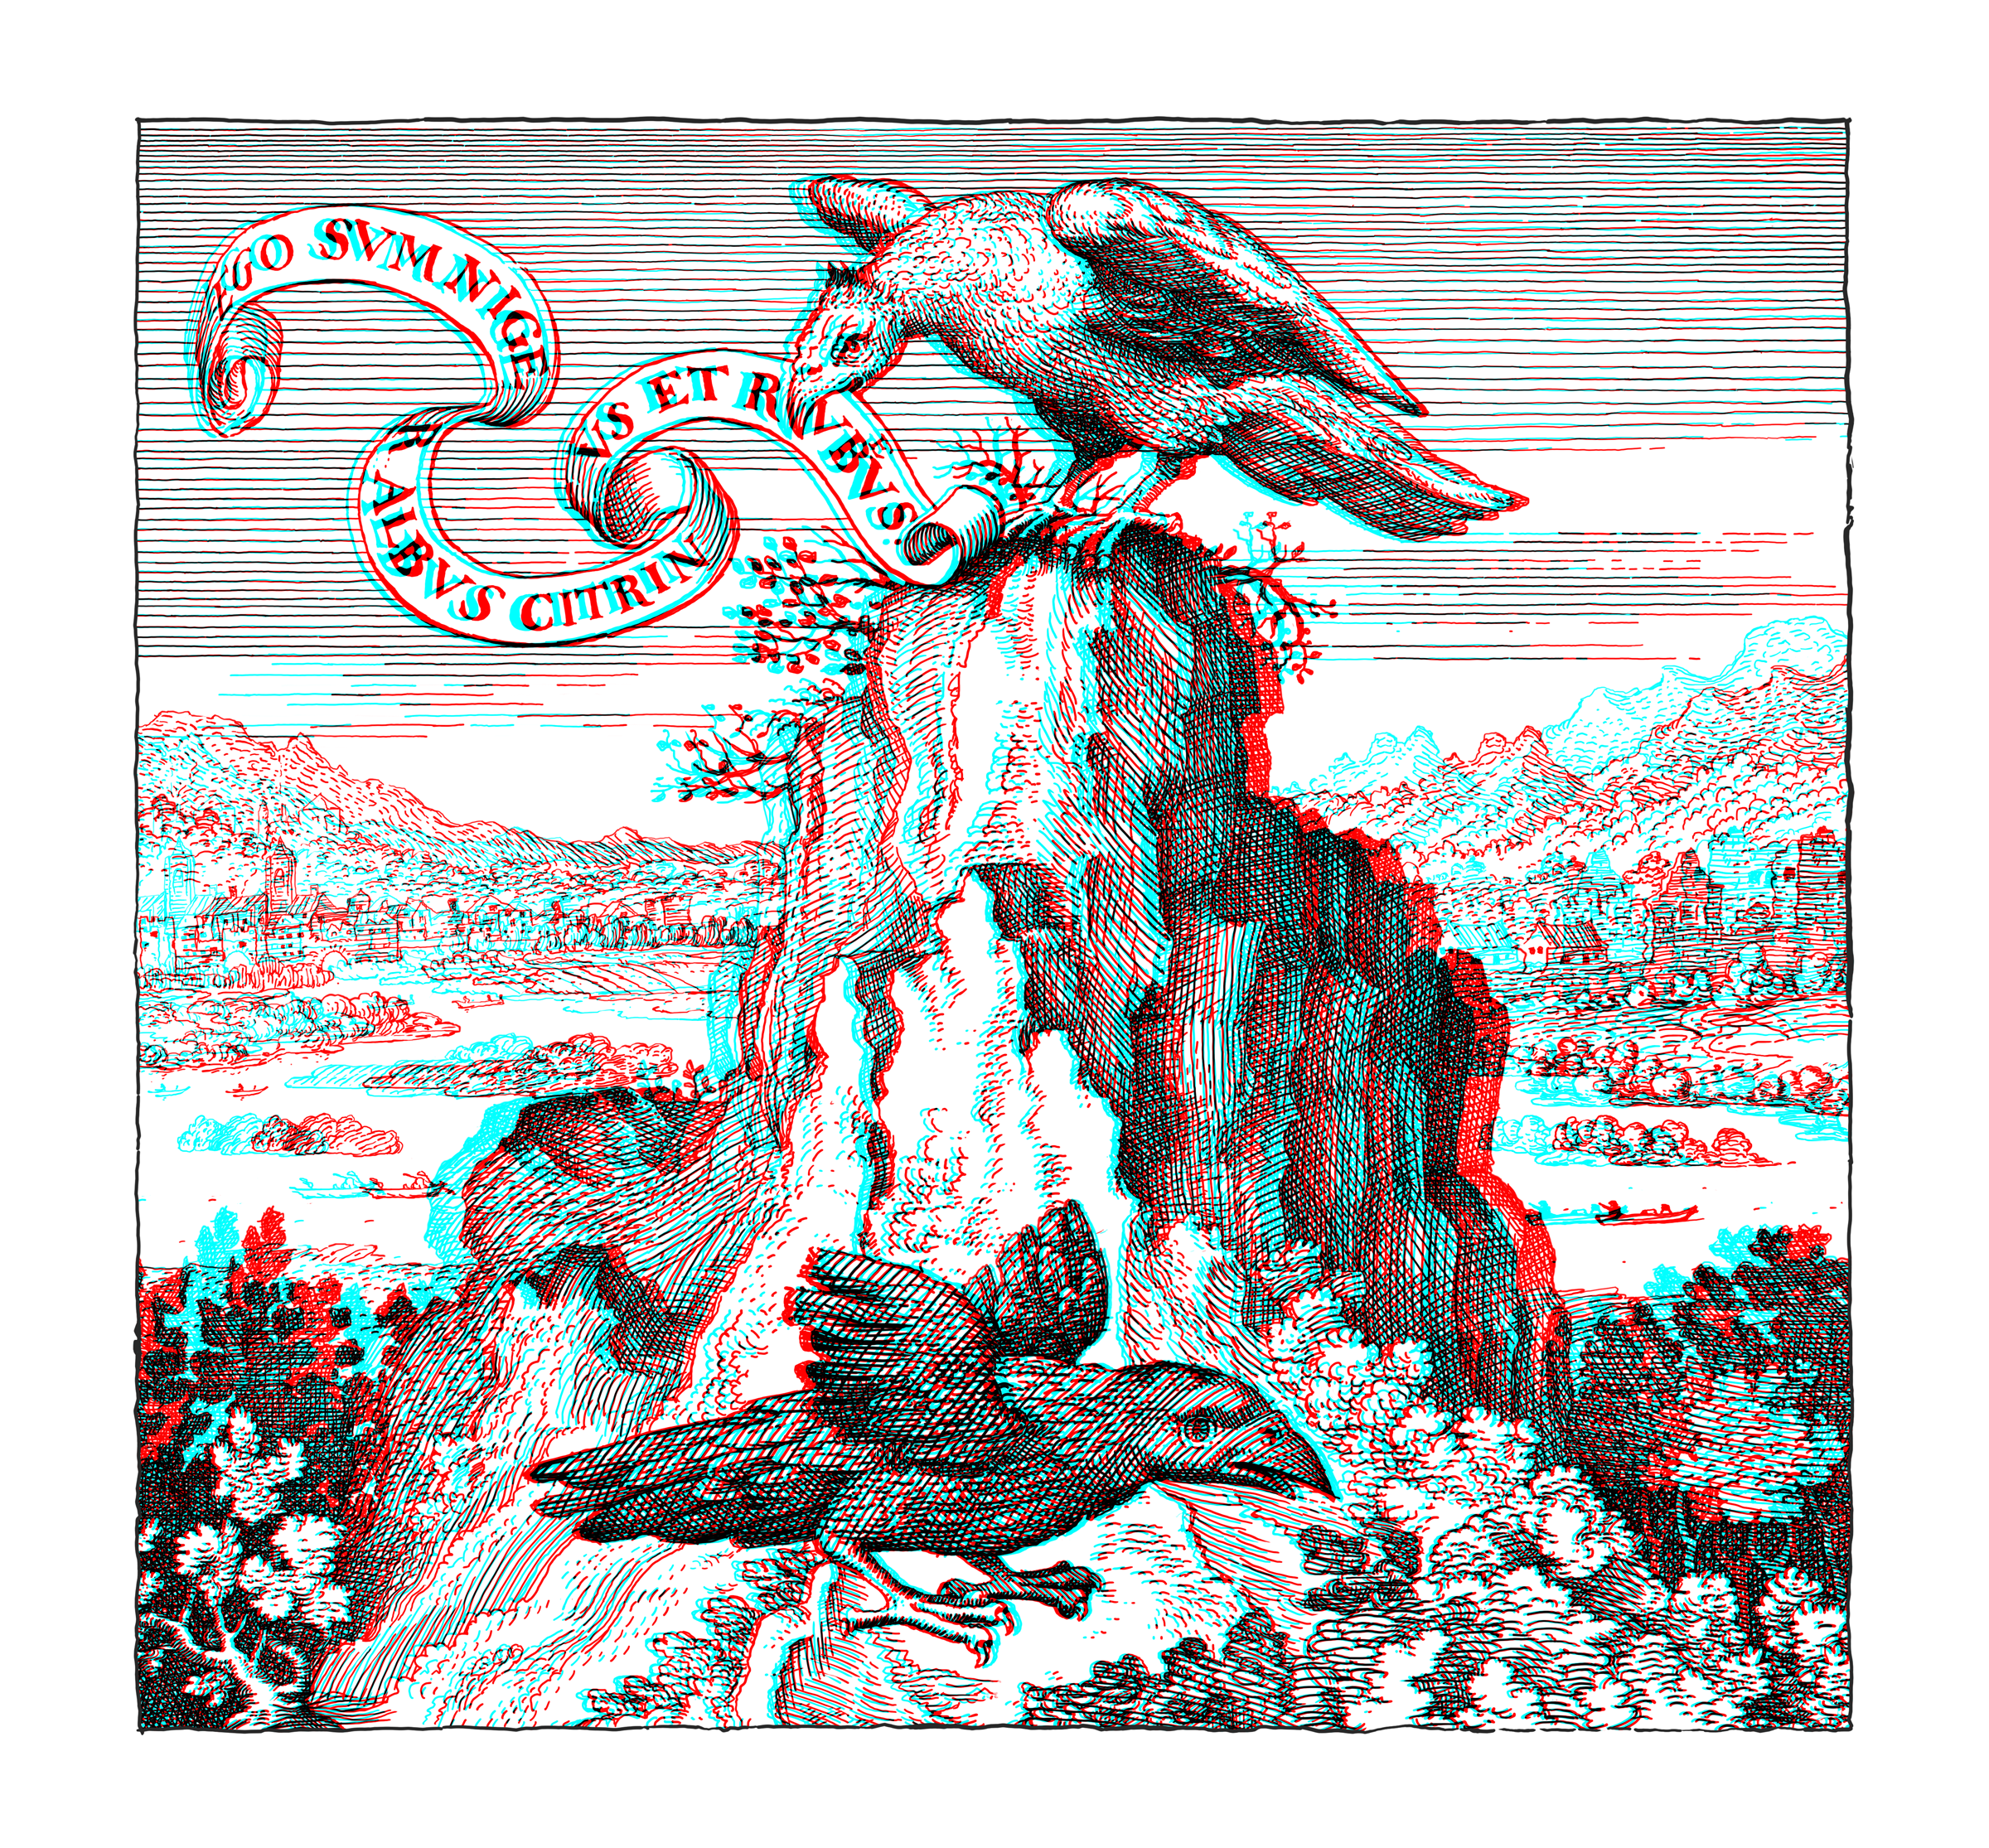
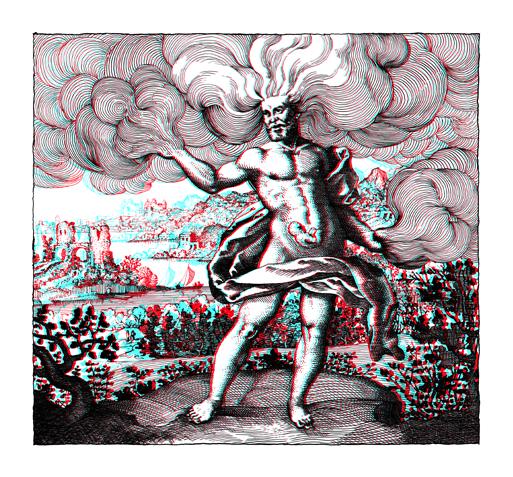
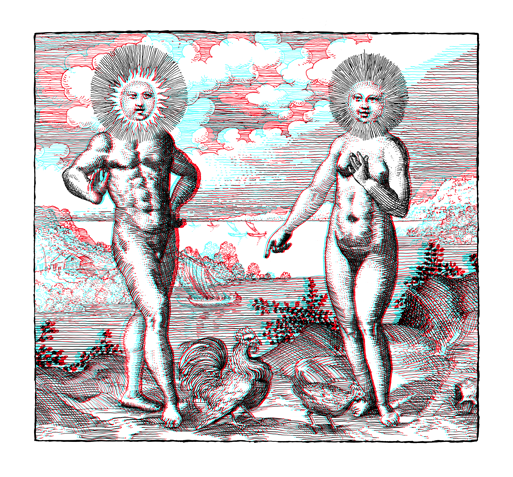
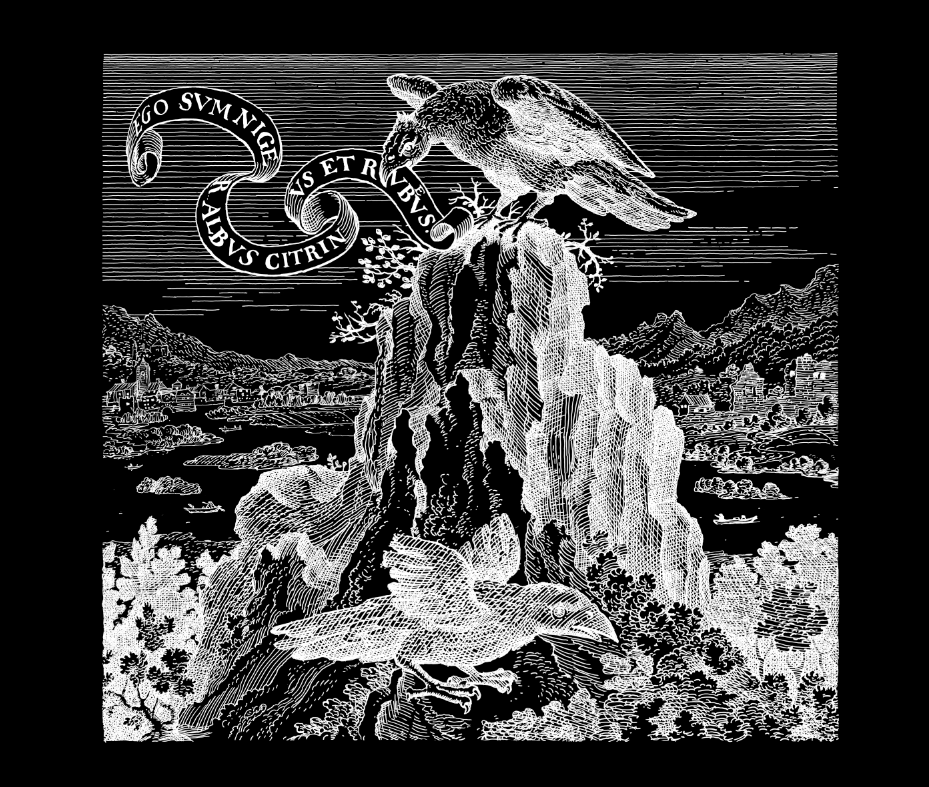
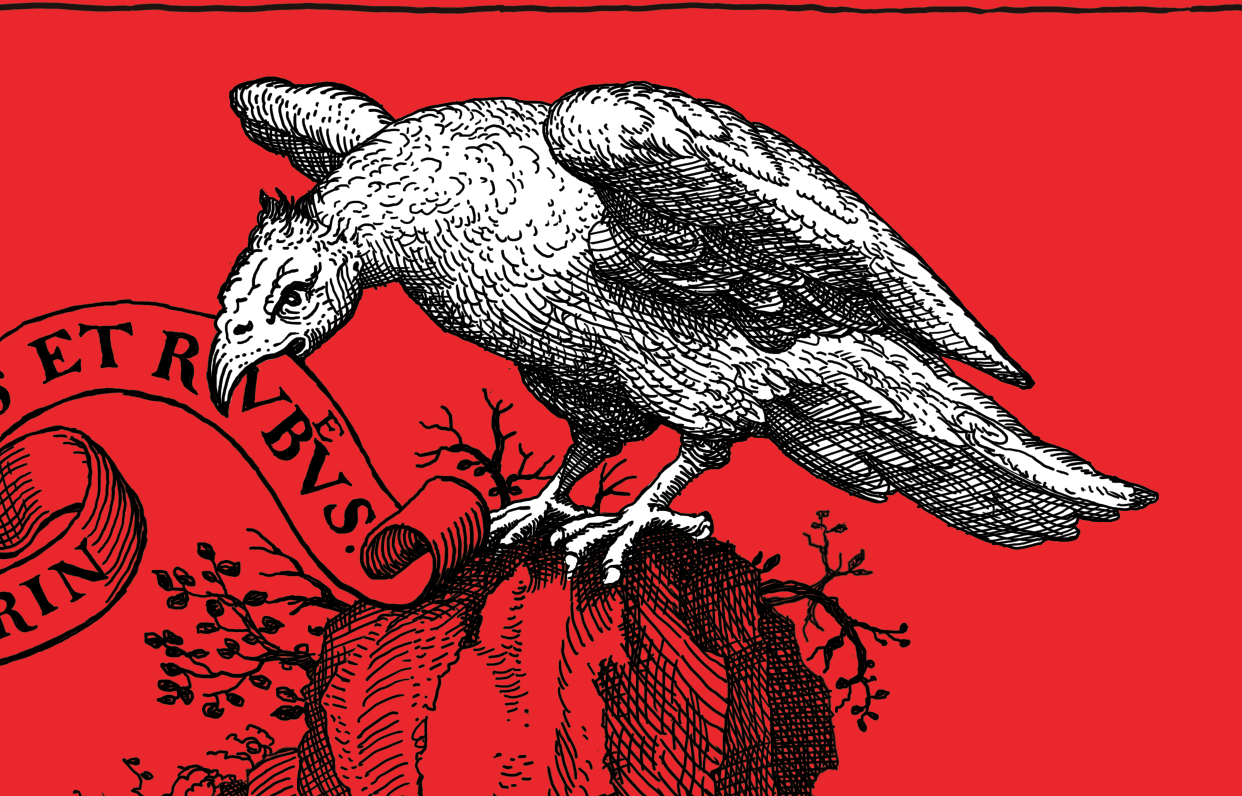
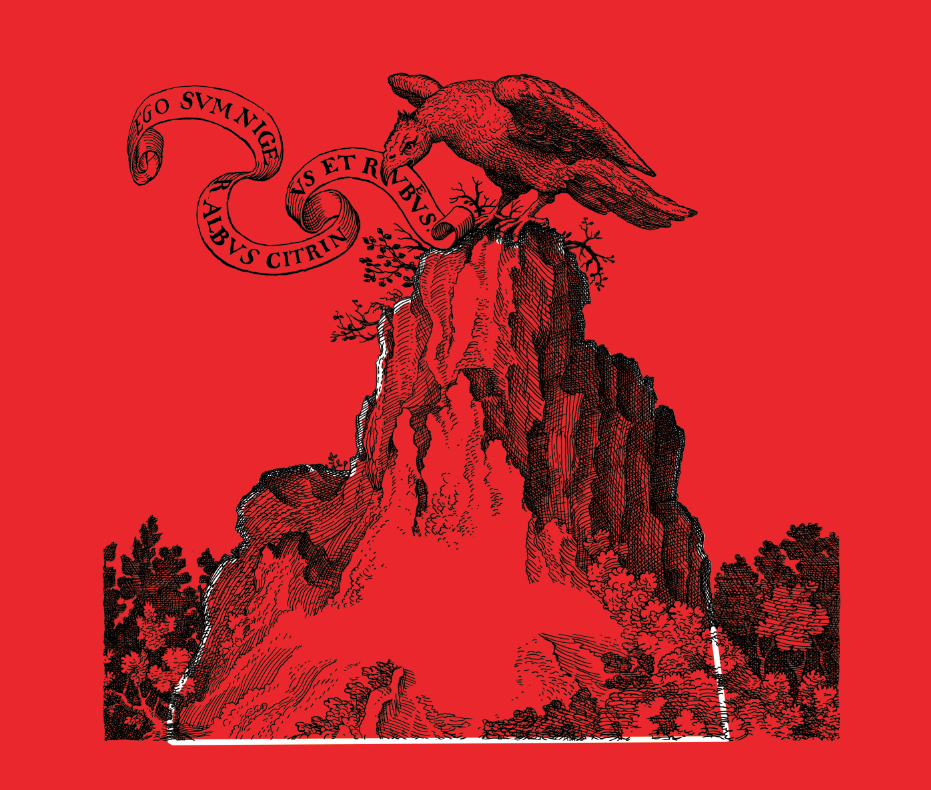
This image is from a series of images I've done that are "anaglyphs" ( anaglyphs.khazar.com), that is, images that use glasses with different colored lenses for the right and left eyes to create the illusion of three-dimensional space.
You've got a lot more options if you made your lines on a transparent background! If you didn't, you'll can convert them with the following techinque in Photoshop. If you drew on the white background in Procreate, you're stuck using the Darken layer or paintbrush techniques below.
If you didn't do this, here's how to fix it:
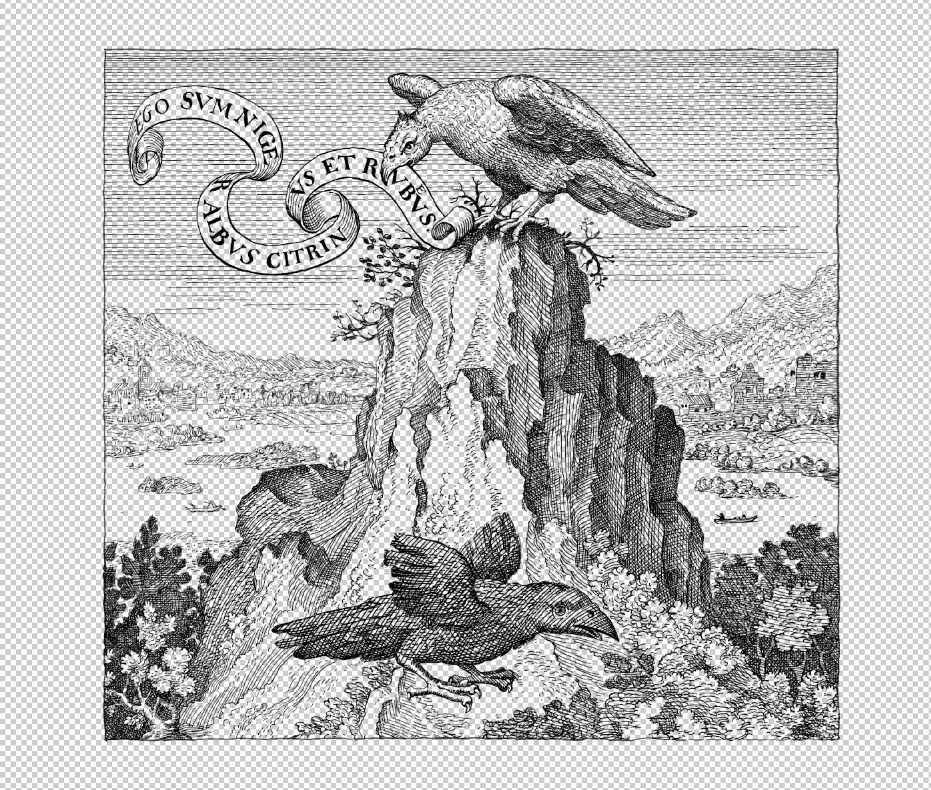

You now have an alpha channel of your drawing (unless you've used colored lines, in which case see me for help). Now we'll load the alpha channel
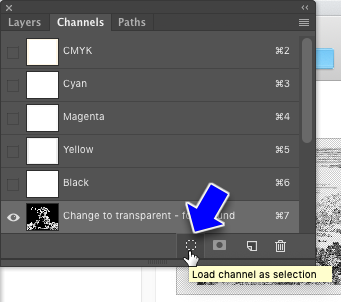
Load channel as selectionbutton
If your lines are black, you can paint directly on the same layer if you set your Brush Mode to Darken or Multiply
DOWNSIDE: It's really hard to fix errors, and you can't paint a lighter color over a darker color.

Add a layer above the line artwork and set its blending mode to Darken or Multiply
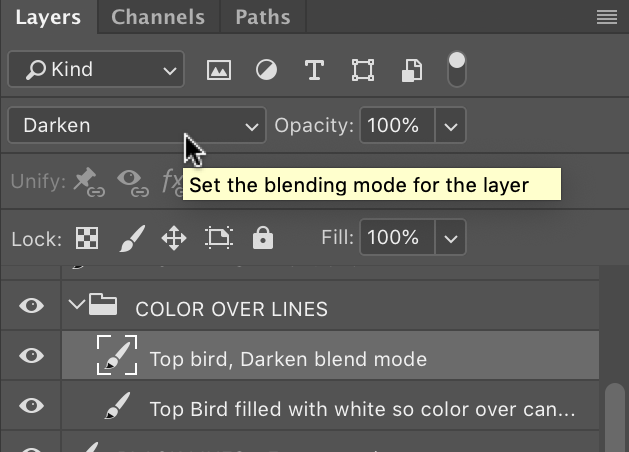
UPSIDE: Easier to fix errors that previous method.
DOWNSIDE: You'll probably need to fill the line art layer with white to keep things behind the line and color layers from influencing them.
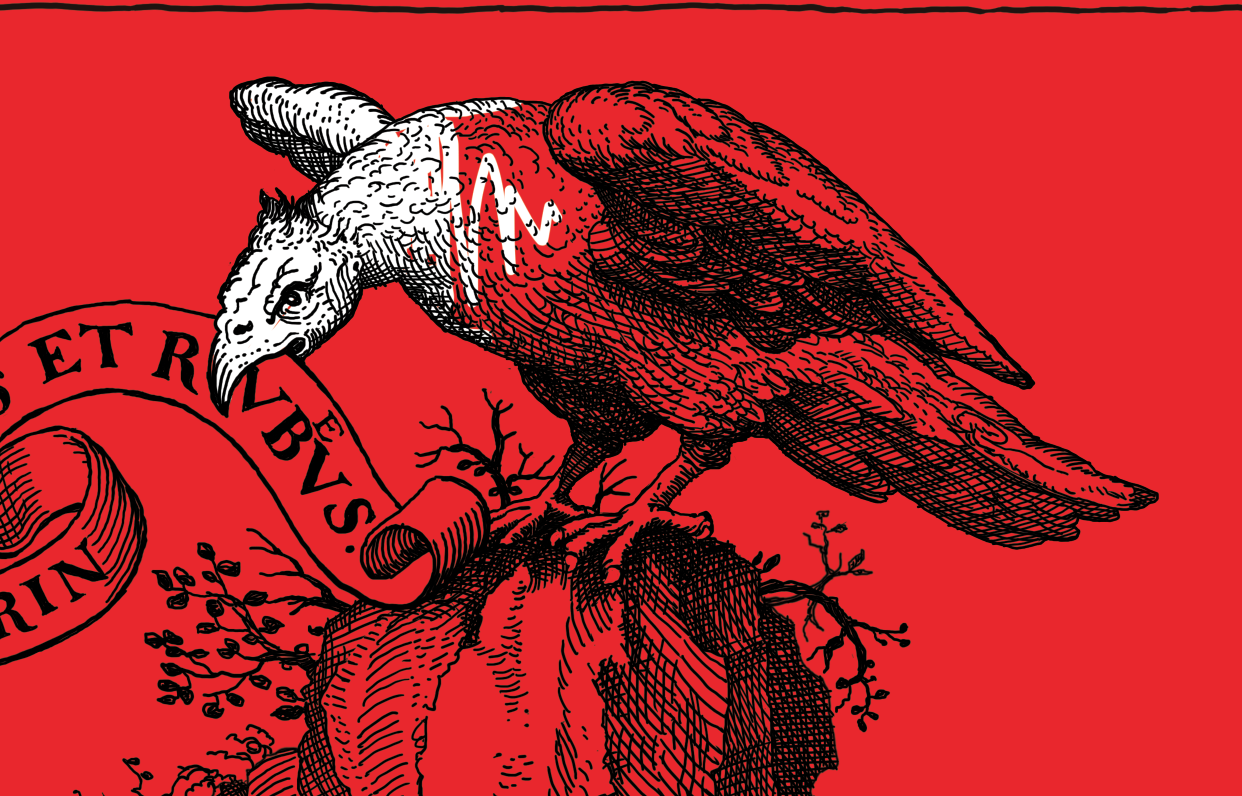

Add a layer or layers below the line artwork and paint on it, allowing the line artwork to overlay the colors
UPSIDE: The most flexible of the three techniques so far.
DOWNSIDE: More prep-work than the previous two techniques. Also, you have to be careful to stay inside the lines and can't use things like the Gradient tool.
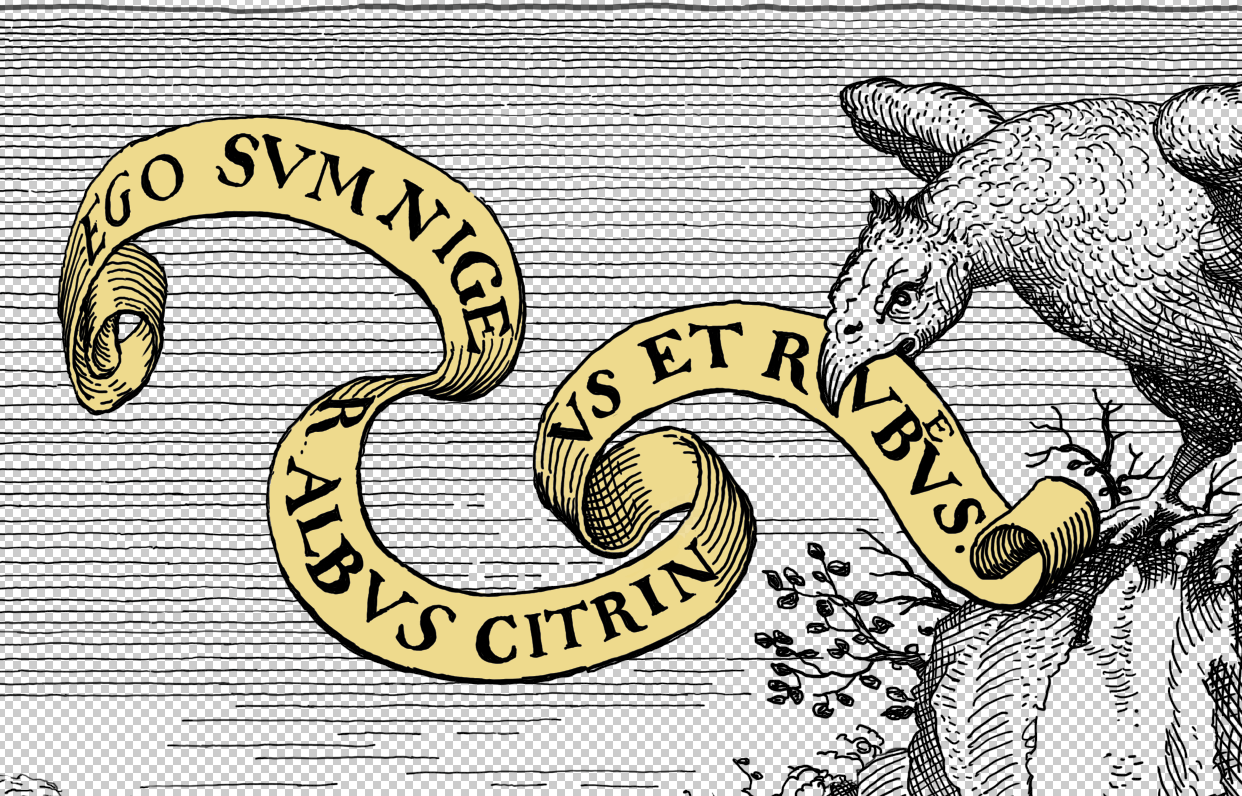
COOL TRICK: You can add a layer above the line art and set its Blend mode to Lighten or Lighten Color
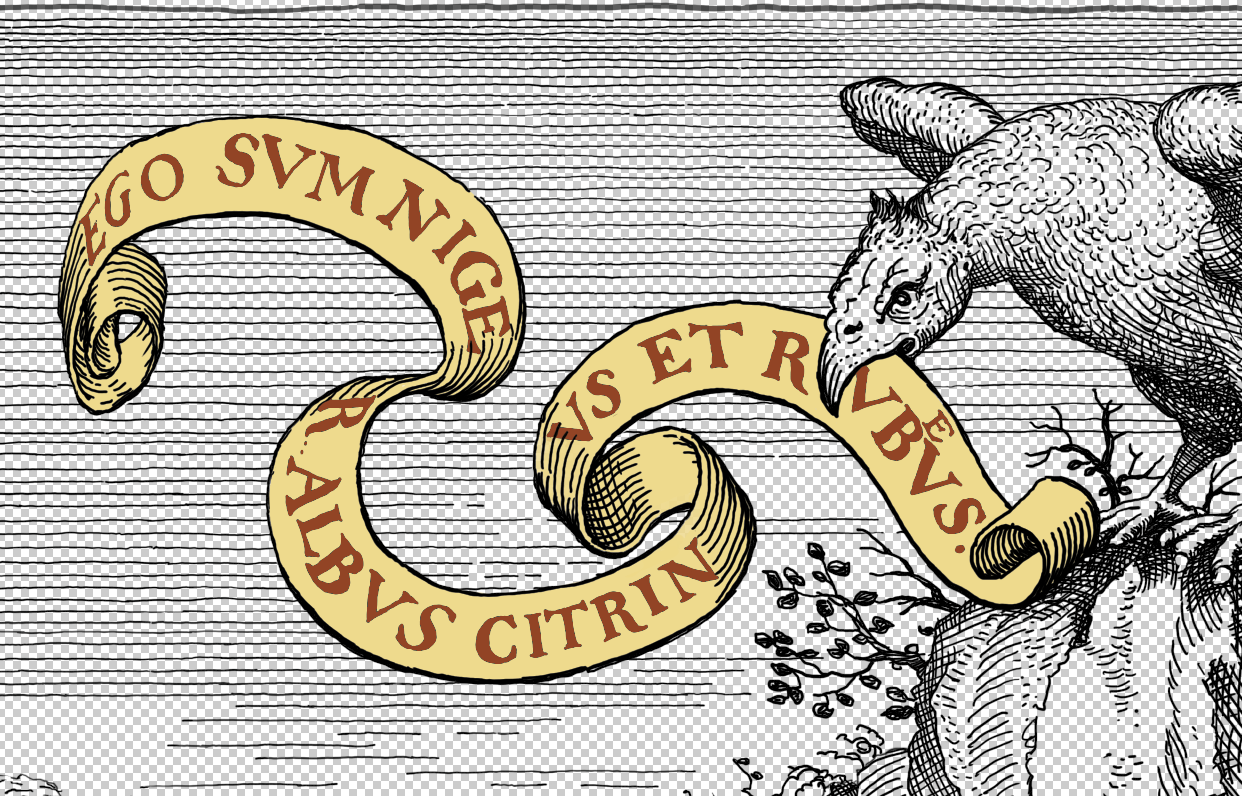

Clipping masks are very powerful in Photoshop. They let you use the artwork on a layer to limit the visibility of linked layers above it.
From Adobe Help System:
A clipping mask lets you use the content of a layer to mask the layers above it. The masking is determined by the content of the bottom or base layer. The non-transparent content of the base layer clips (reveals)
the content of the layers above it in the clipping mask. All other content in the clipped layers is masked out.
UPSIDE: Even more flexible than the four techniques so far. About the same amount of prep-work as Color Behind Lines.

COOL TRICK TO MAKE CLIPPING MASK: Use the mouse instead of the tablet and hold down the shift key to create an area of color with a continuous border then fill it with color.
Two ways to fill with color:
Select with Magic Wand, Expand, & Fill with White

White shape outline. Inside selected with Magic Wand tool
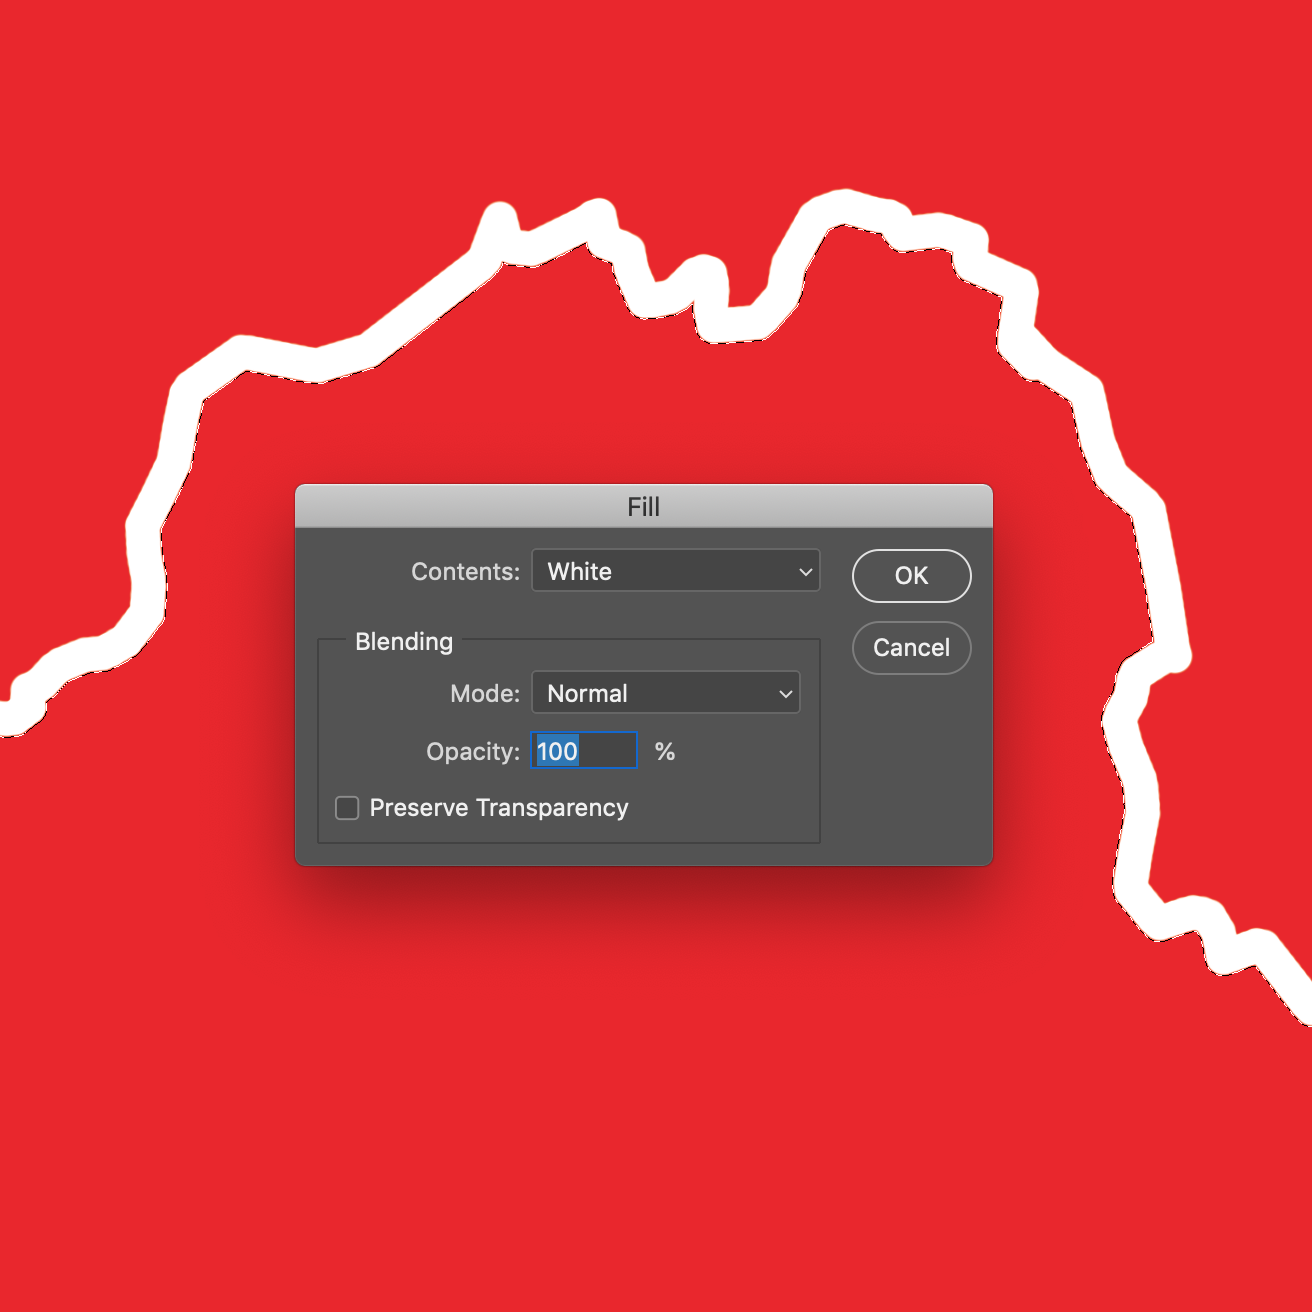
Menu > Edit > Fill...

Filled, but there's a trace of the edge left behind.
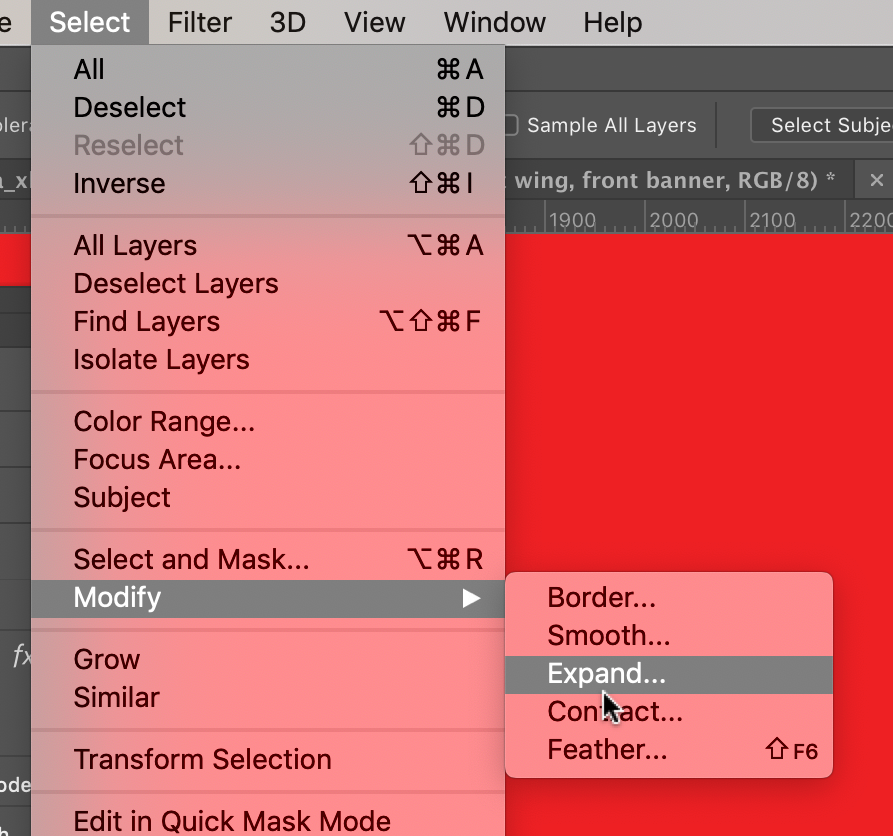
Same setup with Magic Wand, choose Menu > Select > Modify > Expand...
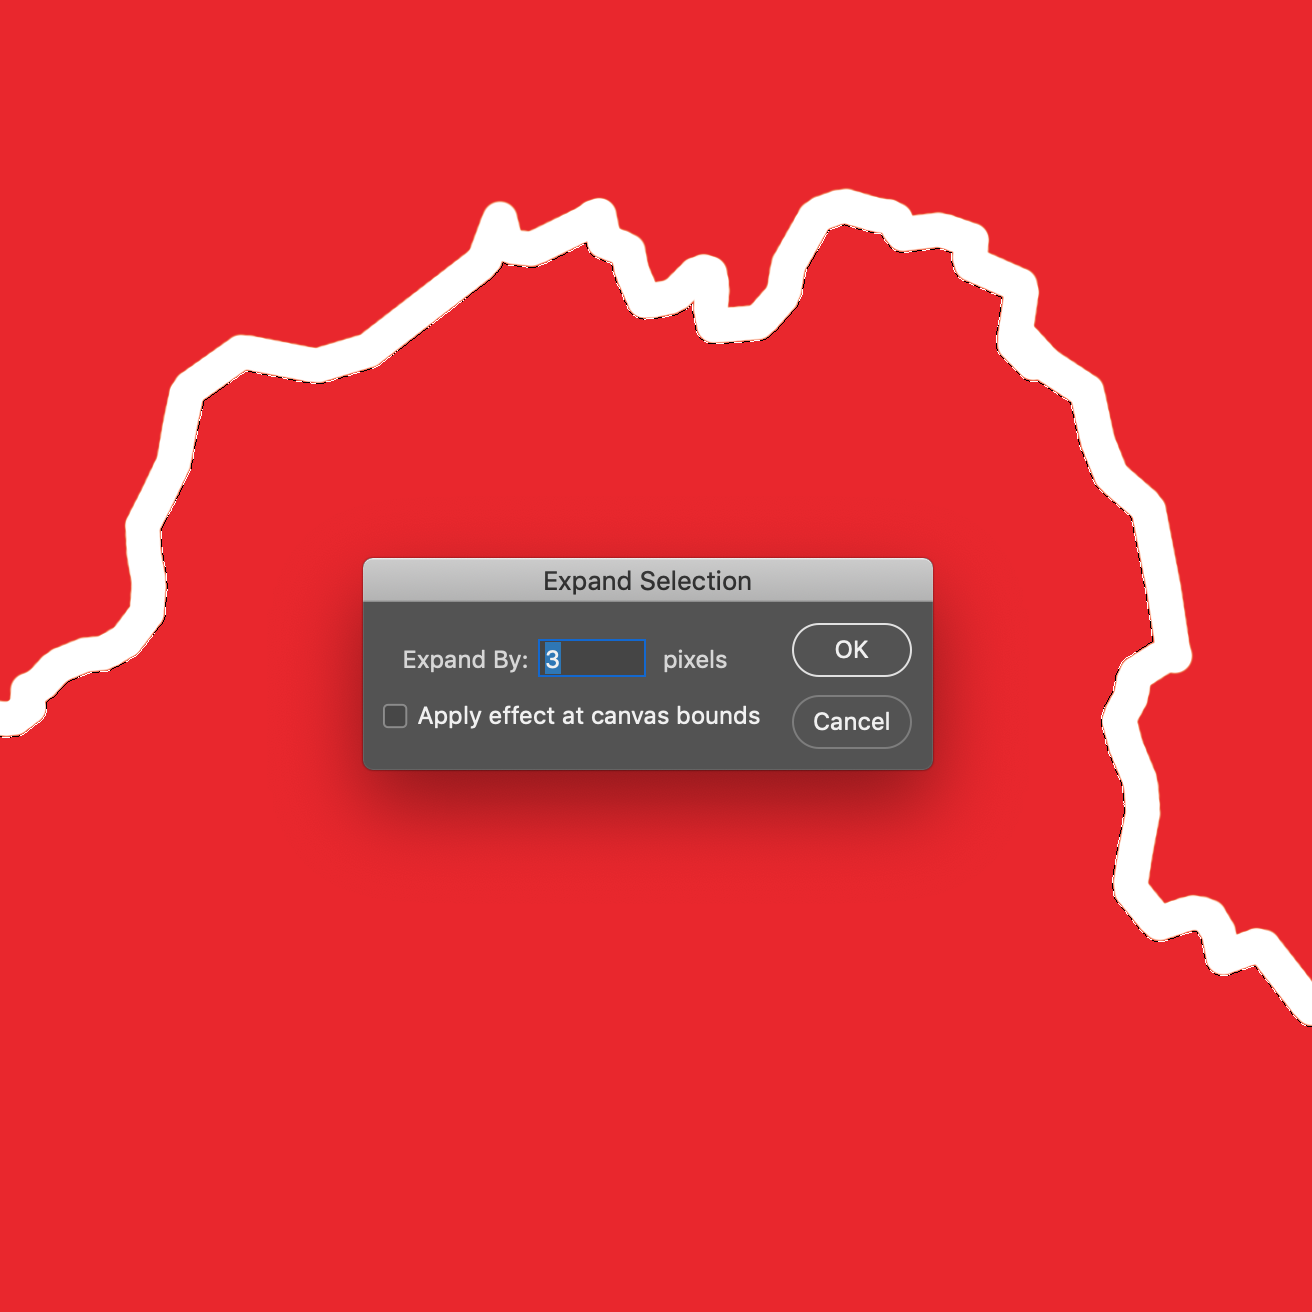
Expand by 2 or 3 pixels

Fill again and the edge is gone.

A perfect fill
Fill Twice with the Paint Bucket tool

Click inside the white outlined area with the Paint Bucket tool. Like with the Magic Wand method, there's an edge left behind.

But click the Paint Bucket on the white area a second time, and it fills in the edge.

DOWNSIDE: The edge of the area has gotten a bit rough. Might or might not matter...
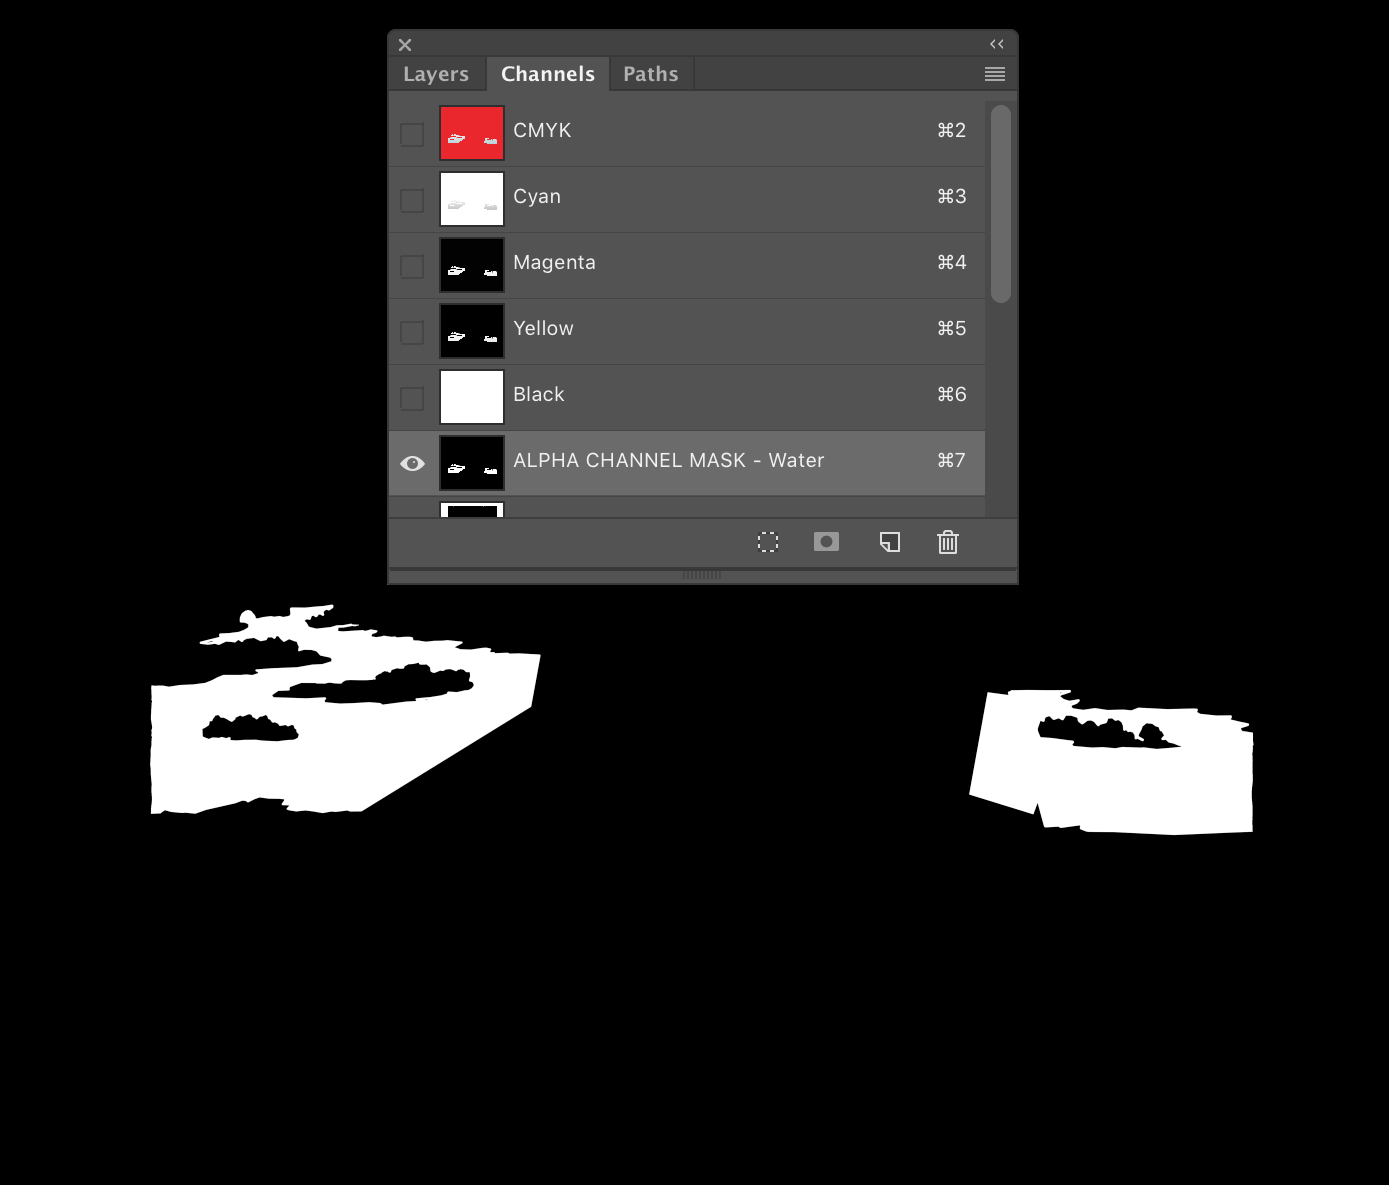
Alpha Masks are also very powerful in Photoshop. You can create them with the Lasso tools, Marquee tools, Magic Wand and Quick Selection tools. You can save them in the Channels panel.
The advantage of an Alpha Mask is that only the area inside the mask will be affected by actions in Photoshop. Actions like painting with a brush, creating a gradient, applying a filter or effect, and any other action that changes the color or transparency of a pixel.

UPSIDE: Very flexible and quick to create (sometimes).
DOWNSIDE: Easy to get wrong.
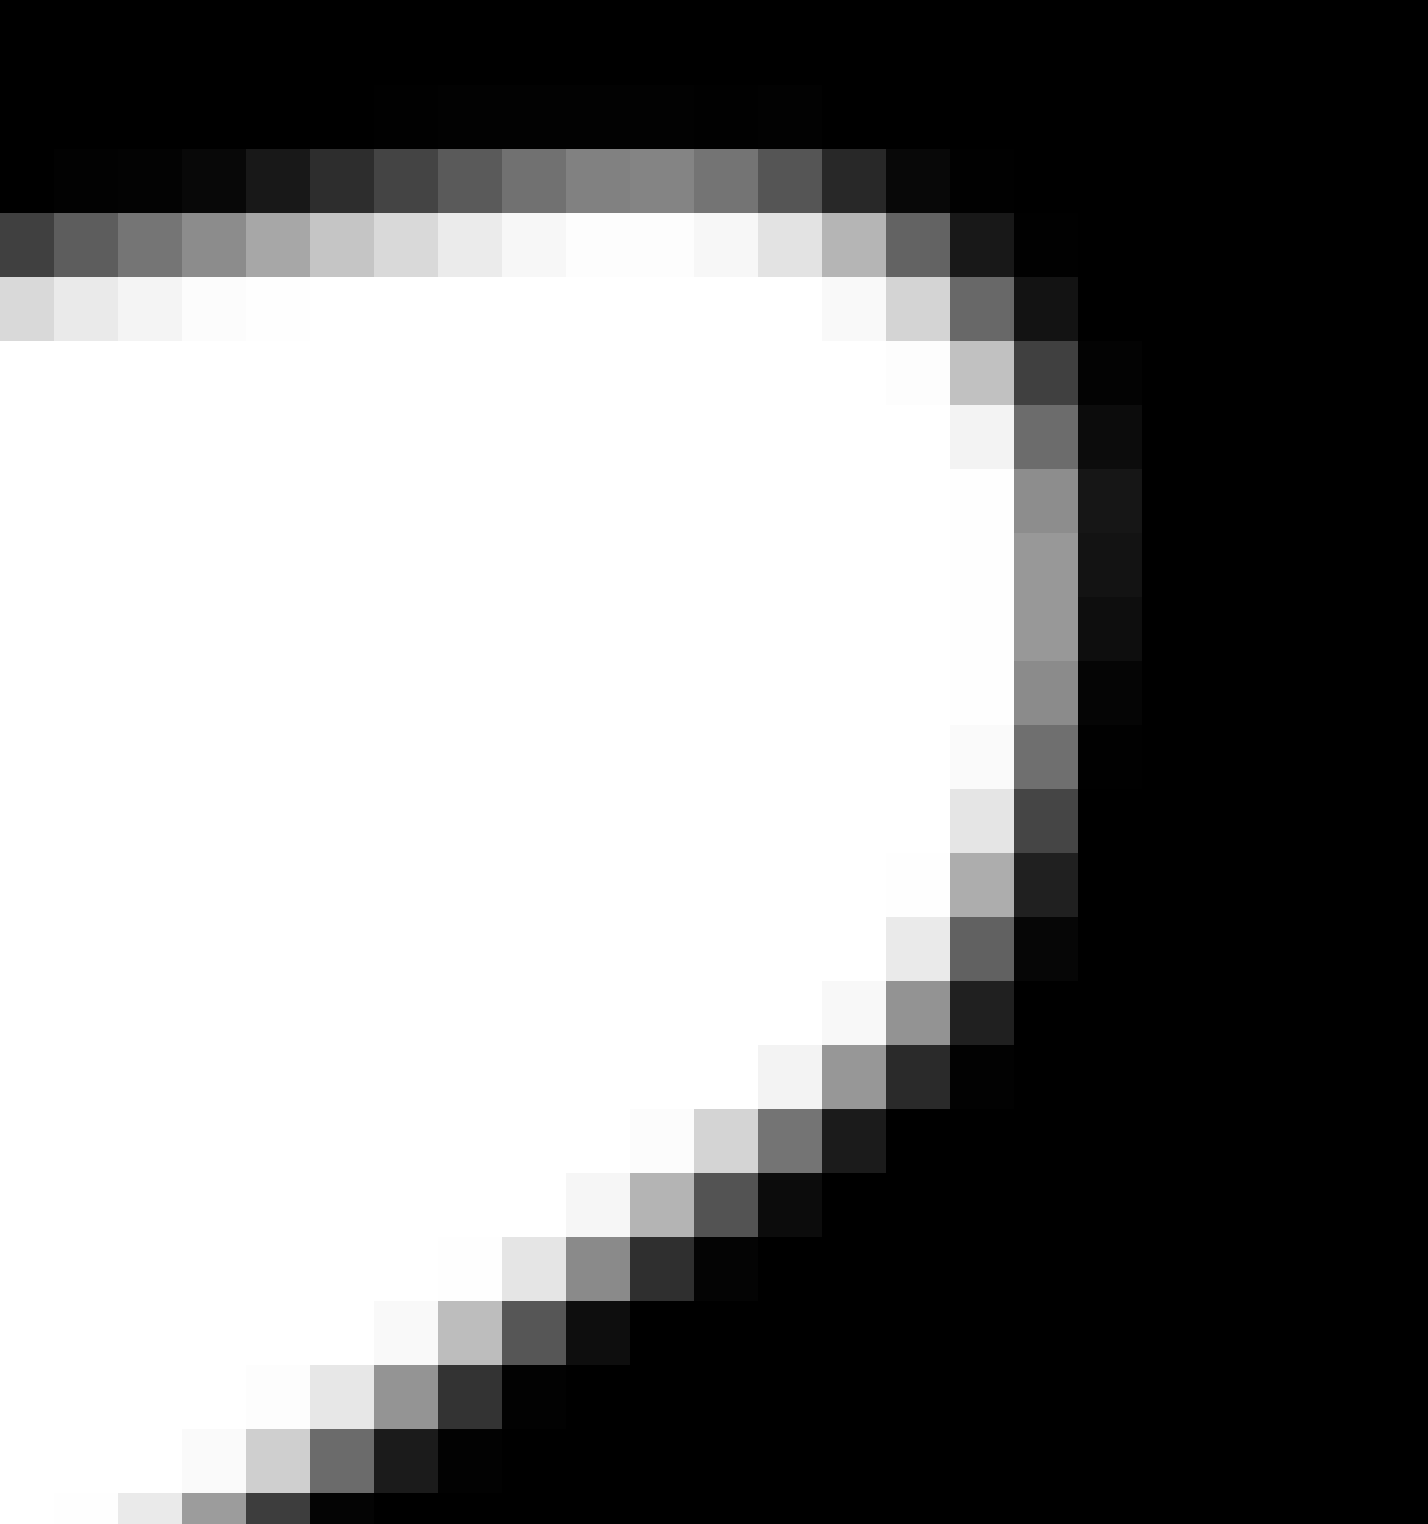

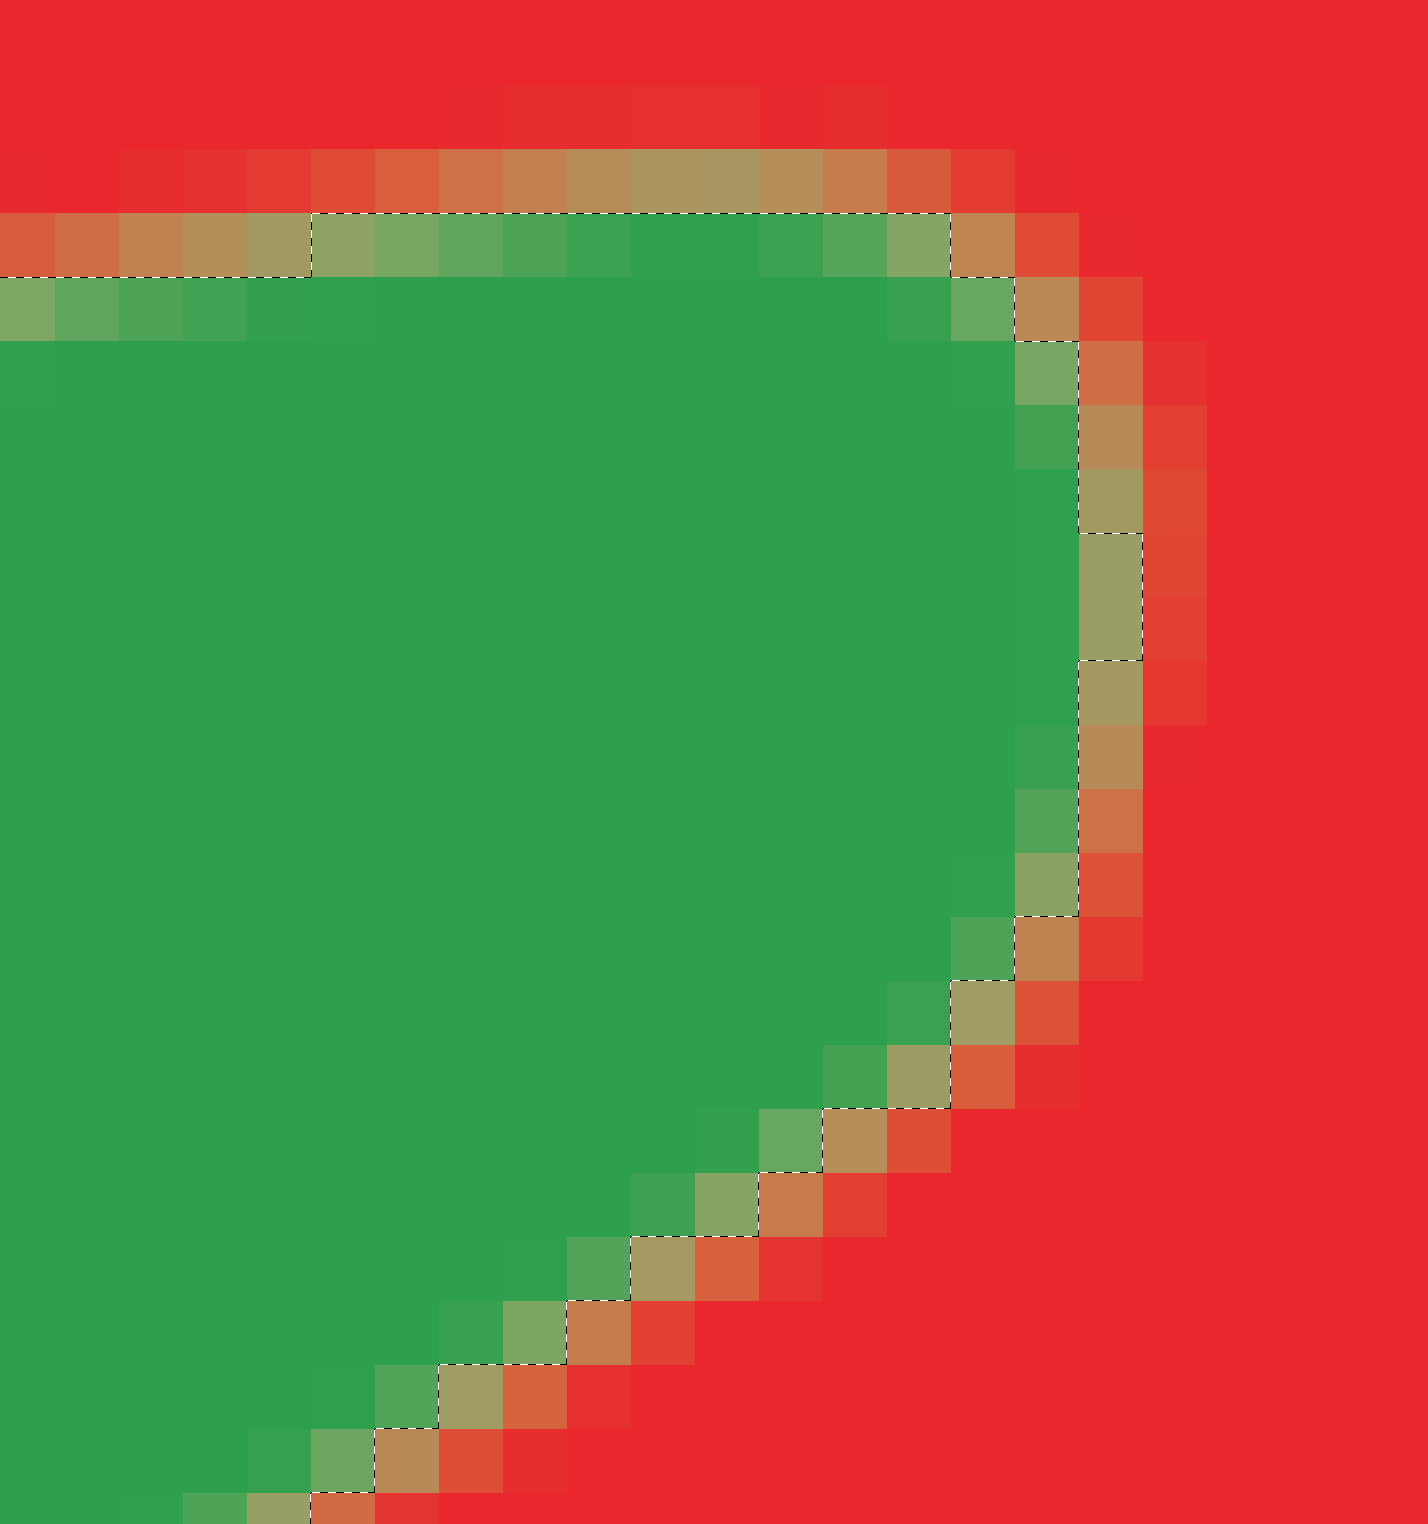
Above is an example of how pixels are affected by an Alpha Mask.
Command/Control Right Click to choose the layer under the brush
MAC: Option + Ctrl + Click/Drag
WIN: Alt + Right-Click
Then drag:
Right to increase size
Left to decrease size
Down to increase hardness
Up to decrease hardness
| KEY | % |
| 1 | 10% |
| 2 | 20% |
| 3 | 30% |
| 4 | 40% |
| 5 | 50% |
| 6 | 60% |
| 7 | 70% |
| 8 | 80% |
| 9 | 90% |
| 0 | 100% |
Press 1 to 0 on the keyboard or keypad to set 10% to 100% opacity
Flatting is the term in the comic book world for coloring line art
K Michael Russell:
How to Flat Comics Properly:
A Flatting Tutorial for PS
K Michael Russell:
How To Color Comic Books:
The Basics!
Jason Brubaker:
Color Comic Timesavers - Flatting
Ten Hundred:
Coloring / Shading a Drawing in Photoshop
Some really good tricks about locking transparency on layers.