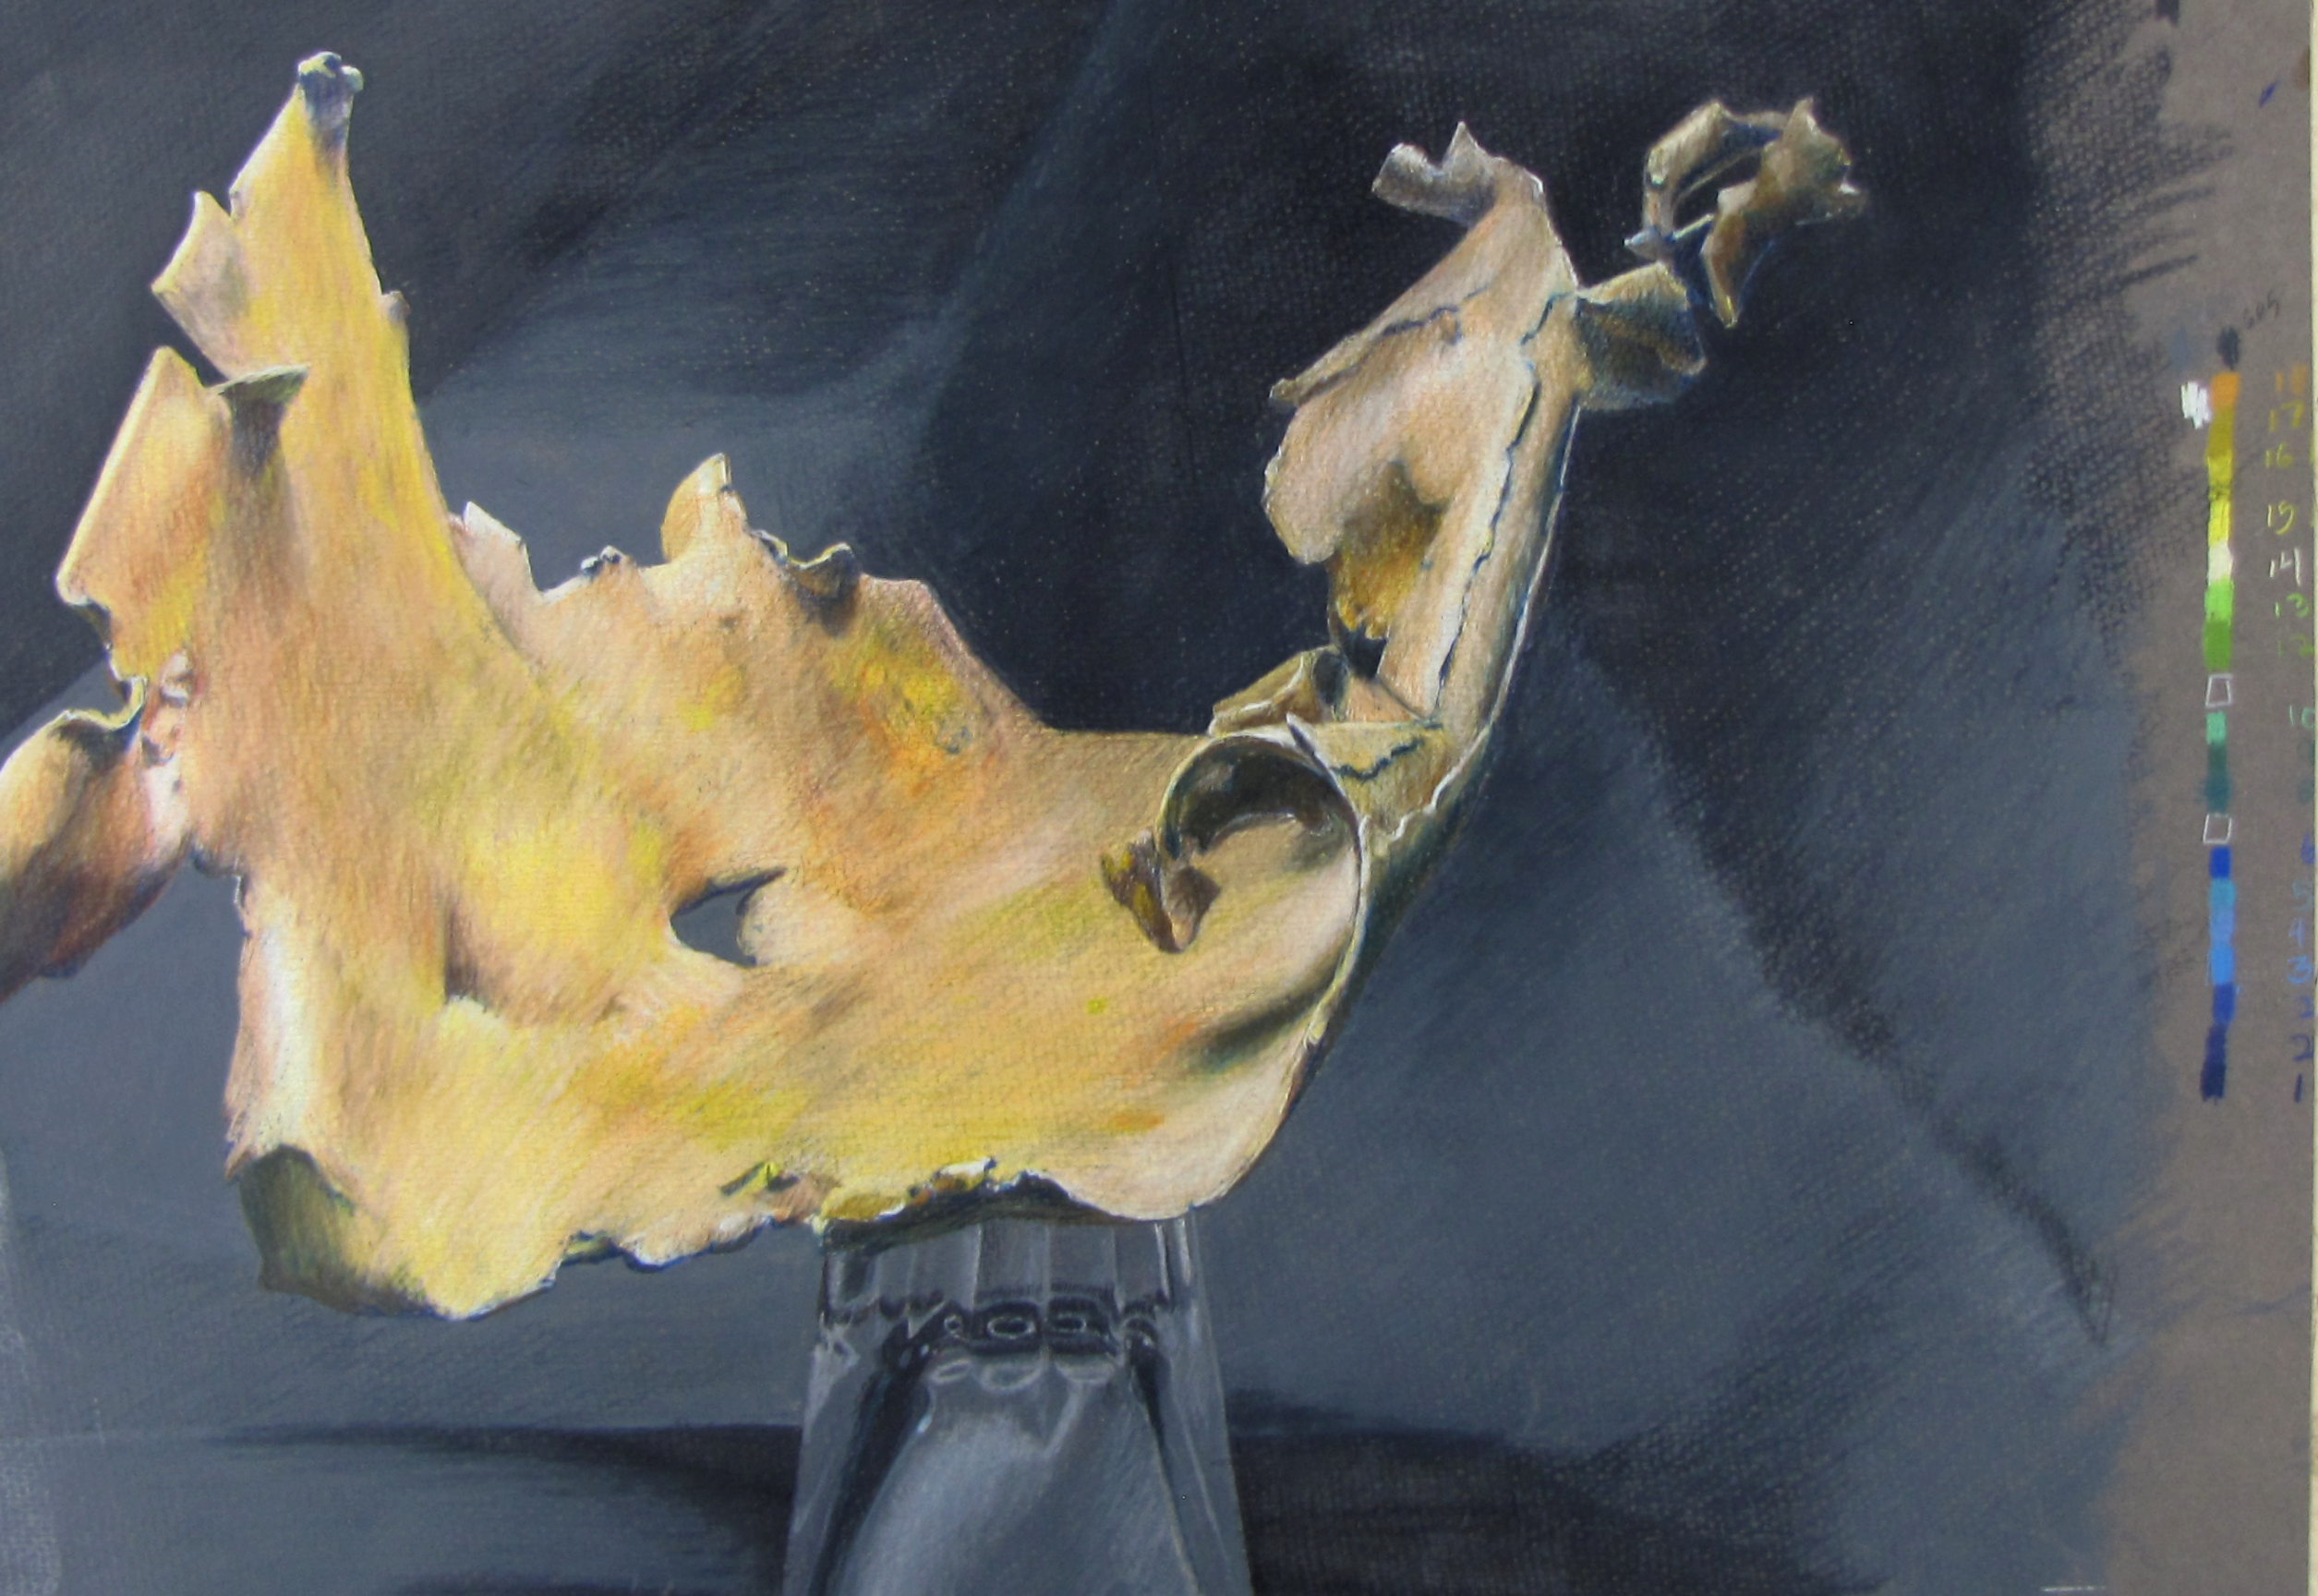

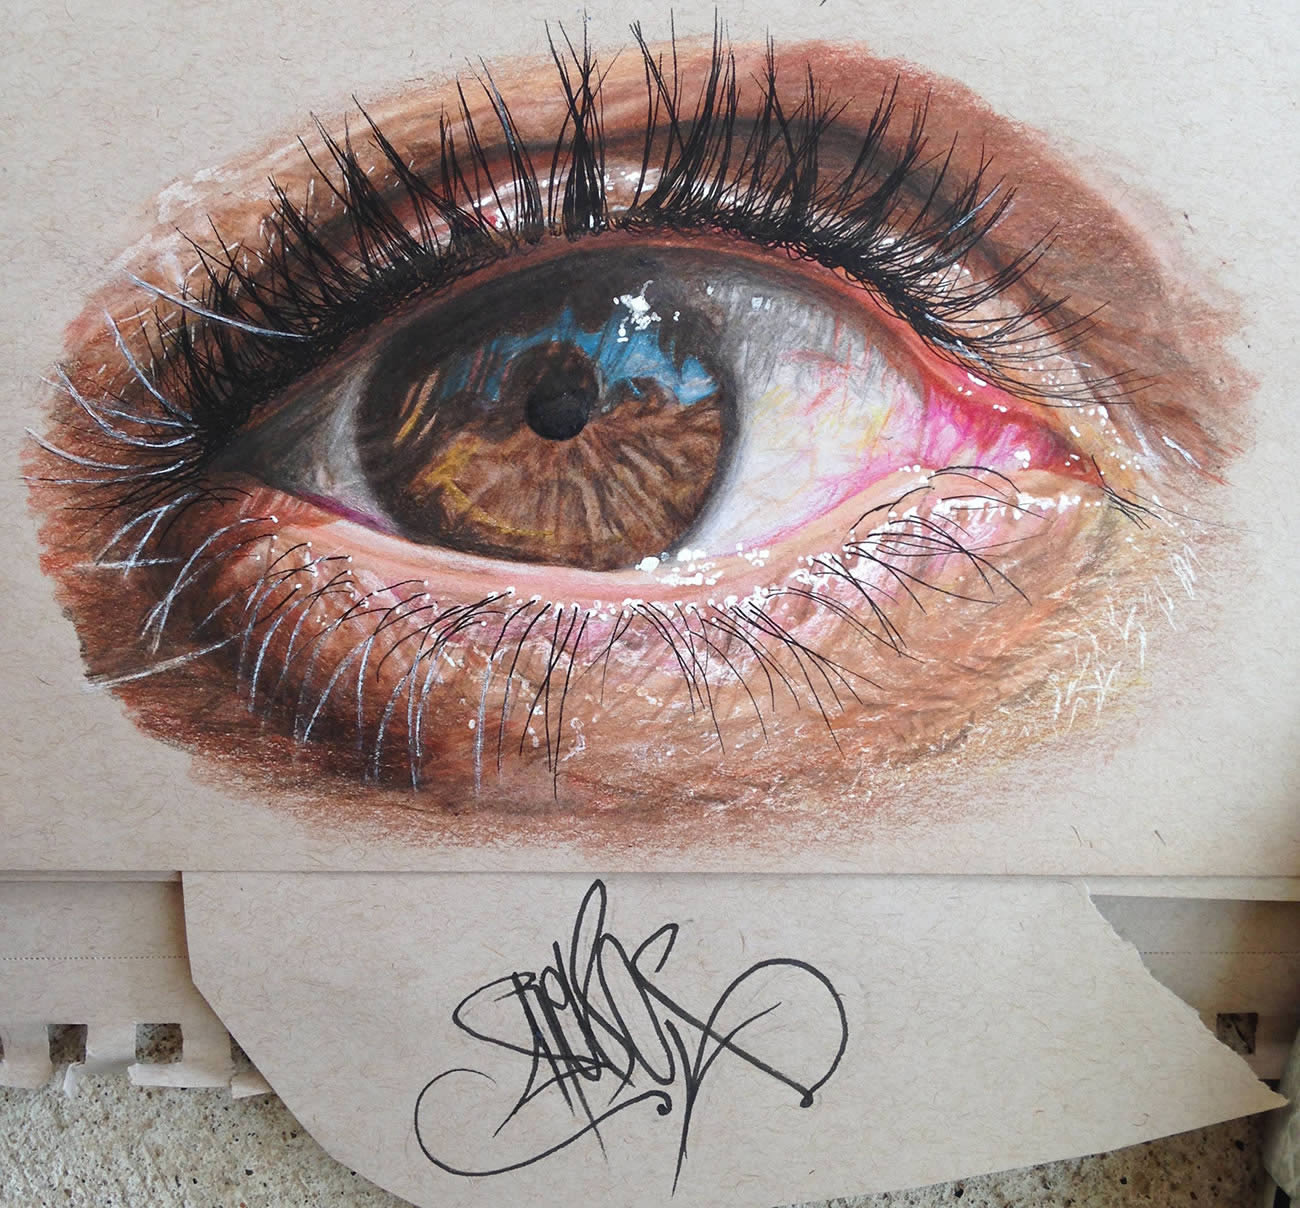
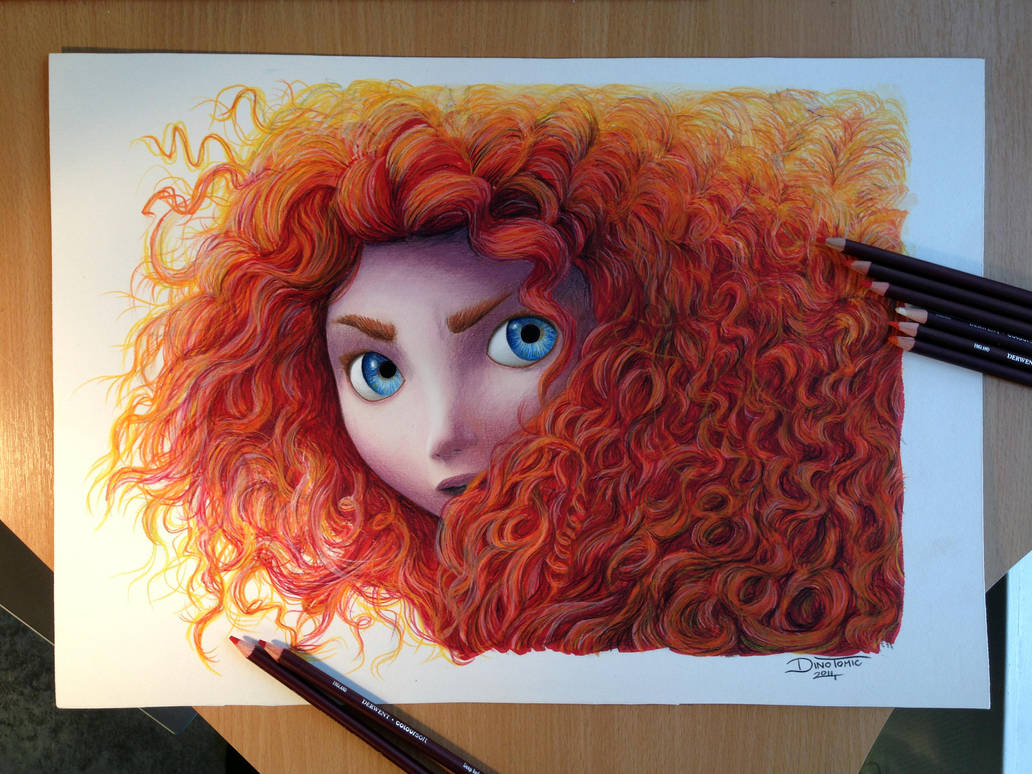
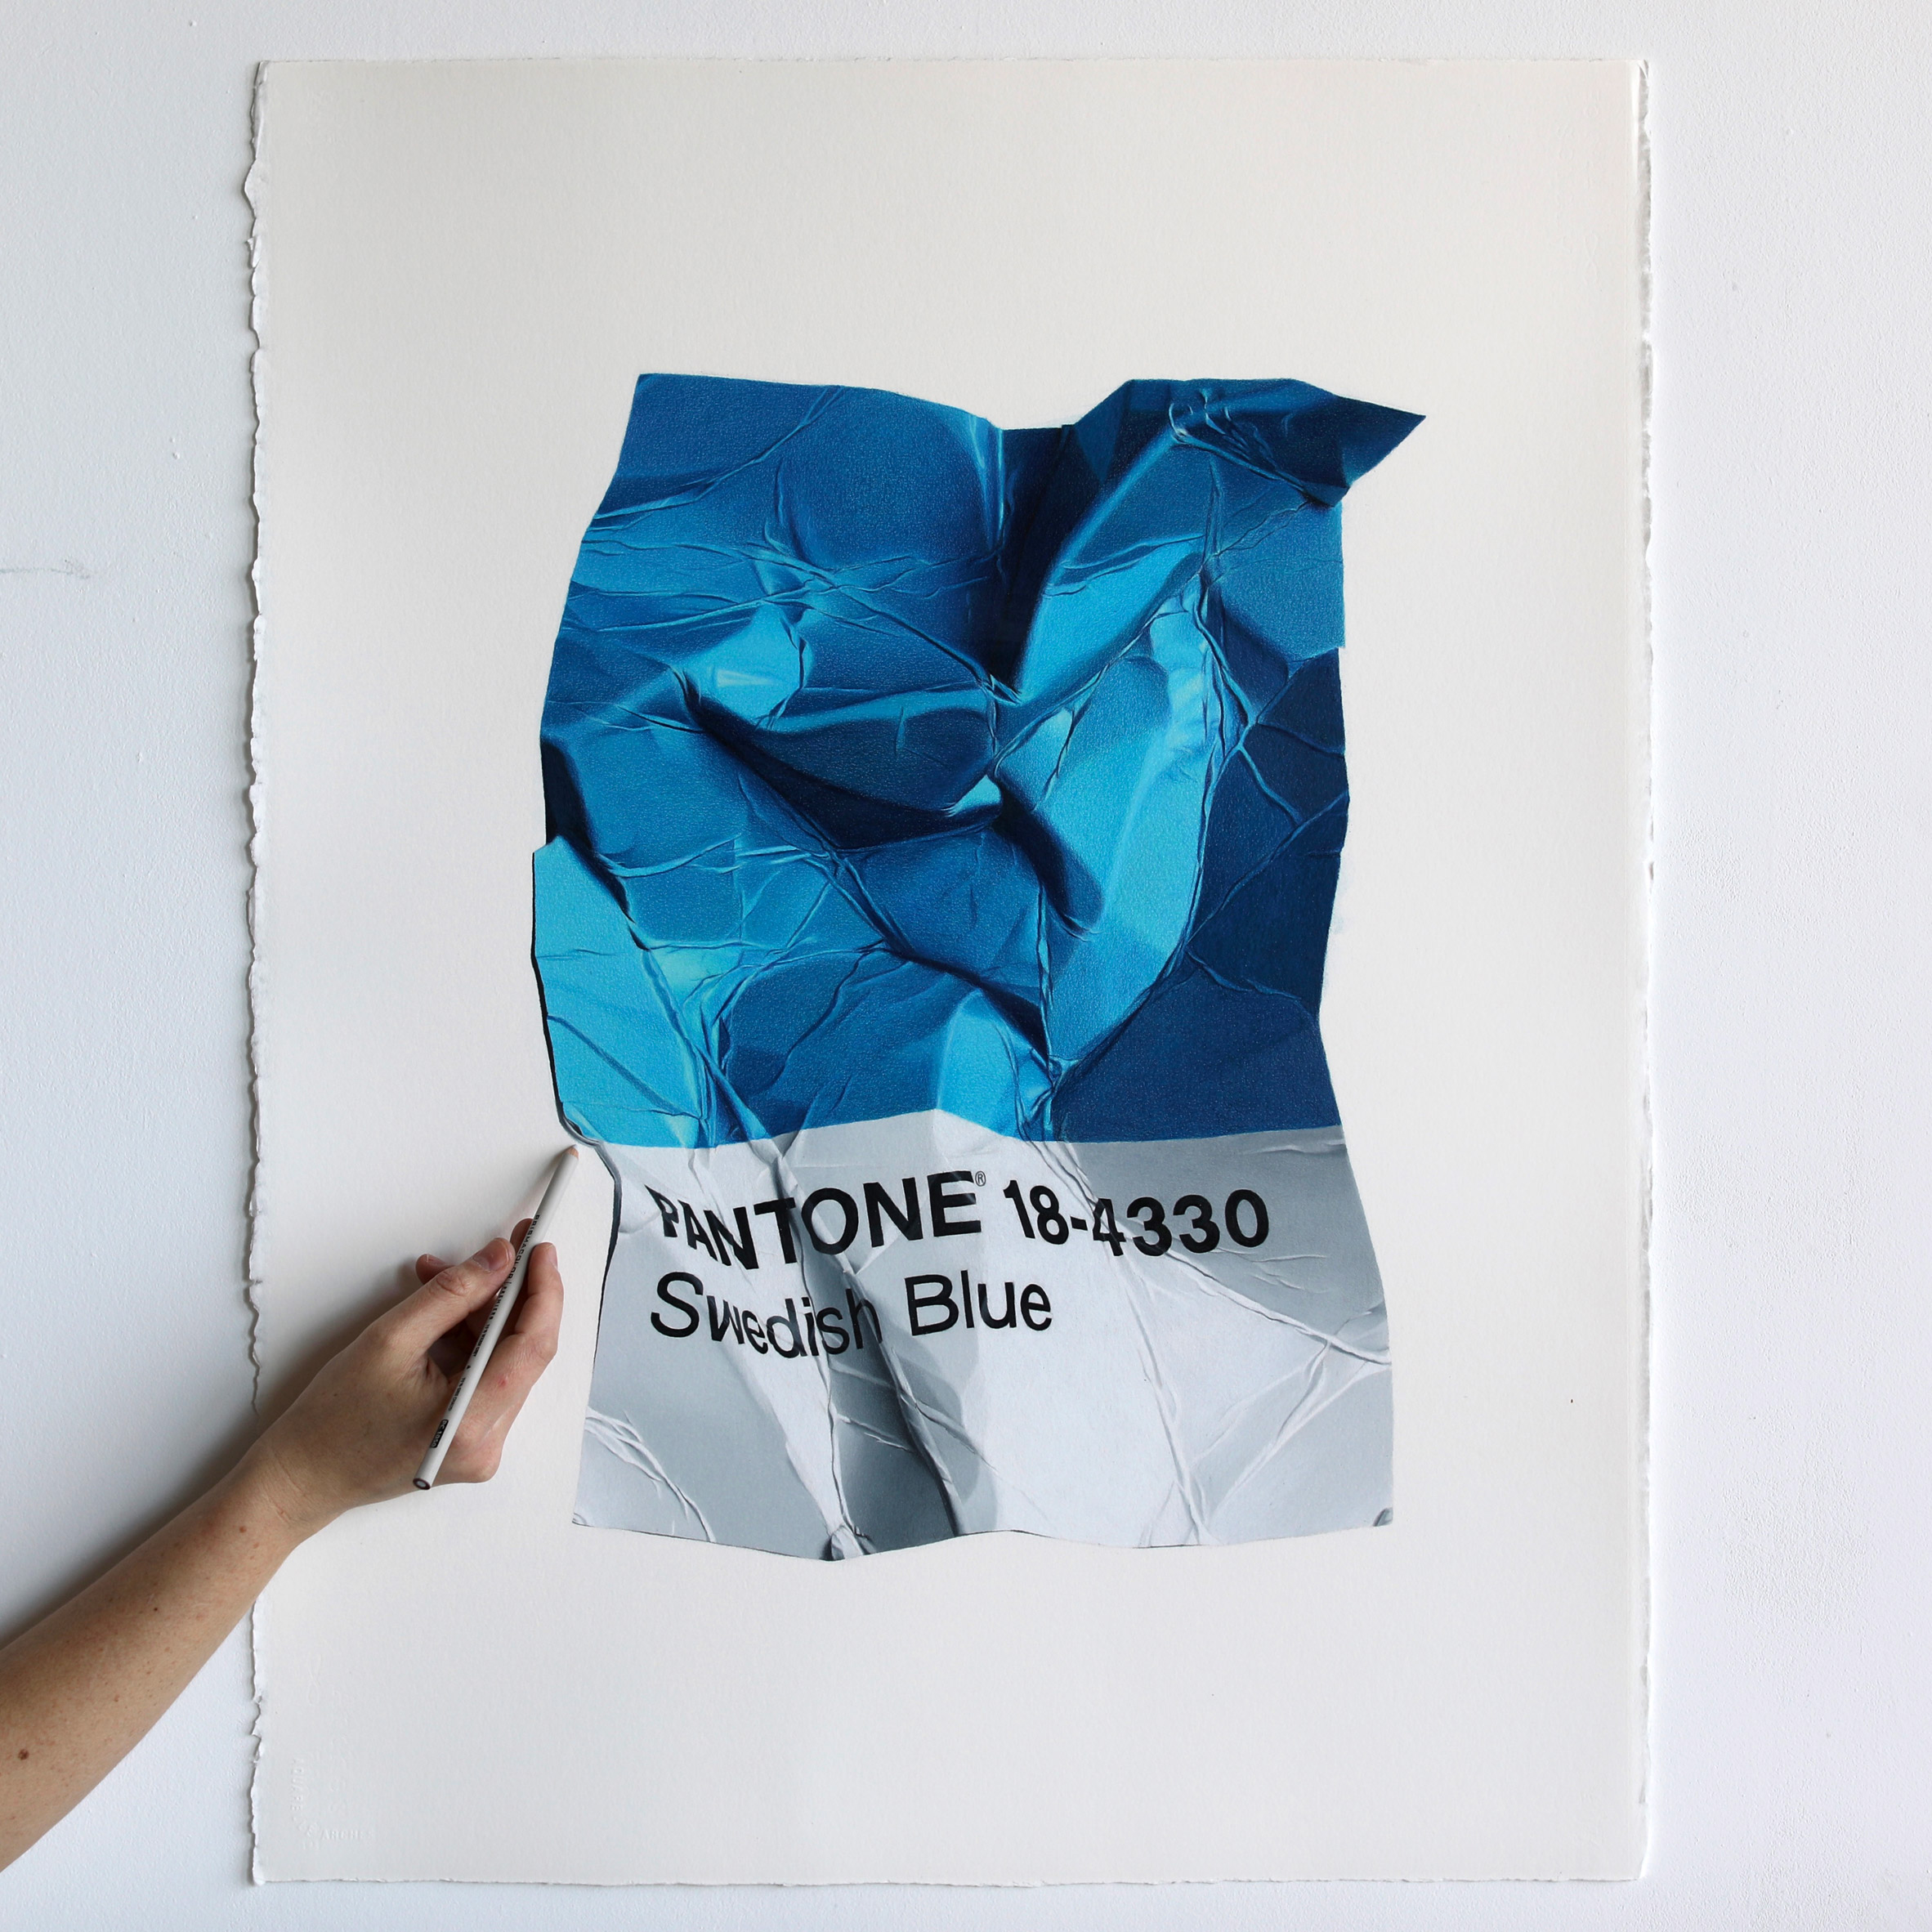
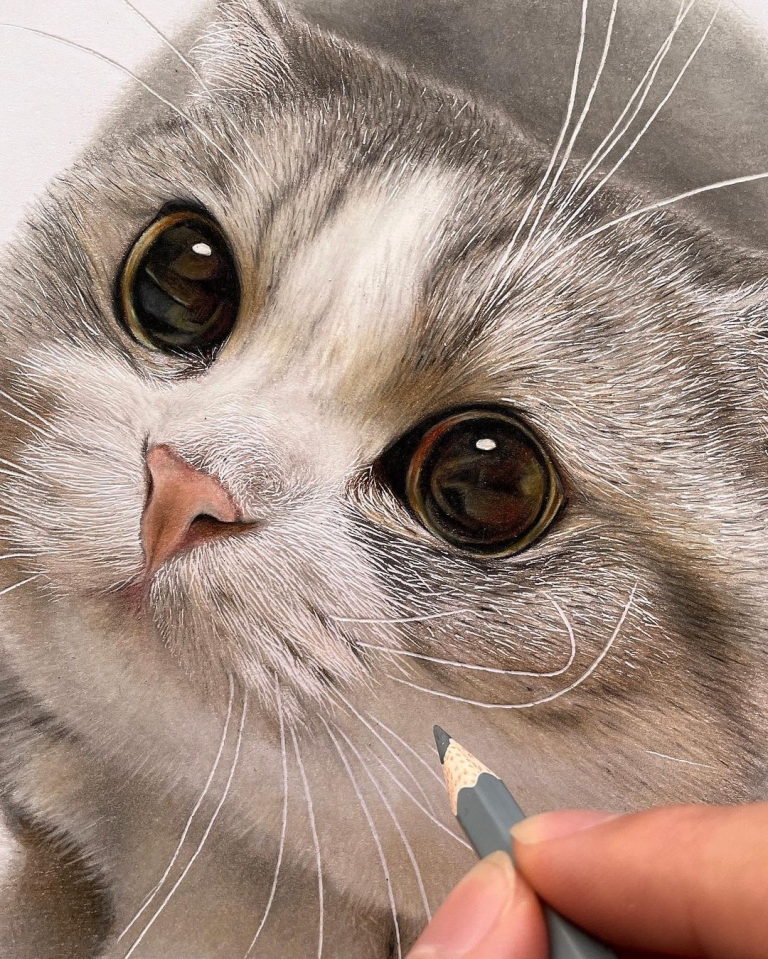
Starting Point
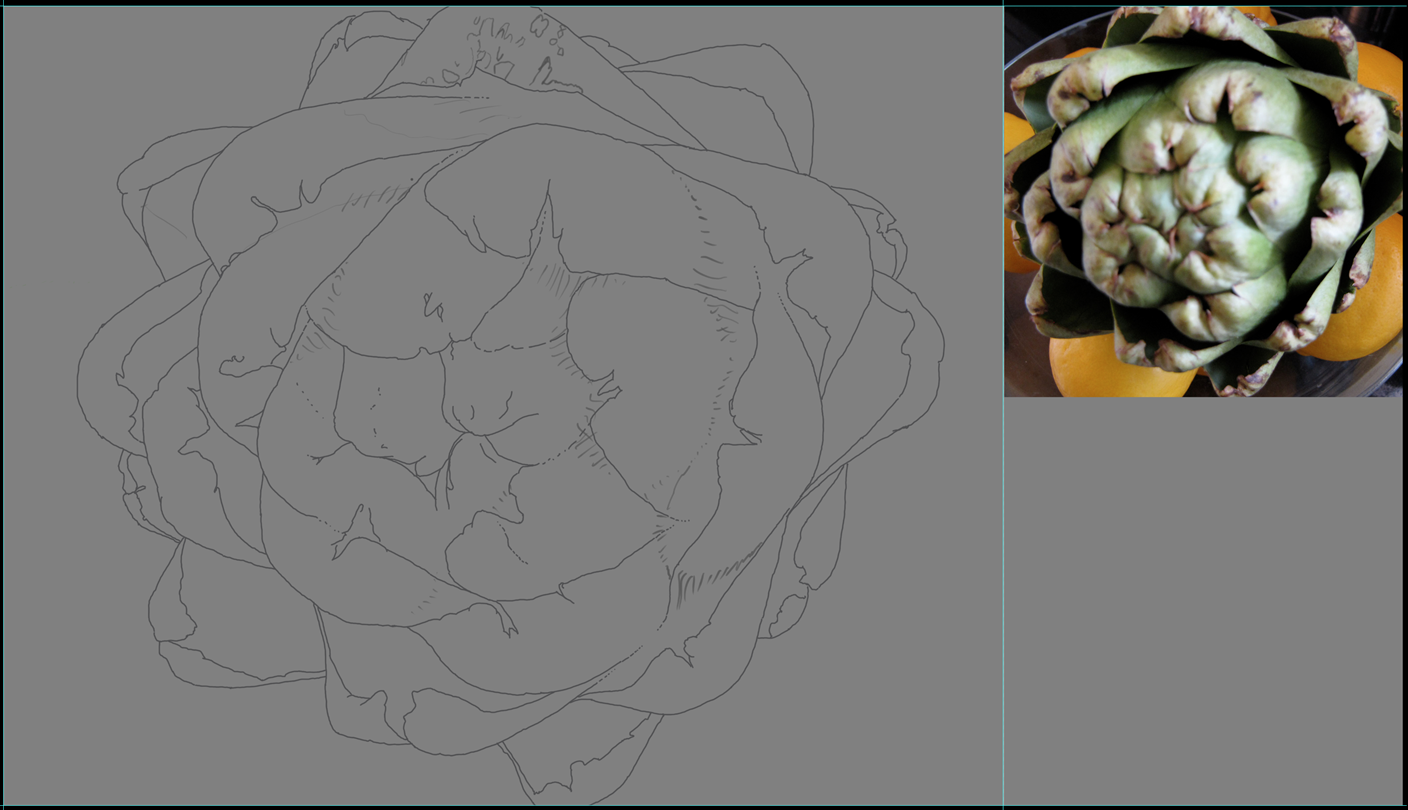
Last week we got to here: correctly sized, extra space on the right for color swatches and course images.
From here, we'll block out the color of the artichoke and start coloring with the Hard Round 8px brush.

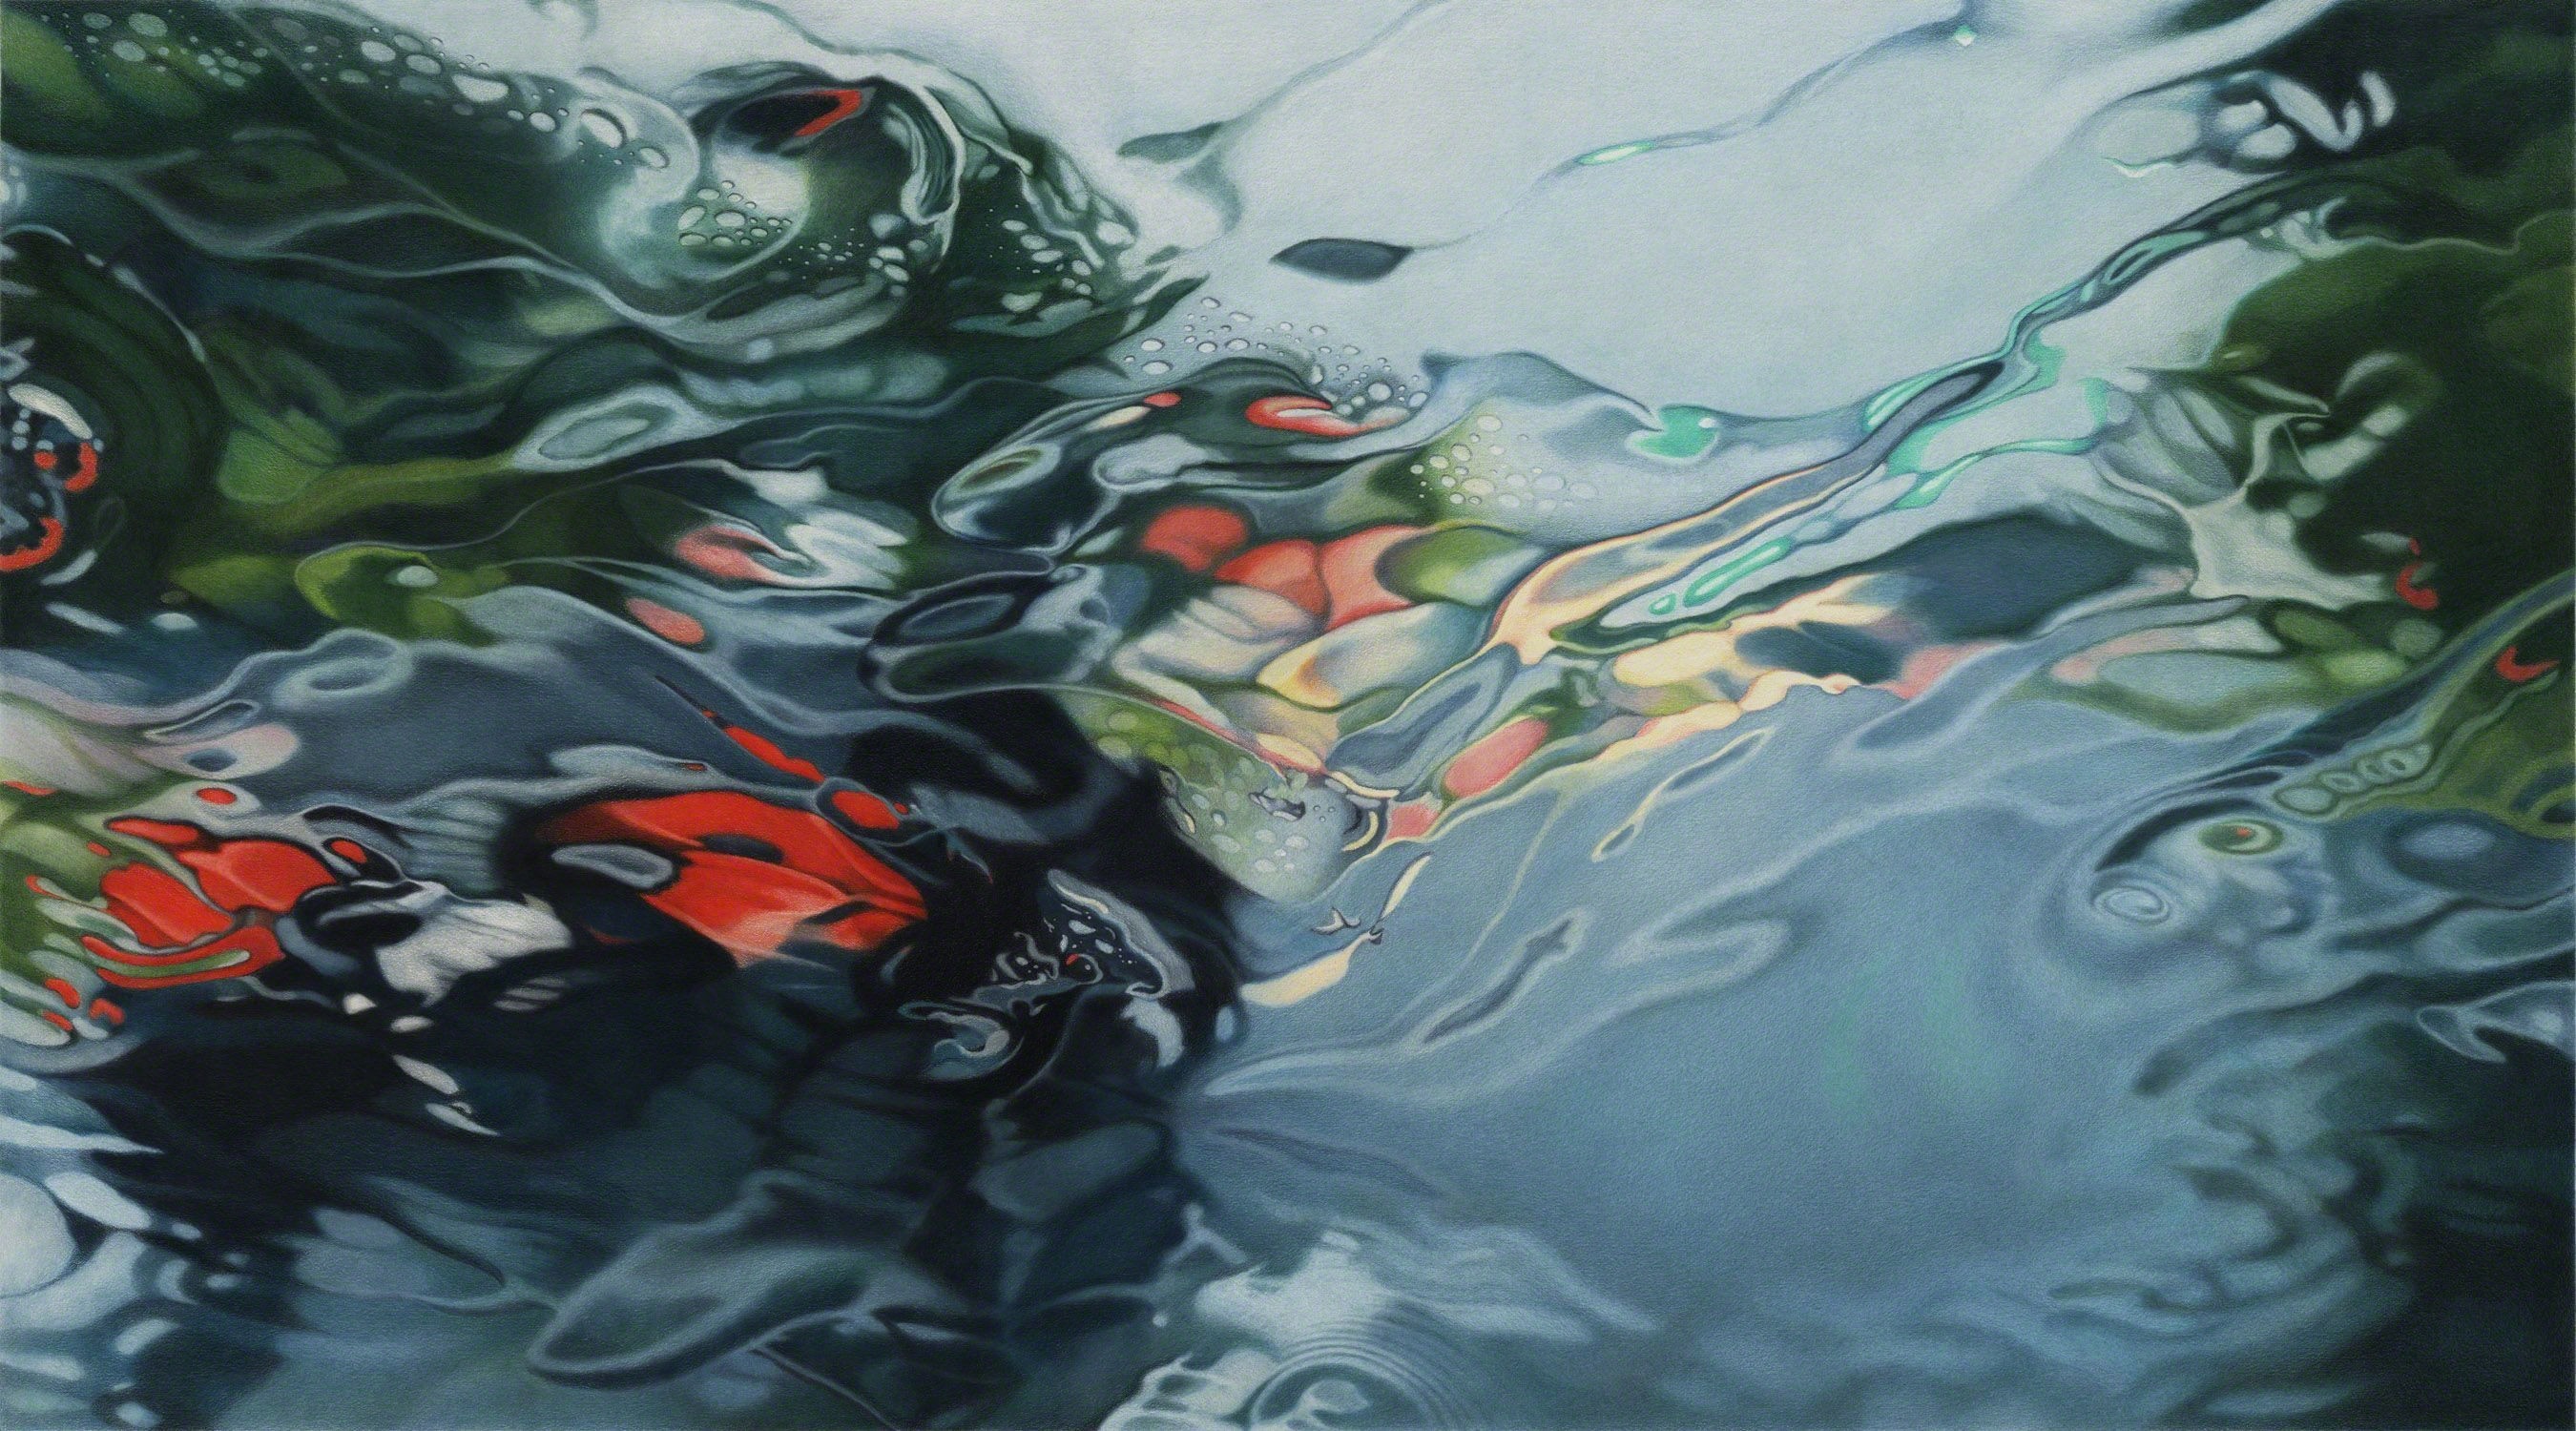
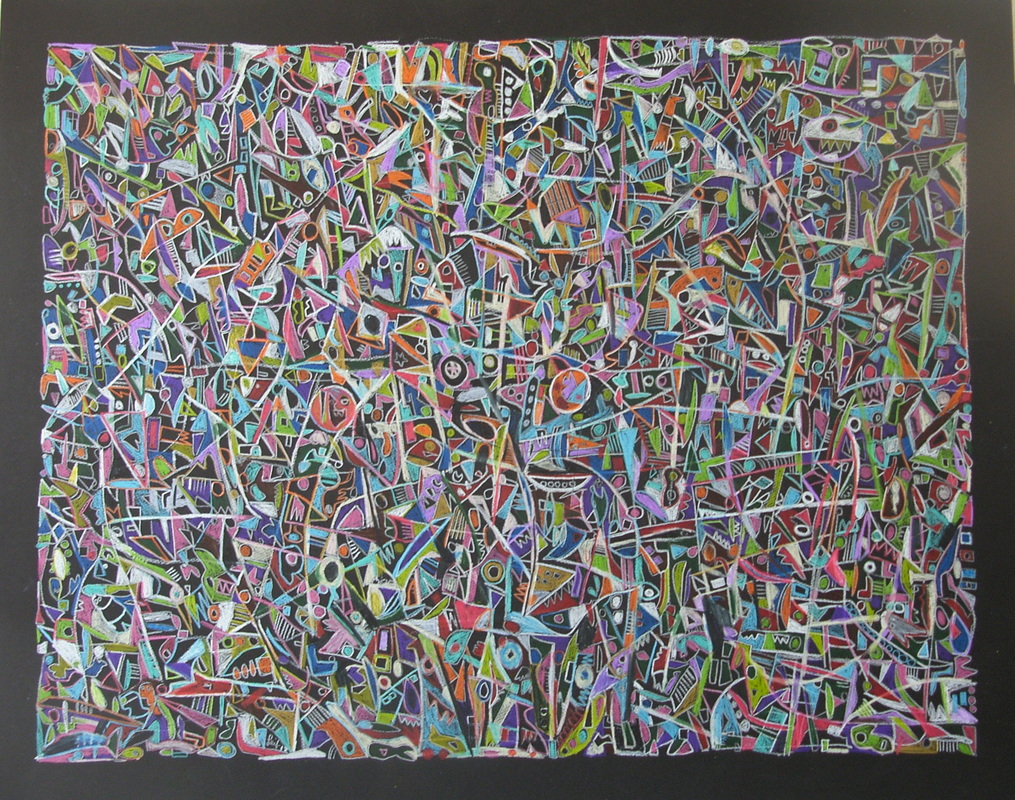

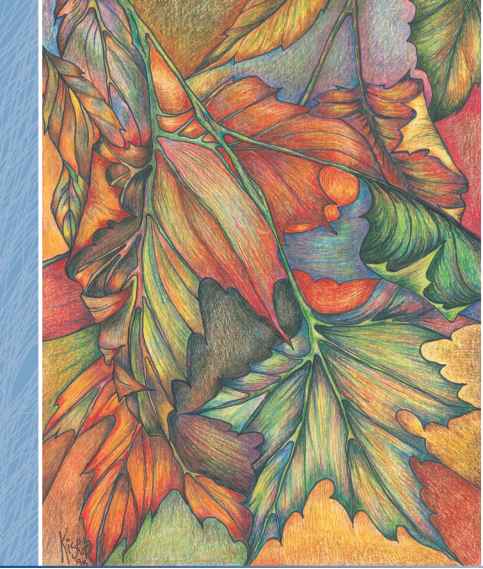

My version setup: khazarj-assignment04-01.psd.zip
My finished version: khazarj-assignment04-23-cmyk.psd.zip
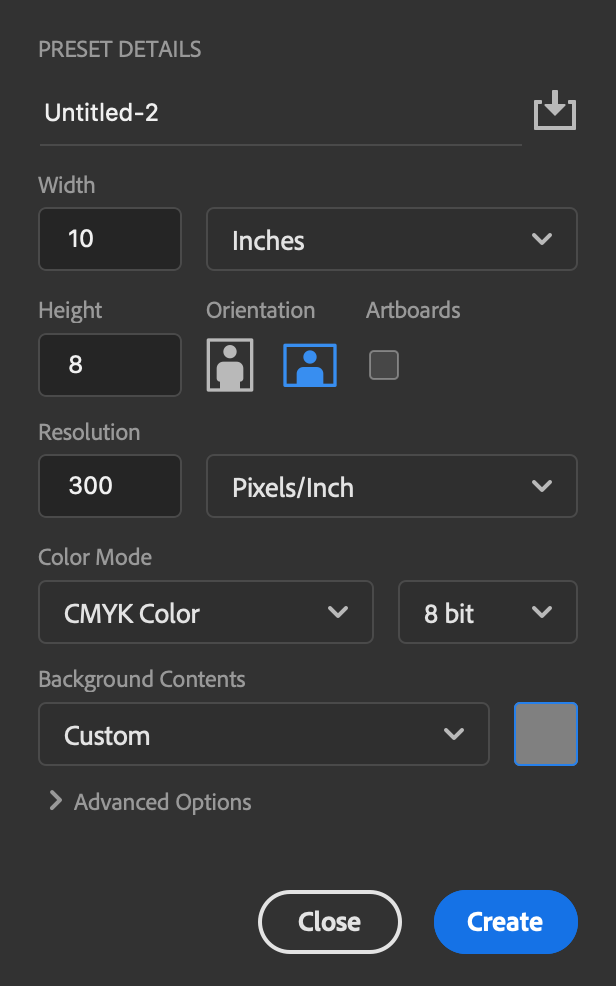
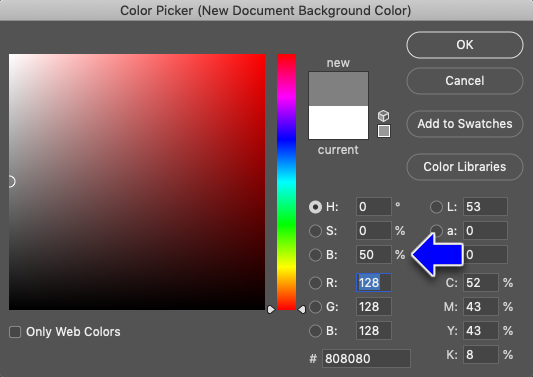
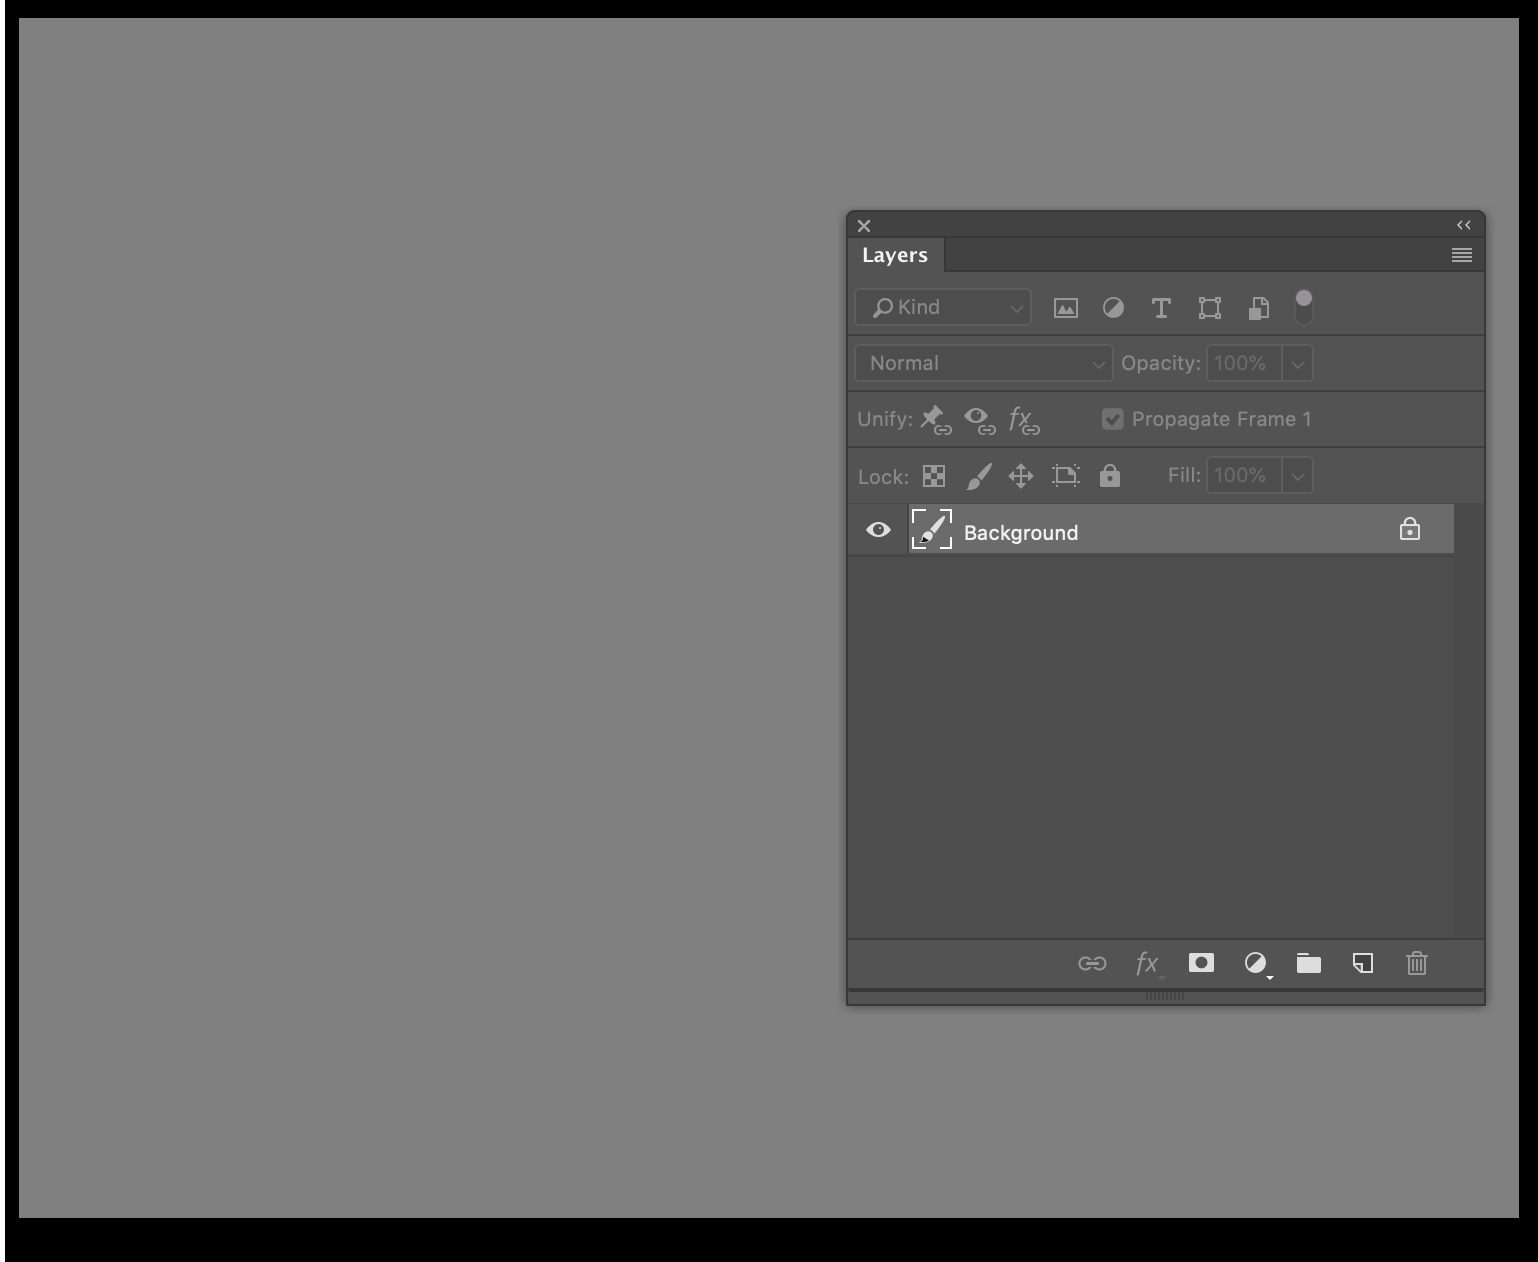
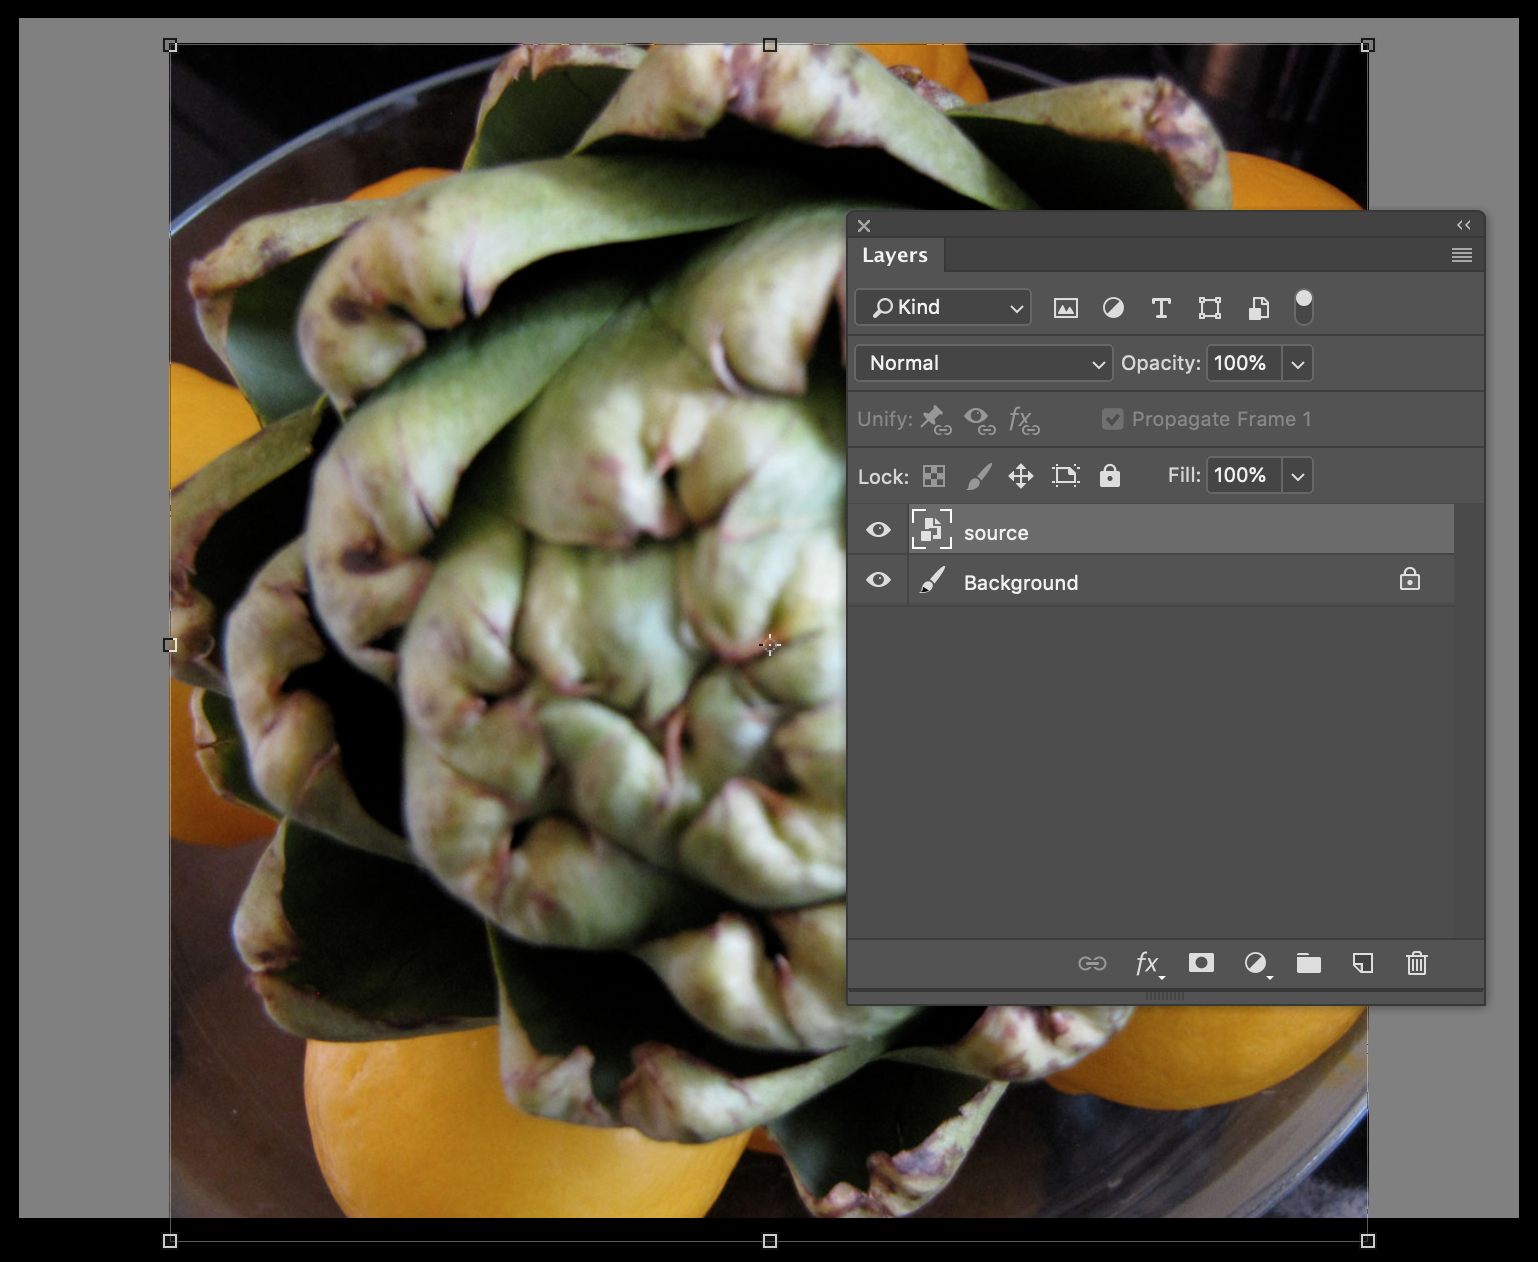
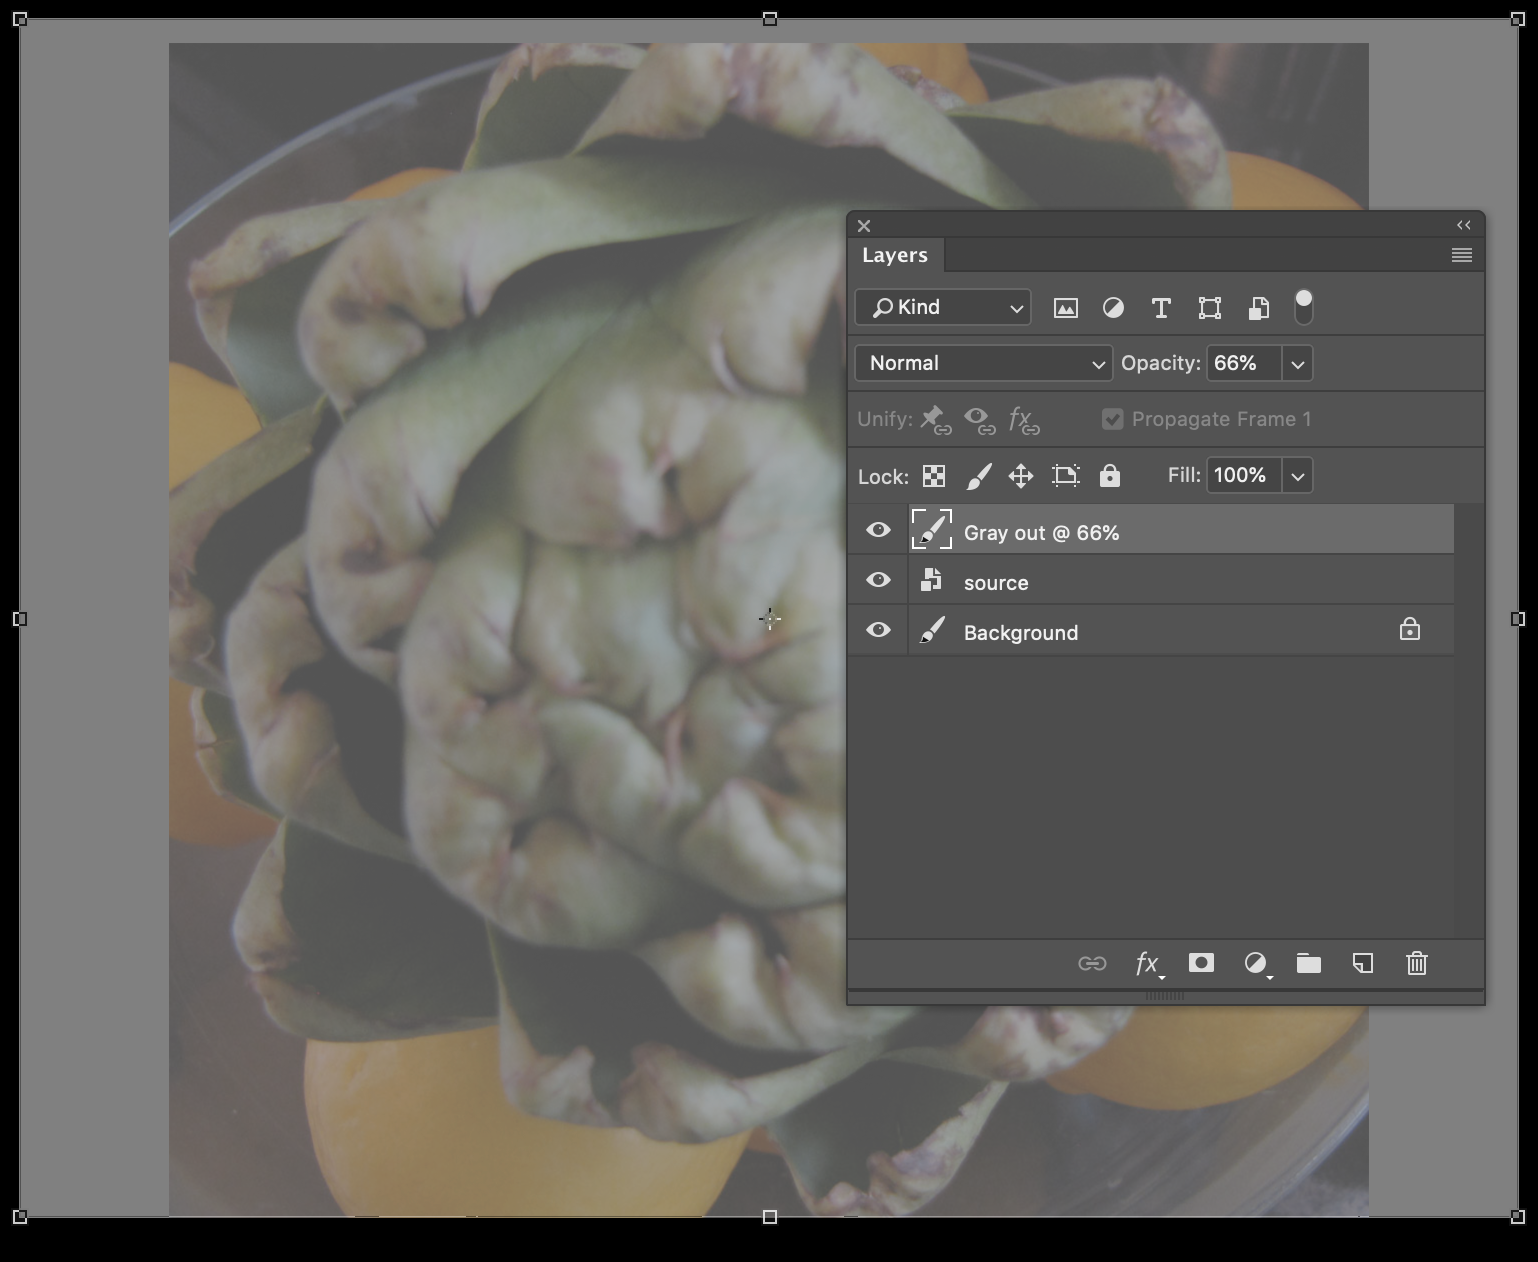
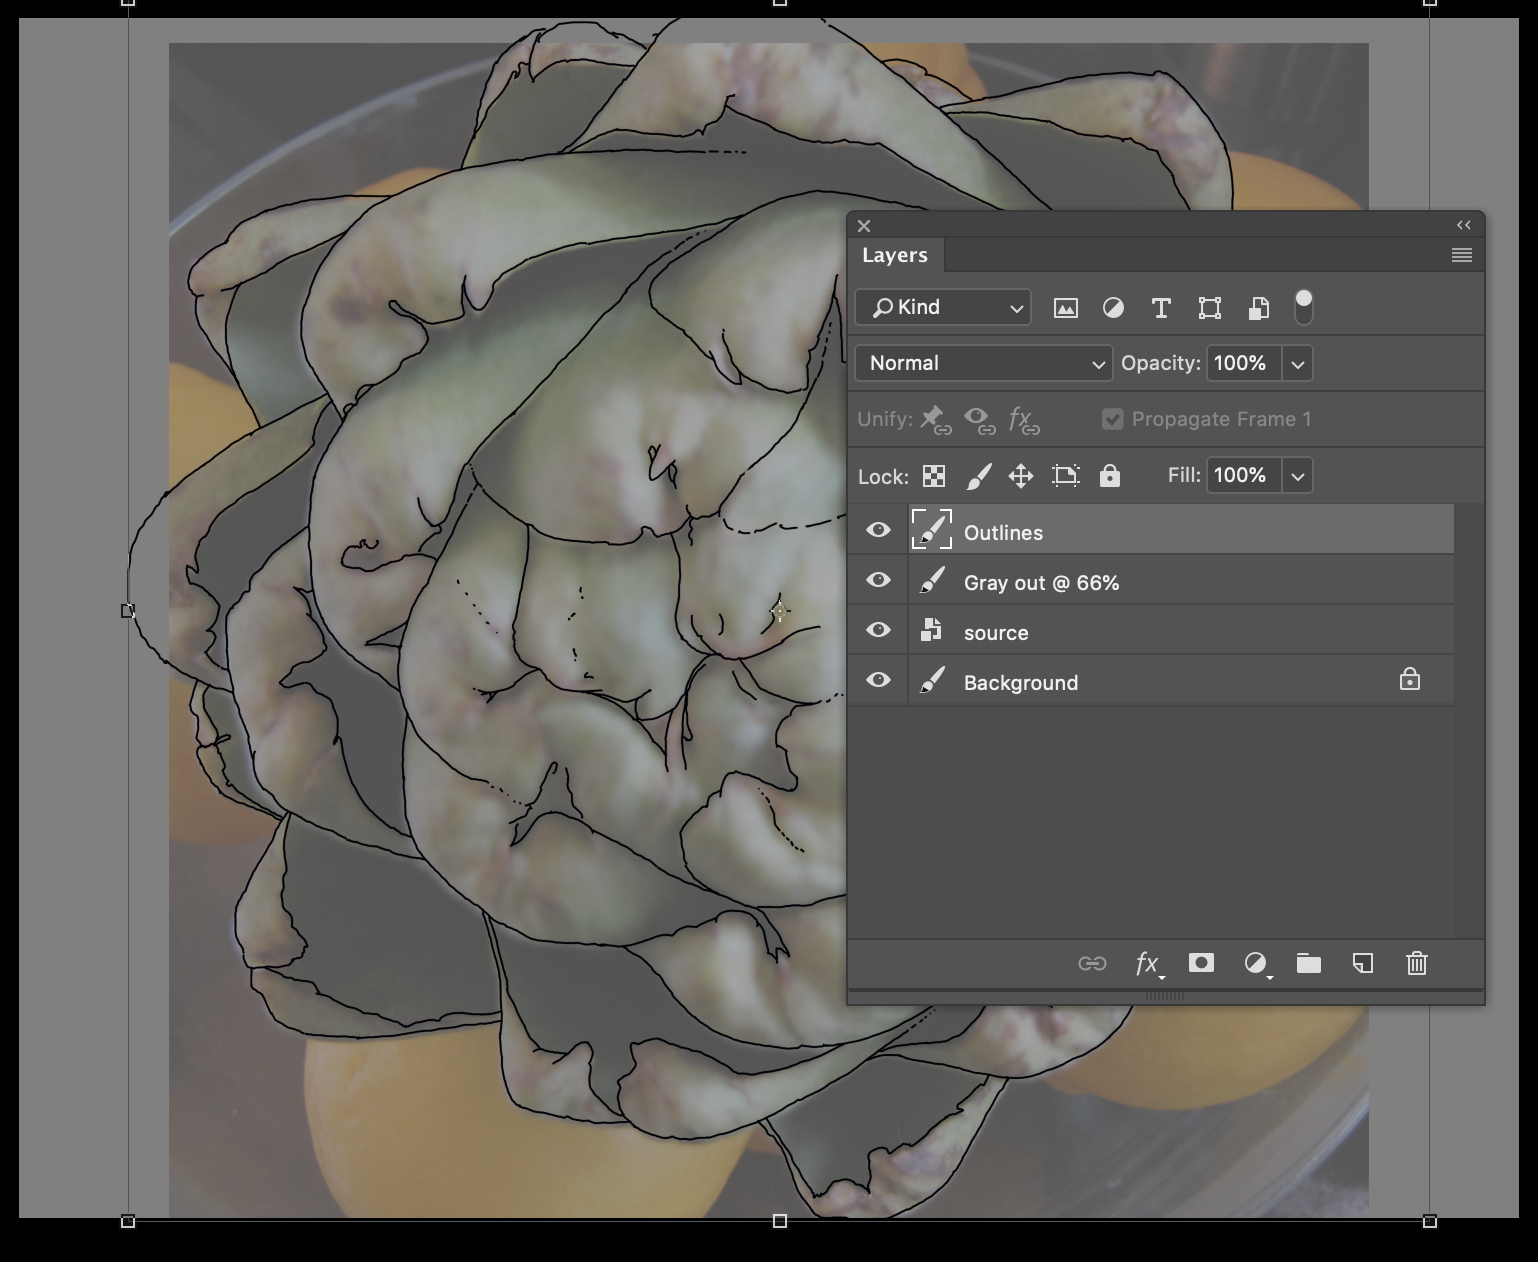
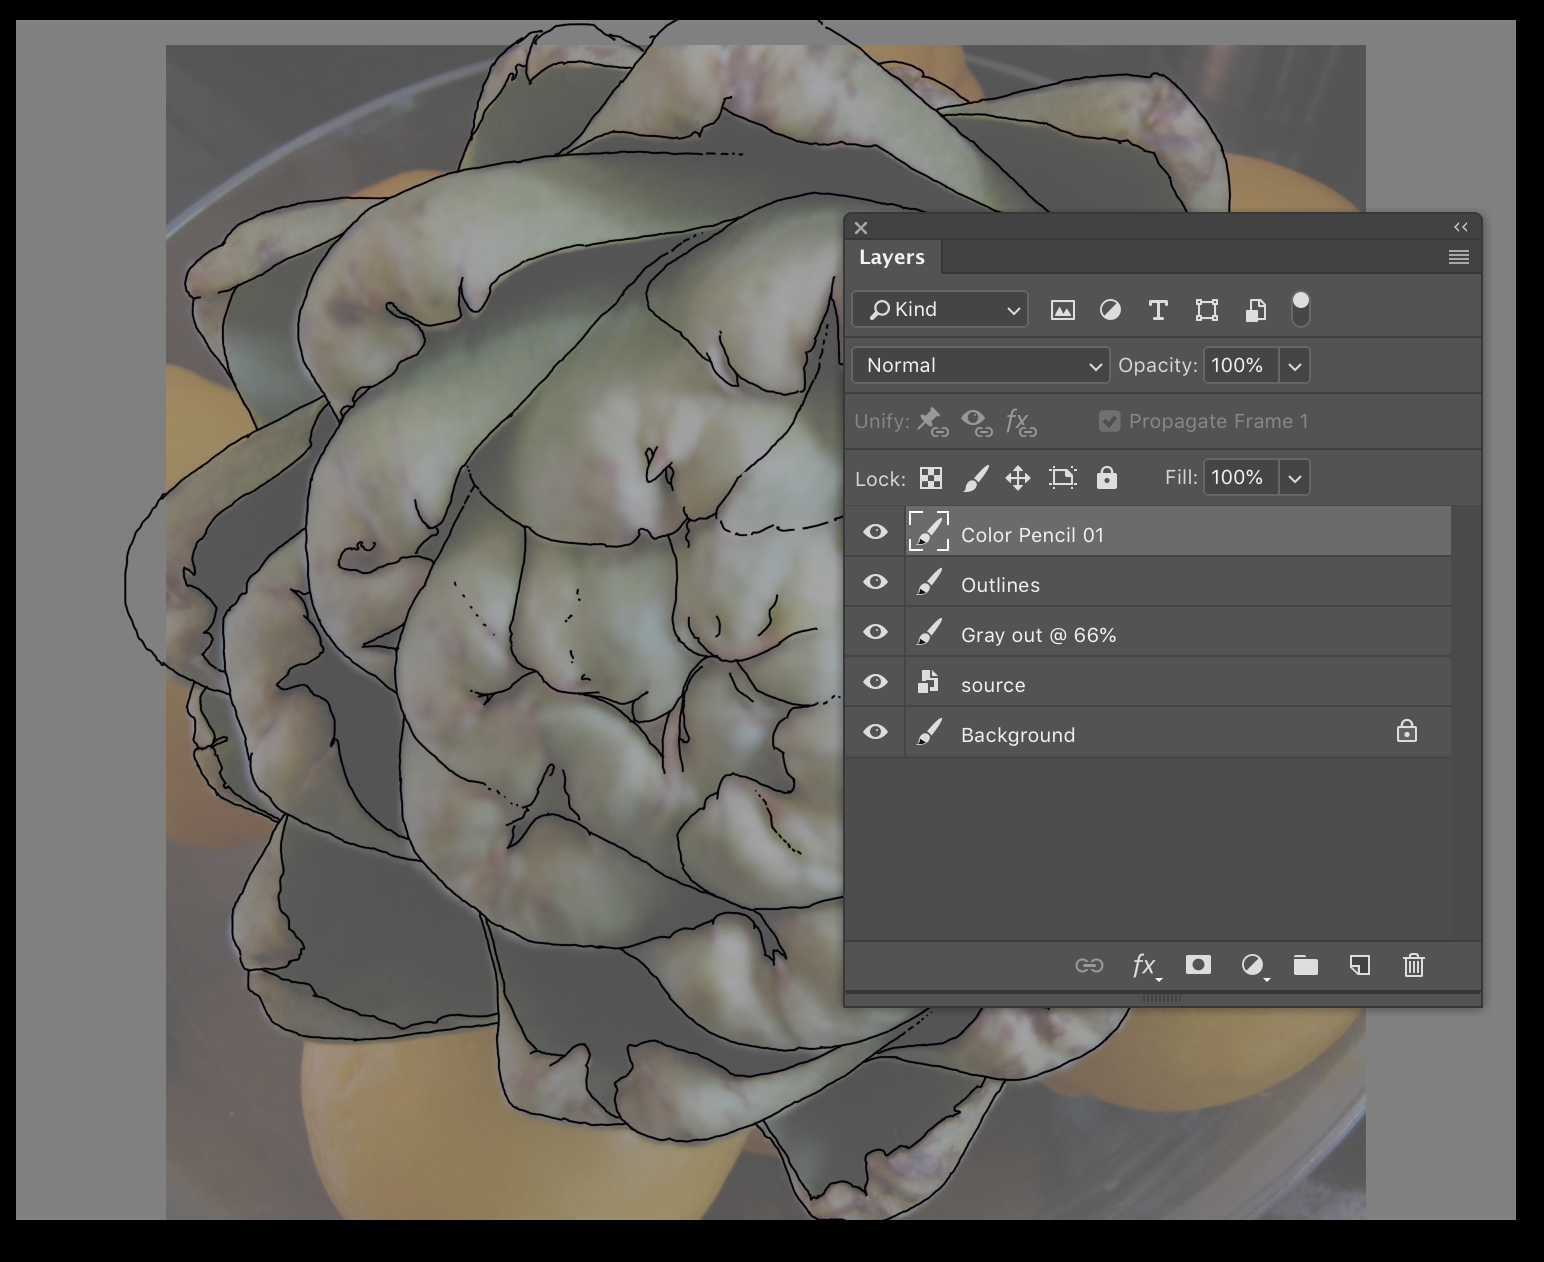
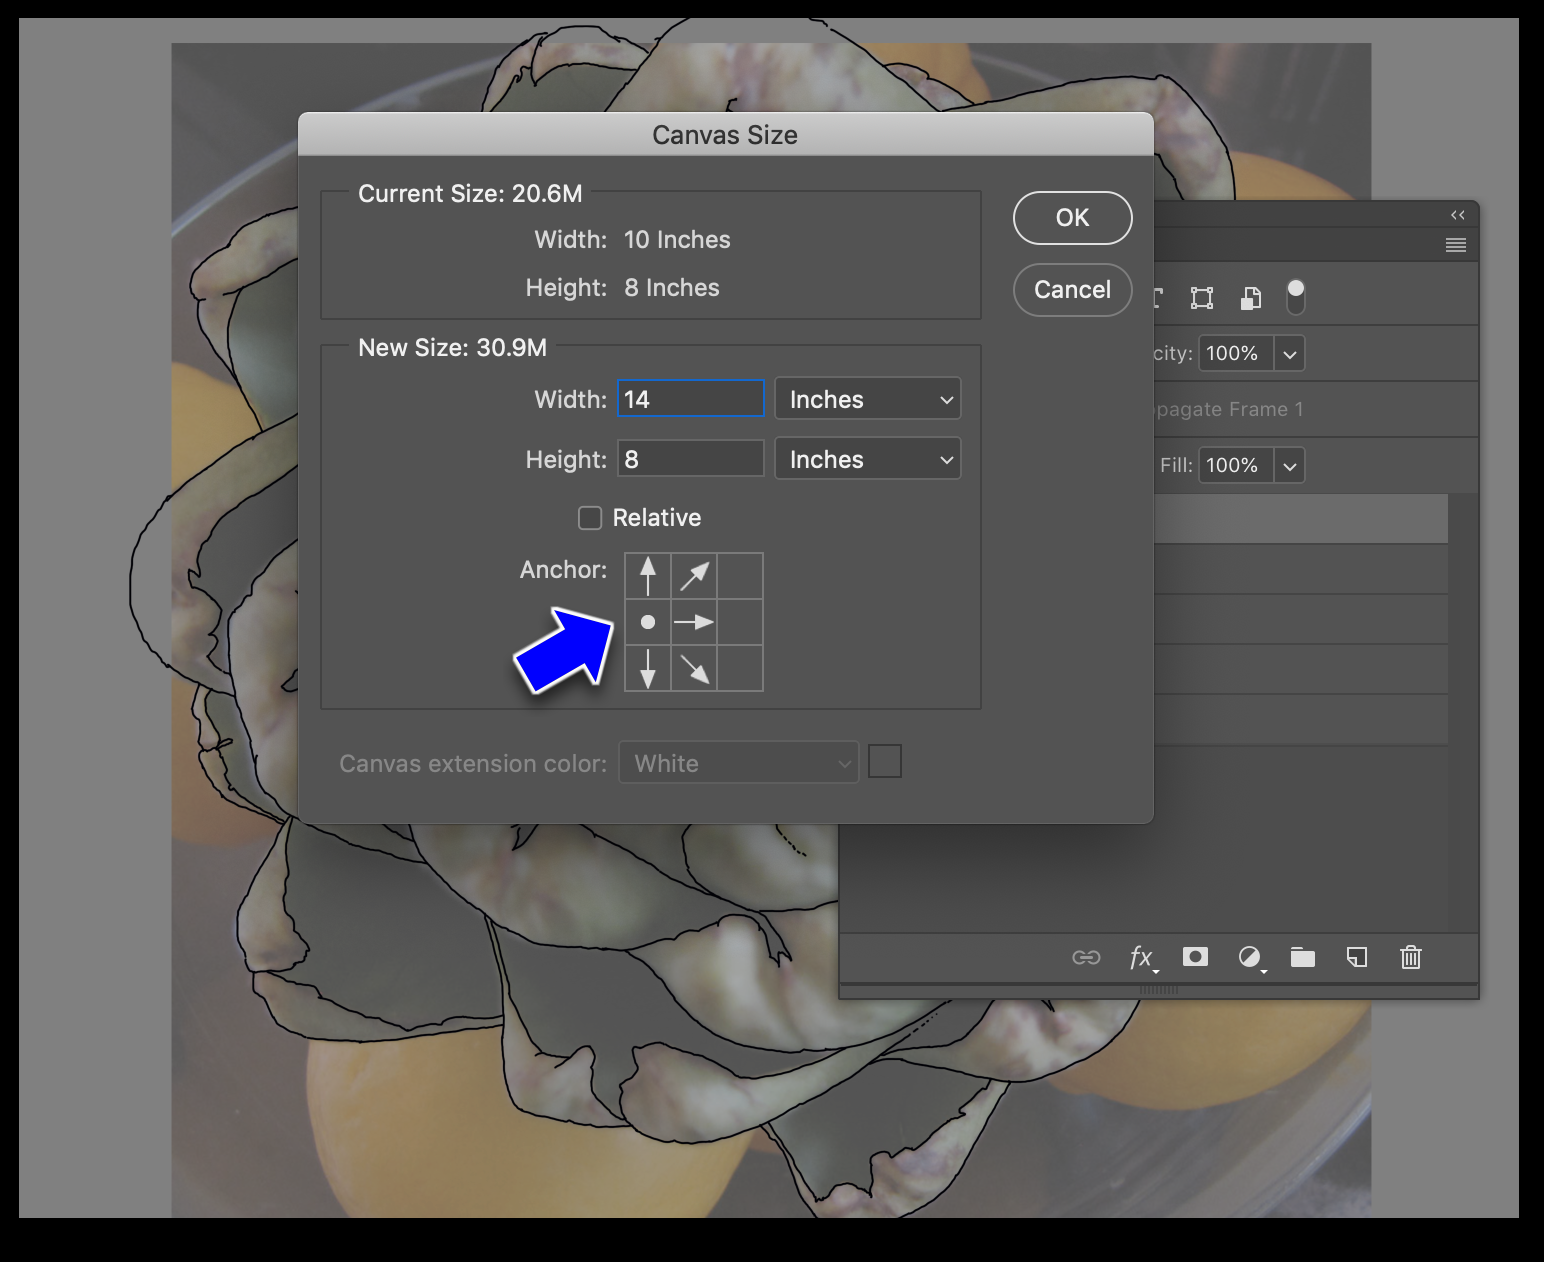
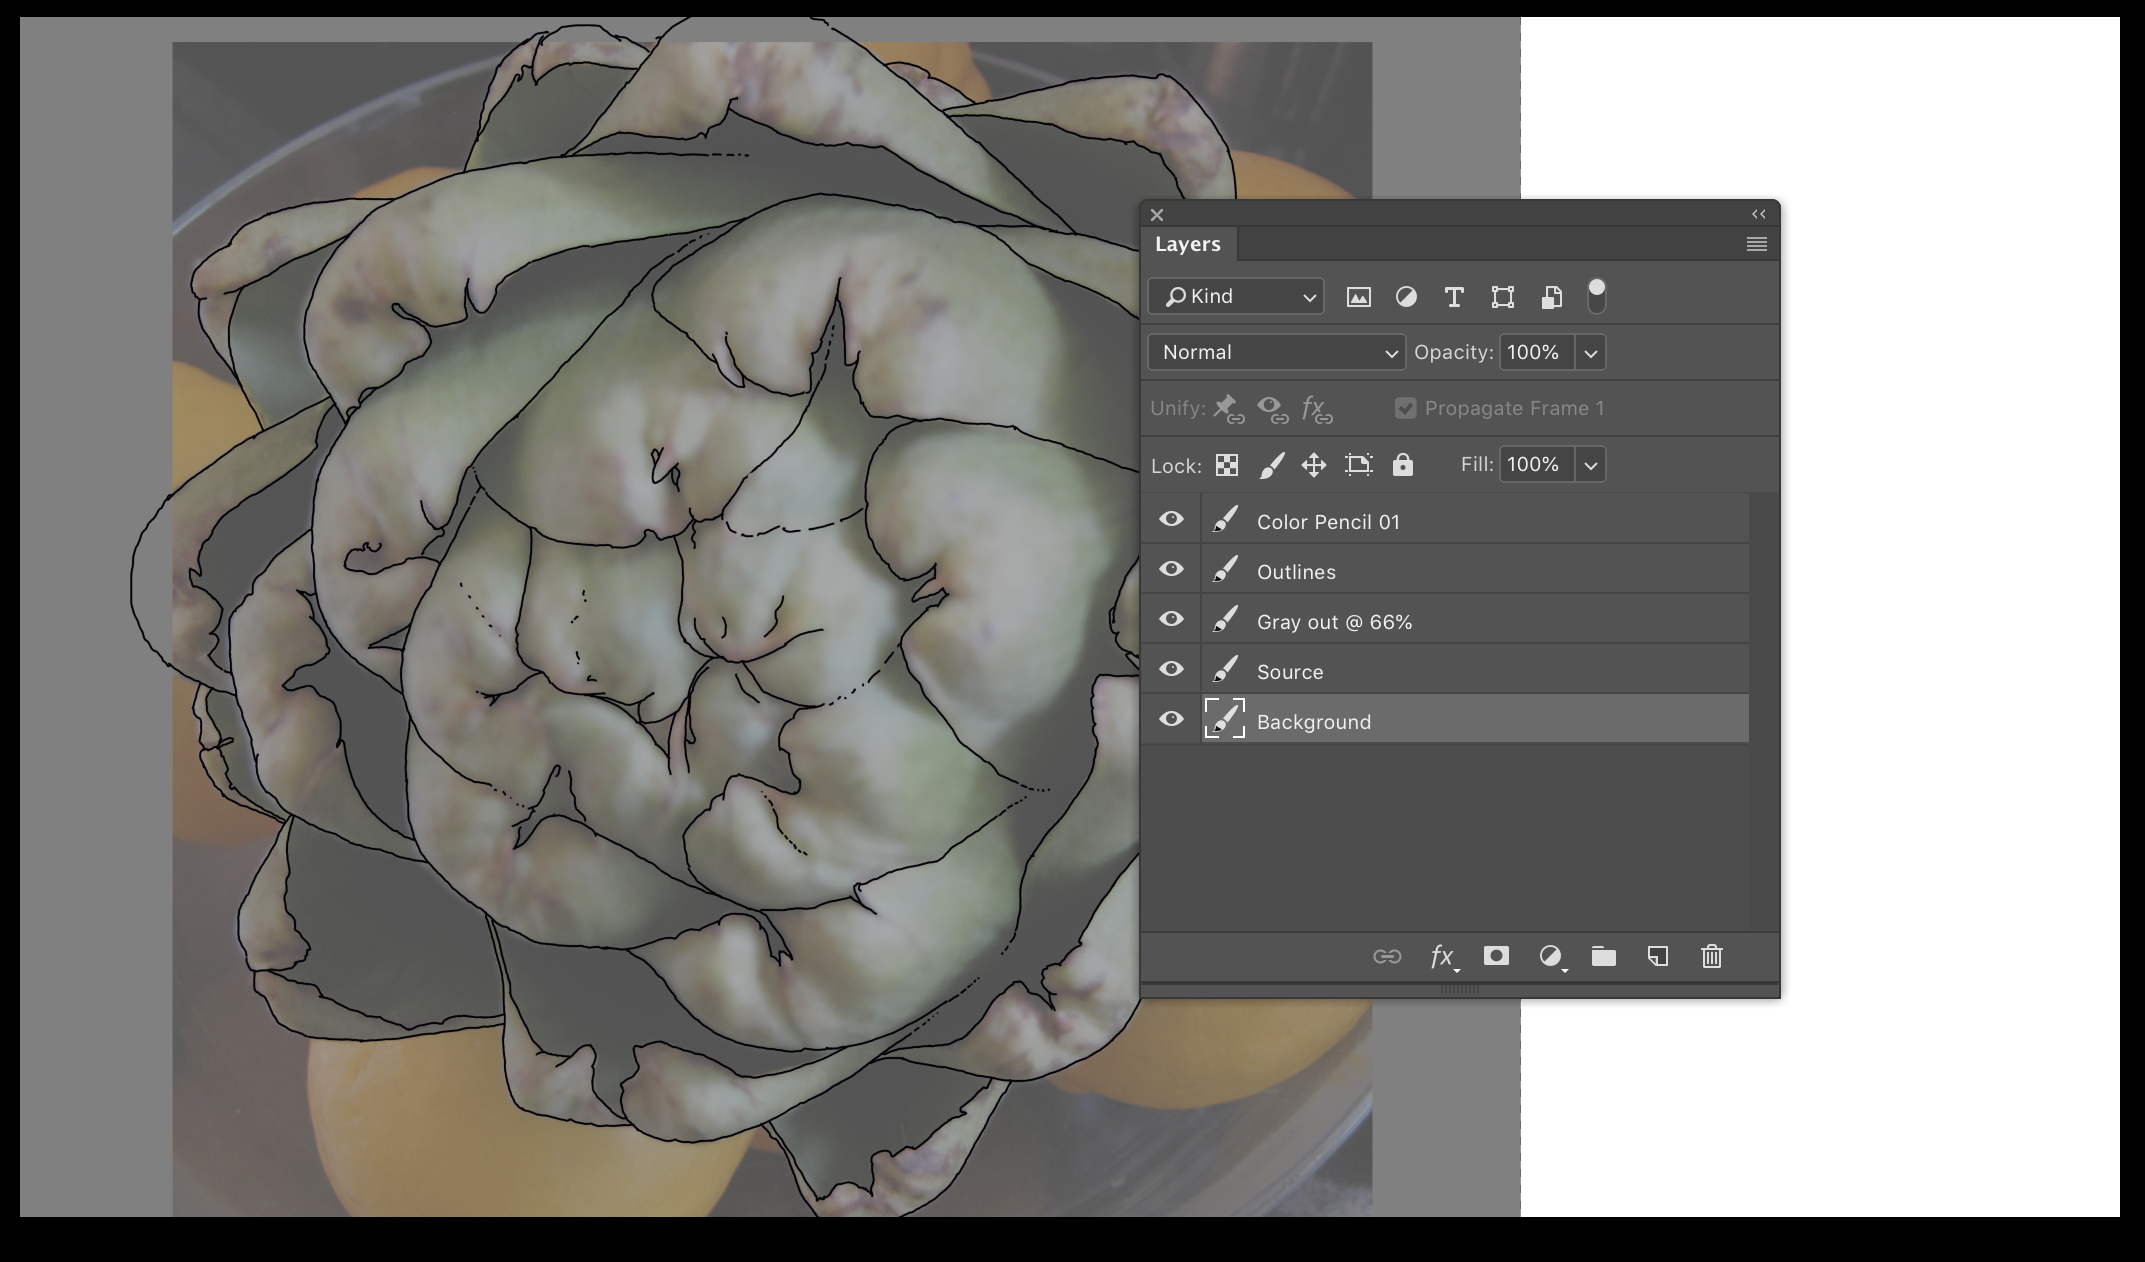
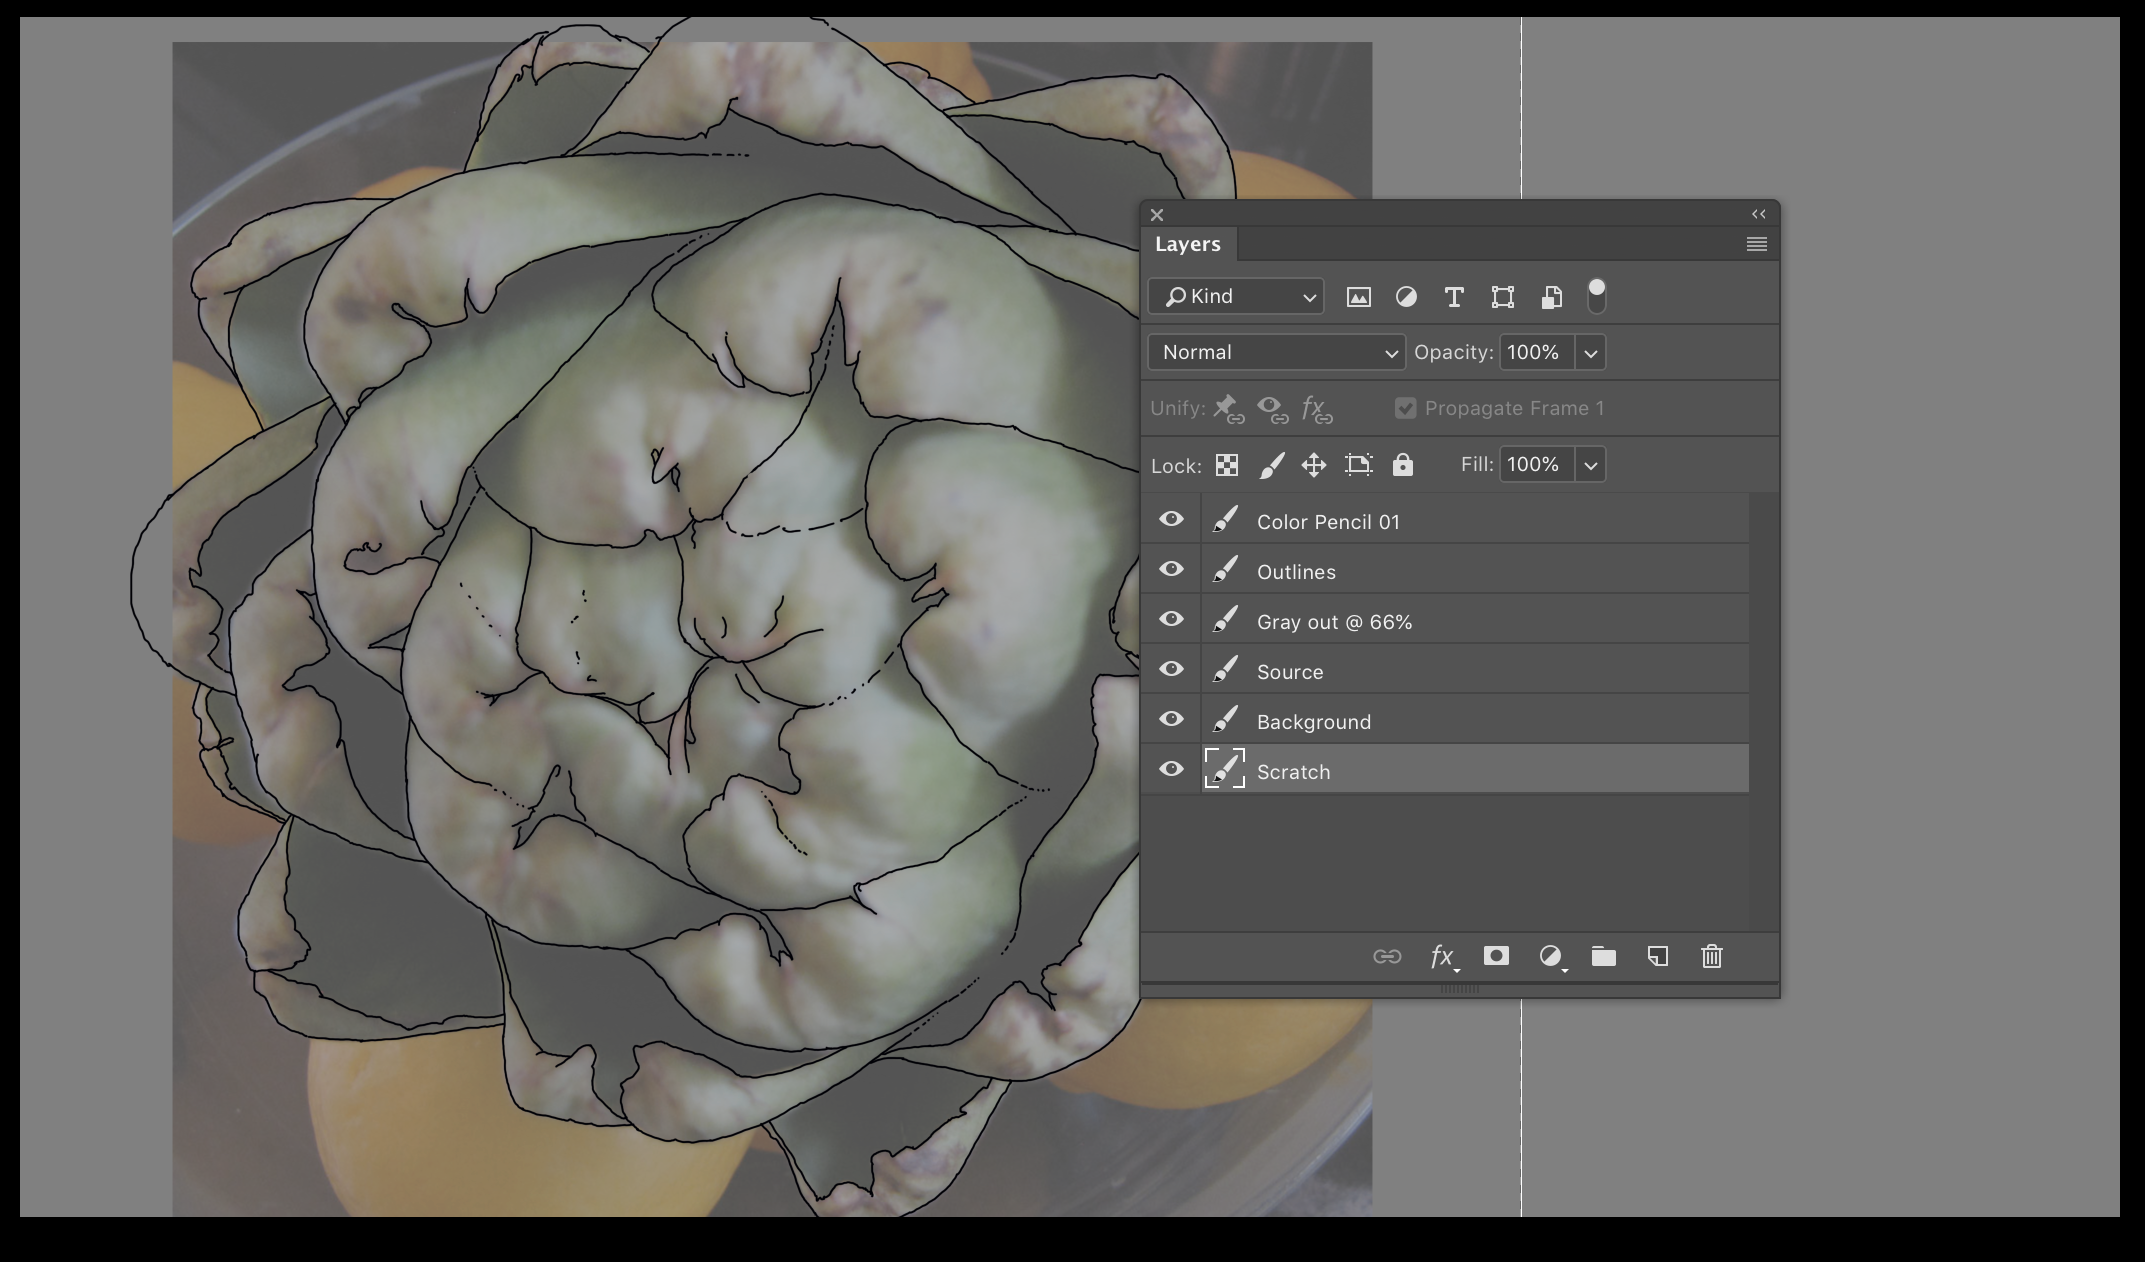
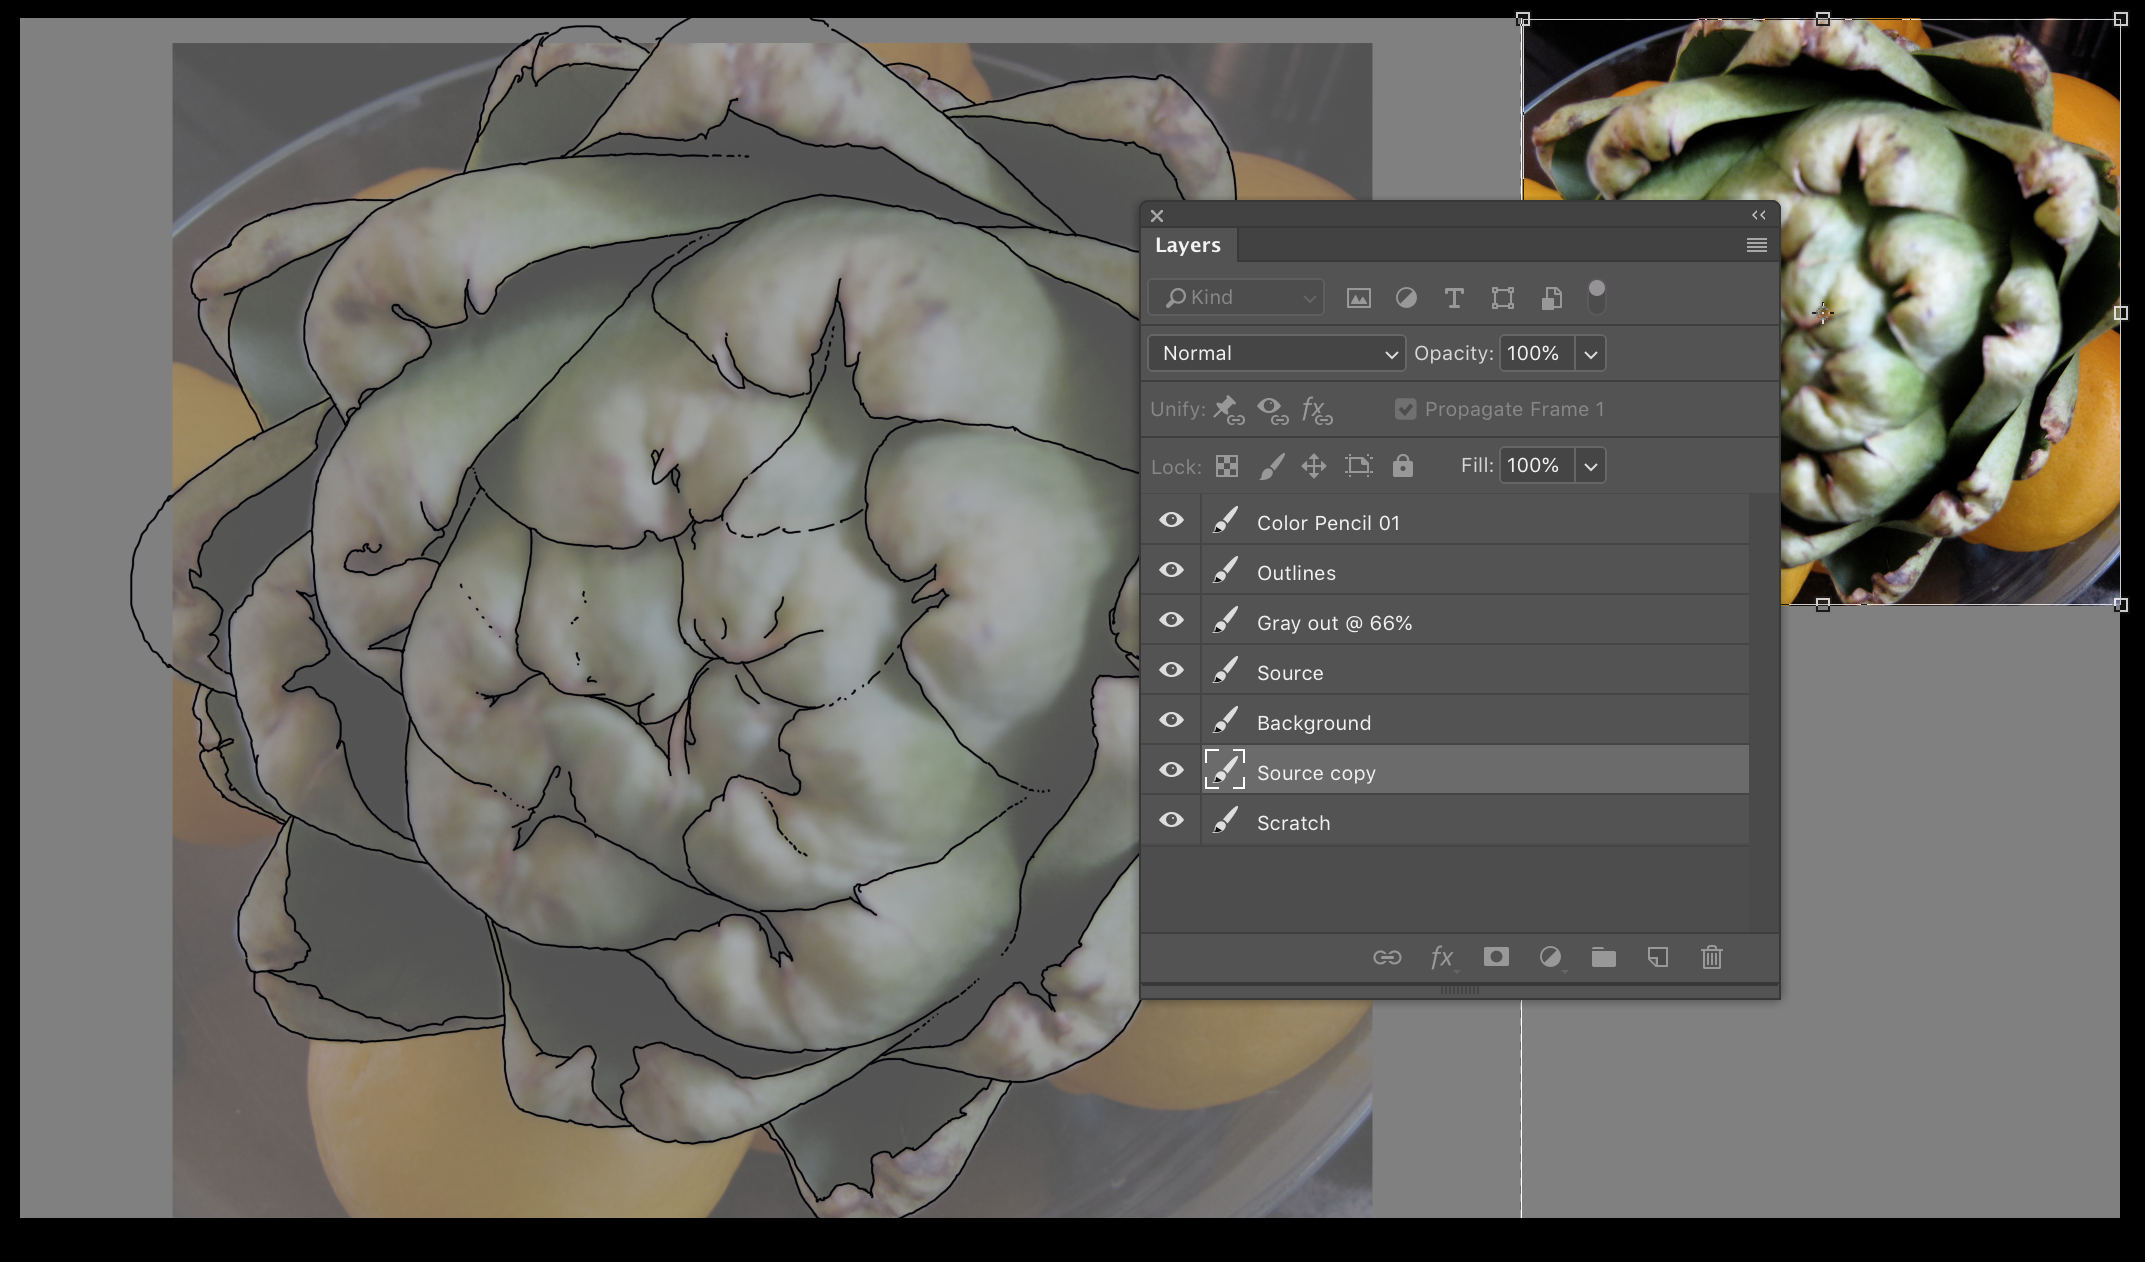
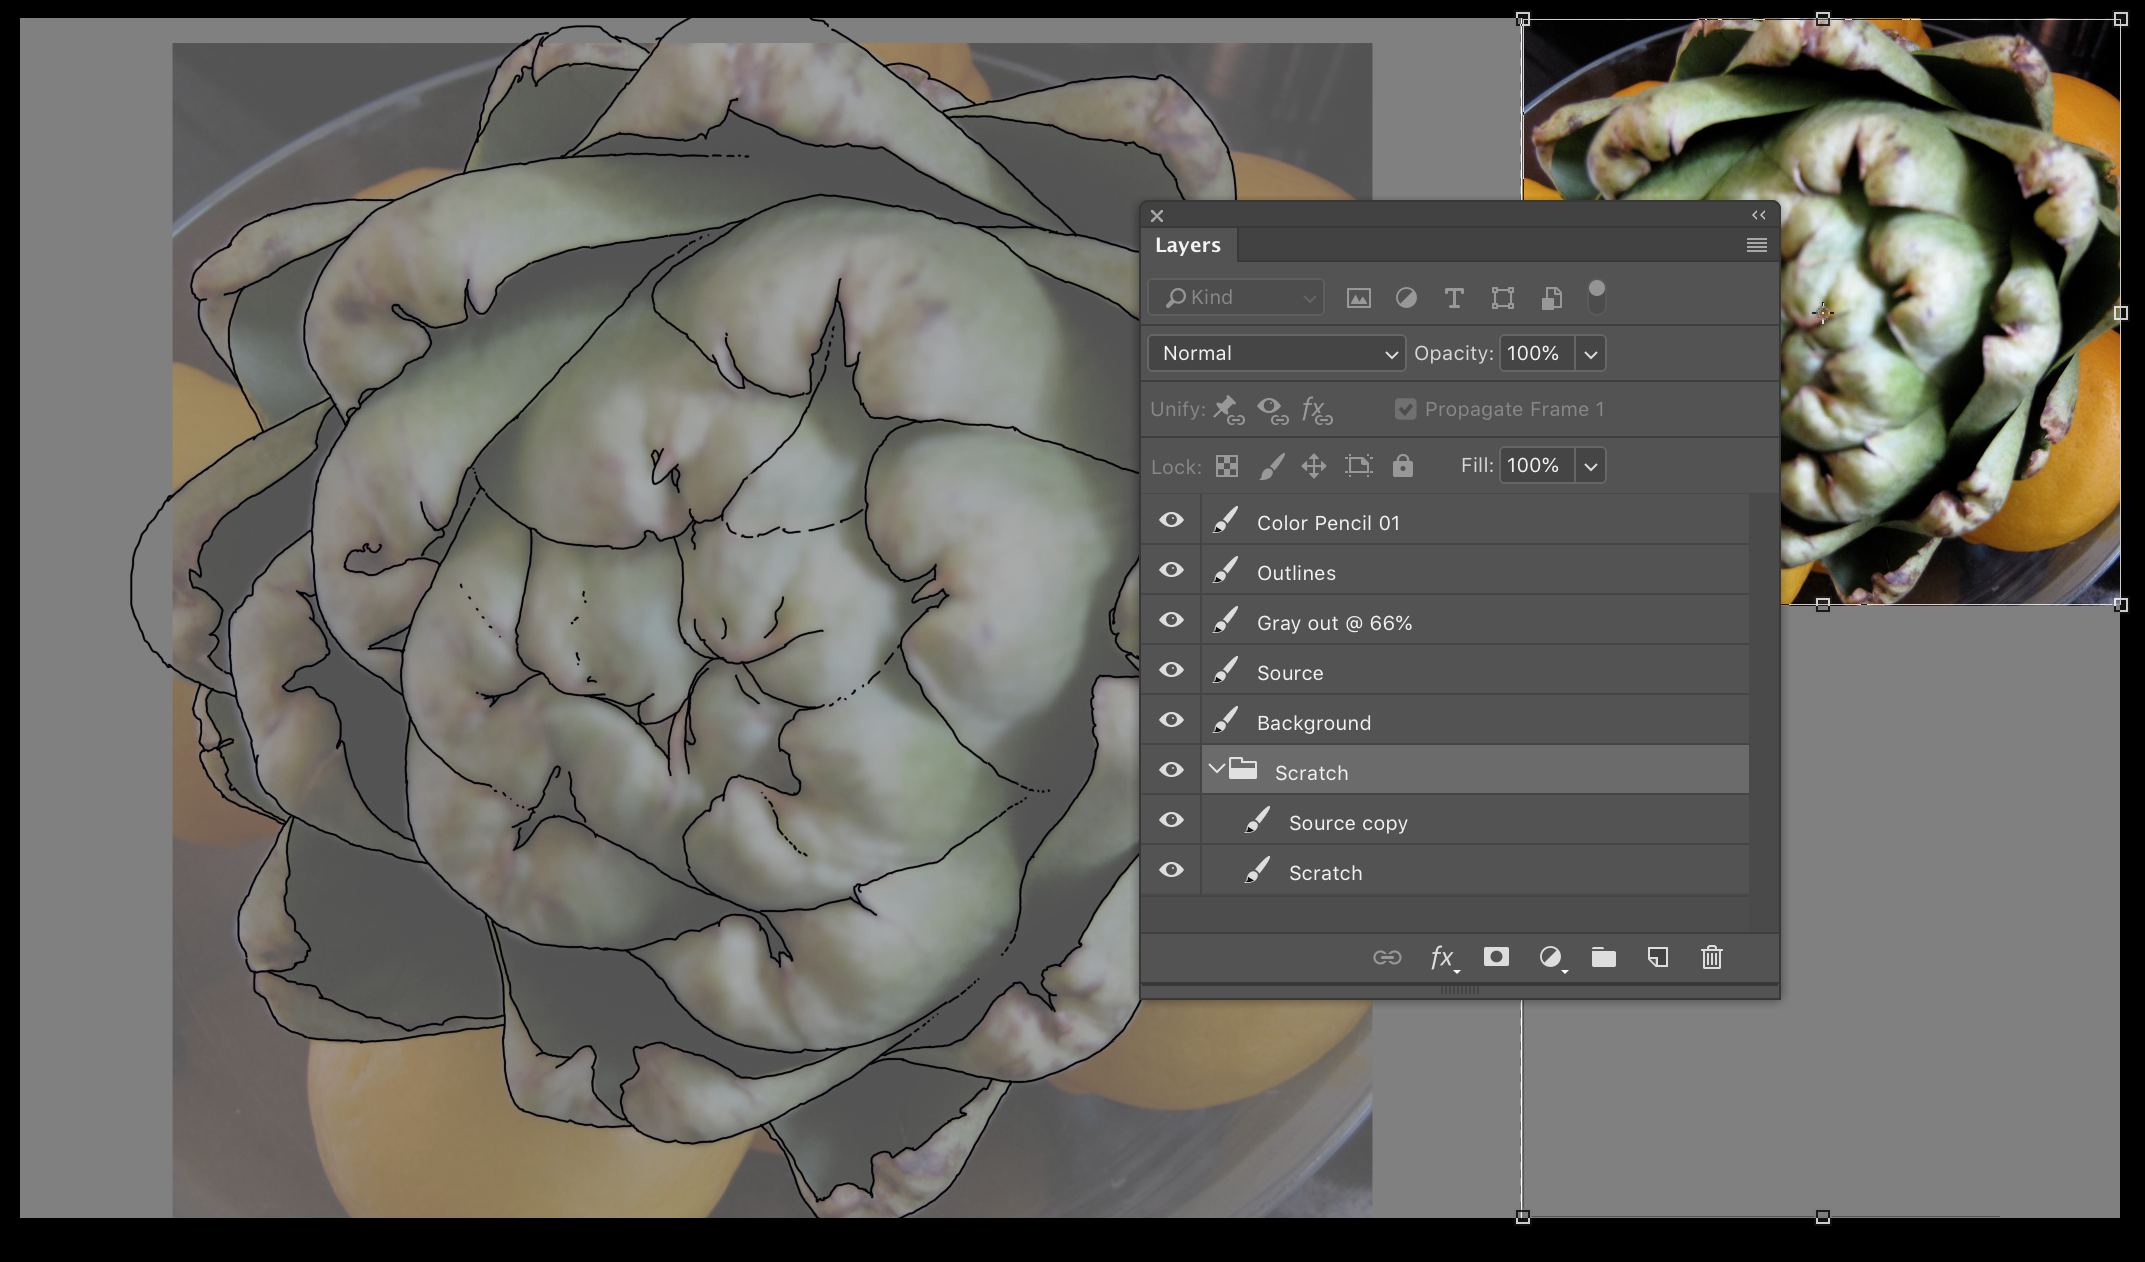
Scratch
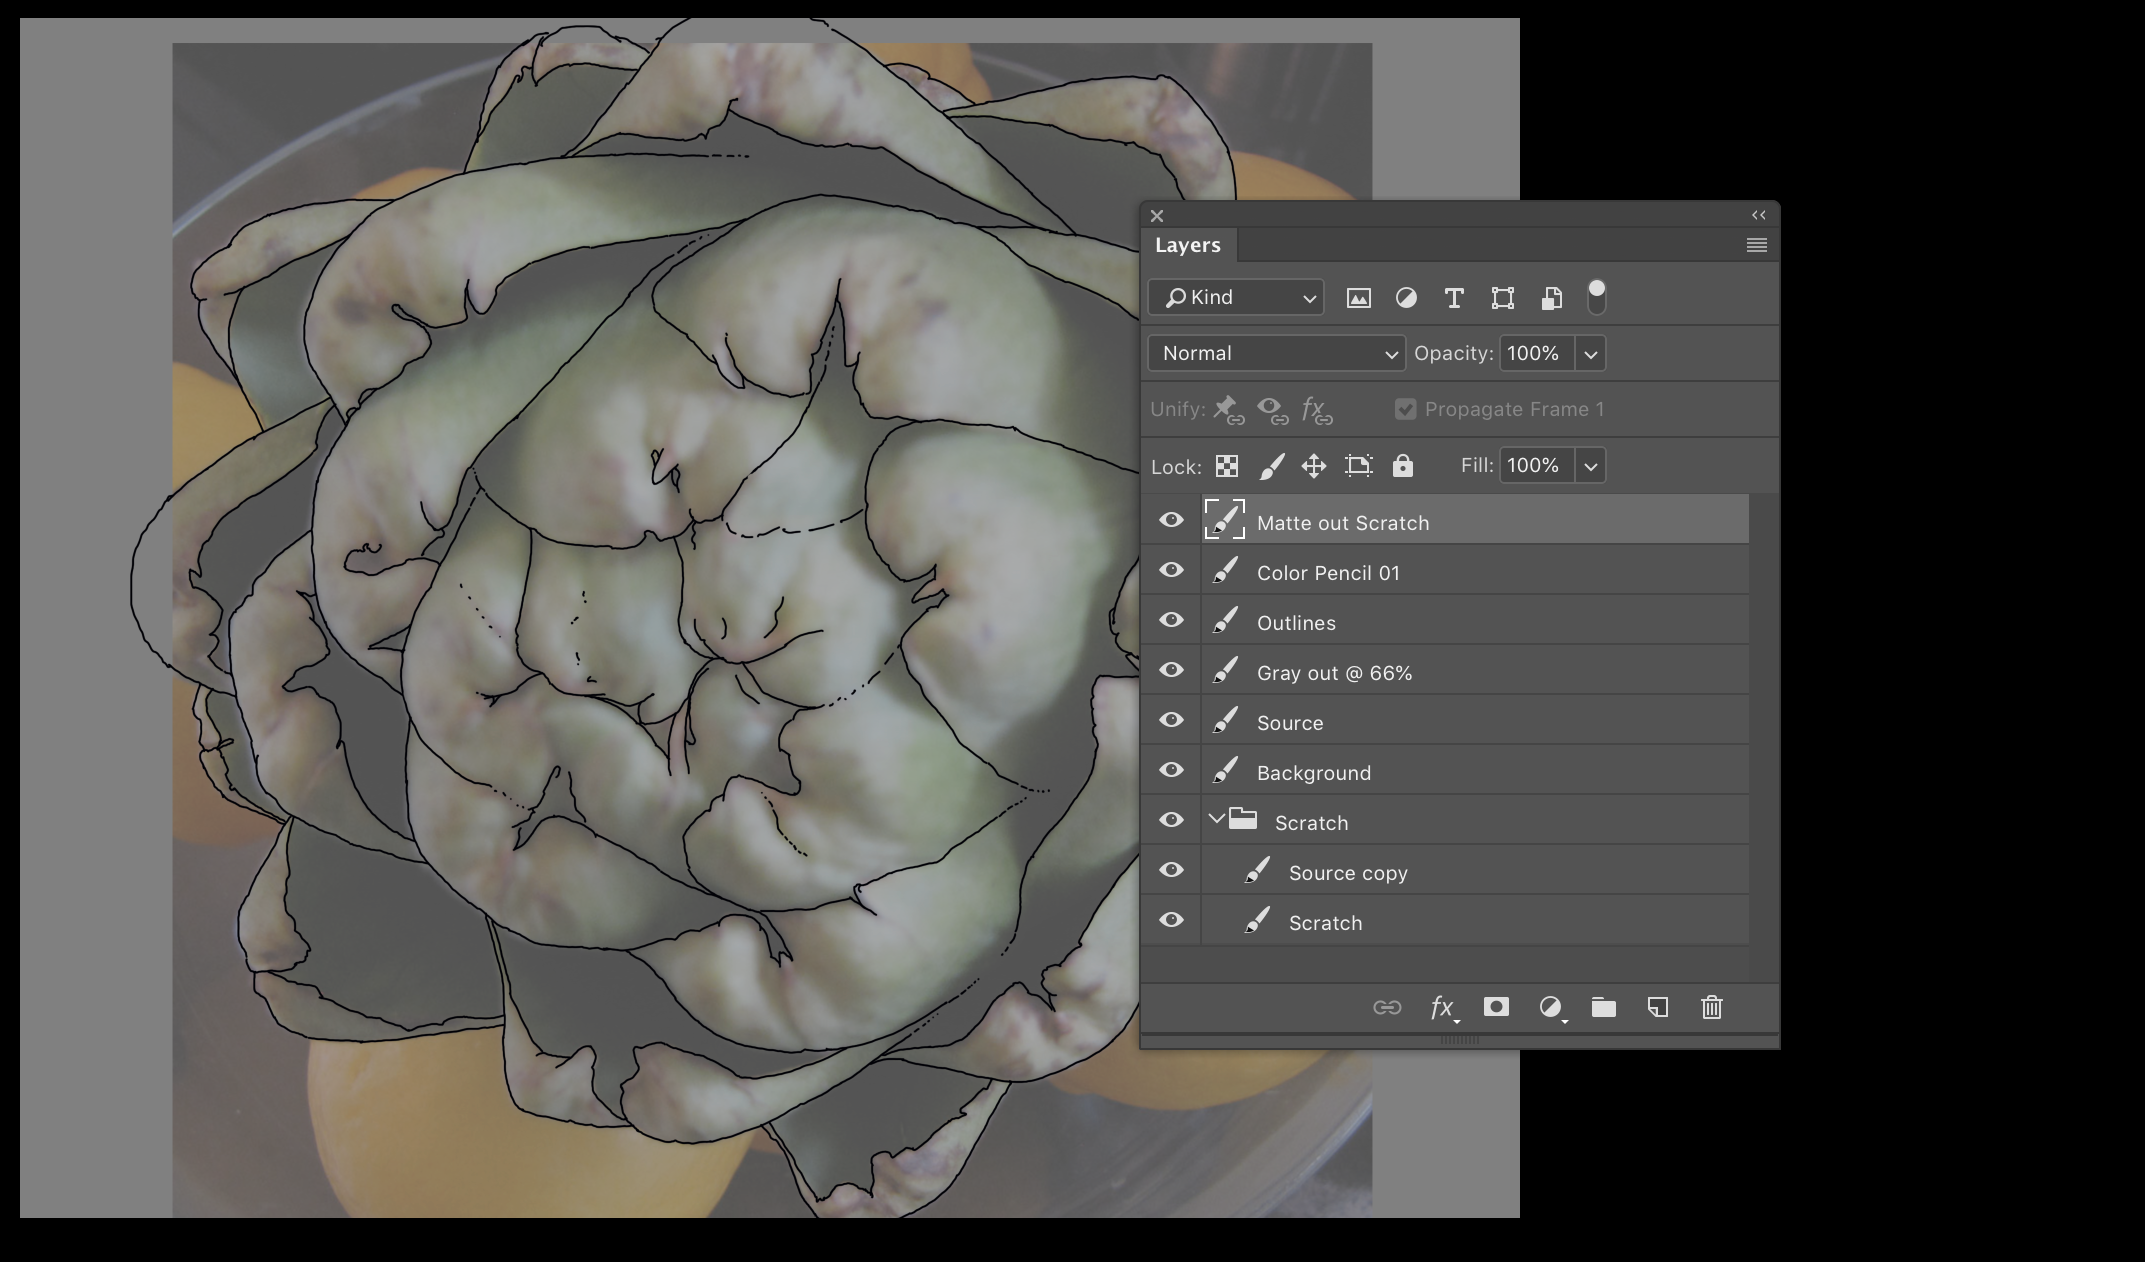
You are now pretty well set up to start drawing.
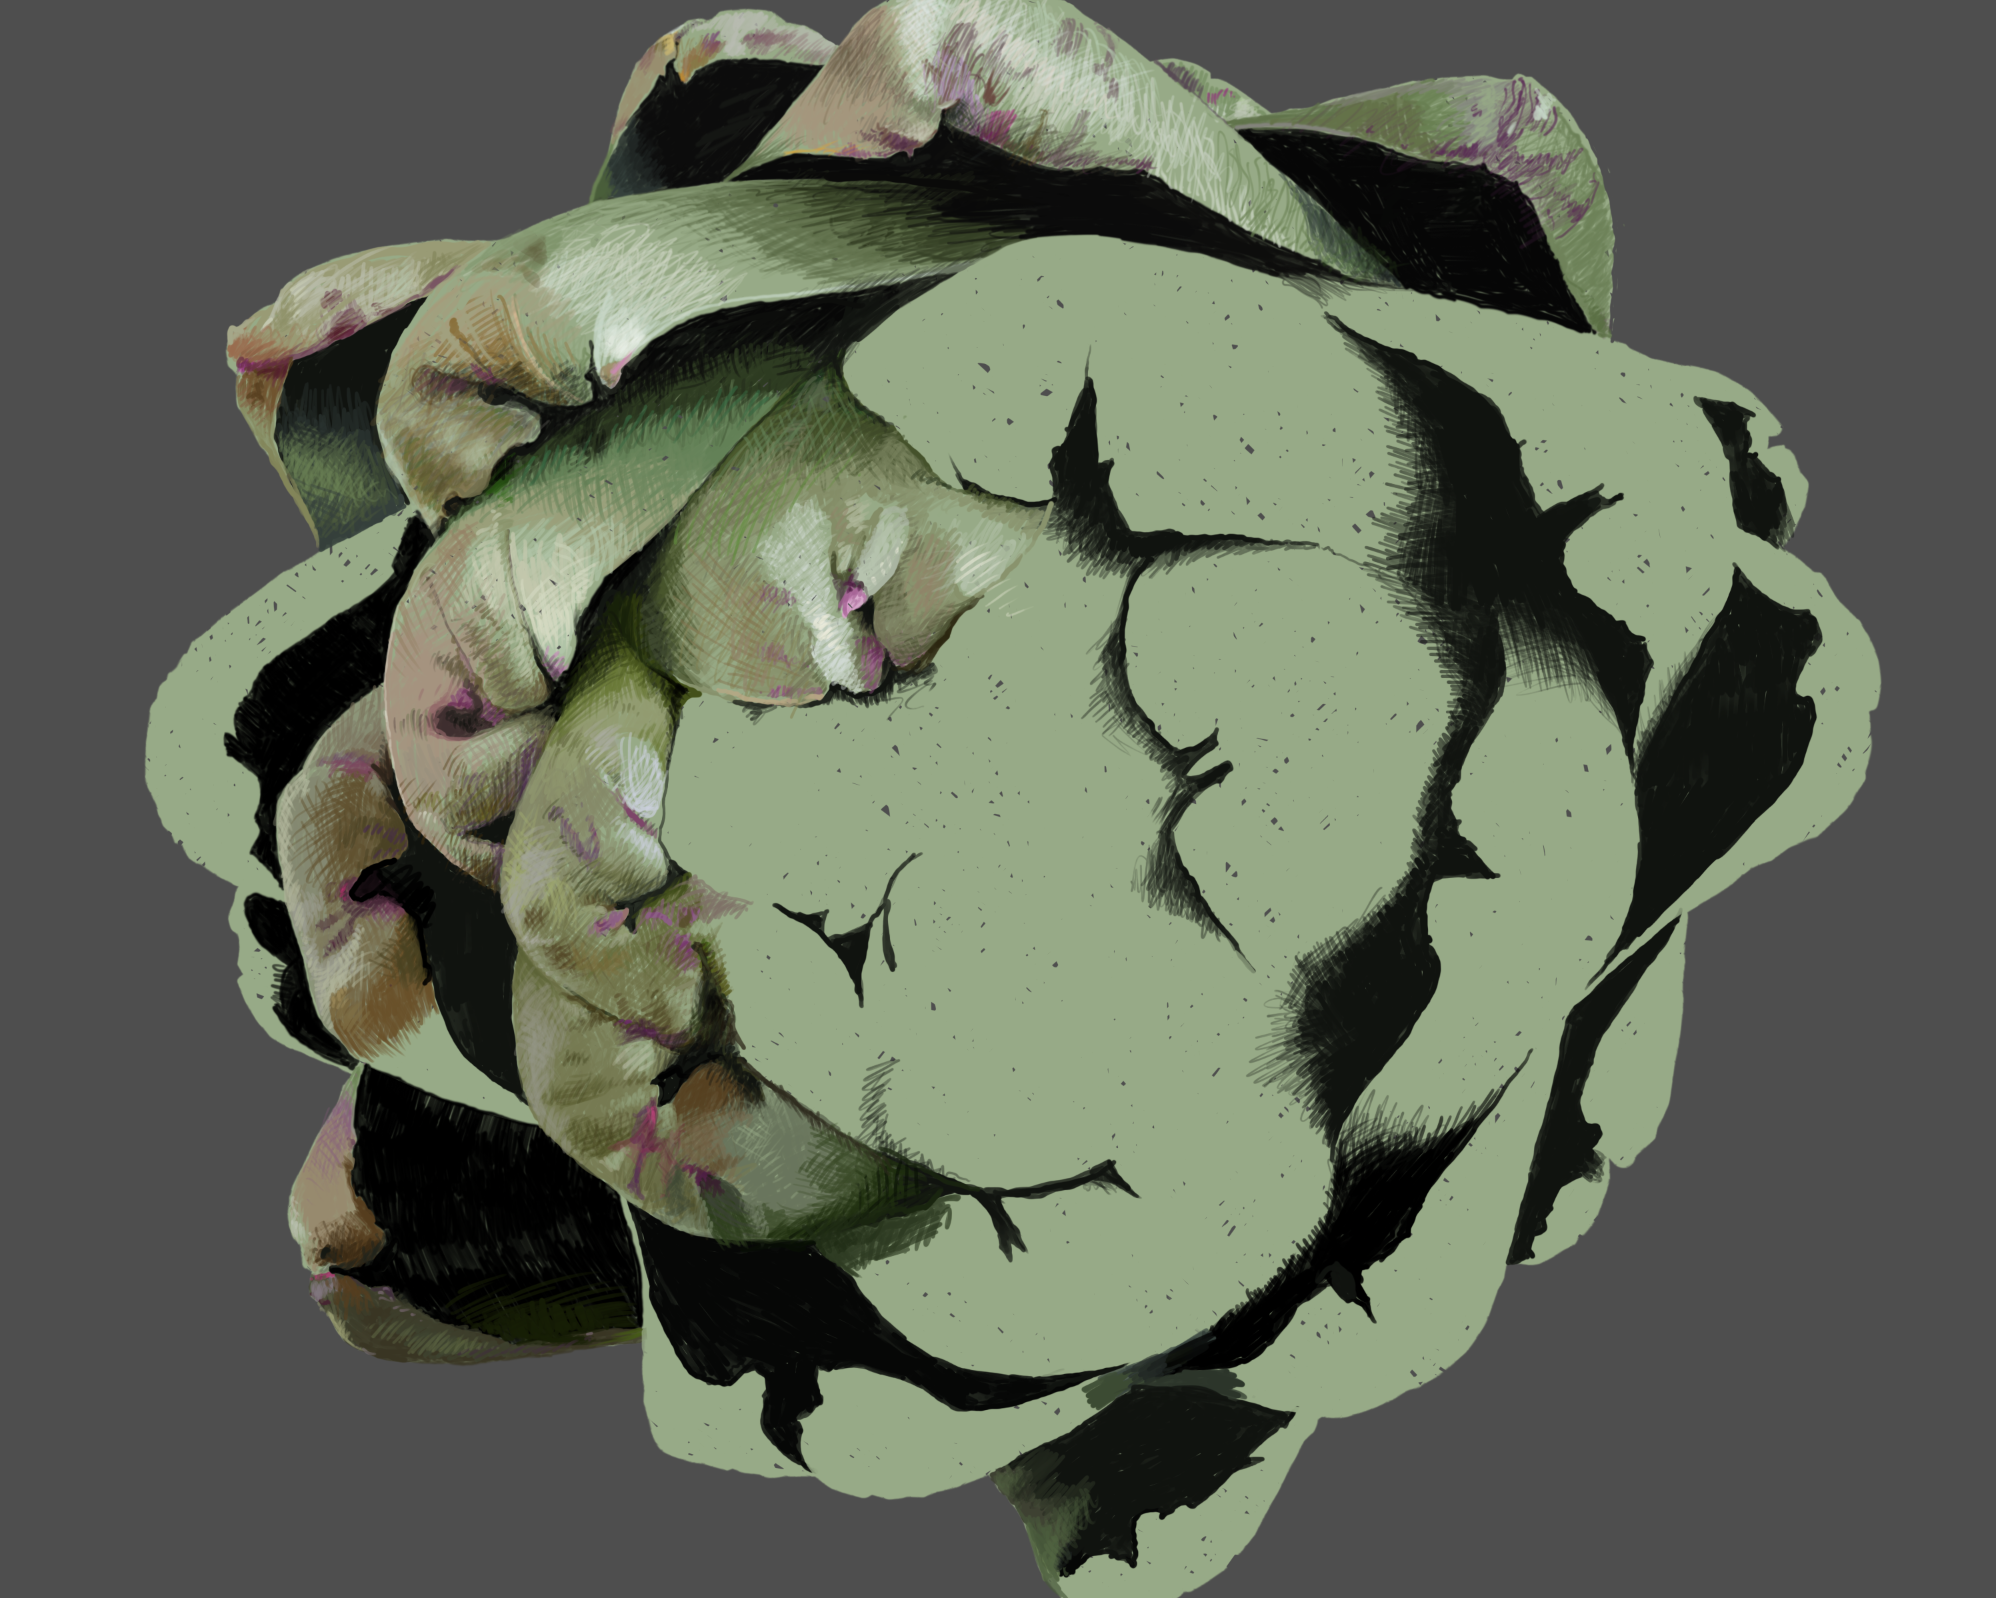
khazar_assignment04-09.psd.zip file in progress.
Last week we got to here: correctly sized, extra space on the right for color swatches and course images.
From here, we'll block out the color of the artichoke and start coloring with the Hard Round 8px brush.
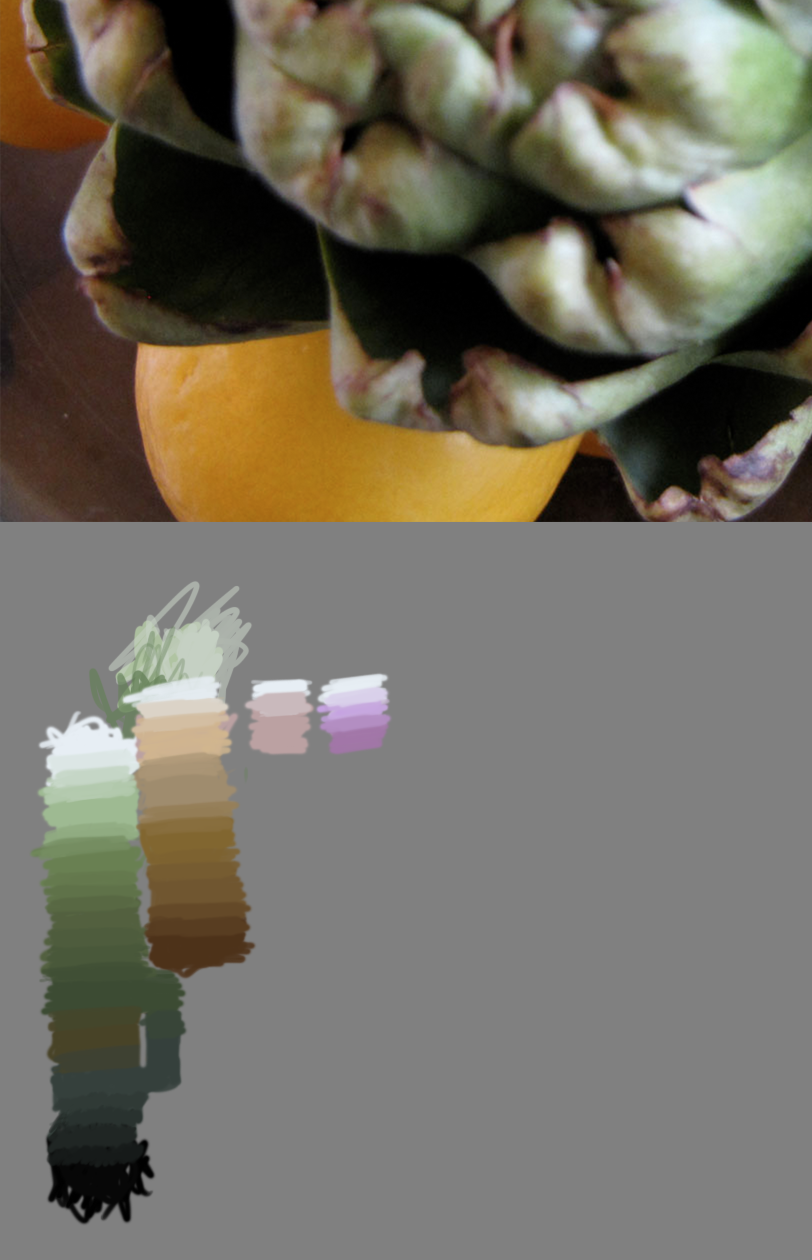
Create a set of swatches with your pencil selected with the eyedropper tool from the source image.
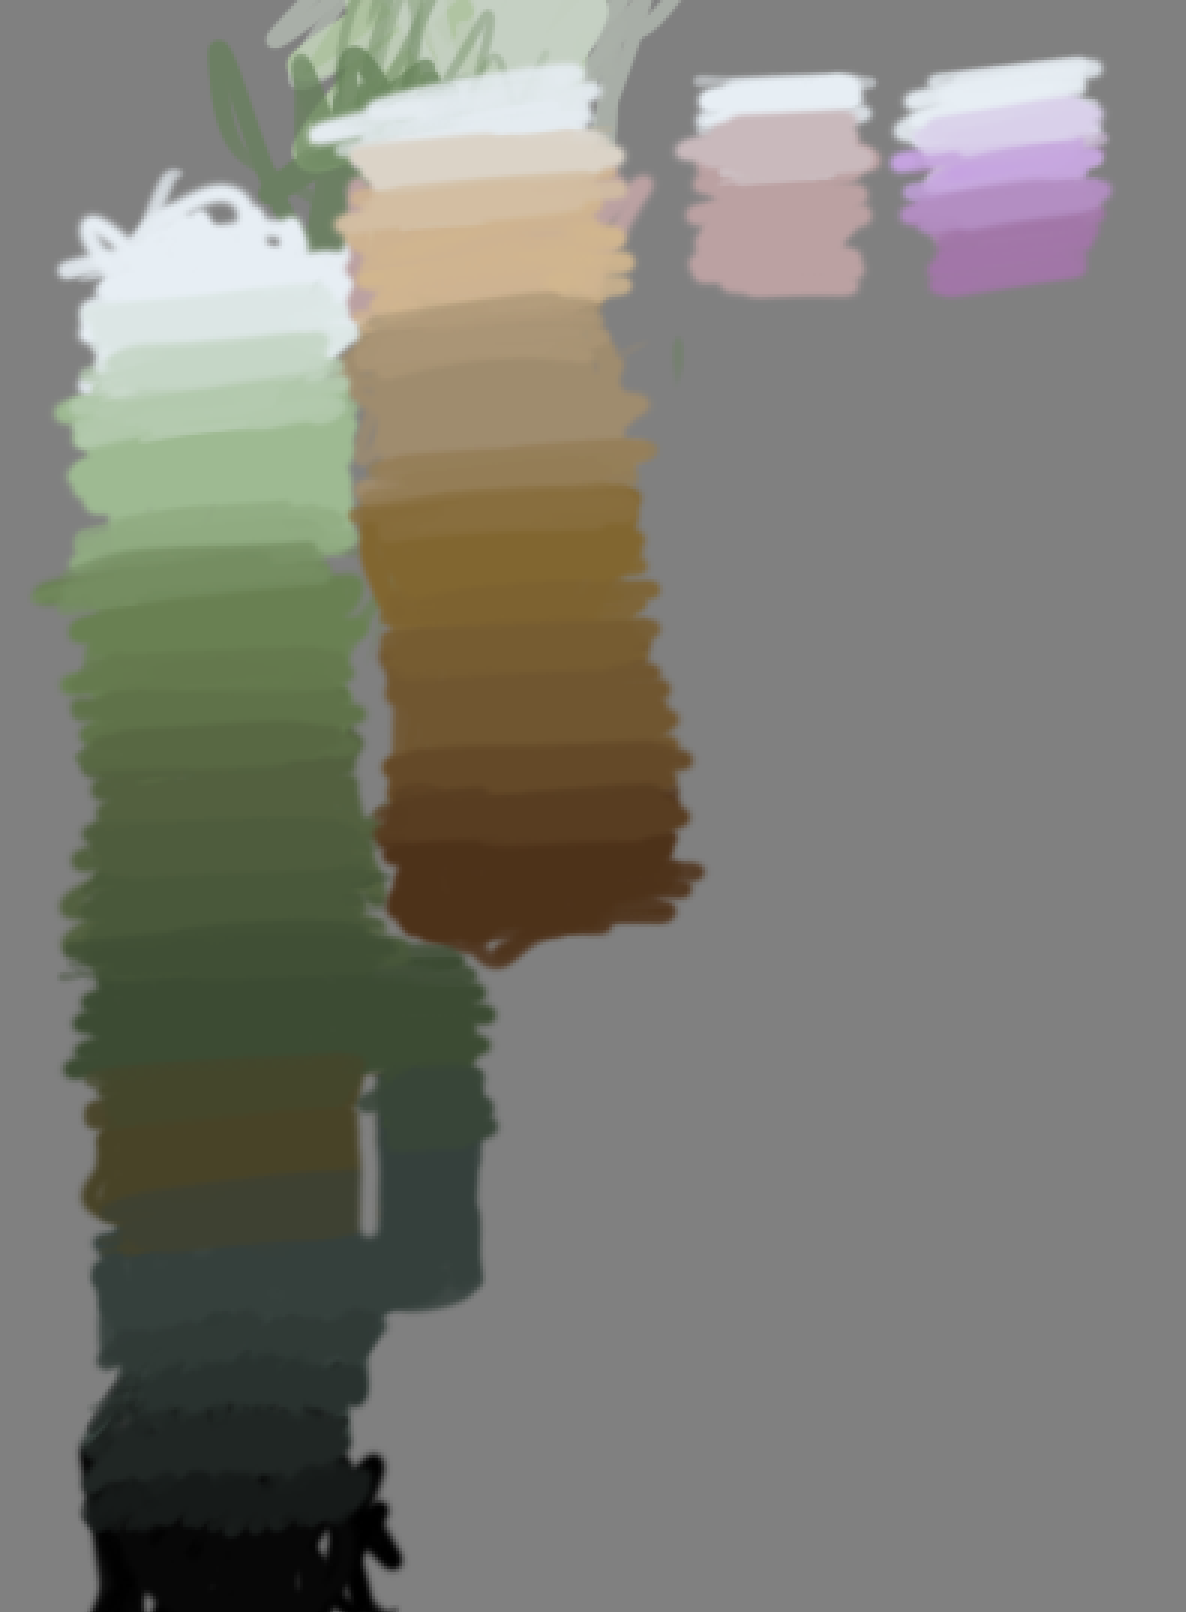
Create in-between shades with the pencil by overlapping with soft touch, copying mixed color, then drawing firmly.
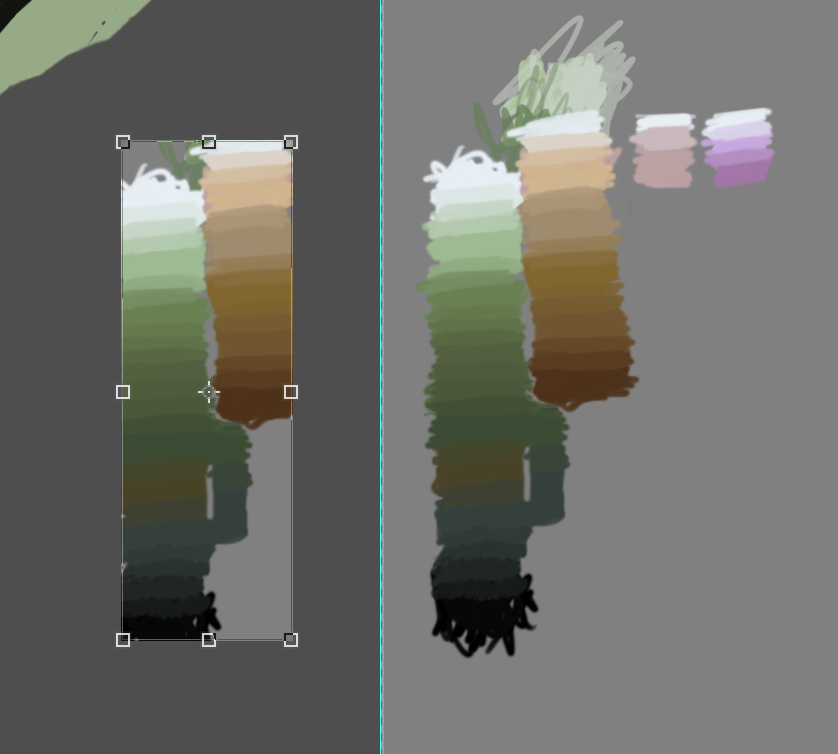
Select a rectangle around the swatches you made, then copy and paste it so it's on it's own layer. Then you can move it around to grab color from.
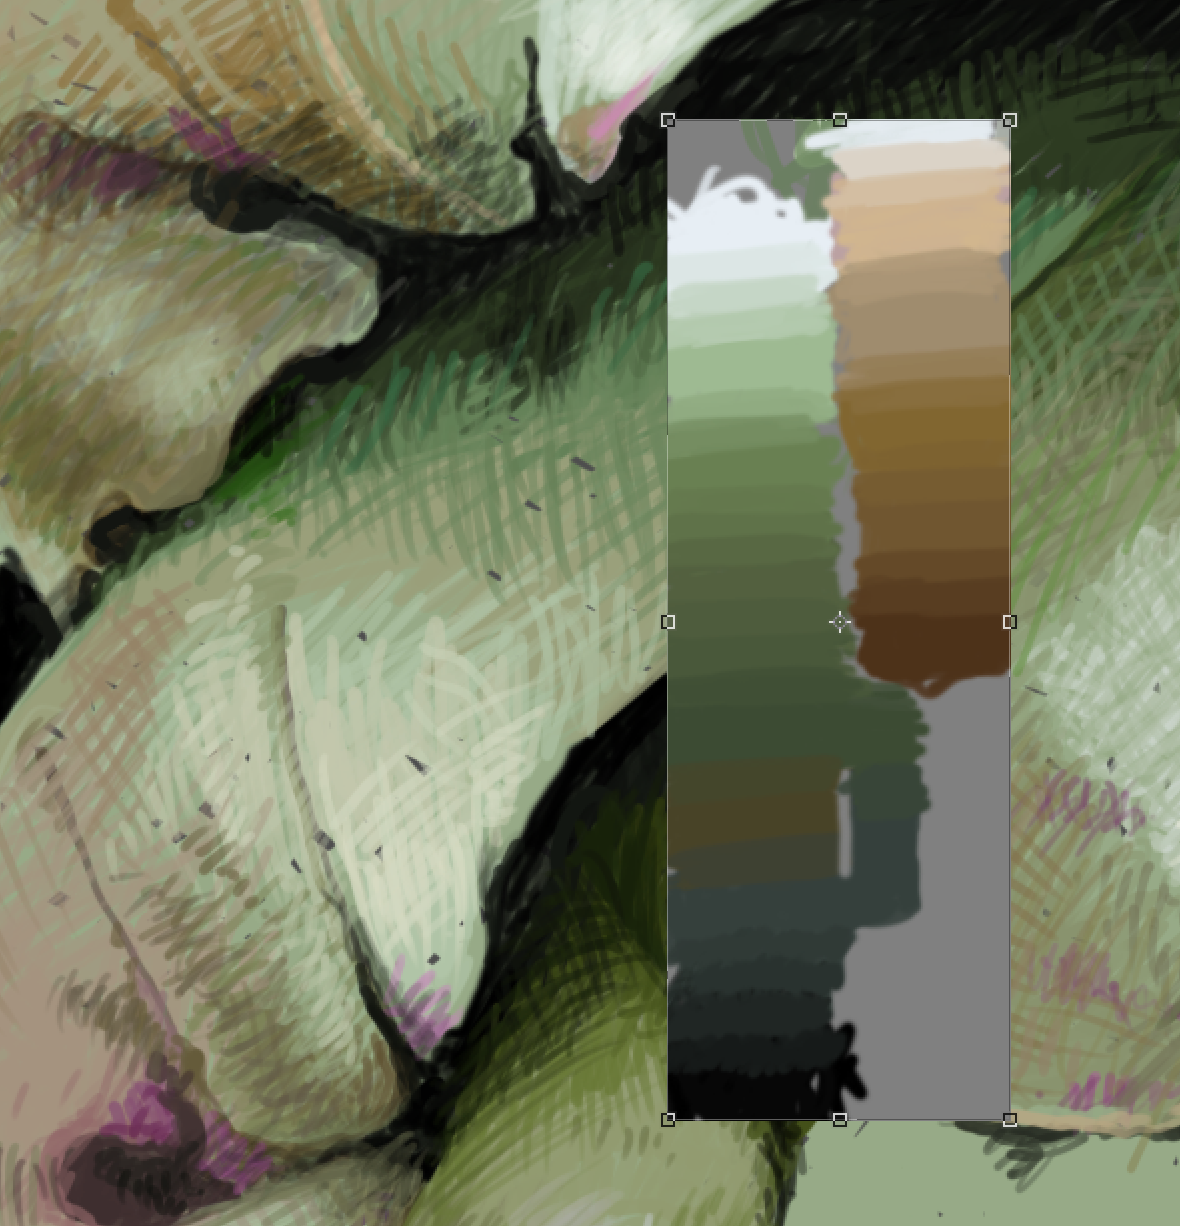
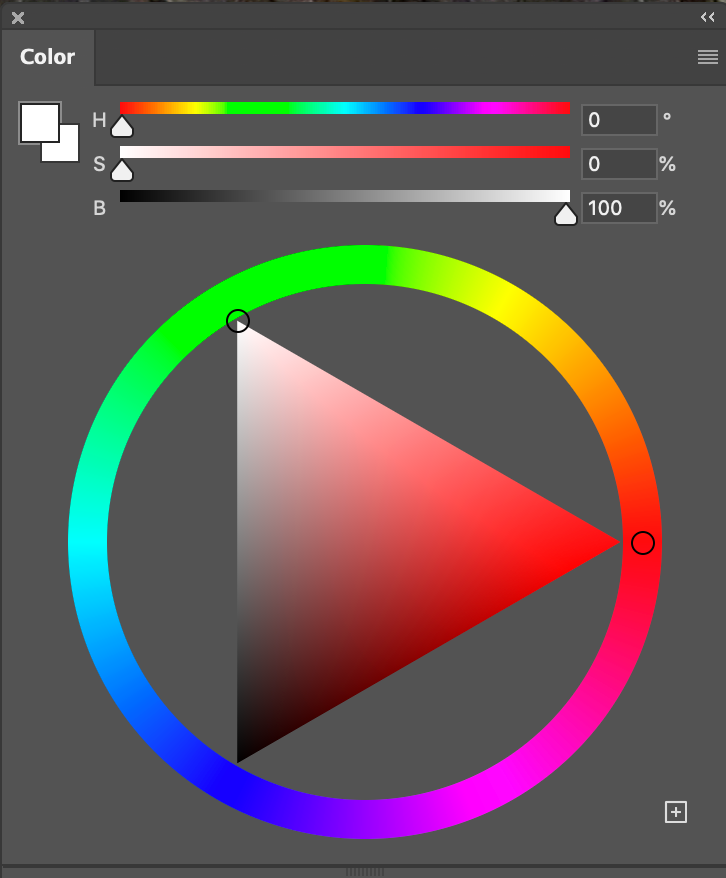
Open the Color Panel with Menu Window Color .
From the flyout menu in the upper right, choose Color Wheel
Keep this open all the time to tweak color values. Use the wheel or use the HSB sliders to manipulate the color.
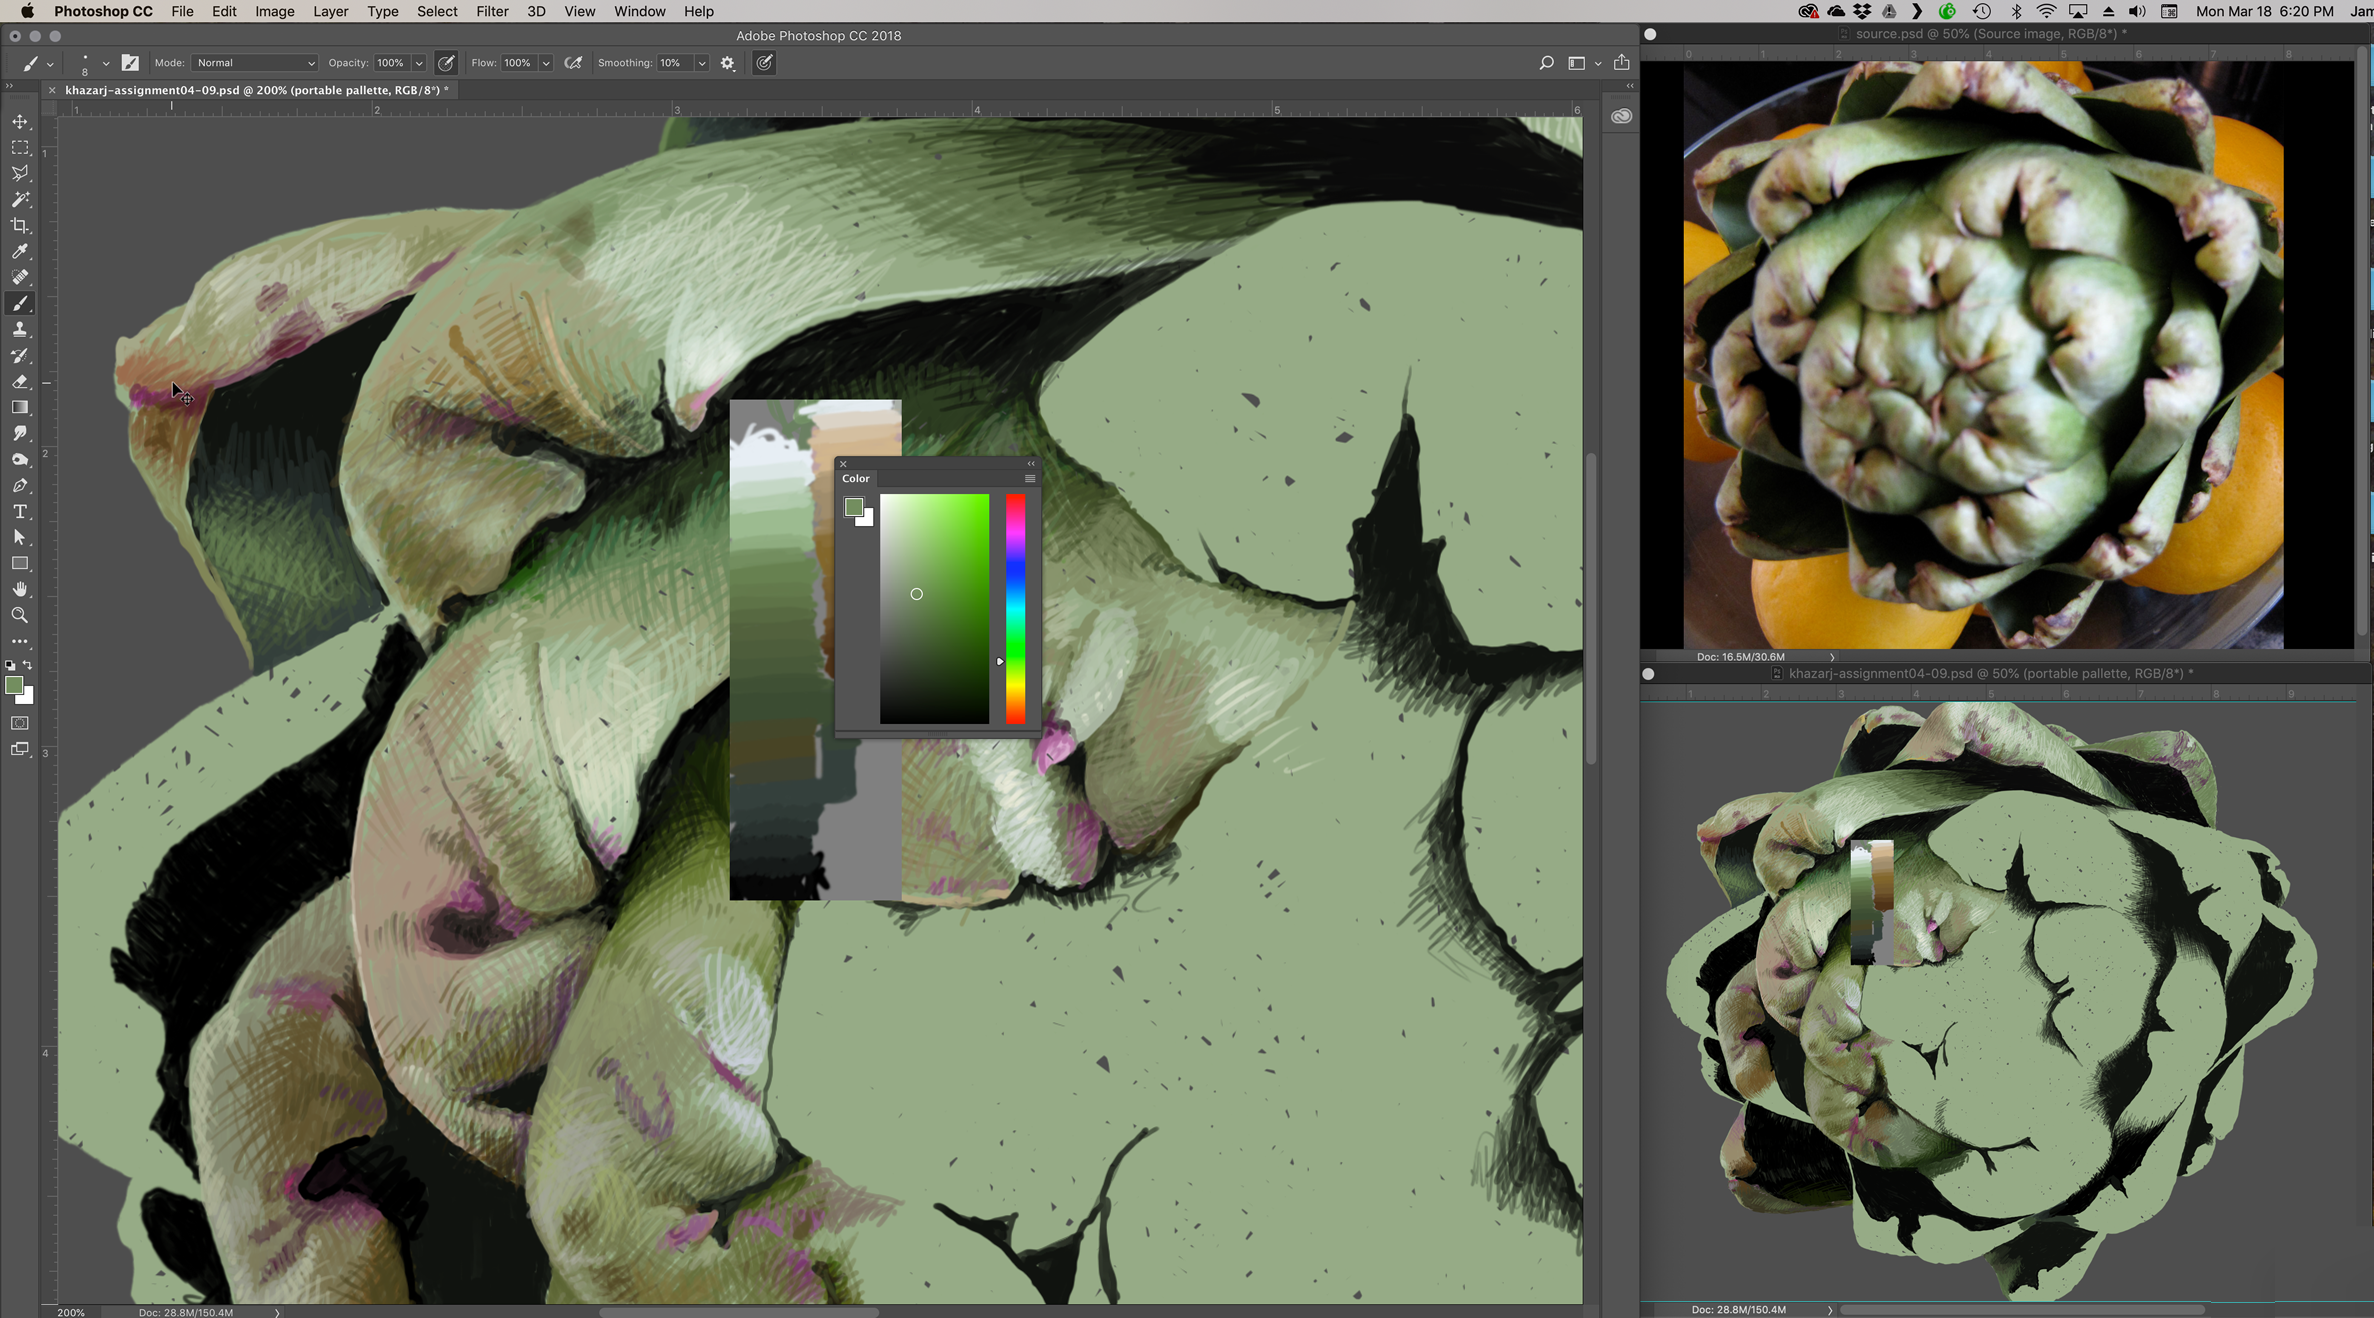
Great workflow: Open a copy of the source file in a new window in Photoshop and position it off to one side. I have two monitors at home, so I put it on the second monitor.
Choose Menu > Window > Arrange > New Window to open another view of your Photoshop color pencil image. Work on the big one, but put a smaller one off to the side to see how you're progressing as you work.
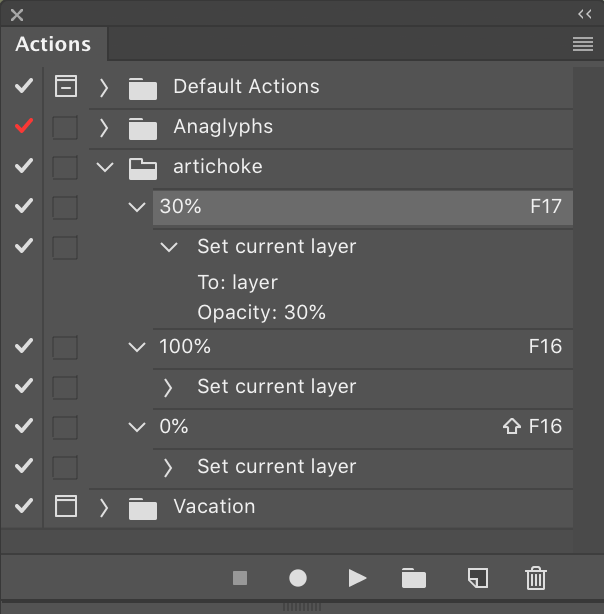
Choose Menu > Window > Actions to open the Action panel and create Actions (sometimes called Macros) to speed up frequently used interactions with Photoshop. Here, I've done three that change the opacity of the current layer from 100% to 30% to 0%, making it easy to see the source image and work on the pencil image very accurately.
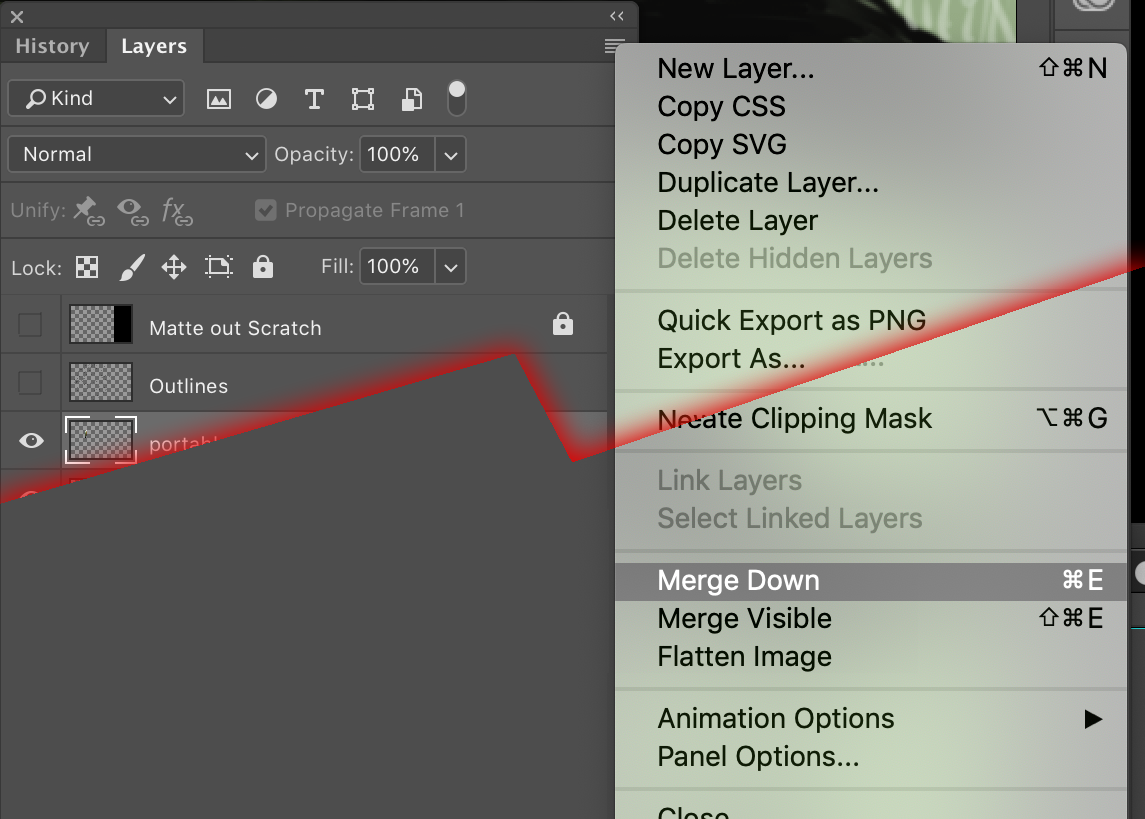
Sometimes you work on the wrong layer. If you have, use the selection tool to cut the stuff out, then use Shift-Command/Control-V to paste it in place in it's own layer just above the layer where it was supposed to go. Then, with the new layer still selected, use the popup menu in the Layers panel to Merge Down the layer into the right one.
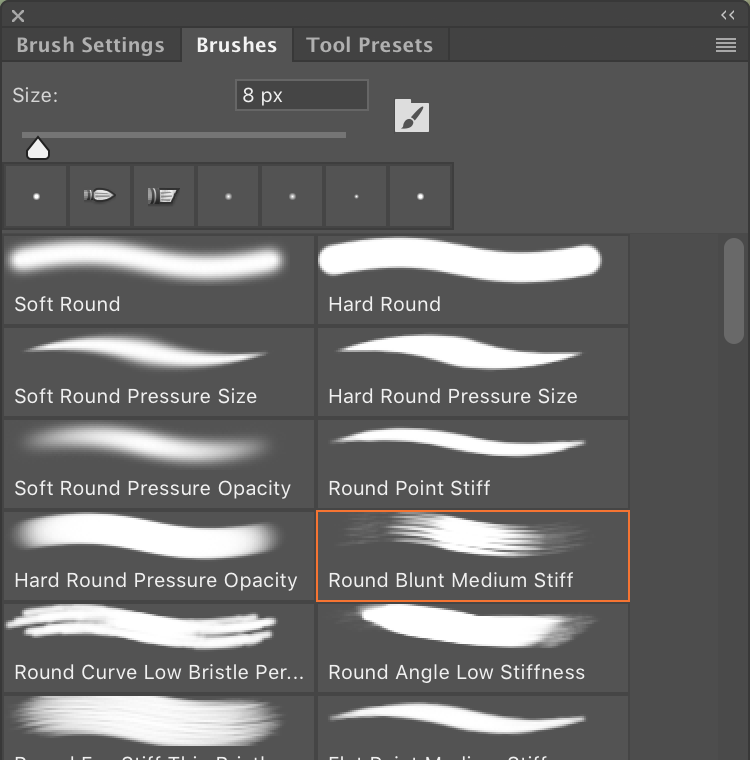
I don't know if this is happening to you, but I find that sometimes Photoshop switches my brush to a different type. No idea why, it just does sometimes. Pay attention! If you feel like your brush is acting strangely, check that you're using the brush you want in the Brushes panel.
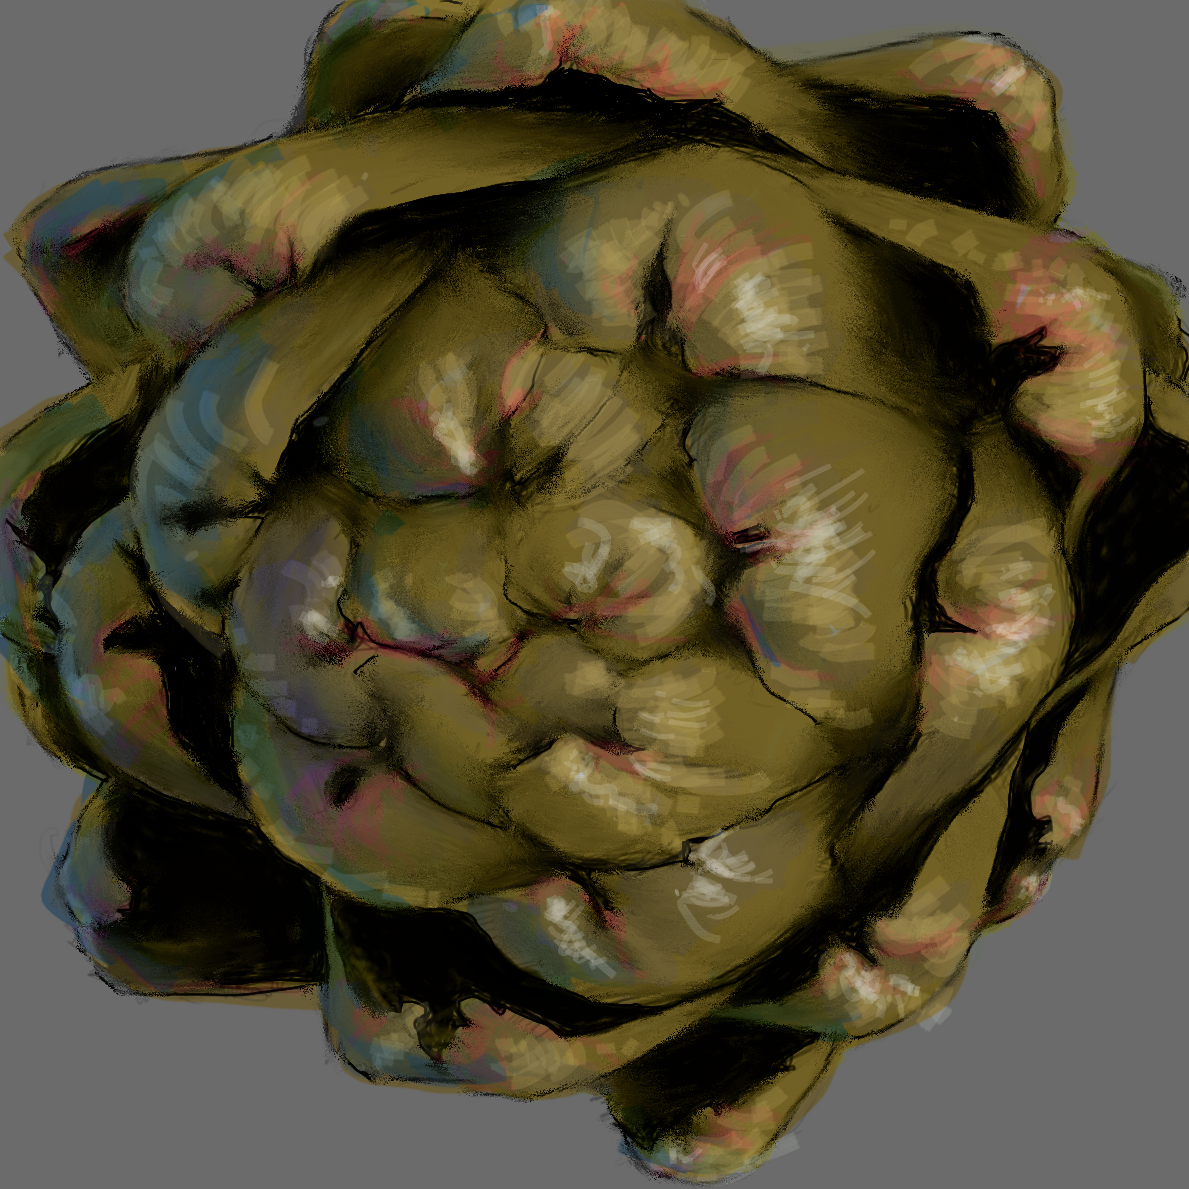
glazed_artichoke01.psd. An older artichoke image with glazes
It's not quite colored pencil, but this is a nice technique.